


A lot has been written about the art of great barbecue in general and the rib in particular. Ribs are one of my favorite barbecue items as they are just the right balance of meat, fat, bone and have a nearly ideal surface area to meat volume ratio for great smoking.
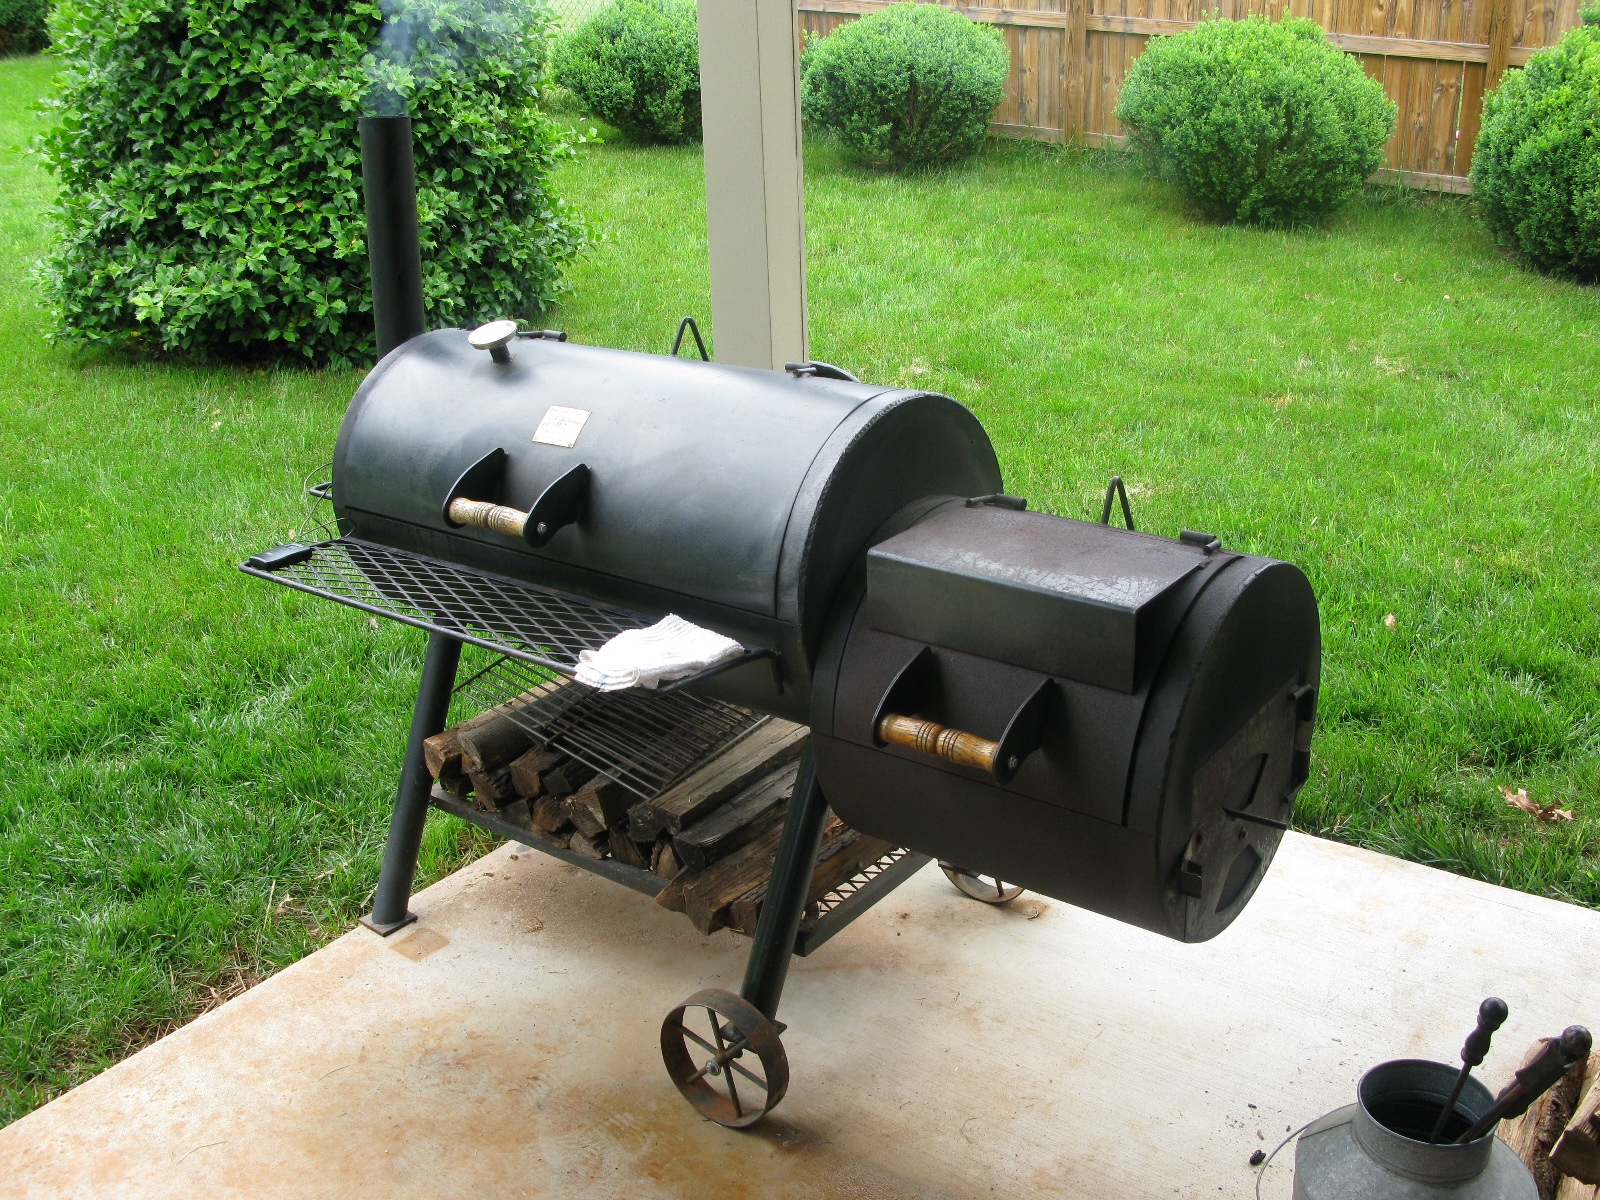
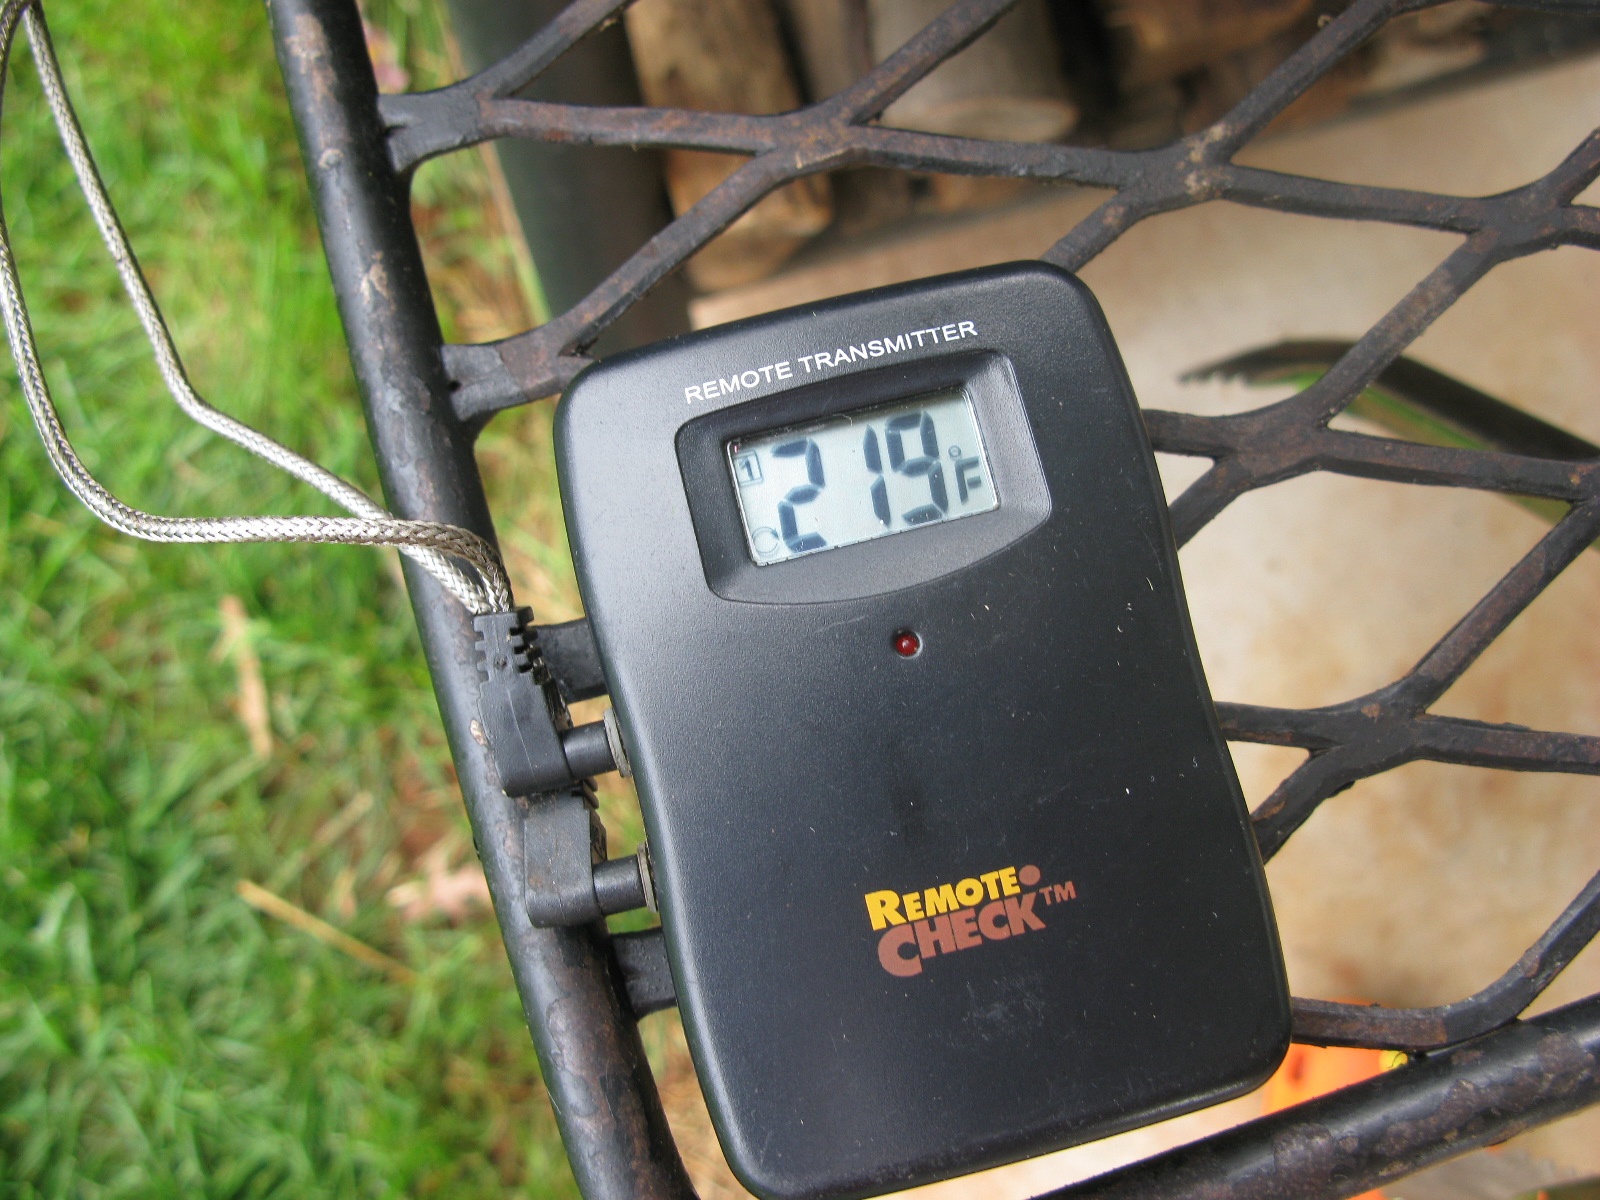
Barbecue and Grilling are vastly different. Each are a lot of fun, and you often do each in conjunction with each other (smoked chicken that isn’t also grilled for skin texture is awful!). For the sake of clarity, barbecue means cooking meat via indirect heat with or without smoke over a long period of time designed to render fat and other connective tissue into lip smacking good collagen/gelatin. You can do great barbecue in an oven, a simple grill, a pit, or rig designed for the purpose such as the wood fired offset pit smoker I use.
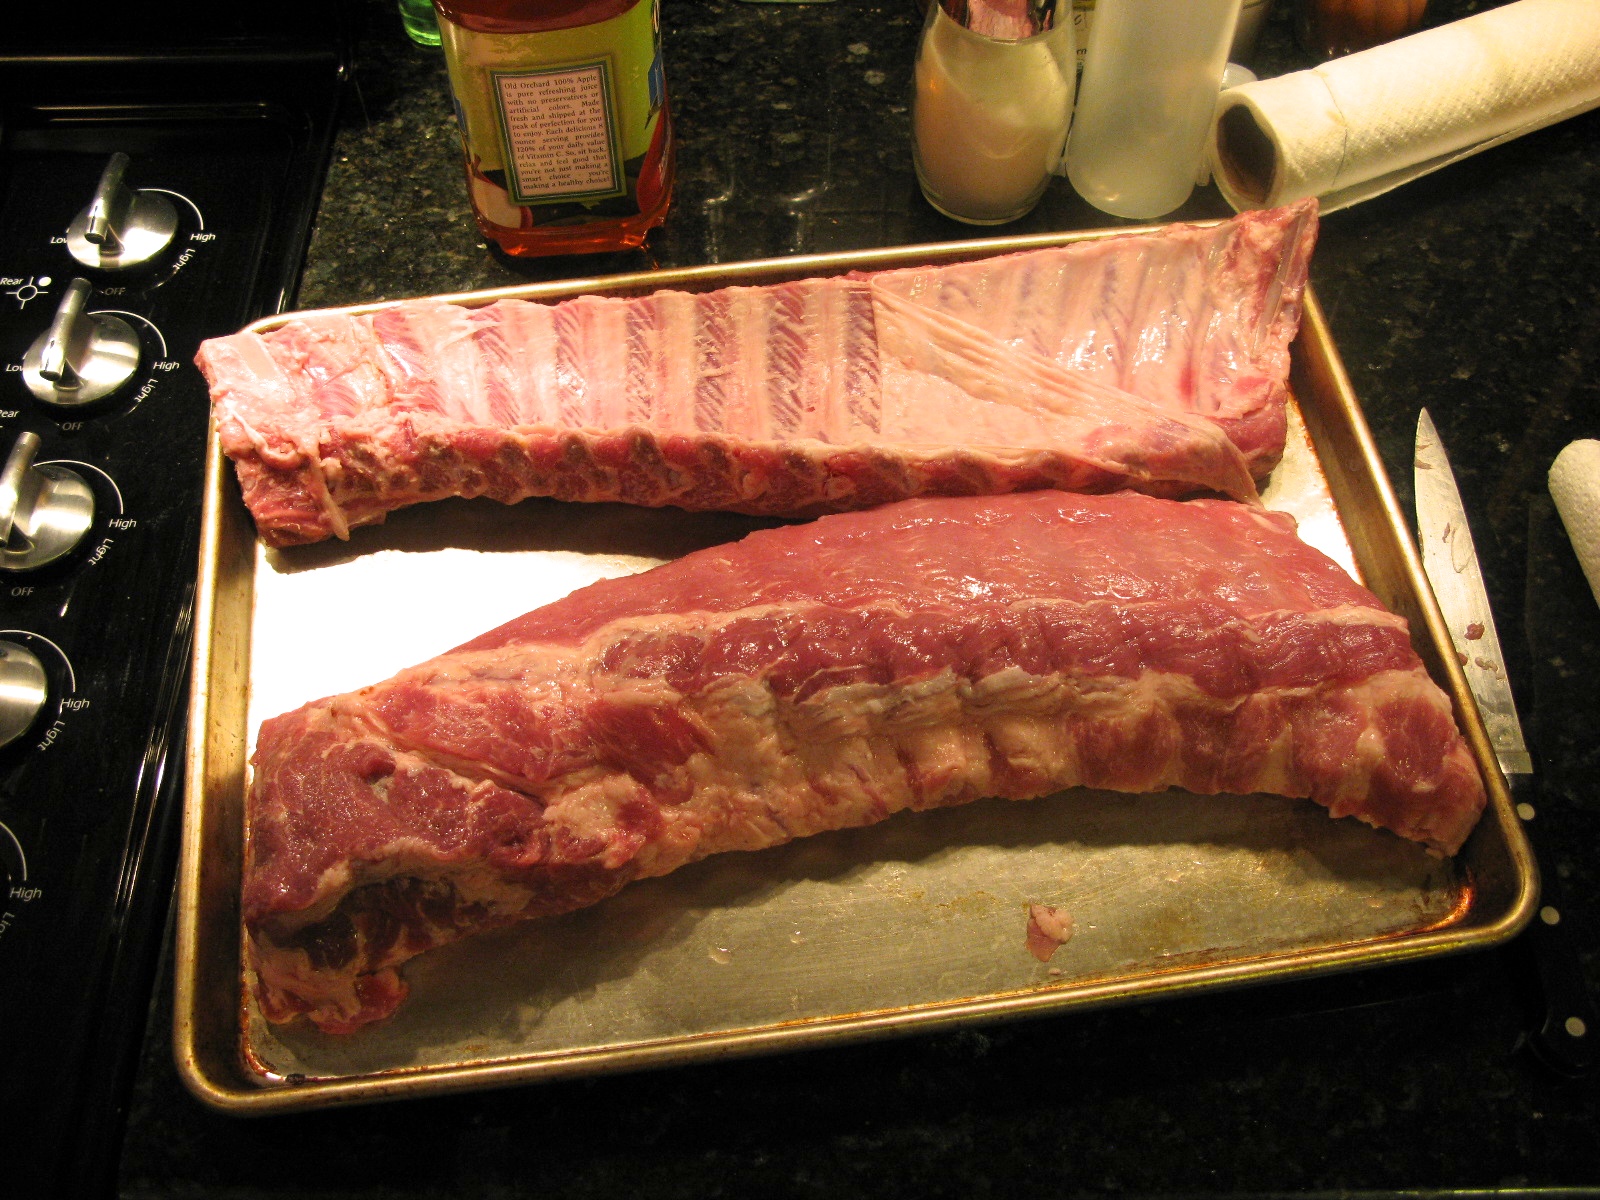
Some cooks like to barbecue spare ribs, some like baby back ribs (higher on the pig with less fat and more loin meet). I like baby back ribs and find that I can get ones with enough fat so that they turn out great in the smoker. A misconception in barbecue is that fat is bad. Fat is good. Fat will render out over a long cooking time and self marinate the meat, while the connective tissue turns to collagen. It is an amazing thing if done right. I typically get my ribs at the local big box volume club (Sam’s and the like) and the typically come in a cryo pack.
The first thing to do is select meat that has a uniform shape and size (so it all cooks about the same) and has a nice fat marbling in the meet. Preparing the meat is really all the work to making barbecued ribs. Here is my method:
Step 1: Sanitation
Get the bleach out! I keep a spray bottle of bleach water on hand and take it out when I process raw meat of any kind. You want to have everything ready for the raw meat handling phase prior to needing it. When you have raw pig on your hands is no time to be opening cabinets looking for spices, cleaner, rags or utensils. Get everything out that you will need and then sanitize everything that you used while processing raw meat. Each time you touch raw meat, was your hands, wash the area and change utensils. For example…the tongs or other items you use to place raw meat on the smoker or grill should NOT be the tongs or items that you use to turn the meat later.
Step 2: Make the Rub
A rub is a dry marinade that penetrates the meat while it stands prior to cooking and while cooking. There are thousands of recipes for dry rubs on the net, but I have one that I have developed over the years (award winning no less) that I don’t mind sharing:
Dry Rub for Two racks of Baby Back Ribs
- 4 tsp Salt
- 1 cup Brown Suggar
- 4 tsp paprika
- 4 tsp onion powder
- 4 tsp garlic powder (granulated)
- 2 tsp dry mustard, english
- 1 tsp Chili powder
Combine all ingredients and set aside. The dry mustard is the oddball here, but don’t leave it out as it is what makes the rub a real hit.
Step 3: Make the Sauce
Ribs don’t need a sauce. Cooked right, they will melt in your mouth. However, some like to add sauce at the table if they do, you owe it to them to make a home made sauce. Here is mine that I developed aver a few years of trial and error:
- 1 cup cider vinegar
- 2/3 cup ketchup
- 1/2 cup brown sugar
- 1 T tabasco sauce
- 1 T Lemon Juice
- 1 T Worcestershire Sauce
- 2 T Butter
- 1 tsp red pepper flakes
- 1 tsp dry mustard, english
- 4 T Honey
- 4 T Molasses
- 1/2 tsp salt
Ideally the night before, combine all ingredients in a sauce pan and heat over low. Allow to reduce by 1/4 so that it forms a thick sauce. Omit the red pepper flakes if you don’t like a little heat.
Step 4: Wash and Prep the Ribs
So now that the sauce has been made and your rub is standing by, you are ready to contaminate your work area by starting to work with raw meat. Remove the ribs from the bag and the first thing I do is give them a really good smell. Yep, cut open the package and get your nose into it and take a deep breath. It should have almost no fragrance. Zip, Nothing, Nada. Any off smell is an indication of a potential issue with the packaging or handling. I typically do not cook any meat that has any indication of not being 100% fresh (I do the same for chicken and beef). If it dosen’t smell good raw, it wont get better by cooking it!
Assuming your meat passes the fresh test, you can then wash it and dry it (lots of paper towels). I will dry and store the ribs either in large food industry trays or backing sheets.
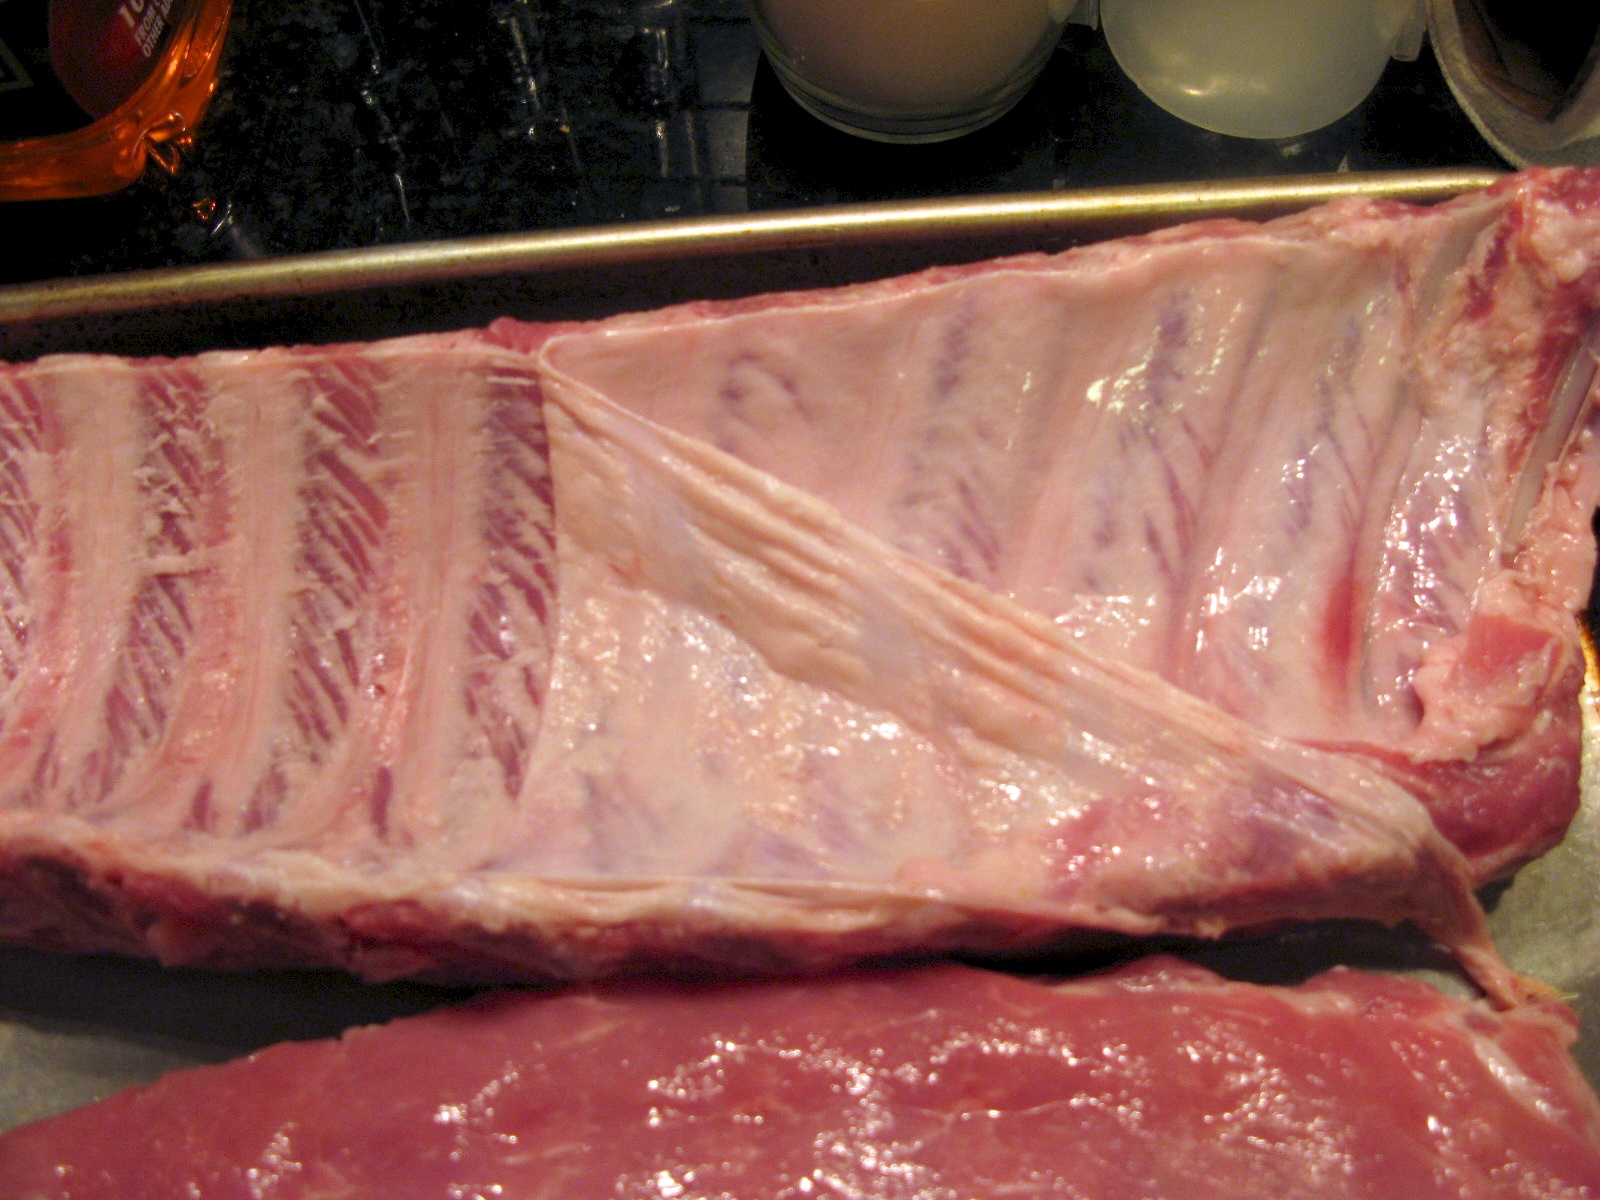
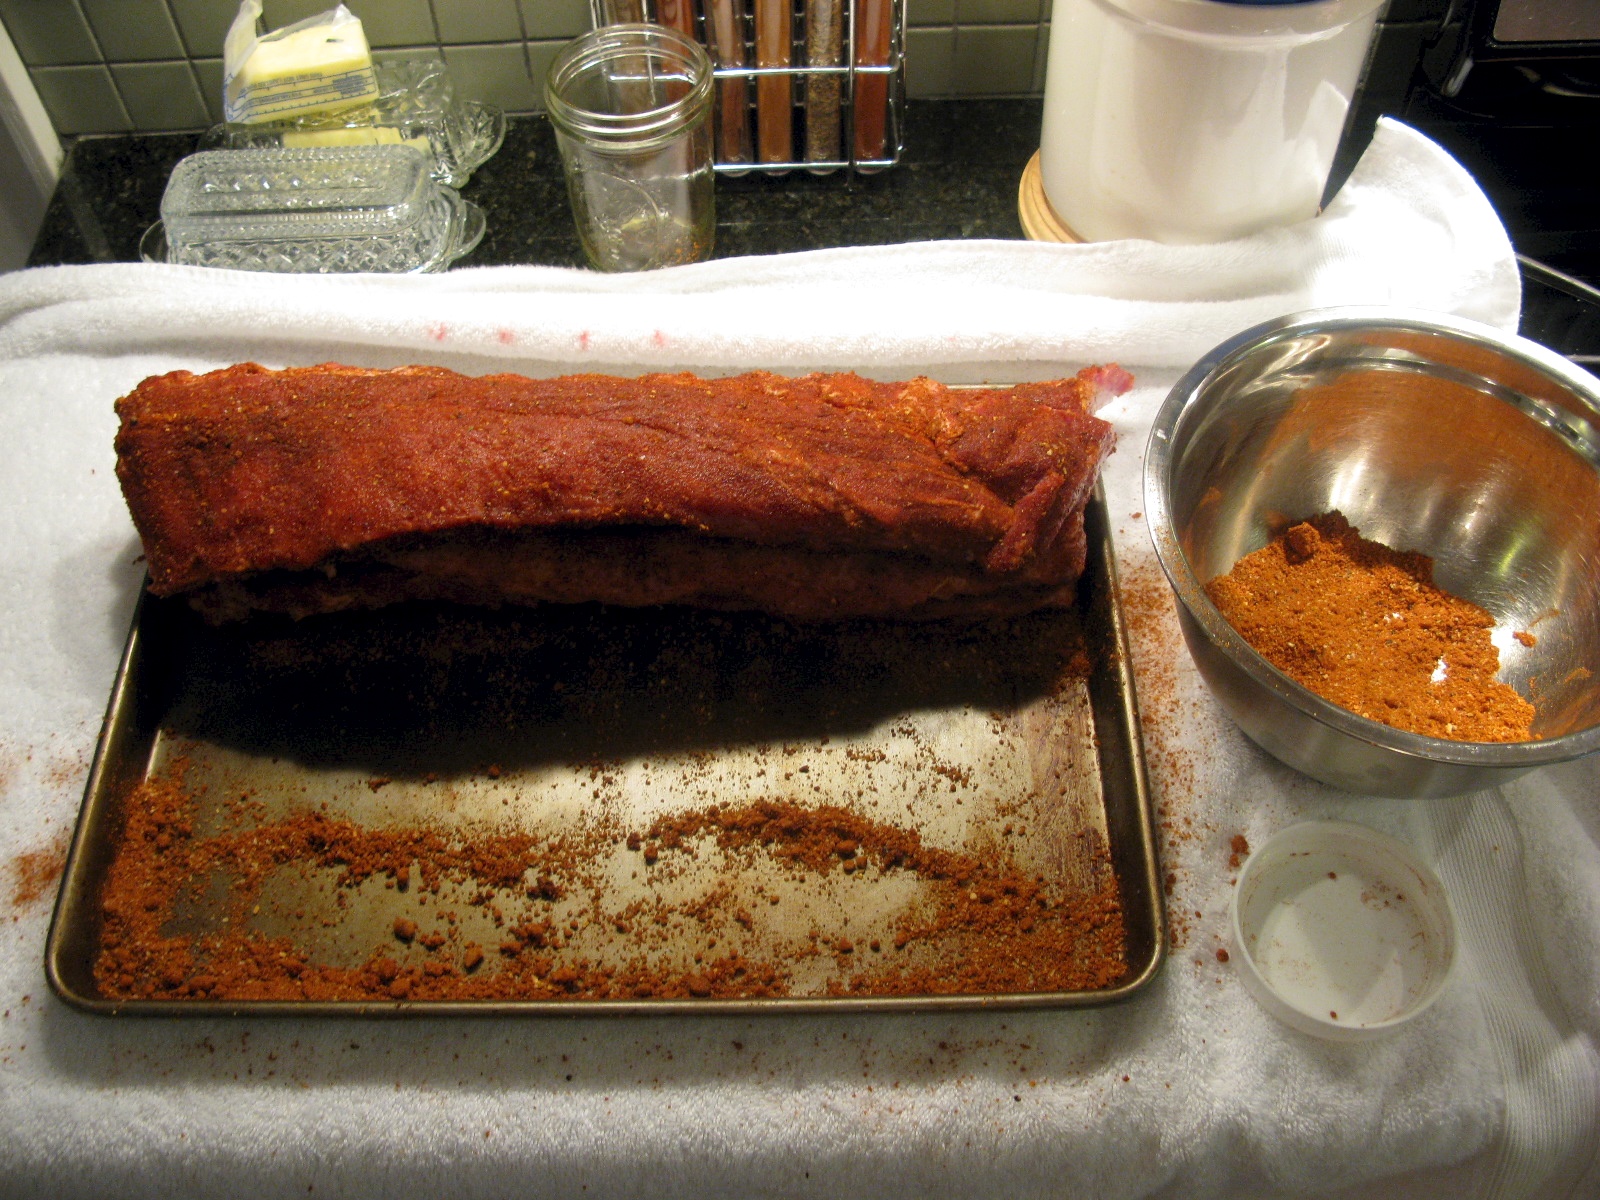
There is a tough membrane on the back of the ribs (bone side) that I recommend you remove. Some say you can leave it, but I never do. If you take a knife or pair of pliers you can get one end started then grab it with your hands and peal the entire thing off. My daughter likes this part as it reminds her of the show Bones or CSI.
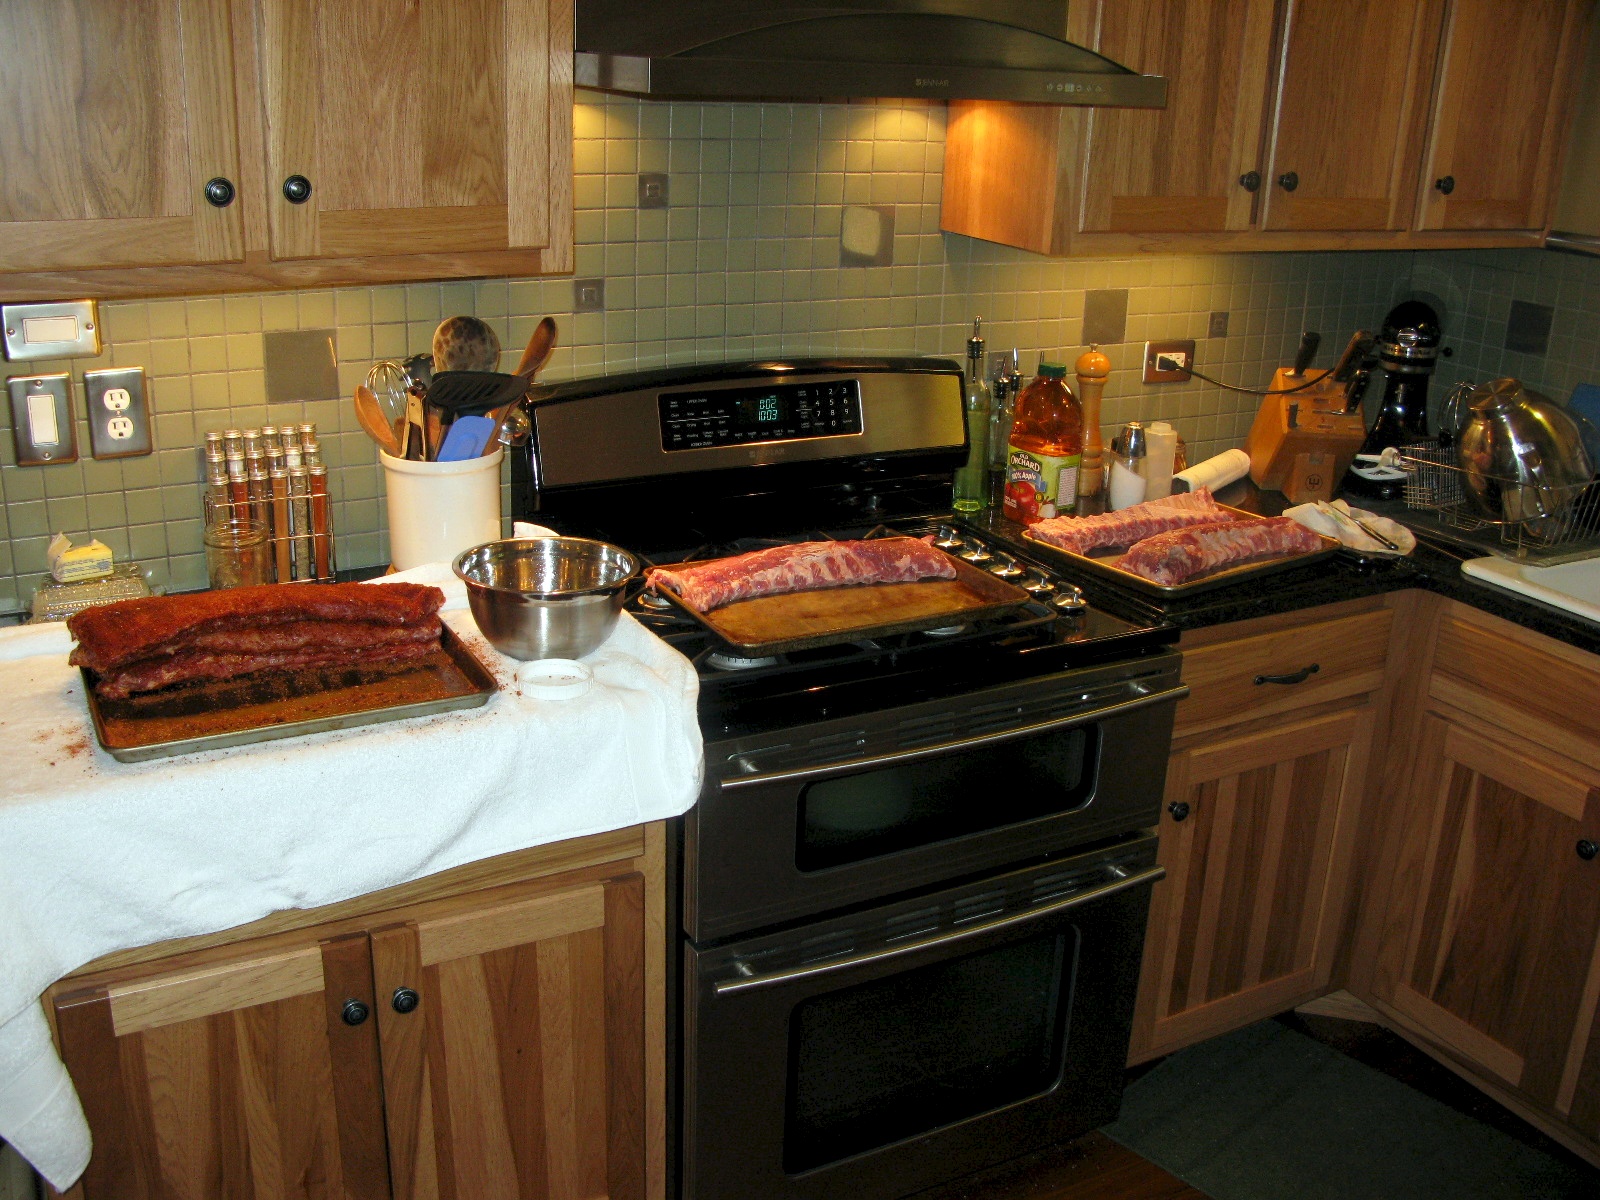
With the membrane removed and the rack of ribs dry, you pack on the rub very generously on each side. I work in an assembly line like fashion with raw ribs on one end and clean rubbed ribs on the other.
When the ribs are all rubbed and you have packed on as much as they will take, you need to put the ribs away (refrigerator) and clean the entire area with a bleach solution. All items used should be cleaned in the same solution, your hands washed and then you can then contemplate smoking.
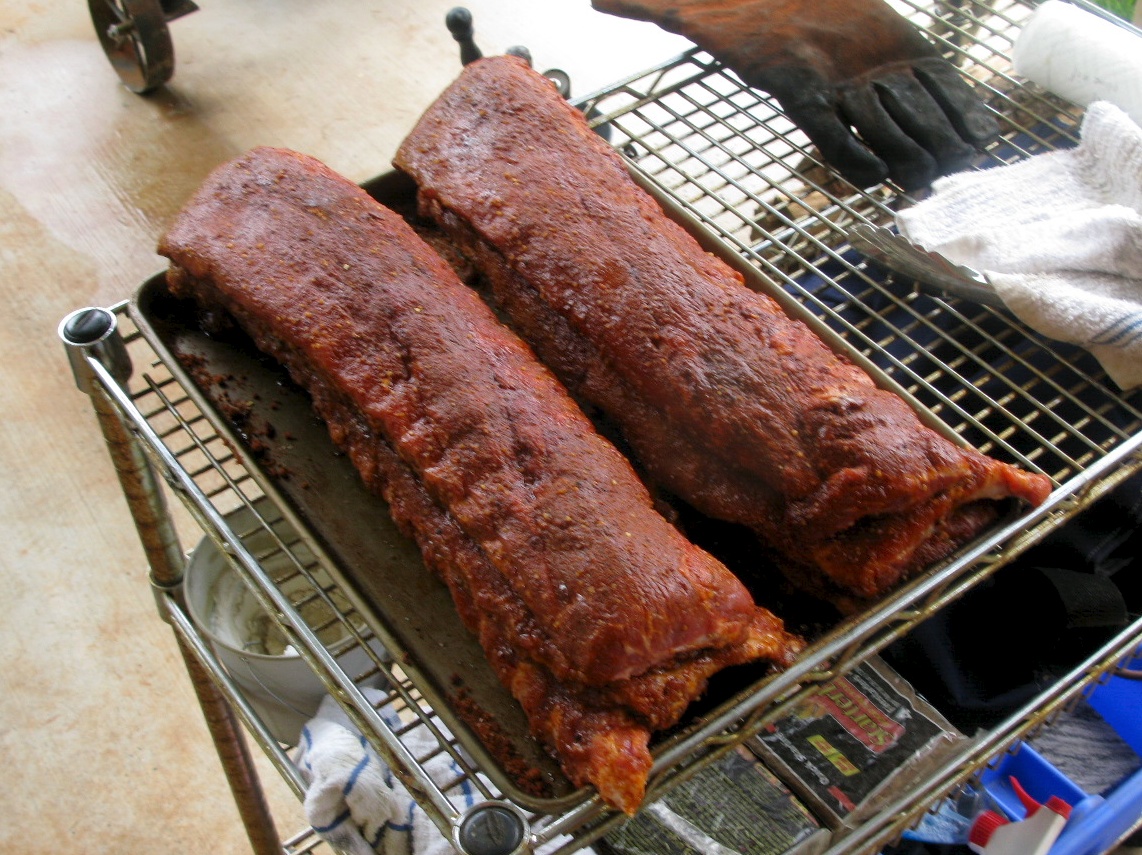
If you are short time, the ribs can sit in the rub for a few hours. If so, fire up the smoker now so it can come up to temperature by the time you are ready. The ribs can also sit overnight with the rub (my favorite if I have time).