


Seasoning Cast Iron:
Cast Iron is the bulldog of the kitchen. It fries, it bakes, it grills, it braises and it just plain lasts. It cooks in the home on the stove, over a fire while camping, on a grill when entertaining in the back yard or atop a gas cooker. It is the original non-stick cookware and it is such a righteous thermal conductor that it out-cooks most high end cookware in the area of even slow heat. There are typically no hot spots as it conducts heat like a 1970’s Cadillac Eldorado eats the road. Slowly, completely and with style.
That is not to say that it is without problems. If left untended or cared for improperly, it will bite you. It will turn into a sticking, complaining and often rusting angry kitchen accessory. So how do you care for it?
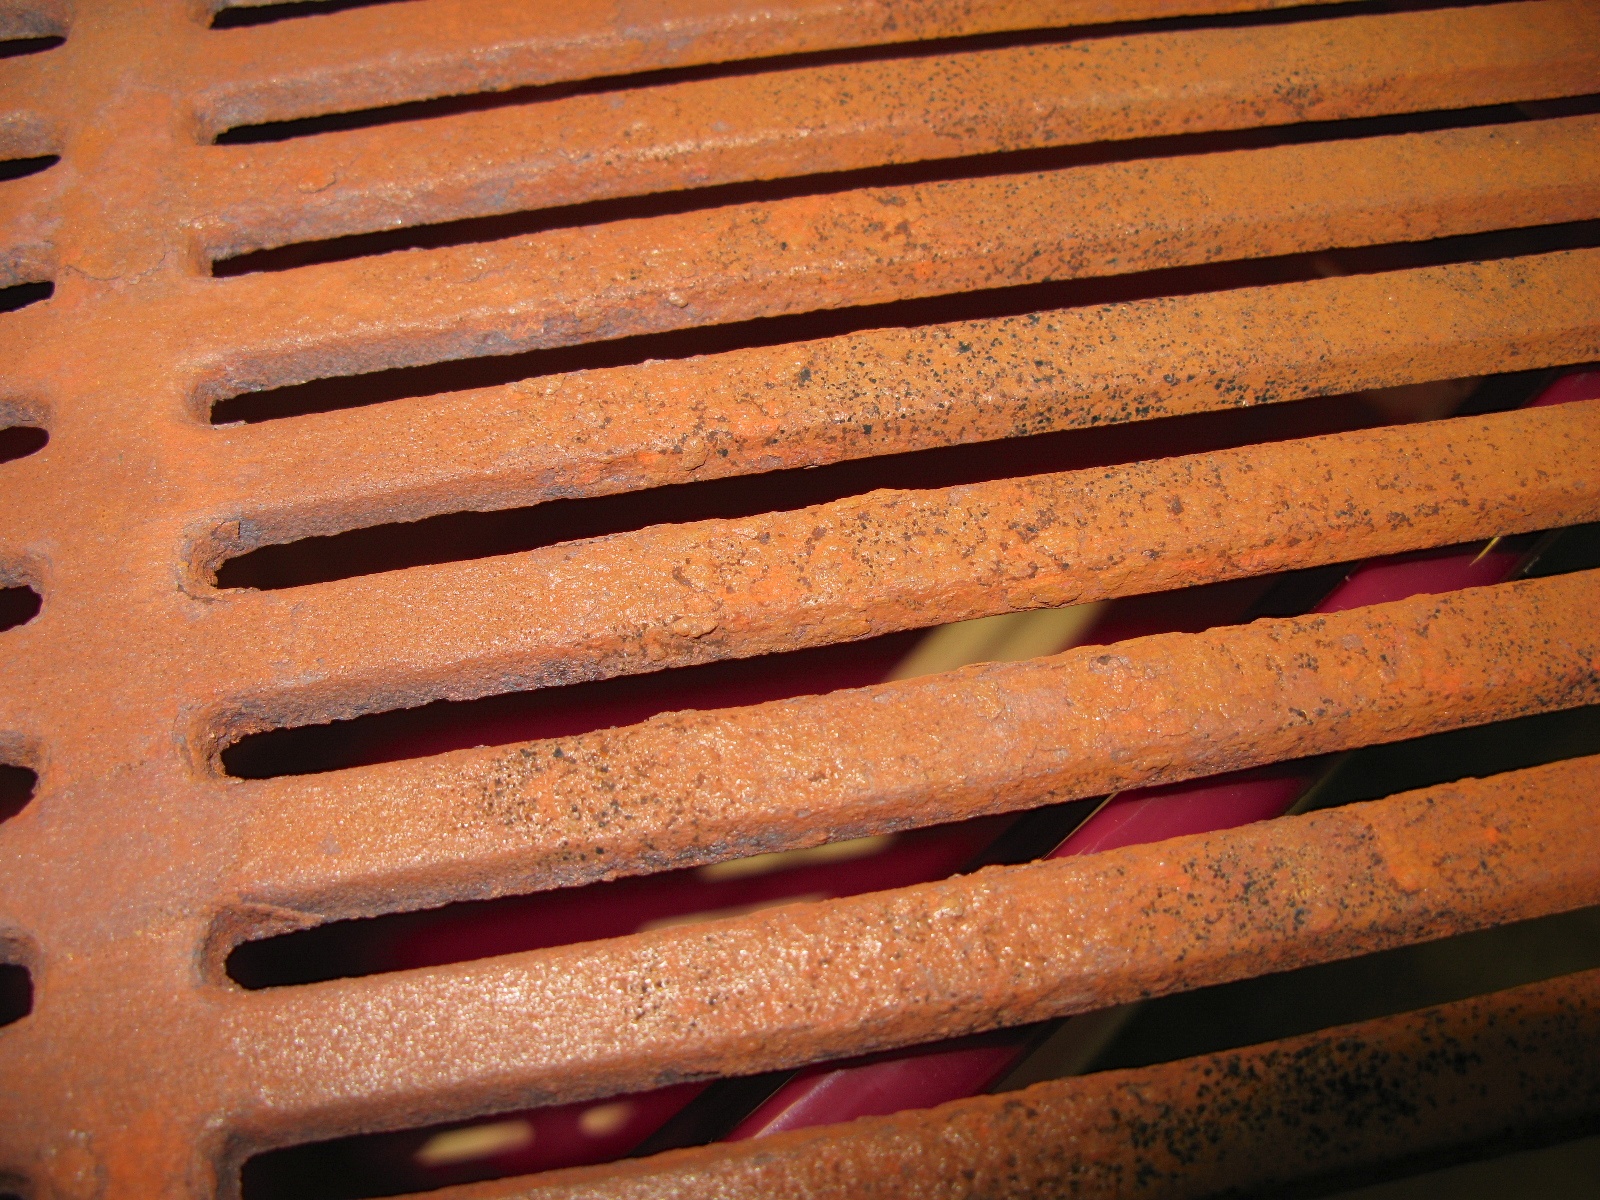
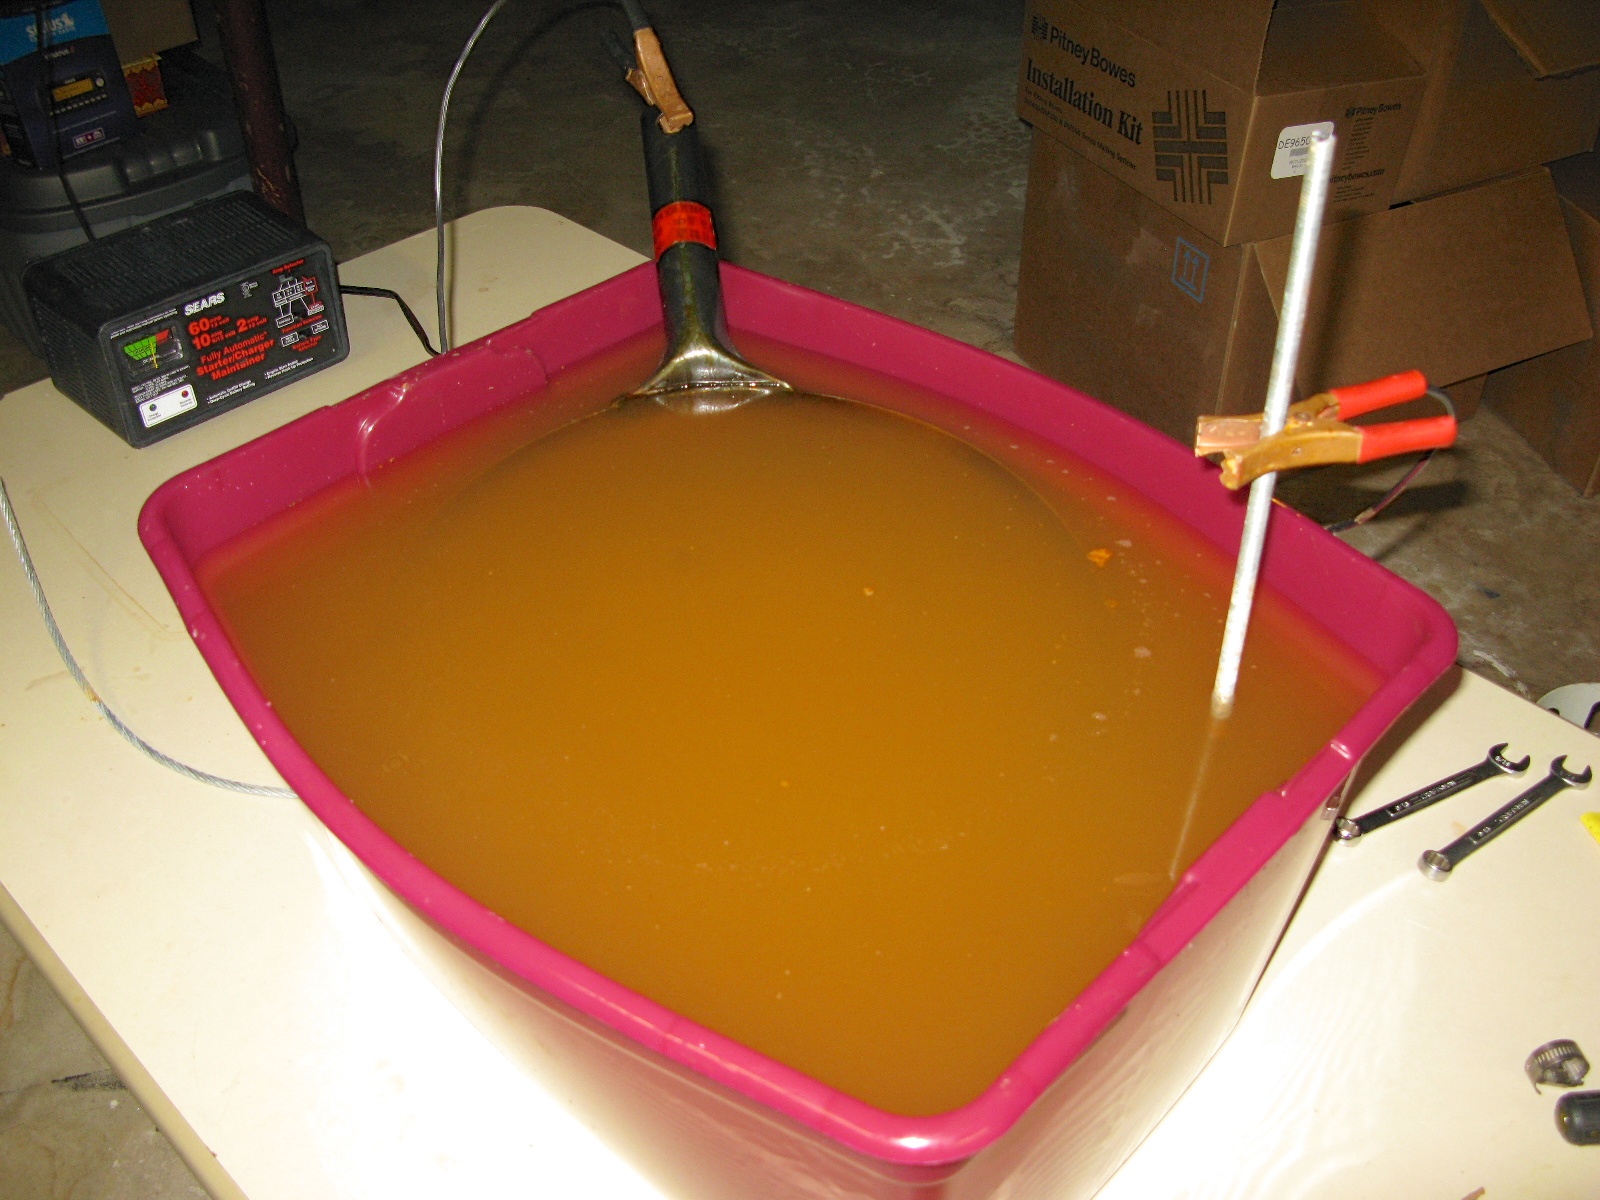
We have covered how to clean Cast Iron (and steel) cookware and de-rust it with either Electrolysis or Vinegar. In each case the Cast Iron (or any metal really) is left pretty naked and if you intend to use it, it has to be seasoned. In the case of other metal, you need to paint it or otherwise refinish it in some way.
Now there is a metric ton of stuff on-line about how to season cast iron. Most of it is on target and I have tried a number of methods. The truth is you can’t actually season cast iron. Seasoning is the process of building up a layer of thick polymerized fat over years of use. You can’t do that overnight.
What you can do is jump start the seasoning process so that a piece of cookware will have a good chance of taking on that life long service that cast iron is known for. To jump start the process you are going to put a thin layer of fat on the cookware in question and burn it. That is pretty simple. How you do it is what gets results that are either good or mediocre.
Choice of Fat:
The first item to get out of the gate is what fat/oil to use. Many people swear by many different products. Some use Crisco, some lard and Sheryl Canter recommends Flaxseed oil. If you look at the various recommendations you start to realize that what makes a good seasoning oil is an oil that burns easily and gets hard. What distinguishes the way different oils burn and polymerize?
Dr. Buce Fife (aka Dr. Coconut) states:
“The higher the iodine value, the less stable the oil and the more vulnerable it is to oxidation and free radical production. High iodine value oils are prone to oxidation and polymerization. During heating, such as when used in cooking, oils with a high iodine value readily oxidize and polymerize. Polymerization is an irreversible process which causes the fatty acids to become hard, insoluble, plastic-like solids.”
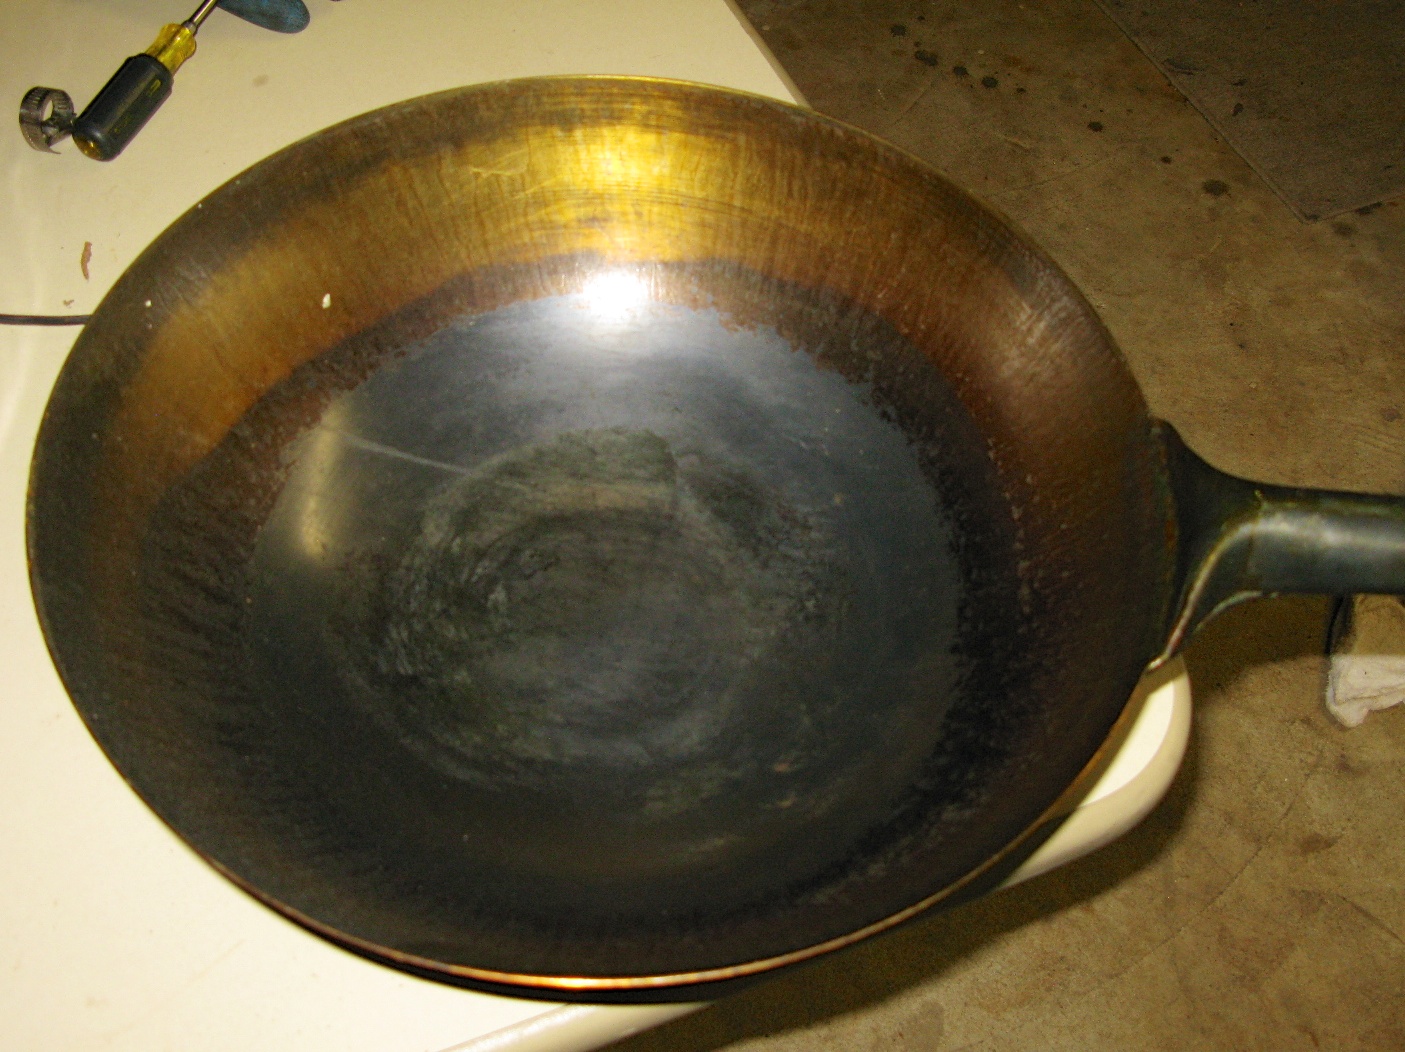
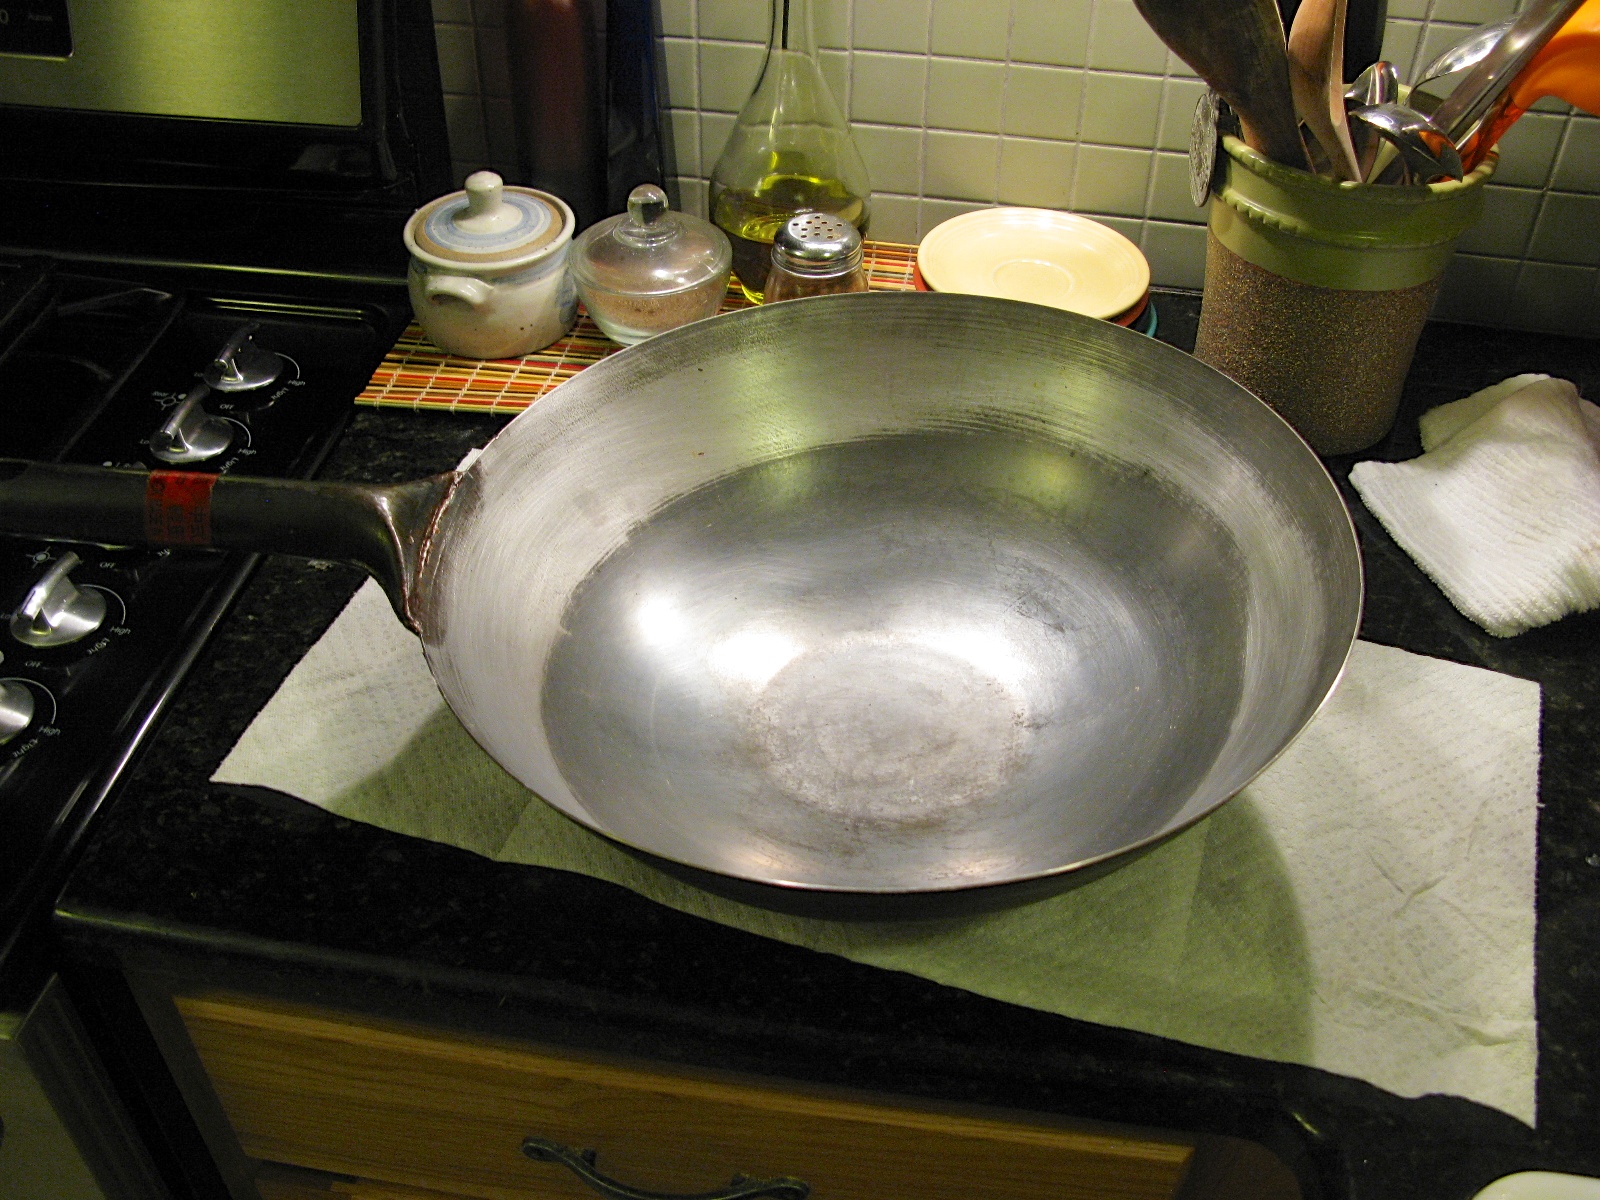
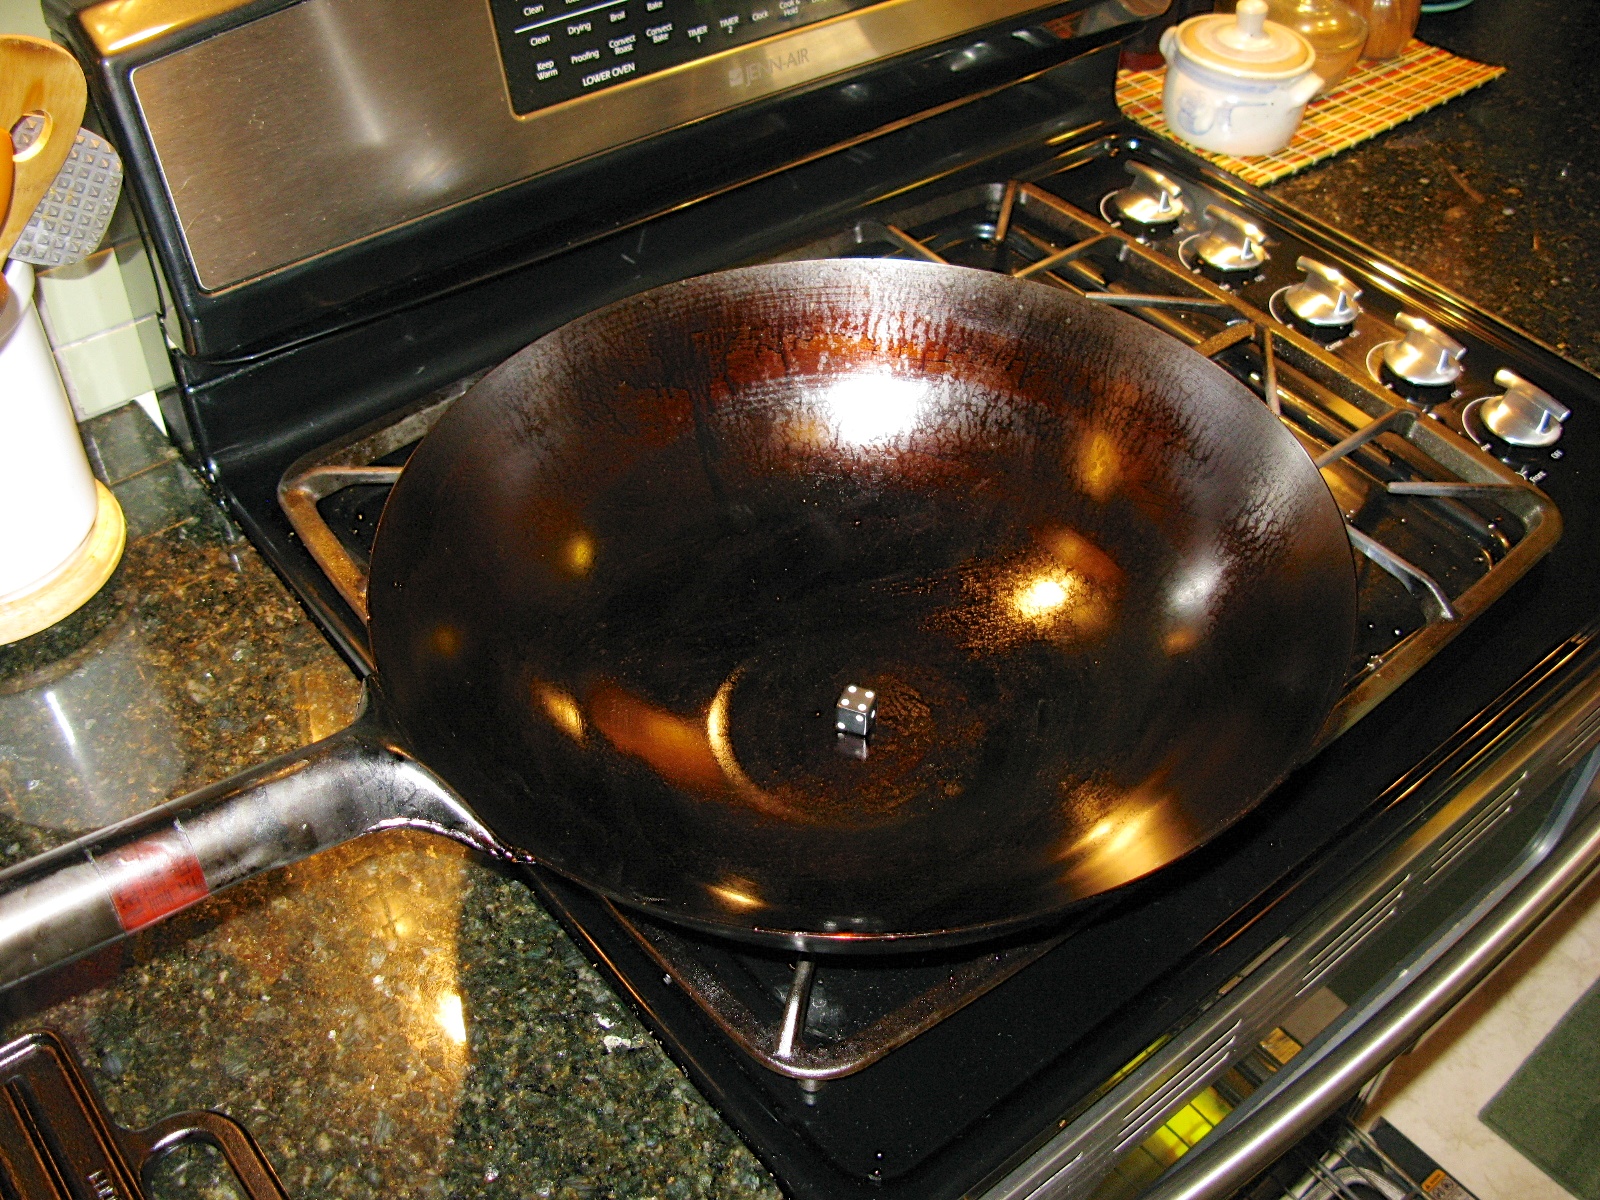
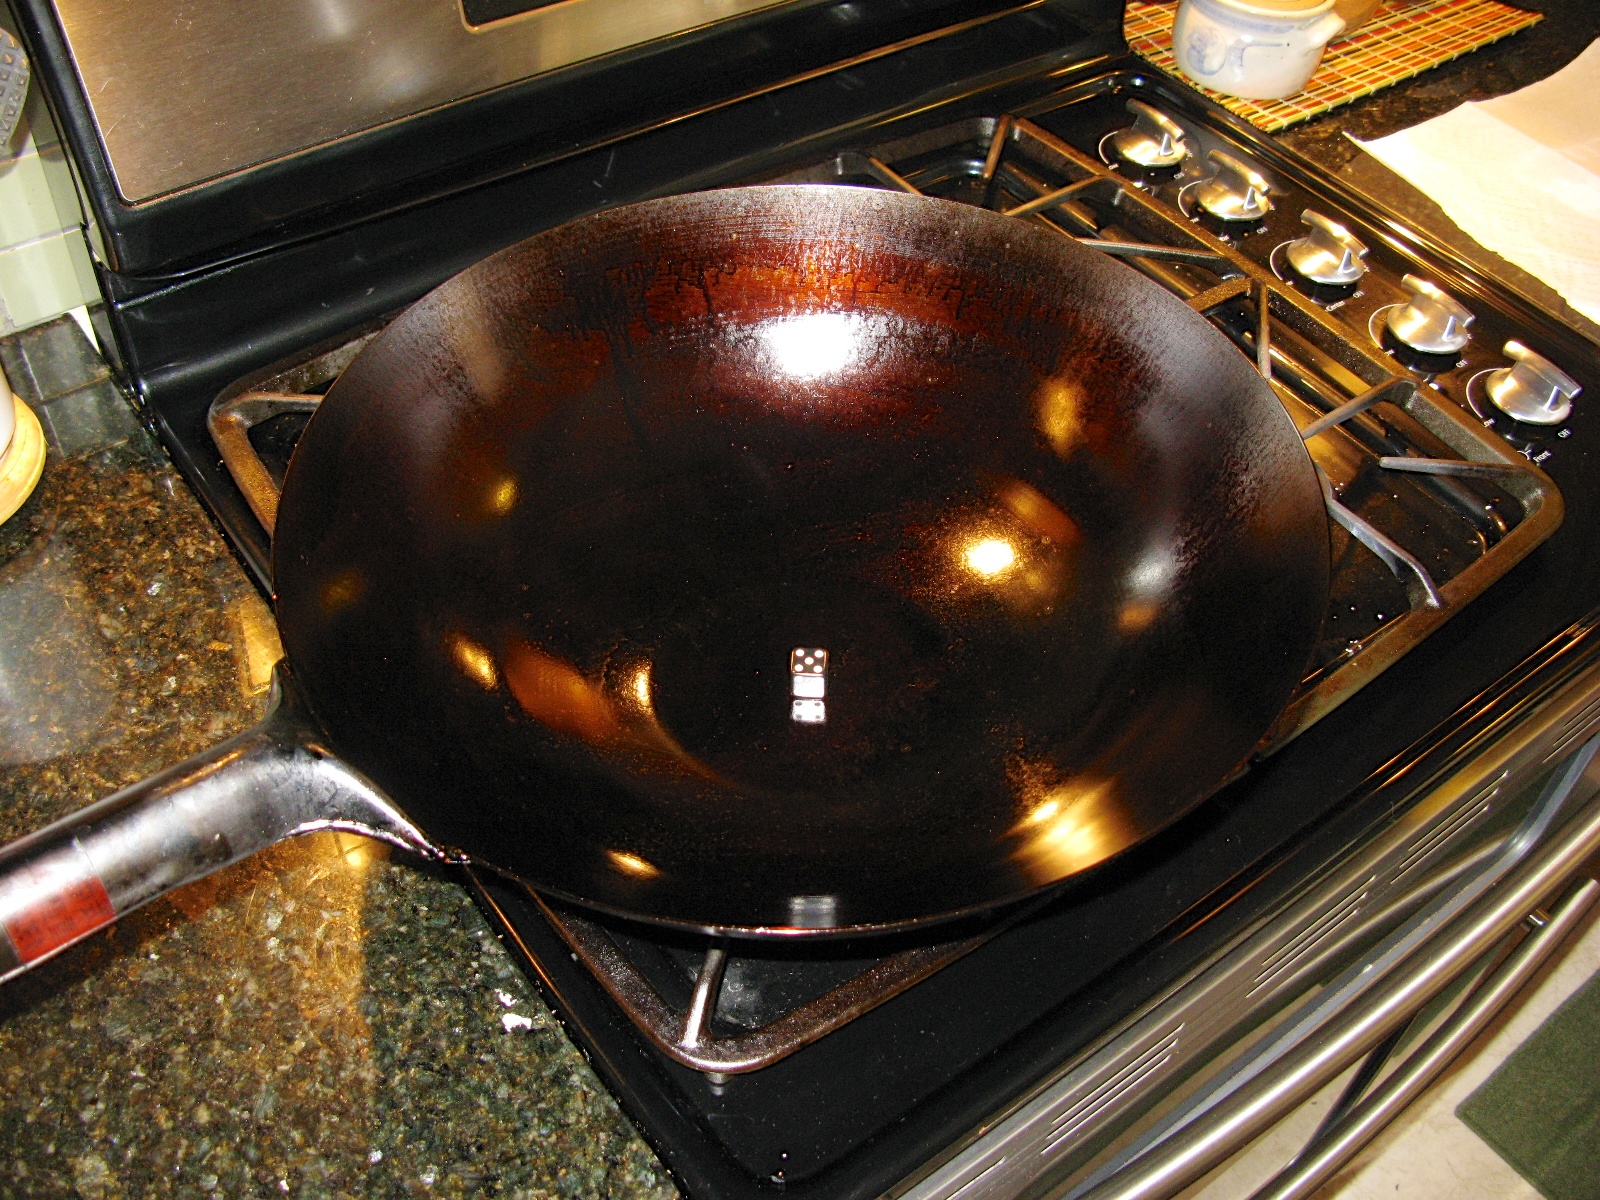
A plastic like solid is what we are after! So, the simple reality is that if you use an oil with a low iodine value you will not get a solid polymerization of the oil. You may have seen this in cookware seasoned with coconut oil or palm oil where instead of a black layer you get a brown layer. This is rather sticky and never really performs the task it was intended for. See the images of the wok for an example of a poor choice of oil when seasoning (it was initially seasoned with Crisco, which now contains a lot of palm oil – which is why “old timers” think Crisco is a good seasoning oil because it used to be, but is no longer due to formula changes over the years).
As it turns out there is a readily available oil at your local big box store that is really inexpensive and has a high iodine value. Soybean Oil. It is sold often as “Vegetable Oil”, but if you pull the jug down and give the label a look, you should see that it is 100% soybean oil. So, for the images and steps outlined here, I am using plain old cheap soybean oil.
UPDATE: My most recent round of seasoning used Flaxseed oil and wow…it makes a hard durable finish.
Seasoning Method:
The objective is to build up a layer of polymerized fat on the cookware that is thick enough to withstand abuse and allow the pan to take on additional polymerized fat as time goes on. How do you do it? Well, in many ways it is like painting a car the old fashioned way with laquer or finishing a nice piece of furniture. The key lies in many coats or layers.
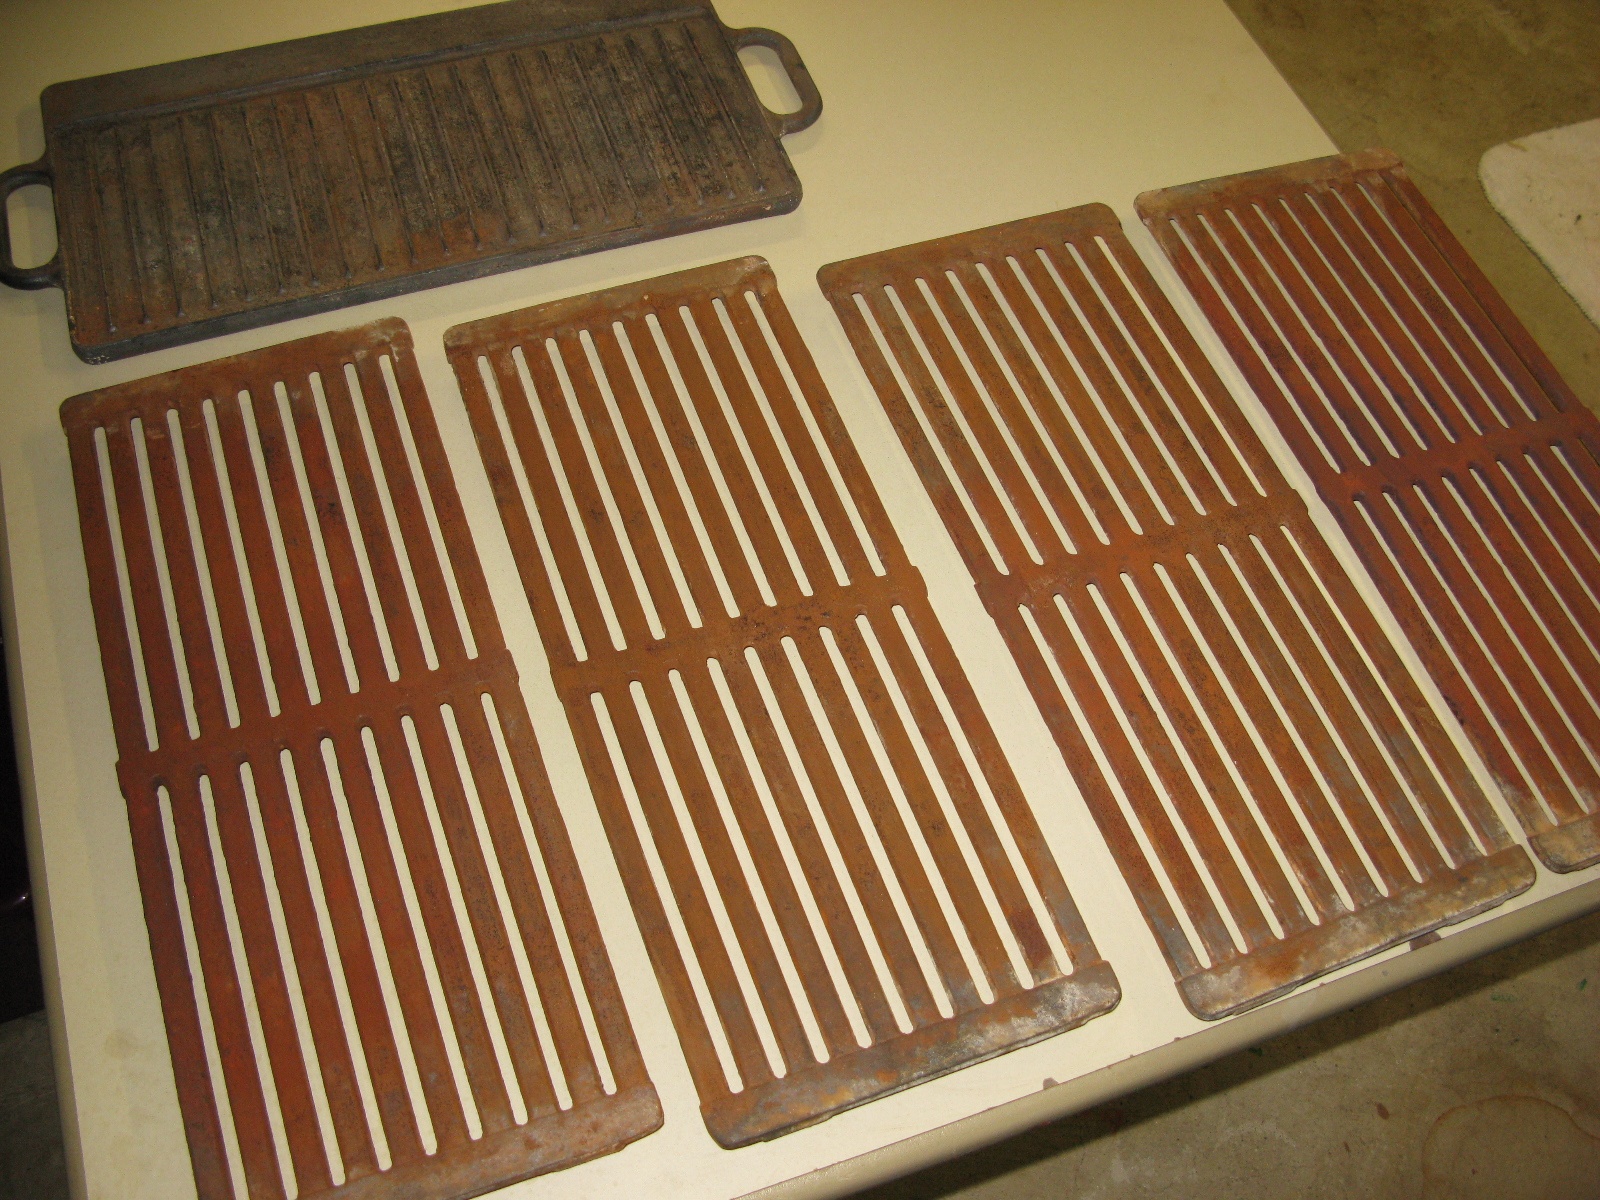
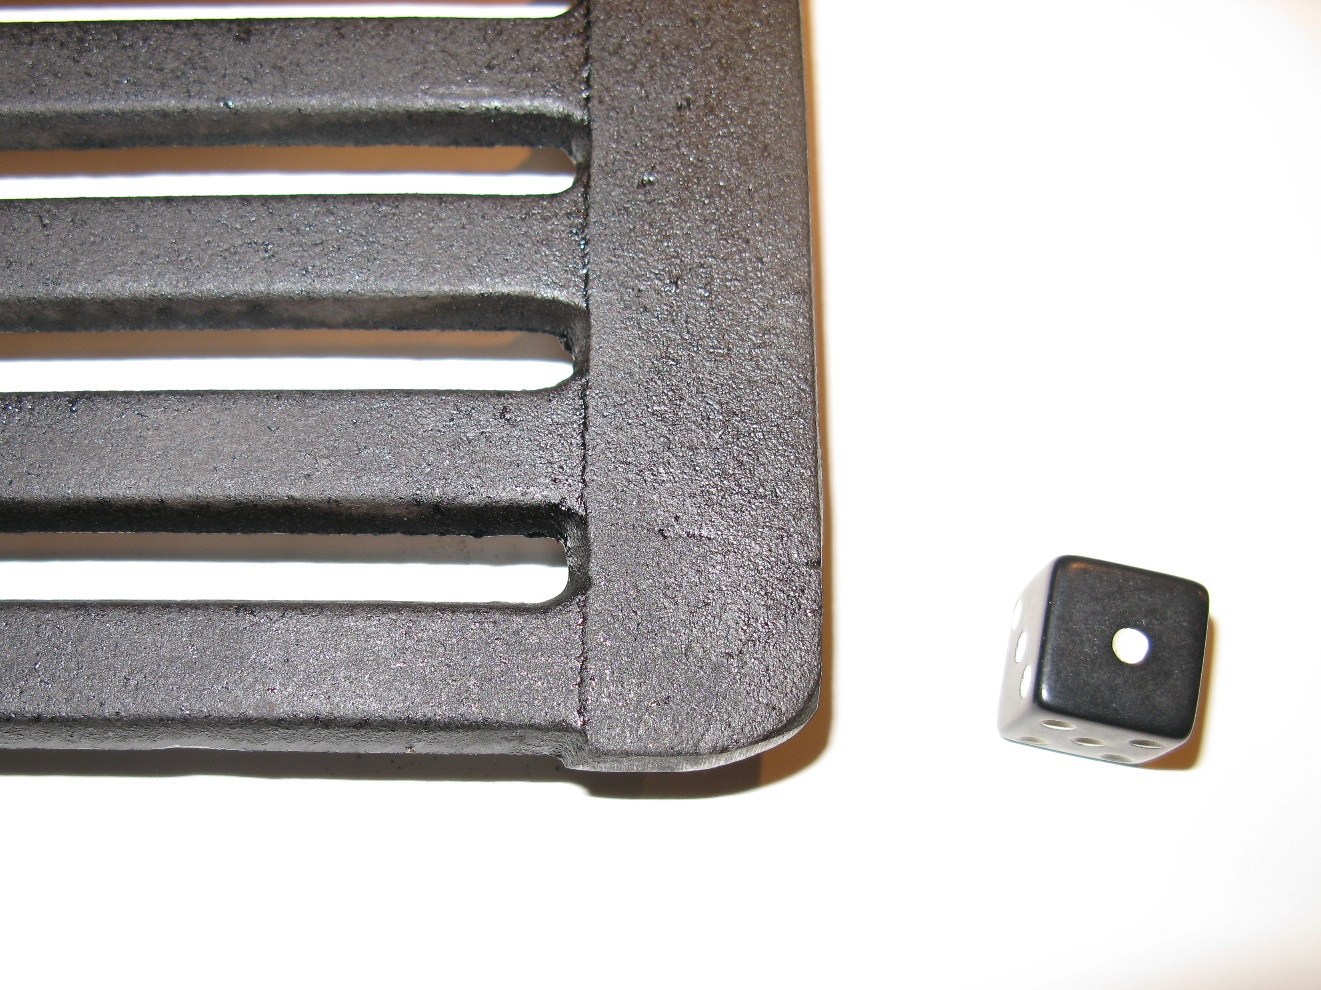
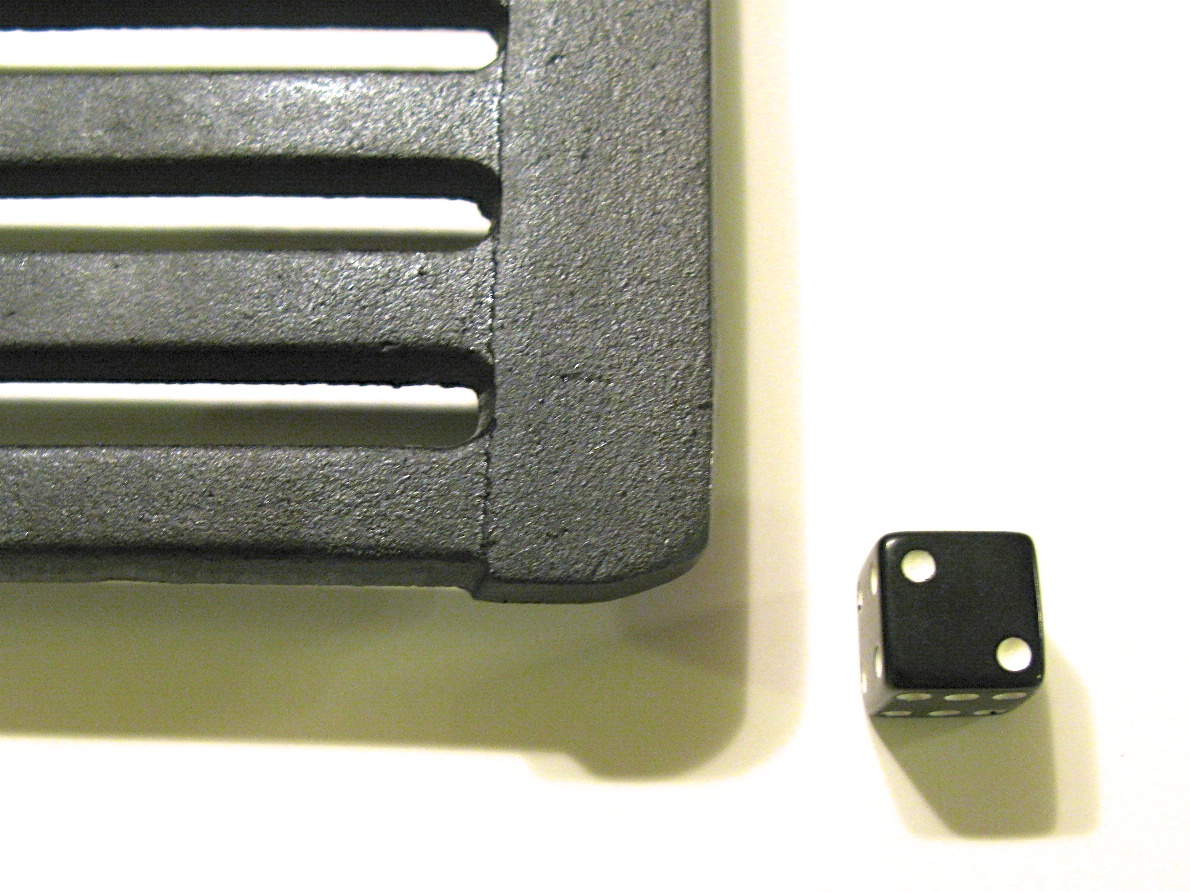
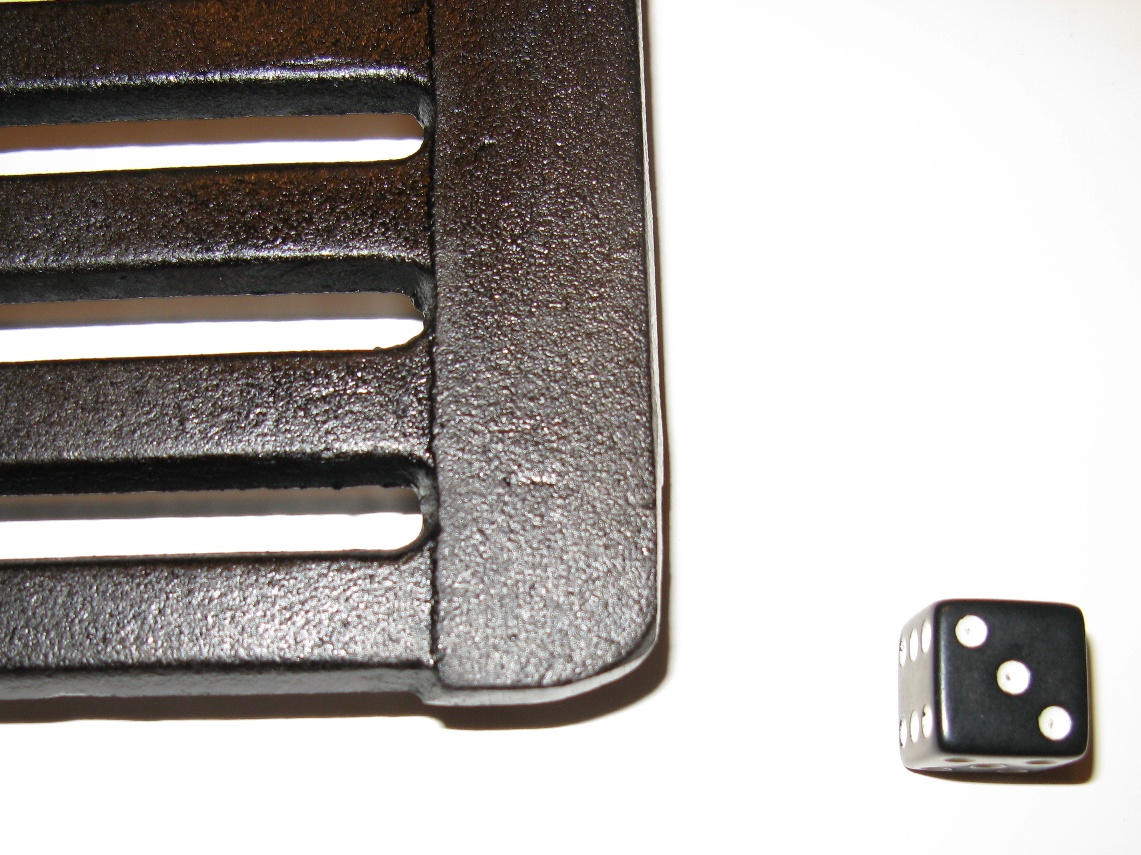
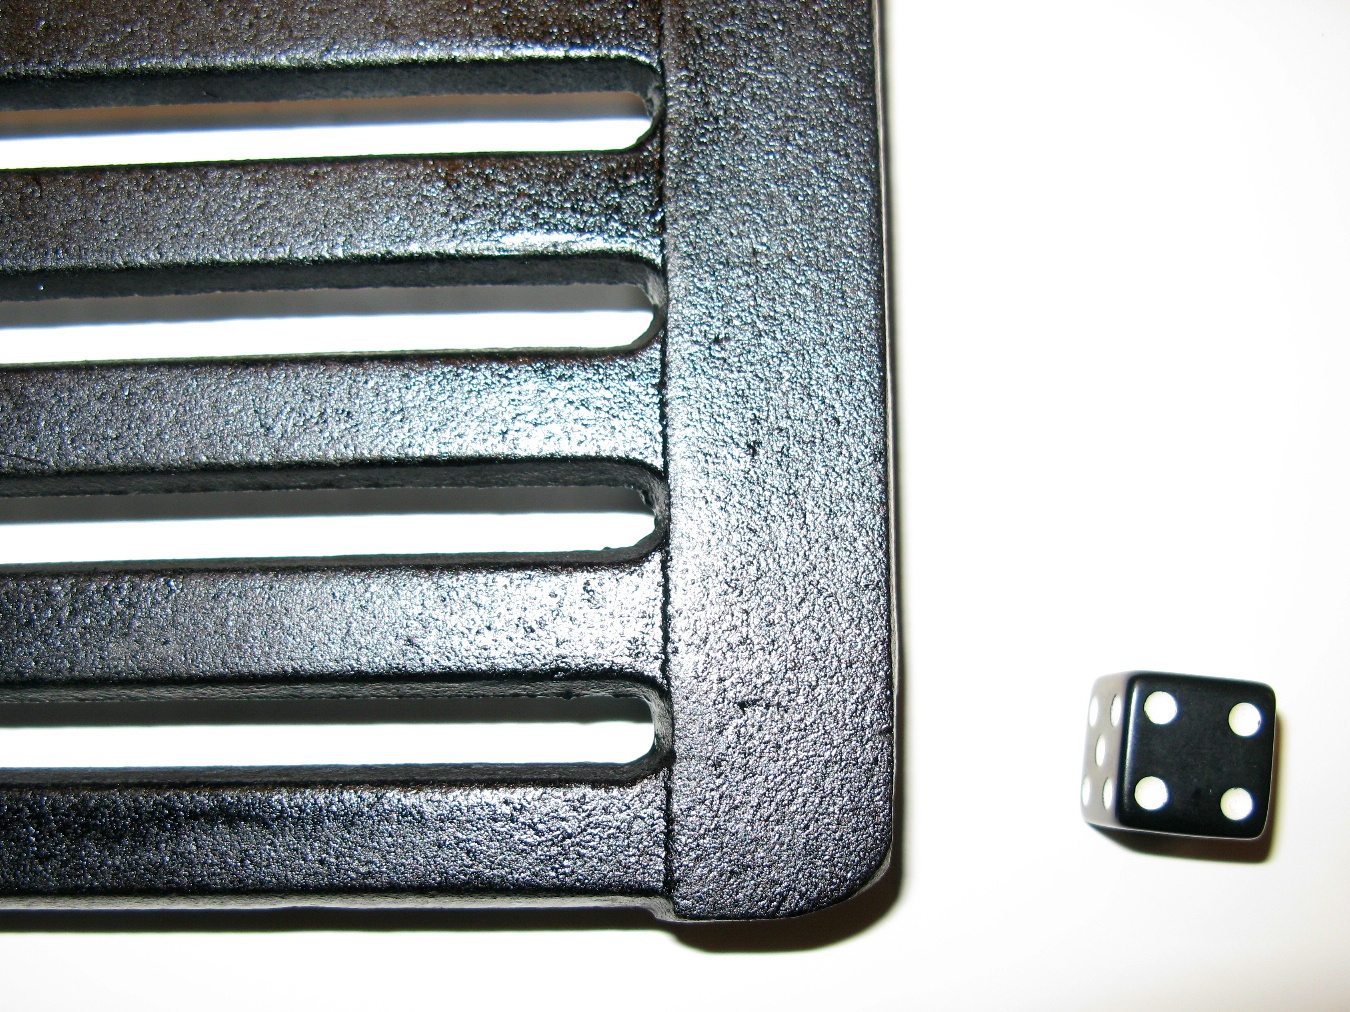
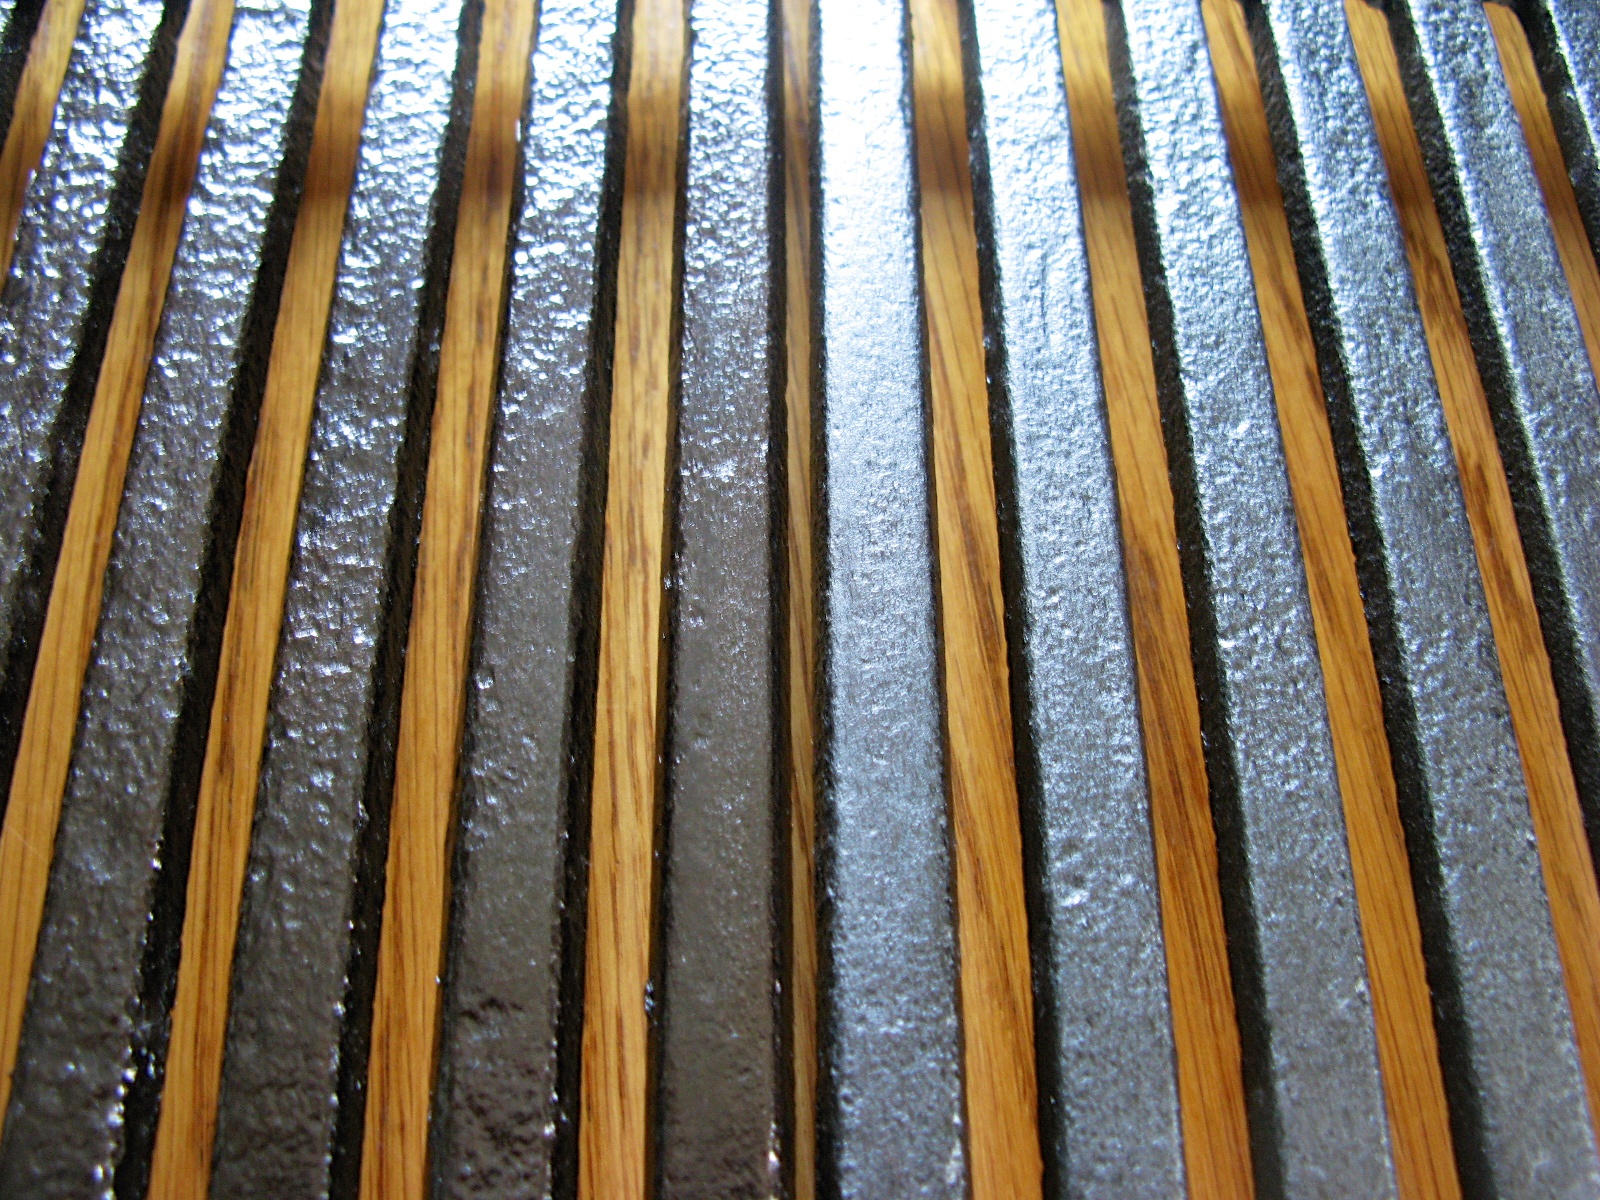
If you tried to put enough oil on a piece of cast iron to build up the layer all at once, you would have a mess. This is the real failure of most of the methods given out on-line regarding seasoning. You really have build up a few layers. Ms. Canter mentioned above recommends six. I say three at a minimum and as many as you want if you have time. See the images for a comparison of what each layer looks like after it is applied. For the grill grates used in this post I used six as they are exposed to very high heat and I wanted a durable surface.
To apply a single layer of polymerized fat, do the following:
- Start with bone dry cookware, as mentioned in the cleaning section you need cookware without a trace of water
- Using a basting brush, apply the lightest layer of Soybean Oil you can to your cookware
- With a fresh paper towel, wipe off as much as you can, so that the piece is dry of most oil, but still has an oily feel to it.
- Place it in a cold oven and set the over for 500 degrees Fahrenheit
- When the oven is at 500 degrees Fahrenheit, set a timer and allow the cookware to bake for one hour
- At the end of the hour, turn off the oven and leave the cookware in the oven as the oven cools on its own – my oven is pretty well insulated, so this takes up to four hours
Repeat this at least three times, but preferable more. You will know you are done when the item is pitch black and has a glossy feel to it. I have noticed that you get to gloss faster on iron that has been brushed with a wire wheel or wire brush or gone over with a finishing pad or 3M kitchen pad. See the comparison image for more detail.
Some things to keep in mind: There will be some smoke when you do this. The smoke should start around 400 and will continue until all the fat has been burned. If you do not have a real exhaust hood (one that blows the air outside rather than simply recirculates it through a filter), then you need to open a window and use a fan to make an exhaust system. I say “some” as you will not get a large volume of smoke if you use thin layers.
Here are two hints: Electricity is expensive and this process can be smelly and heat up your home. Do as much at one time as you can. When I am seasoning cast iron, I arrange the oven racks such that I can fit in four or five items. If you only have one item, then there is no issue, but I have three dutch ovens, two large fry pans, an indoor grill and cast iron grill grates on my outdoor grill. Also, the “pre seasoning” you can get on some cookware today is junk. Lodge has gotten better with their pre-seasoning as they have revised their formula. The first thing I do is strip it and then season it myself.
Using Cast Iron:
Now that your iron army of kitchen mastery is in pristine shape, how do you keep it that way?
After each use, use kosher salt to scrub out any stuck bits, reheat the empty pan on the stove and re-oil with Soybean Oil or whatever you have, wipe dry and store when it cools.
When using it don’t over heat it, don’t use metal utensils if possible and don’t wash it with harsh detergents. Some people say that you should never wash it in water. Well that is at times just impossible. 90% of the time I can wipe mine out and clean it with salt, but occasionally (especially the wok) you need to wash it.
When to Re-Season:
If you find that things stick to your cast iron cookware, you may have lost your coat of polymerized fat, either through cleaning with harsh dish detergent, scraping with a metal cooking utensil (I use wood) or over heating the pan. When this happens, it is time to restart the seasoning process. Strip it down as mentioned in the other posts and season away.
If you have a piece of cast iron cookware that sticks or picks up and keep food flavors, that is a good indicator that it was seasoned with a low iodine value oil and needs to be stripped and re-seasoned. One of my dutch ovens had an off flavor for the longest time (the one curry dish I cooked in it!) and stripping and re-seasoning with a real hardening oil solved the issue. This one was another Crisco bomb due to the high palm oil content in the new formula.