
Design
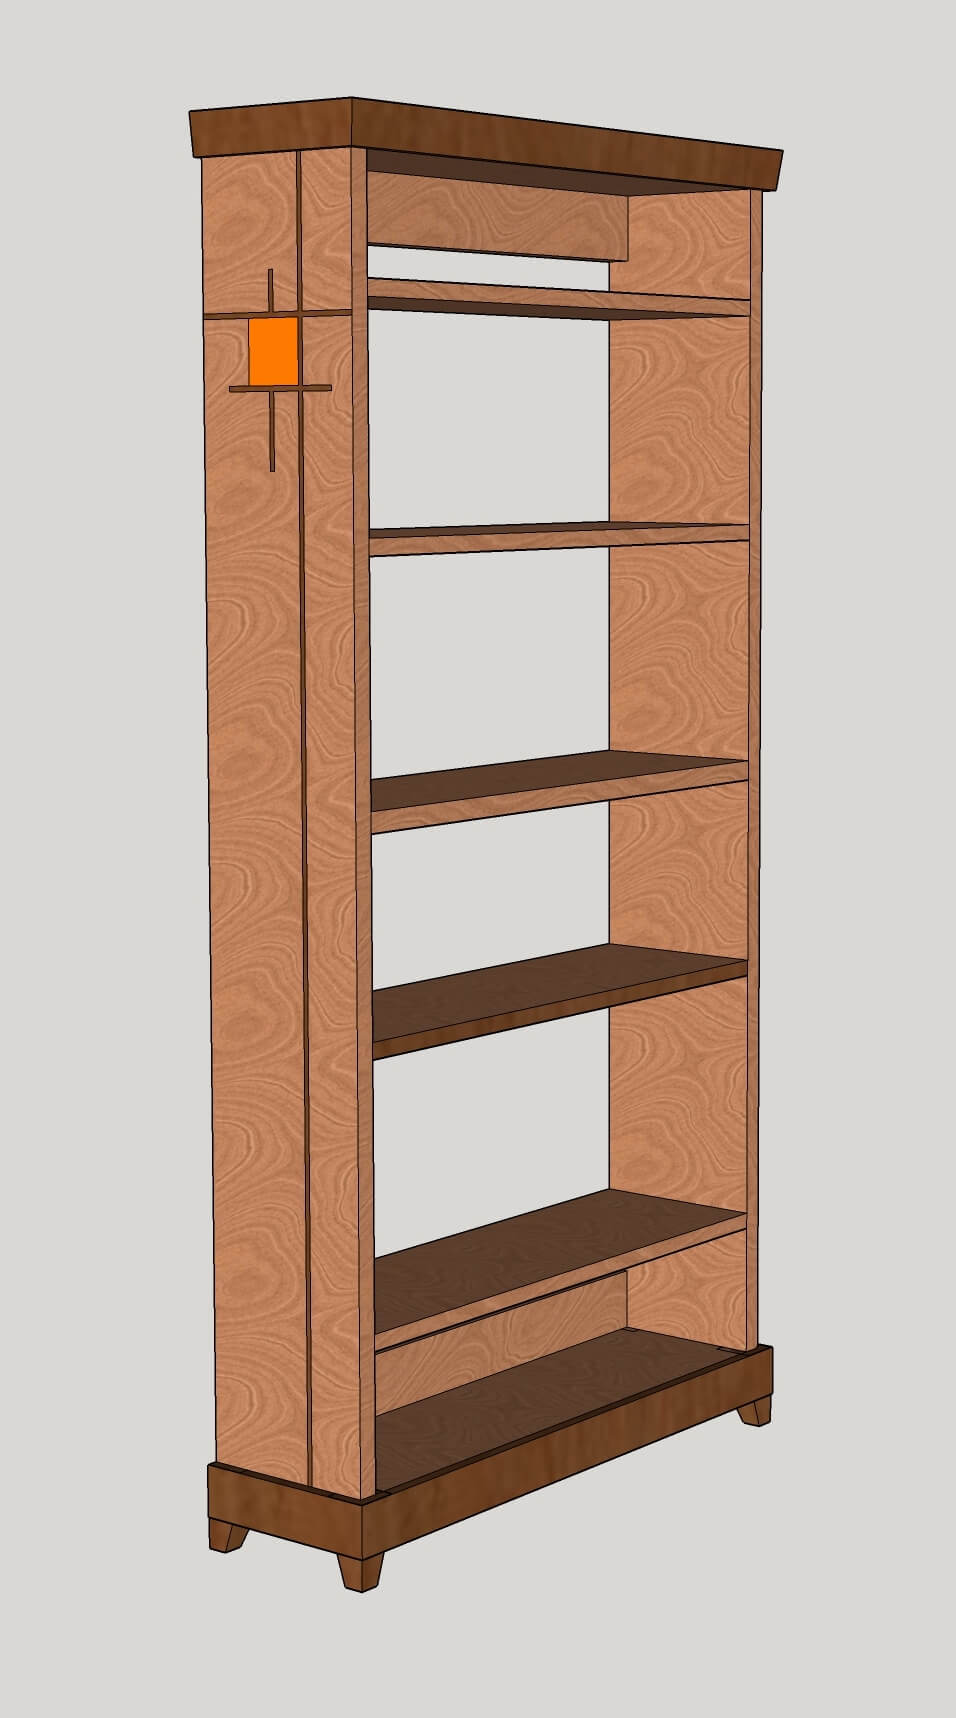
A friend wanted a bookcase and had an aesthetic that was very different than mine. Step one was to come up with a design that was suitable and for this I used simple marquetry to add interest and variety. 90% of what I make is Mission Style or similar so this was a bit of a departure.
Wood
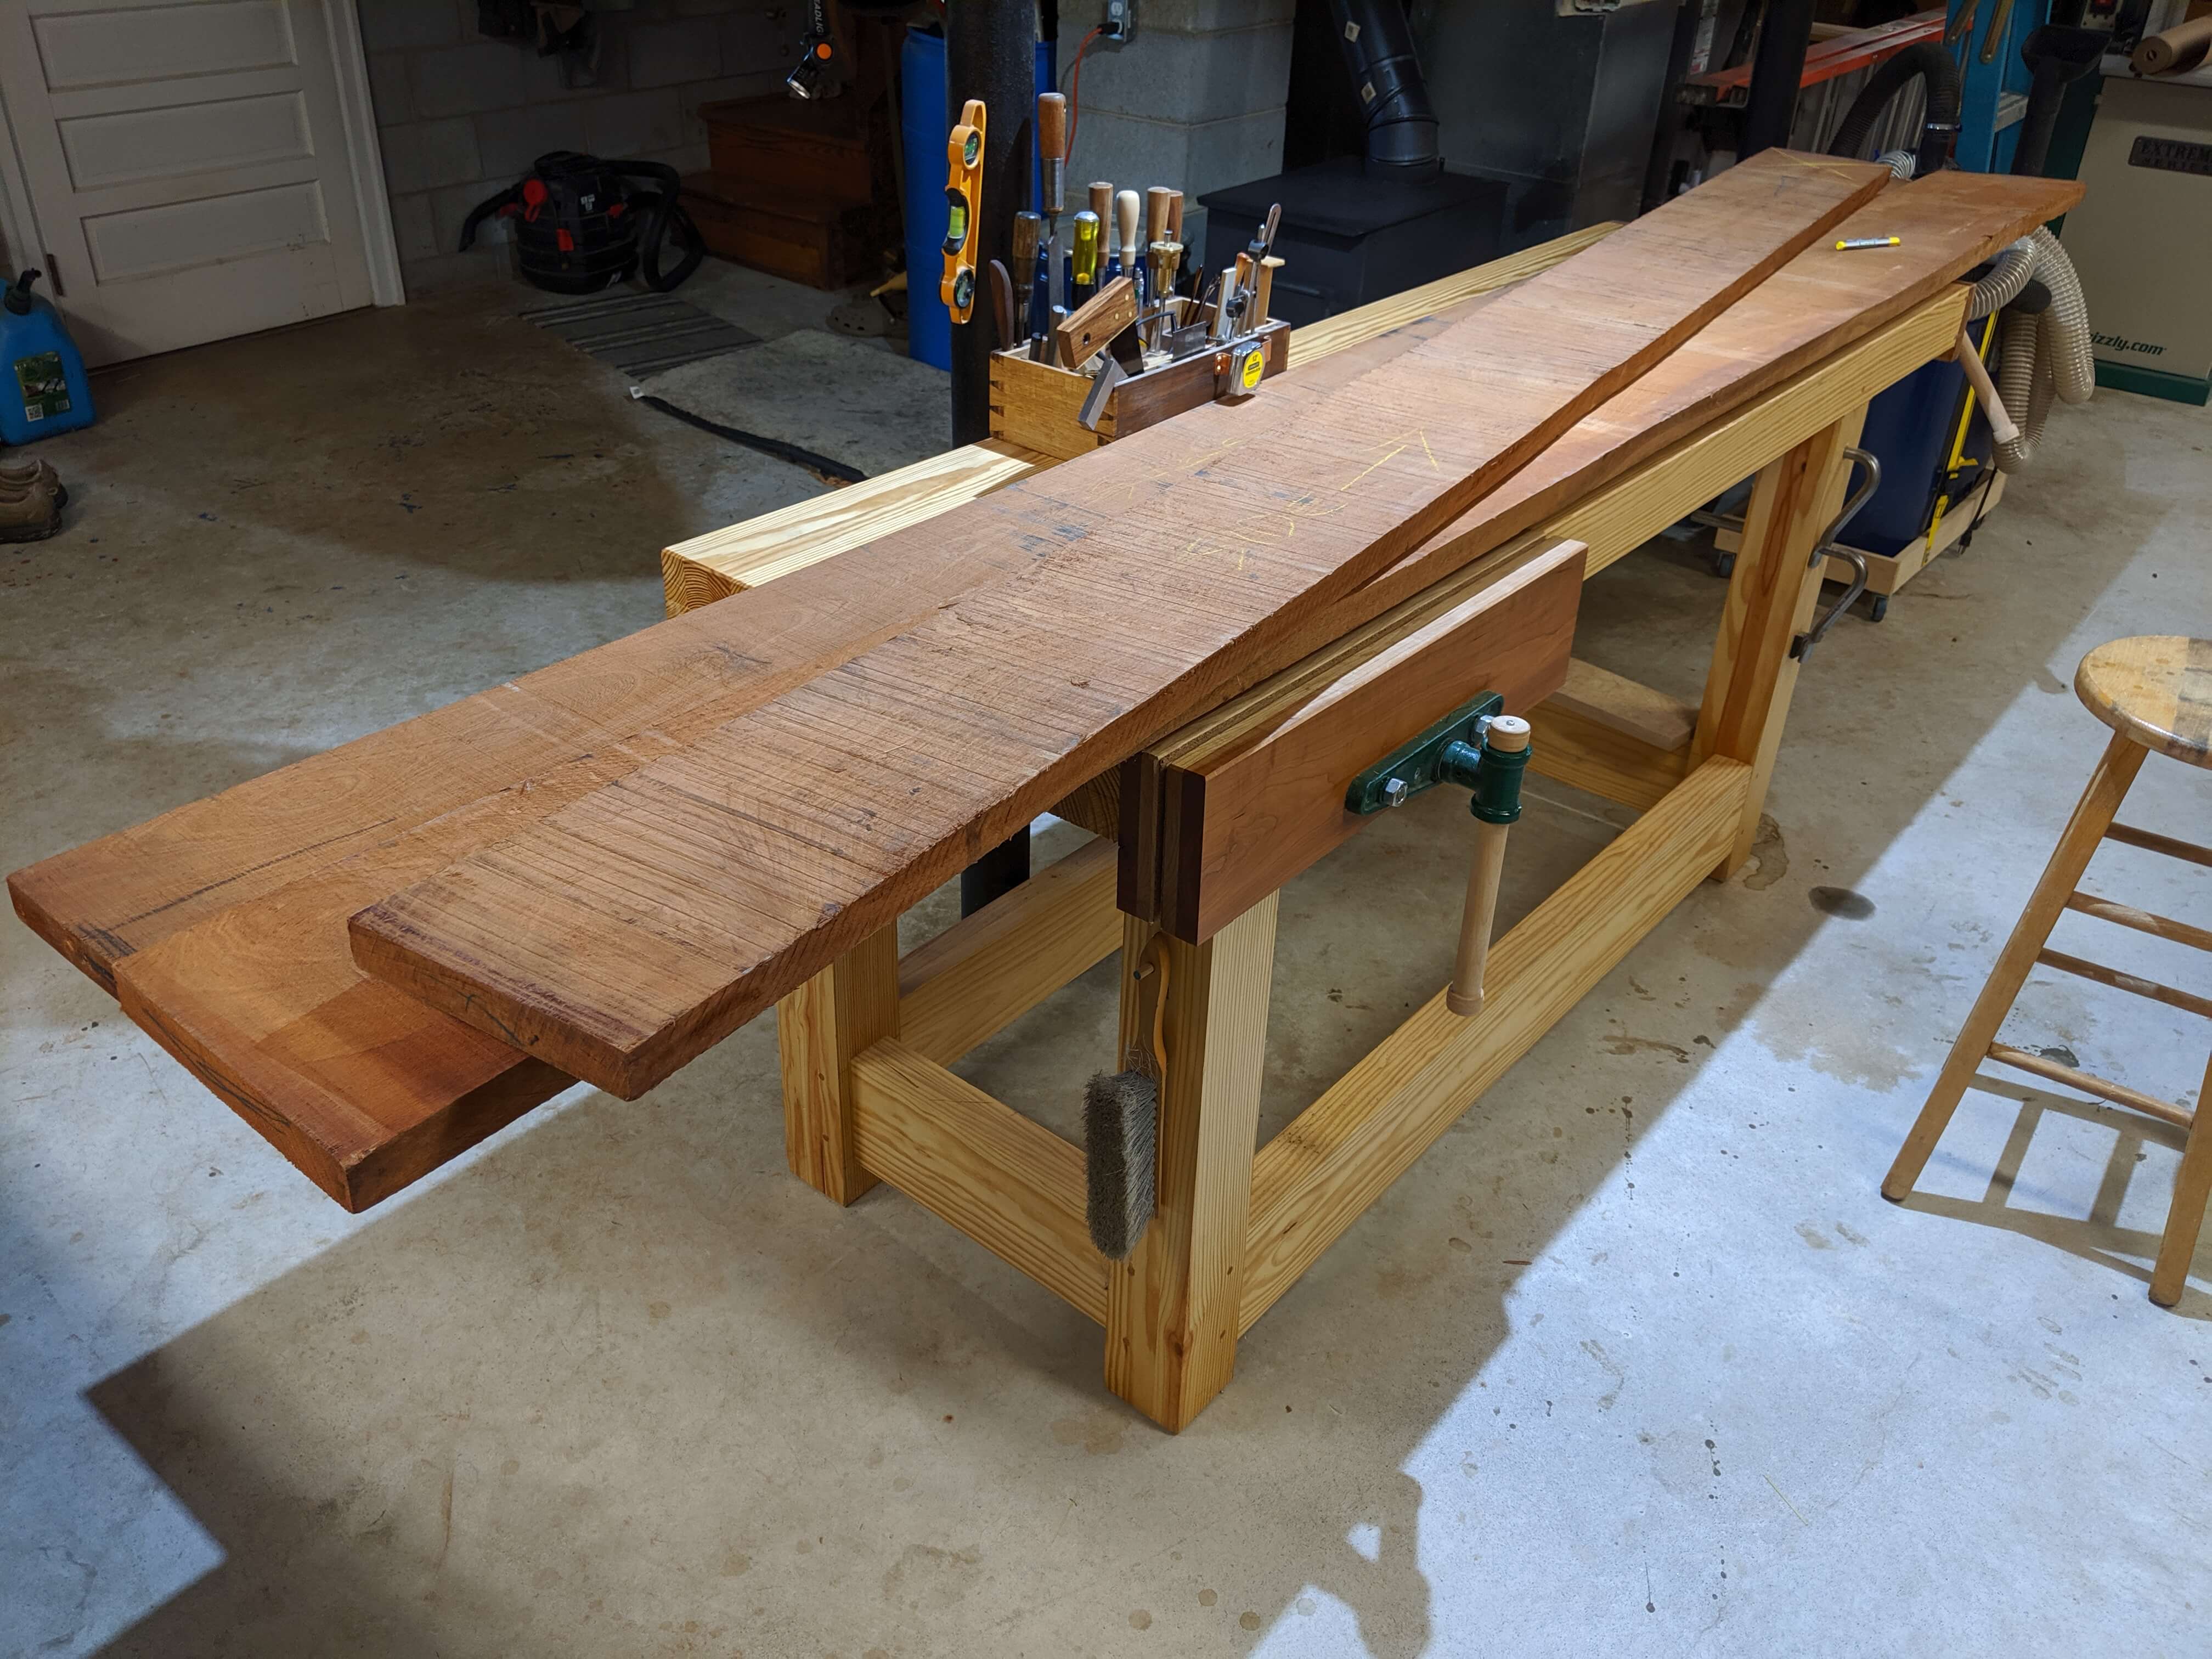
To get started, a fresh load of Sepele was obtained from the lumber yard. This was fairly good 5 to 6 quarter stock.
Milling was standard, after cutting chunks to finished length plus a inch. Blanks were cut for two sides, a top and bottom, four shelves and three stiffeners.
Case
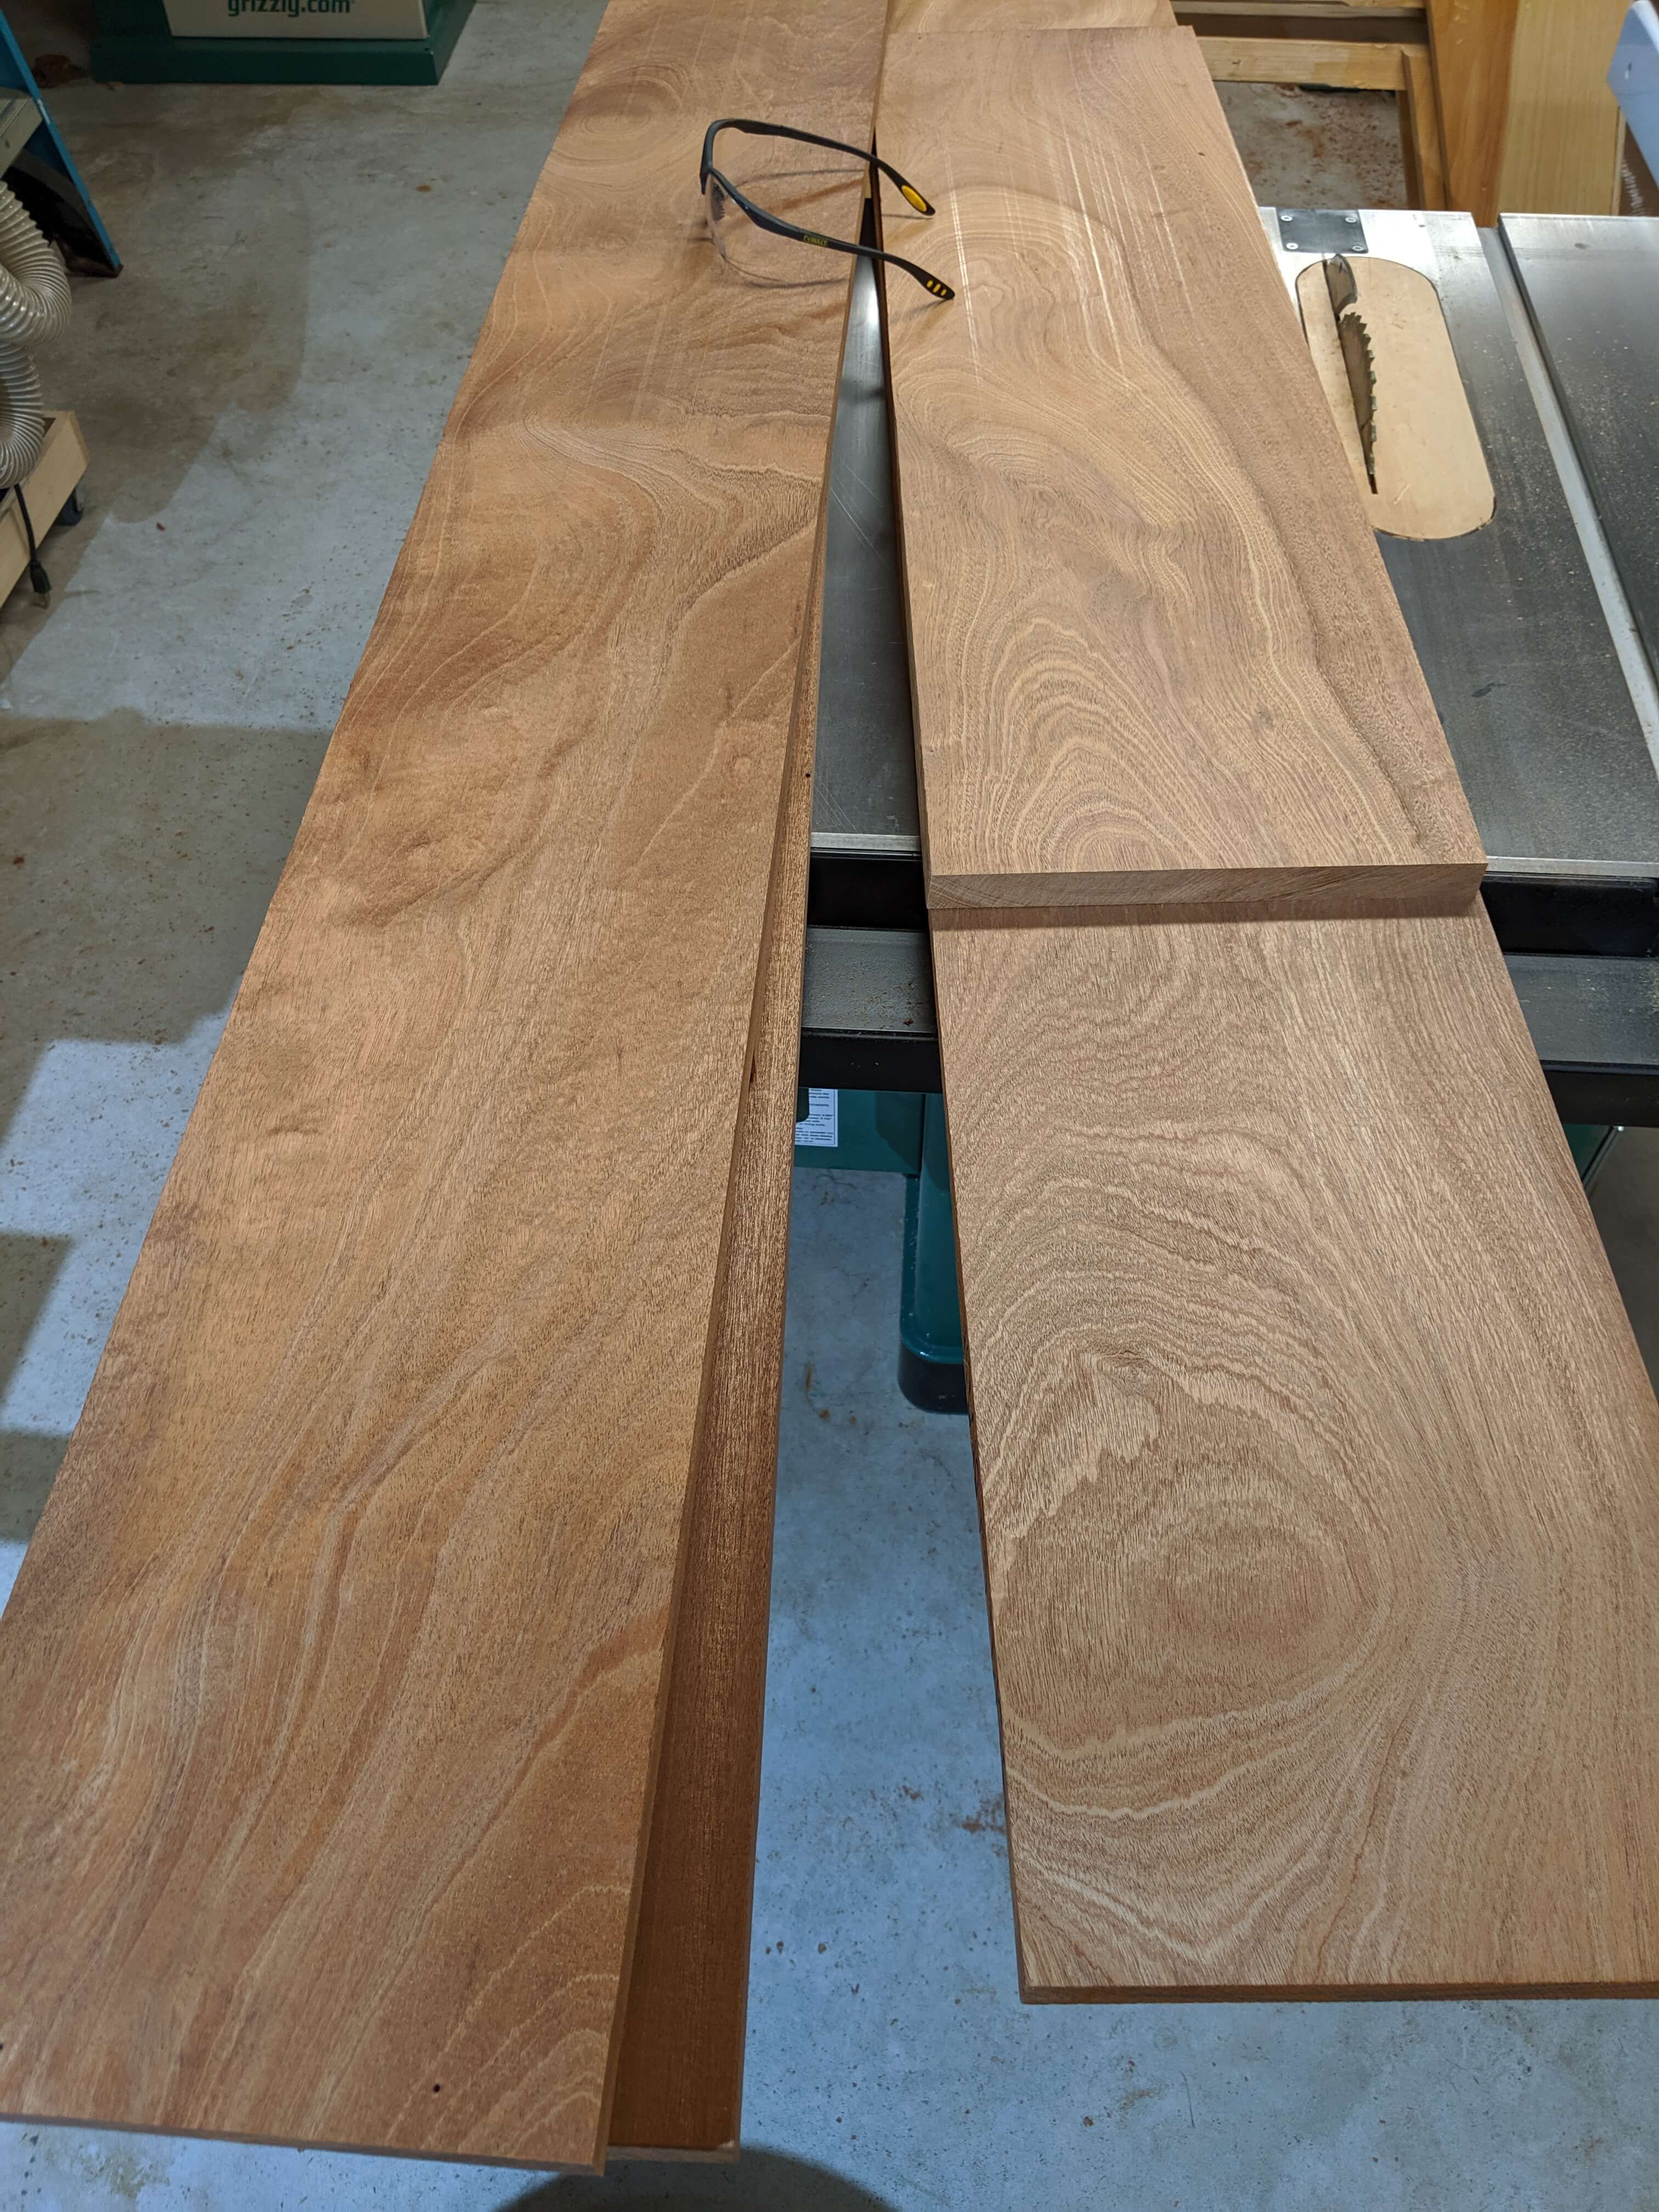
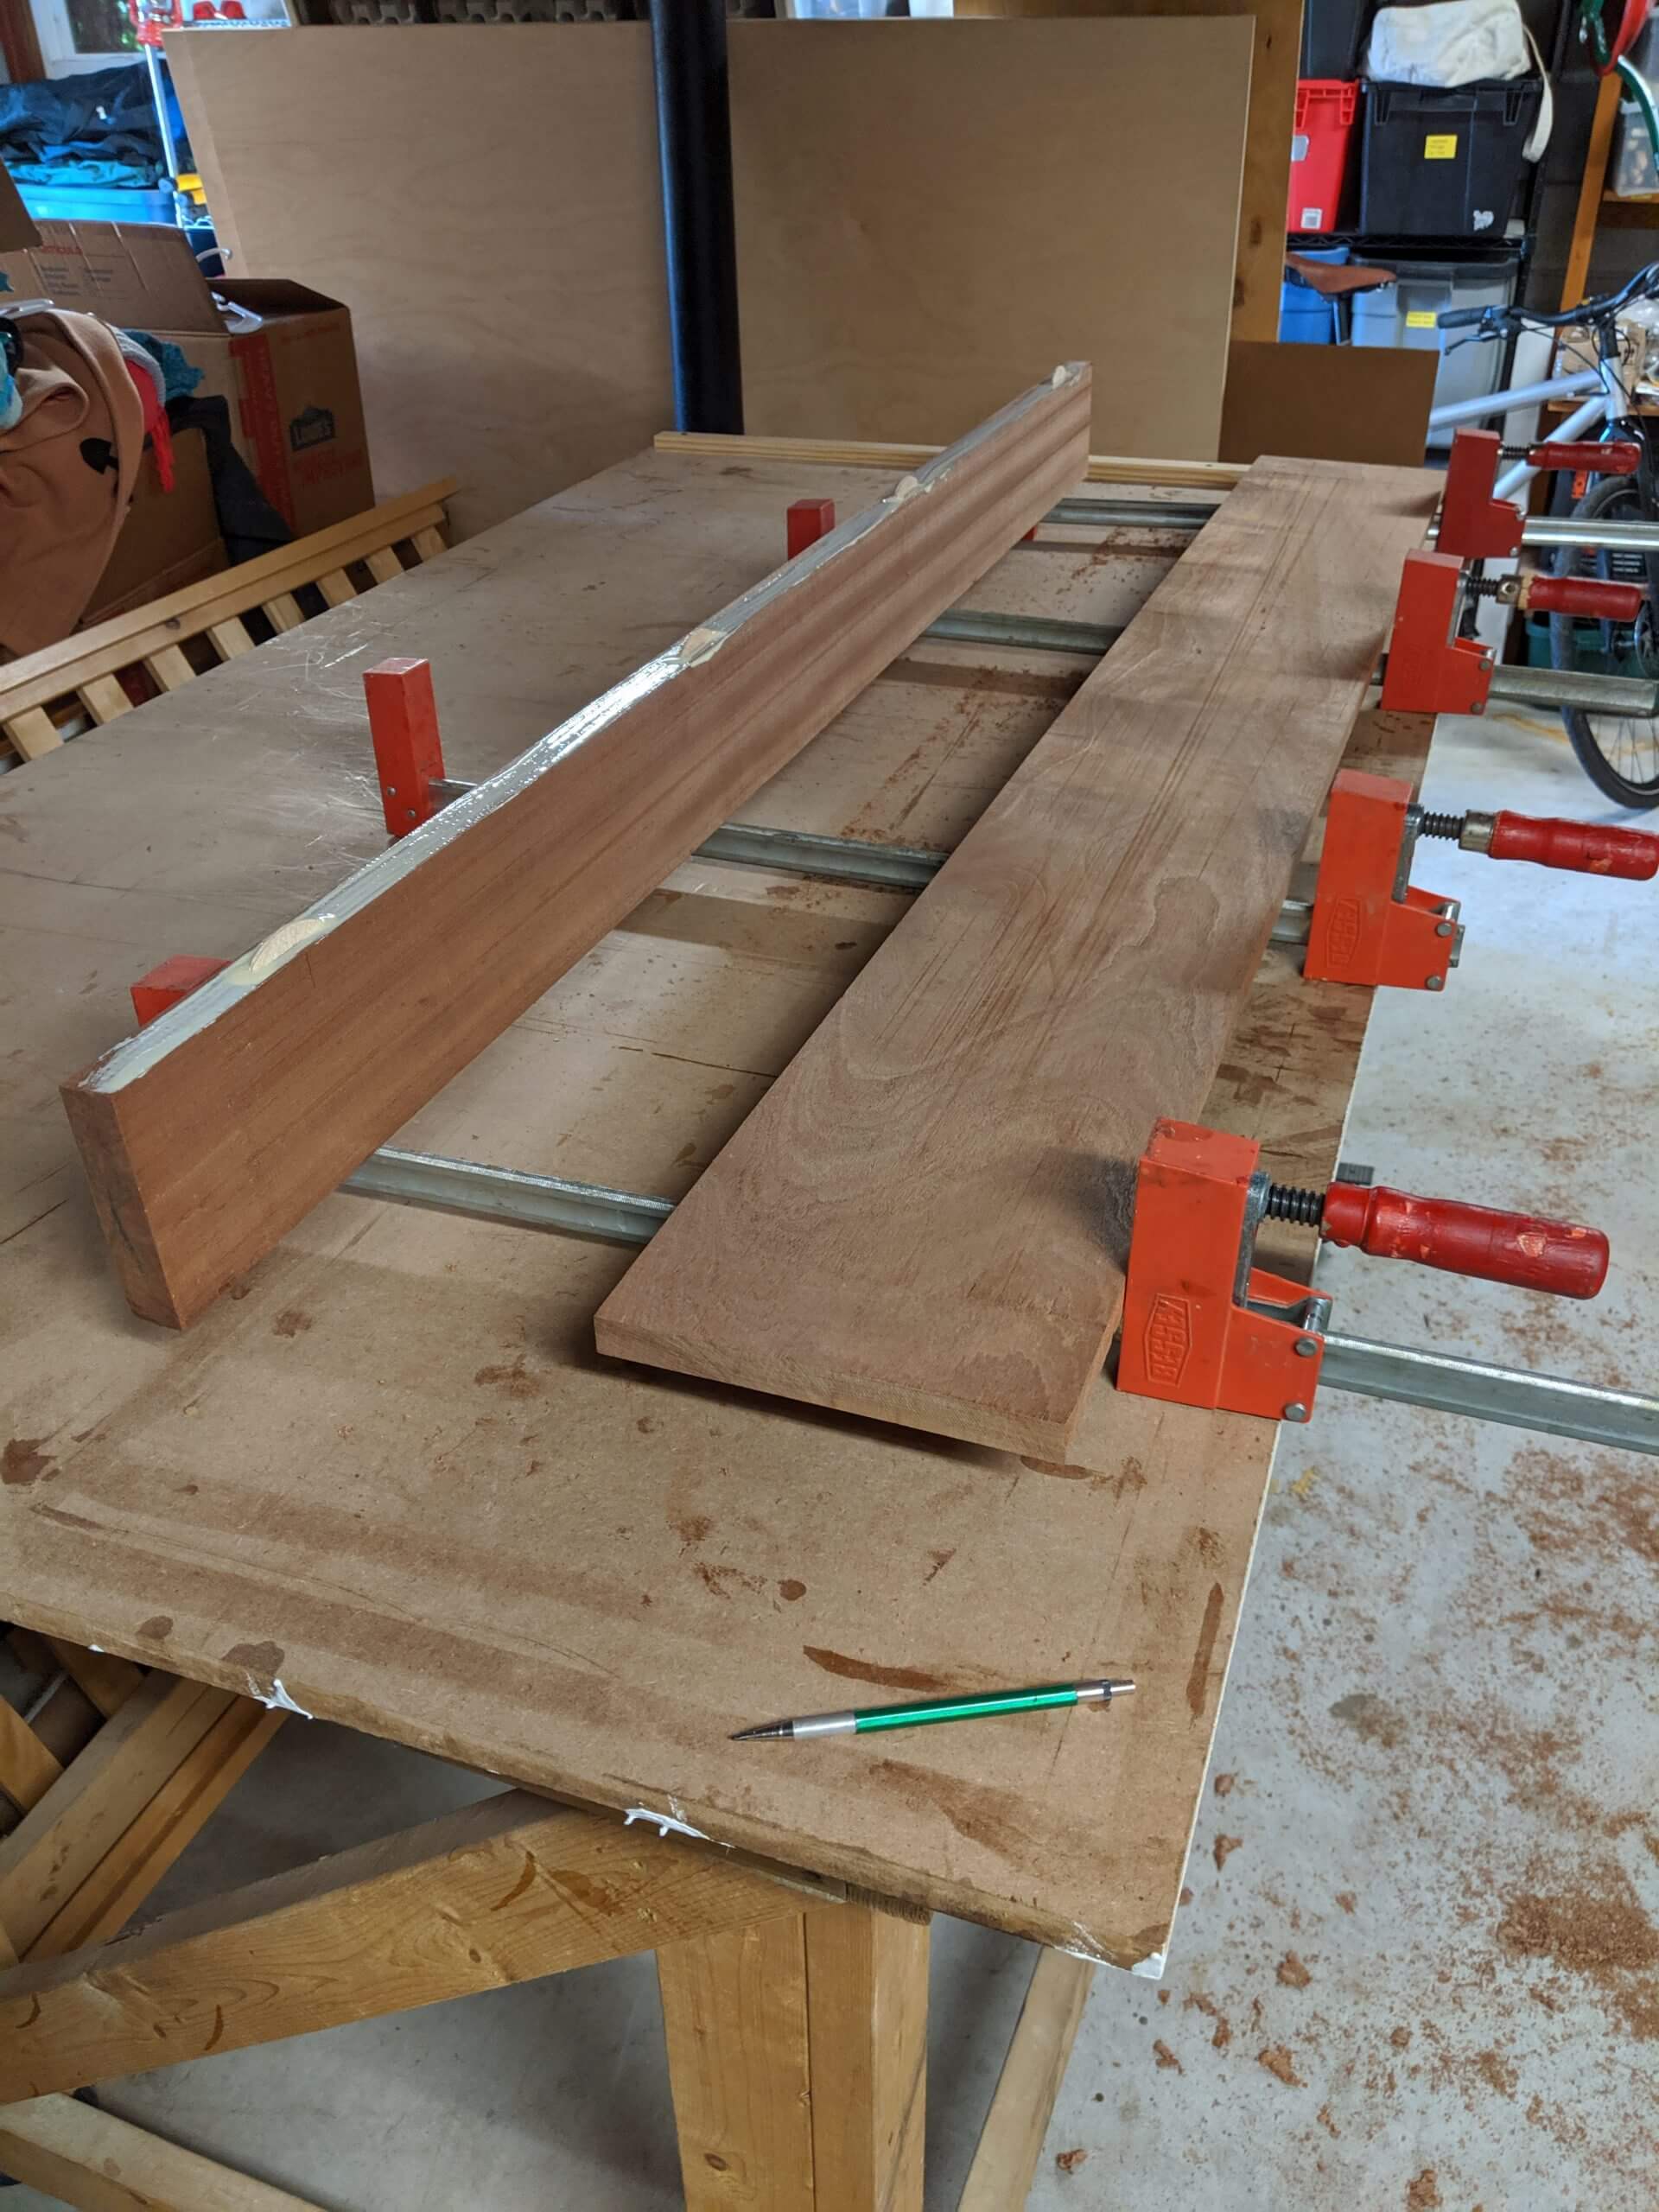
Some of the boards were too narrow to use for a 10″ wide case piece, so they had to be glued. One side and two shelves could be made from whole stock, but the remainder were made via glue-up.
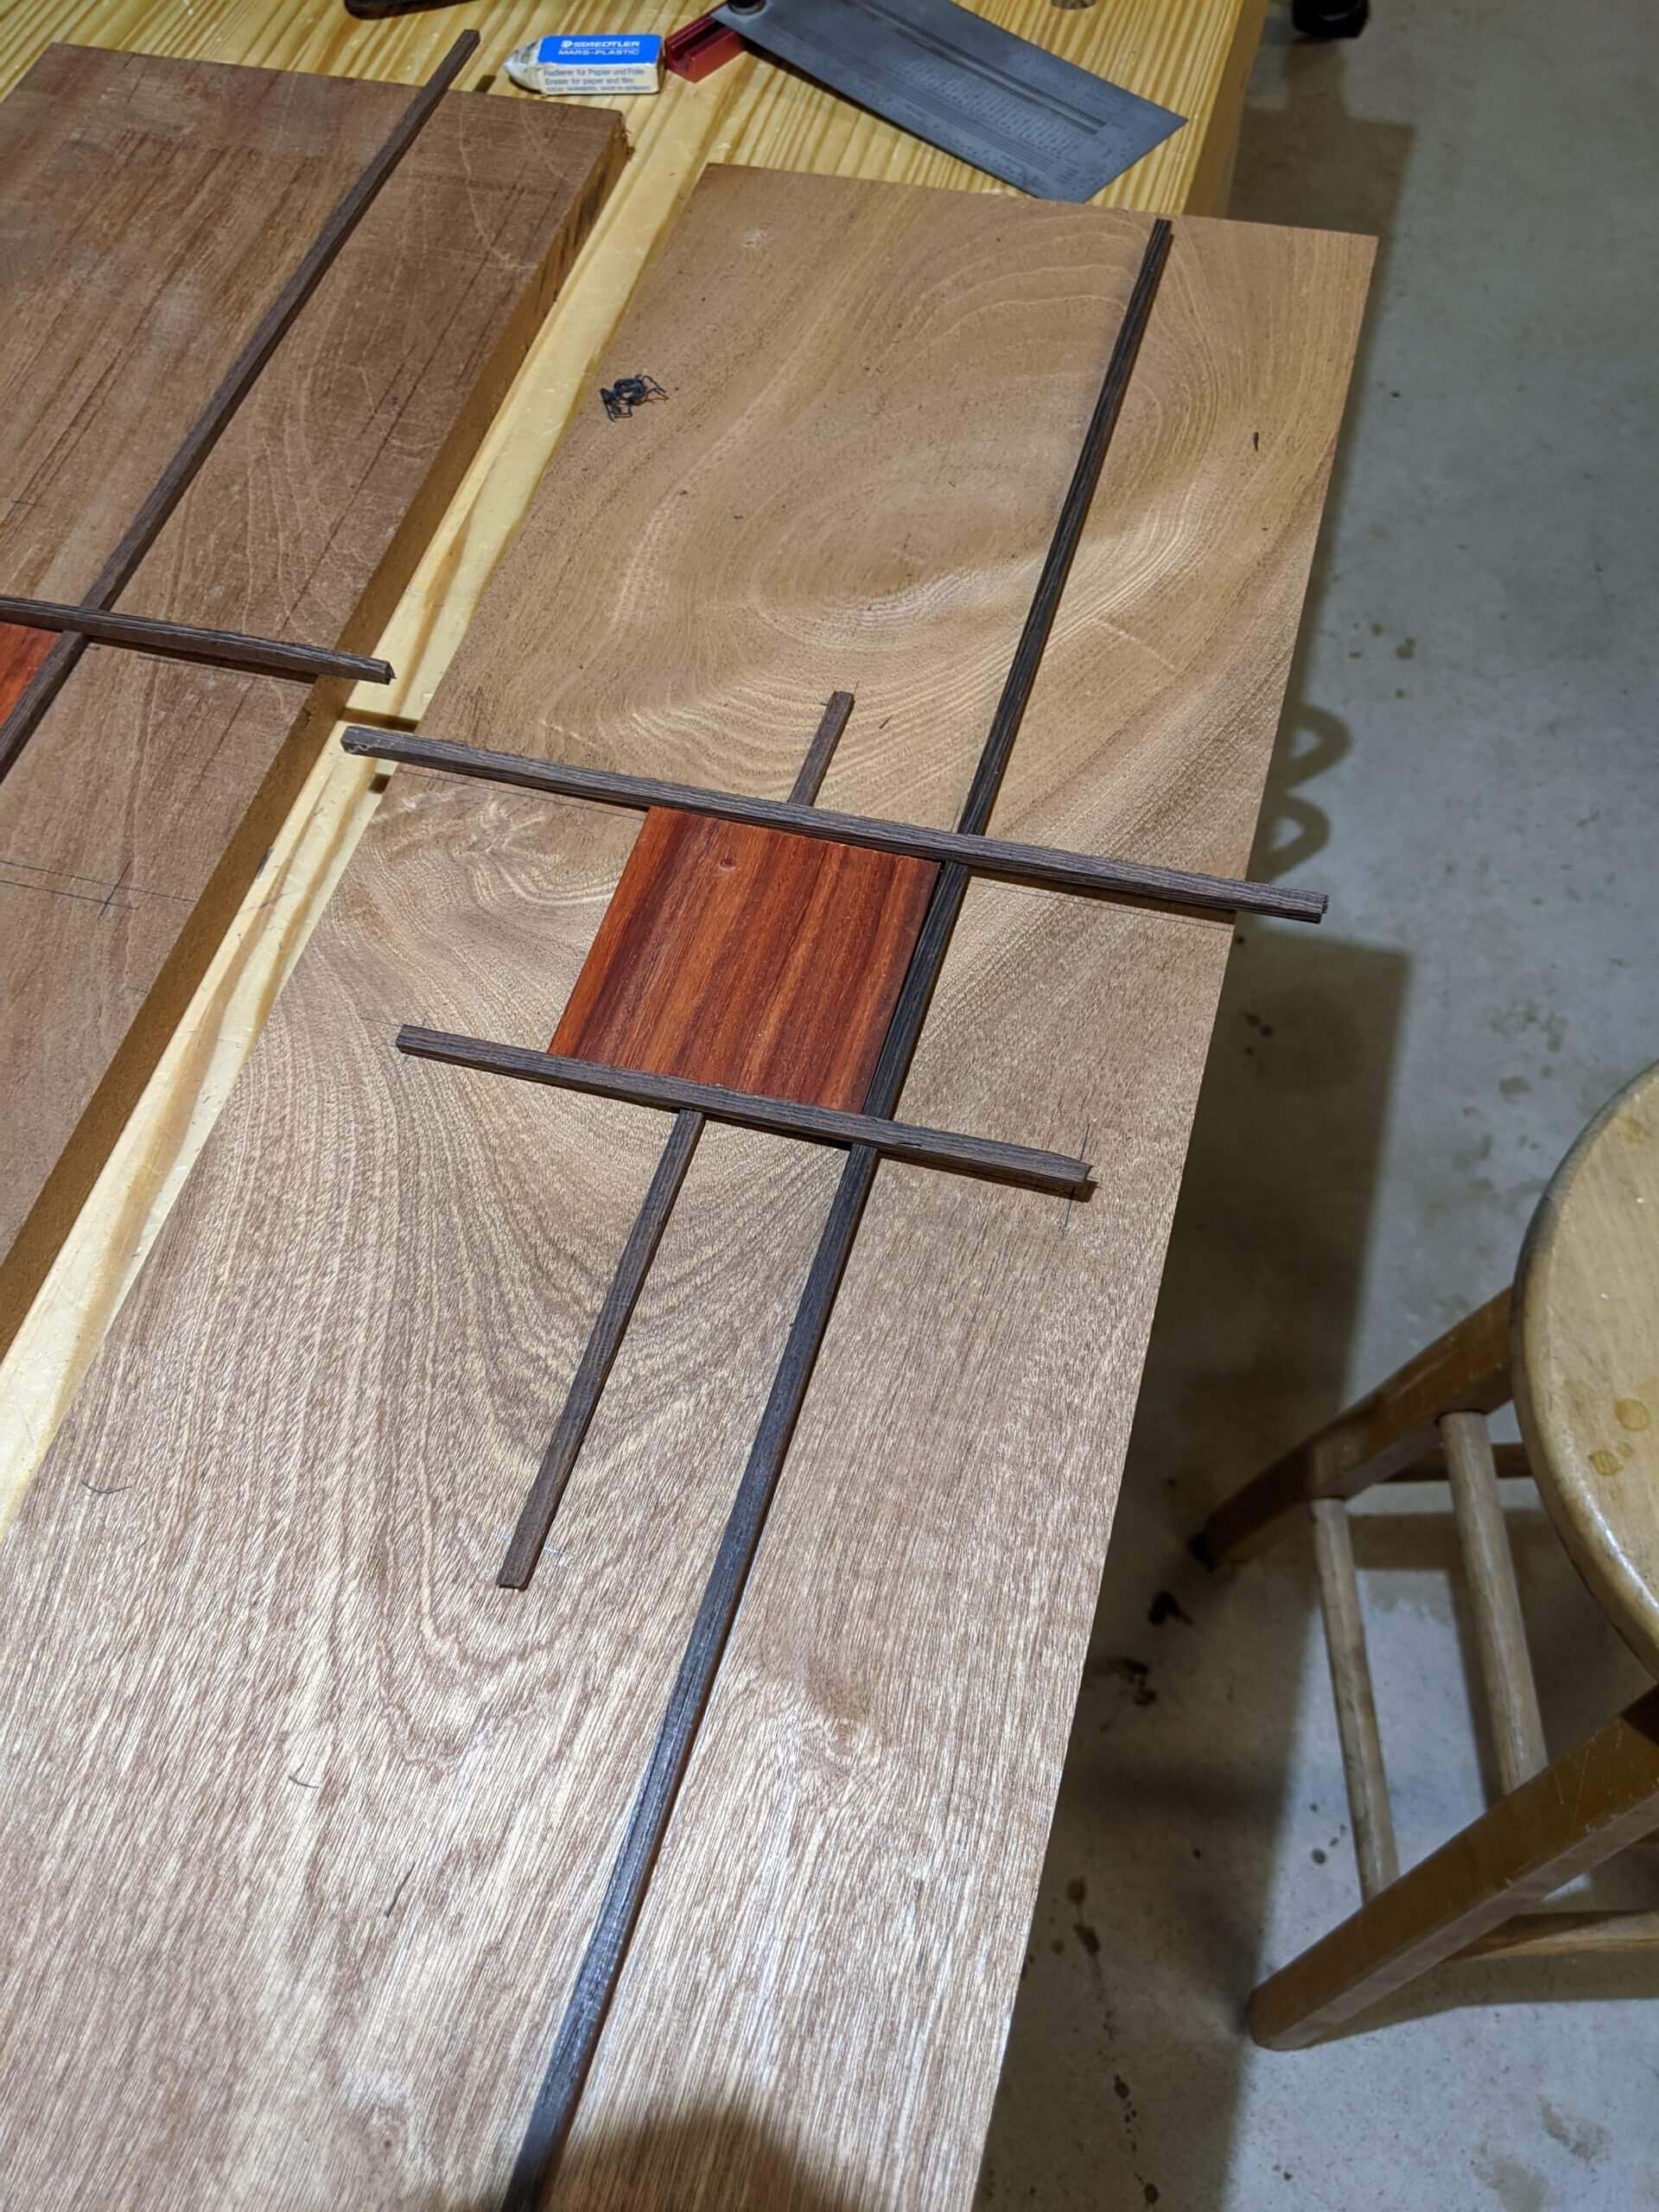
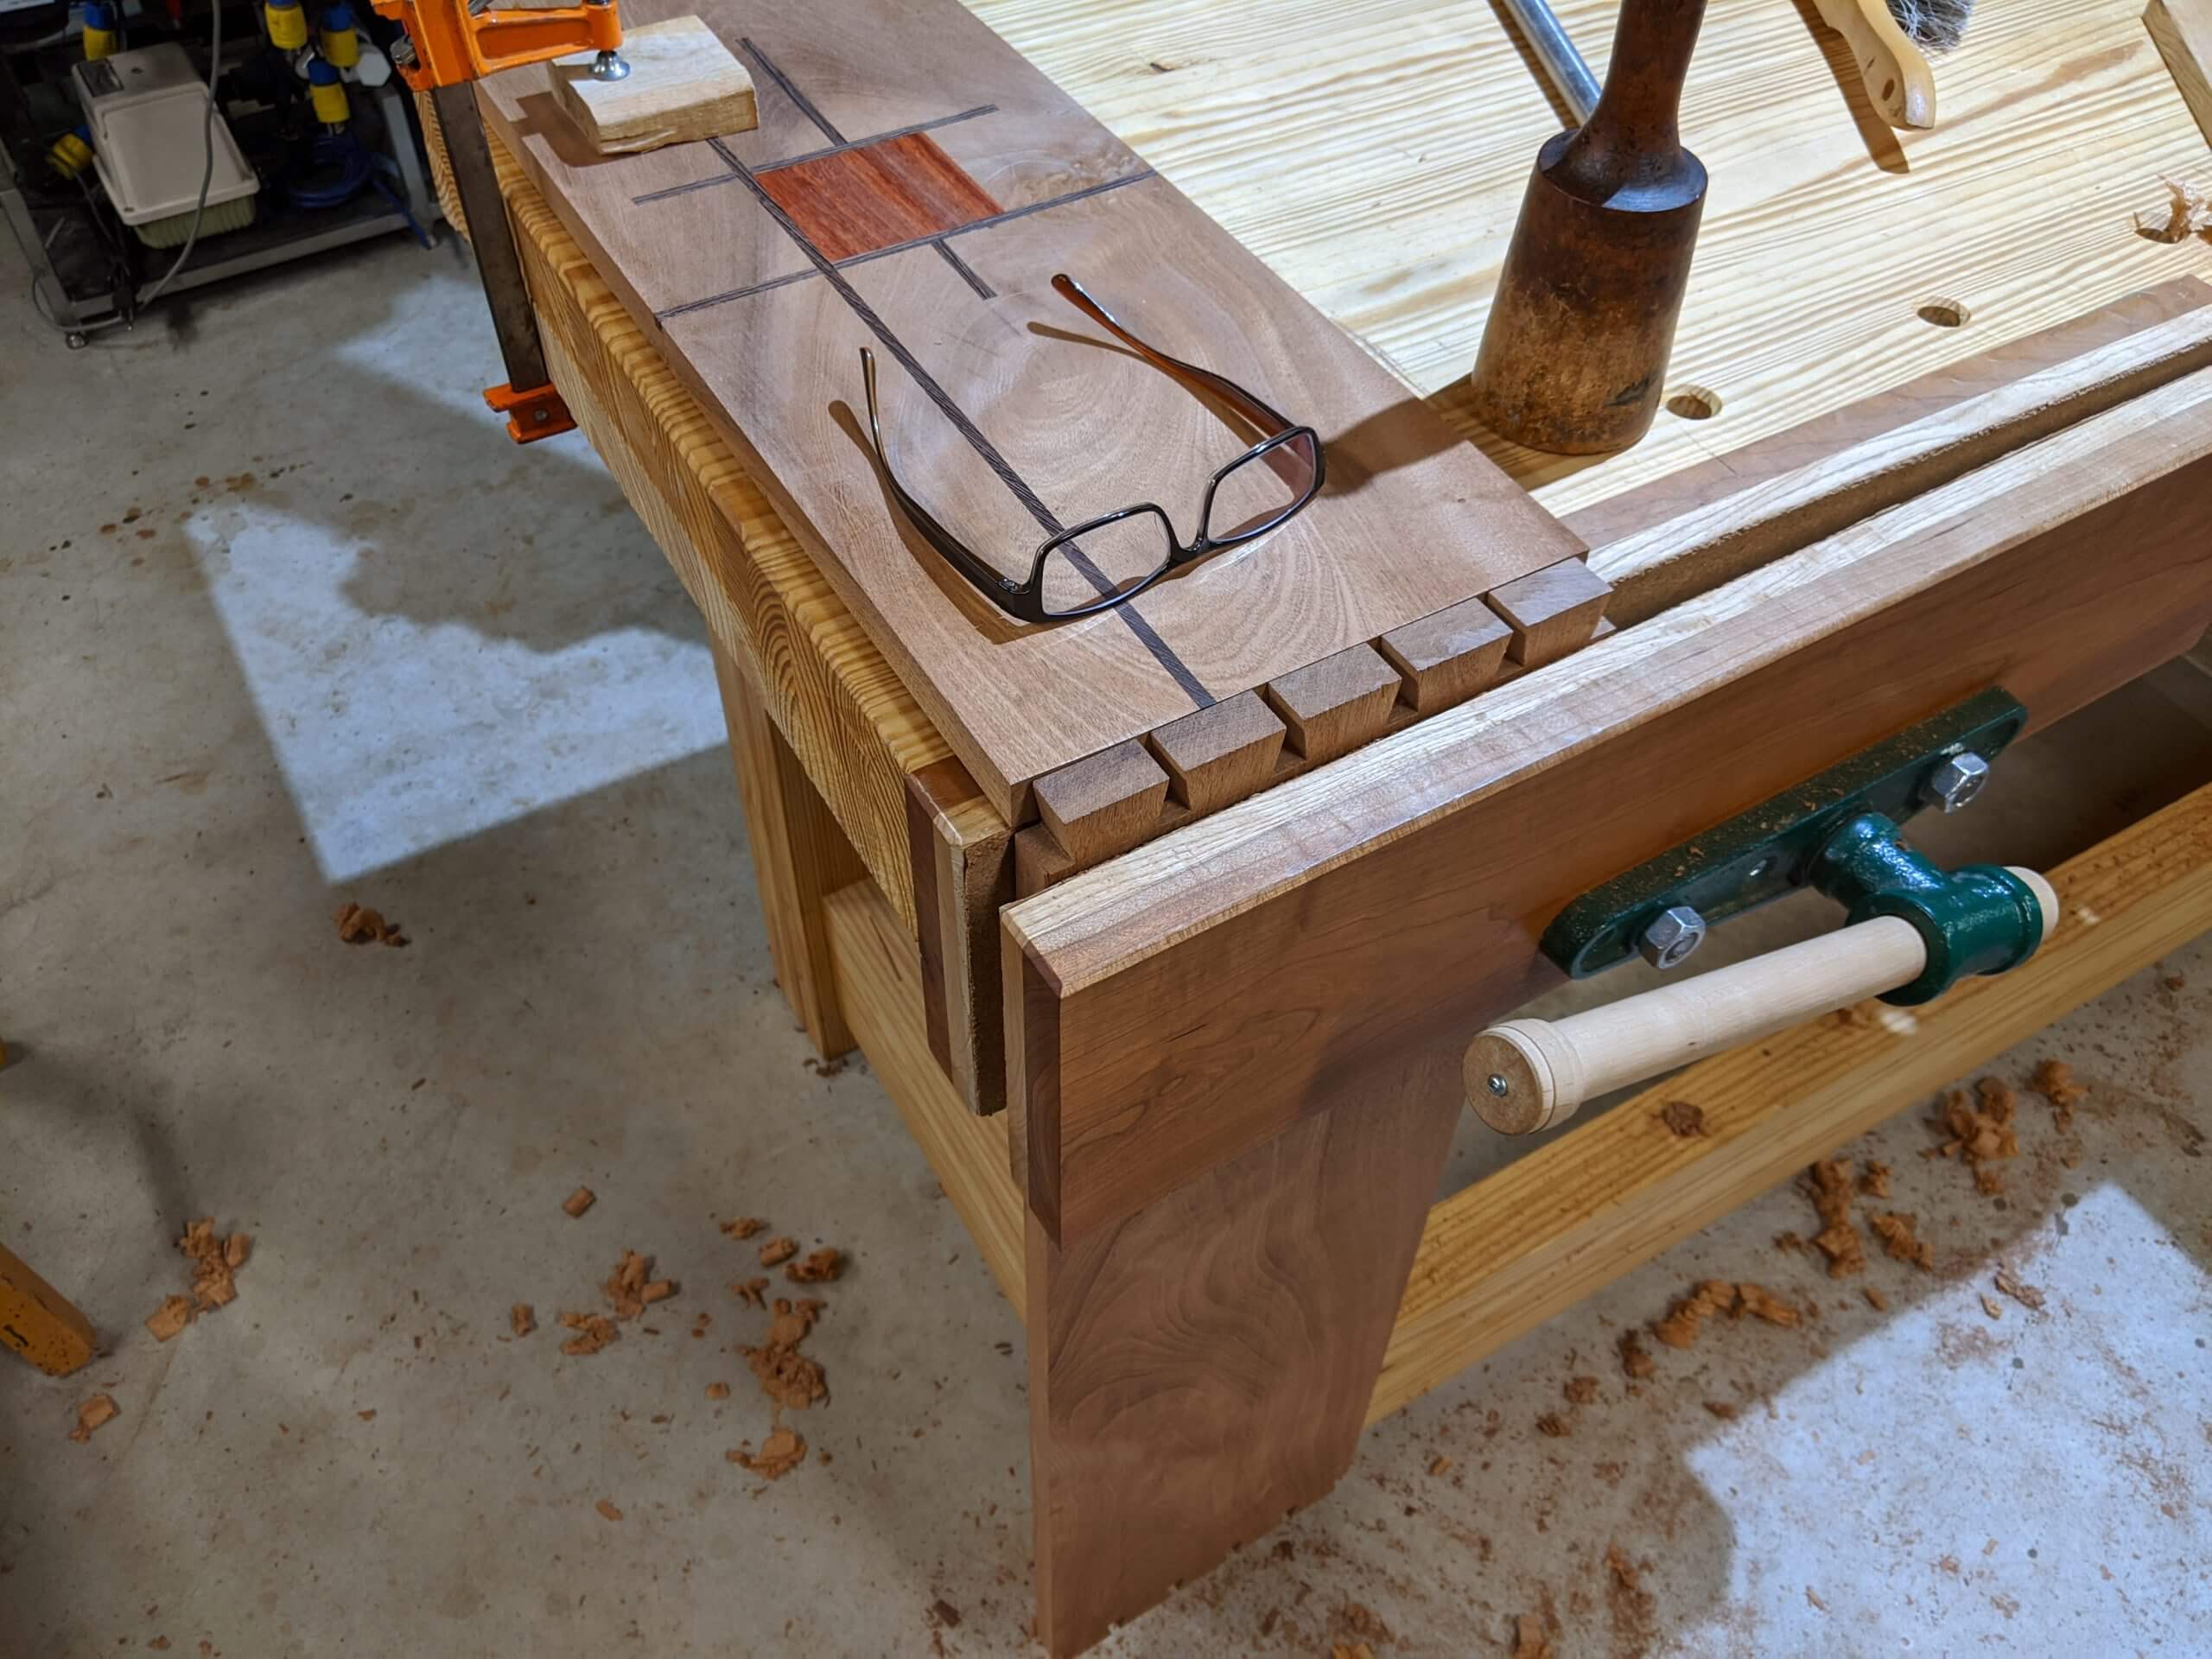
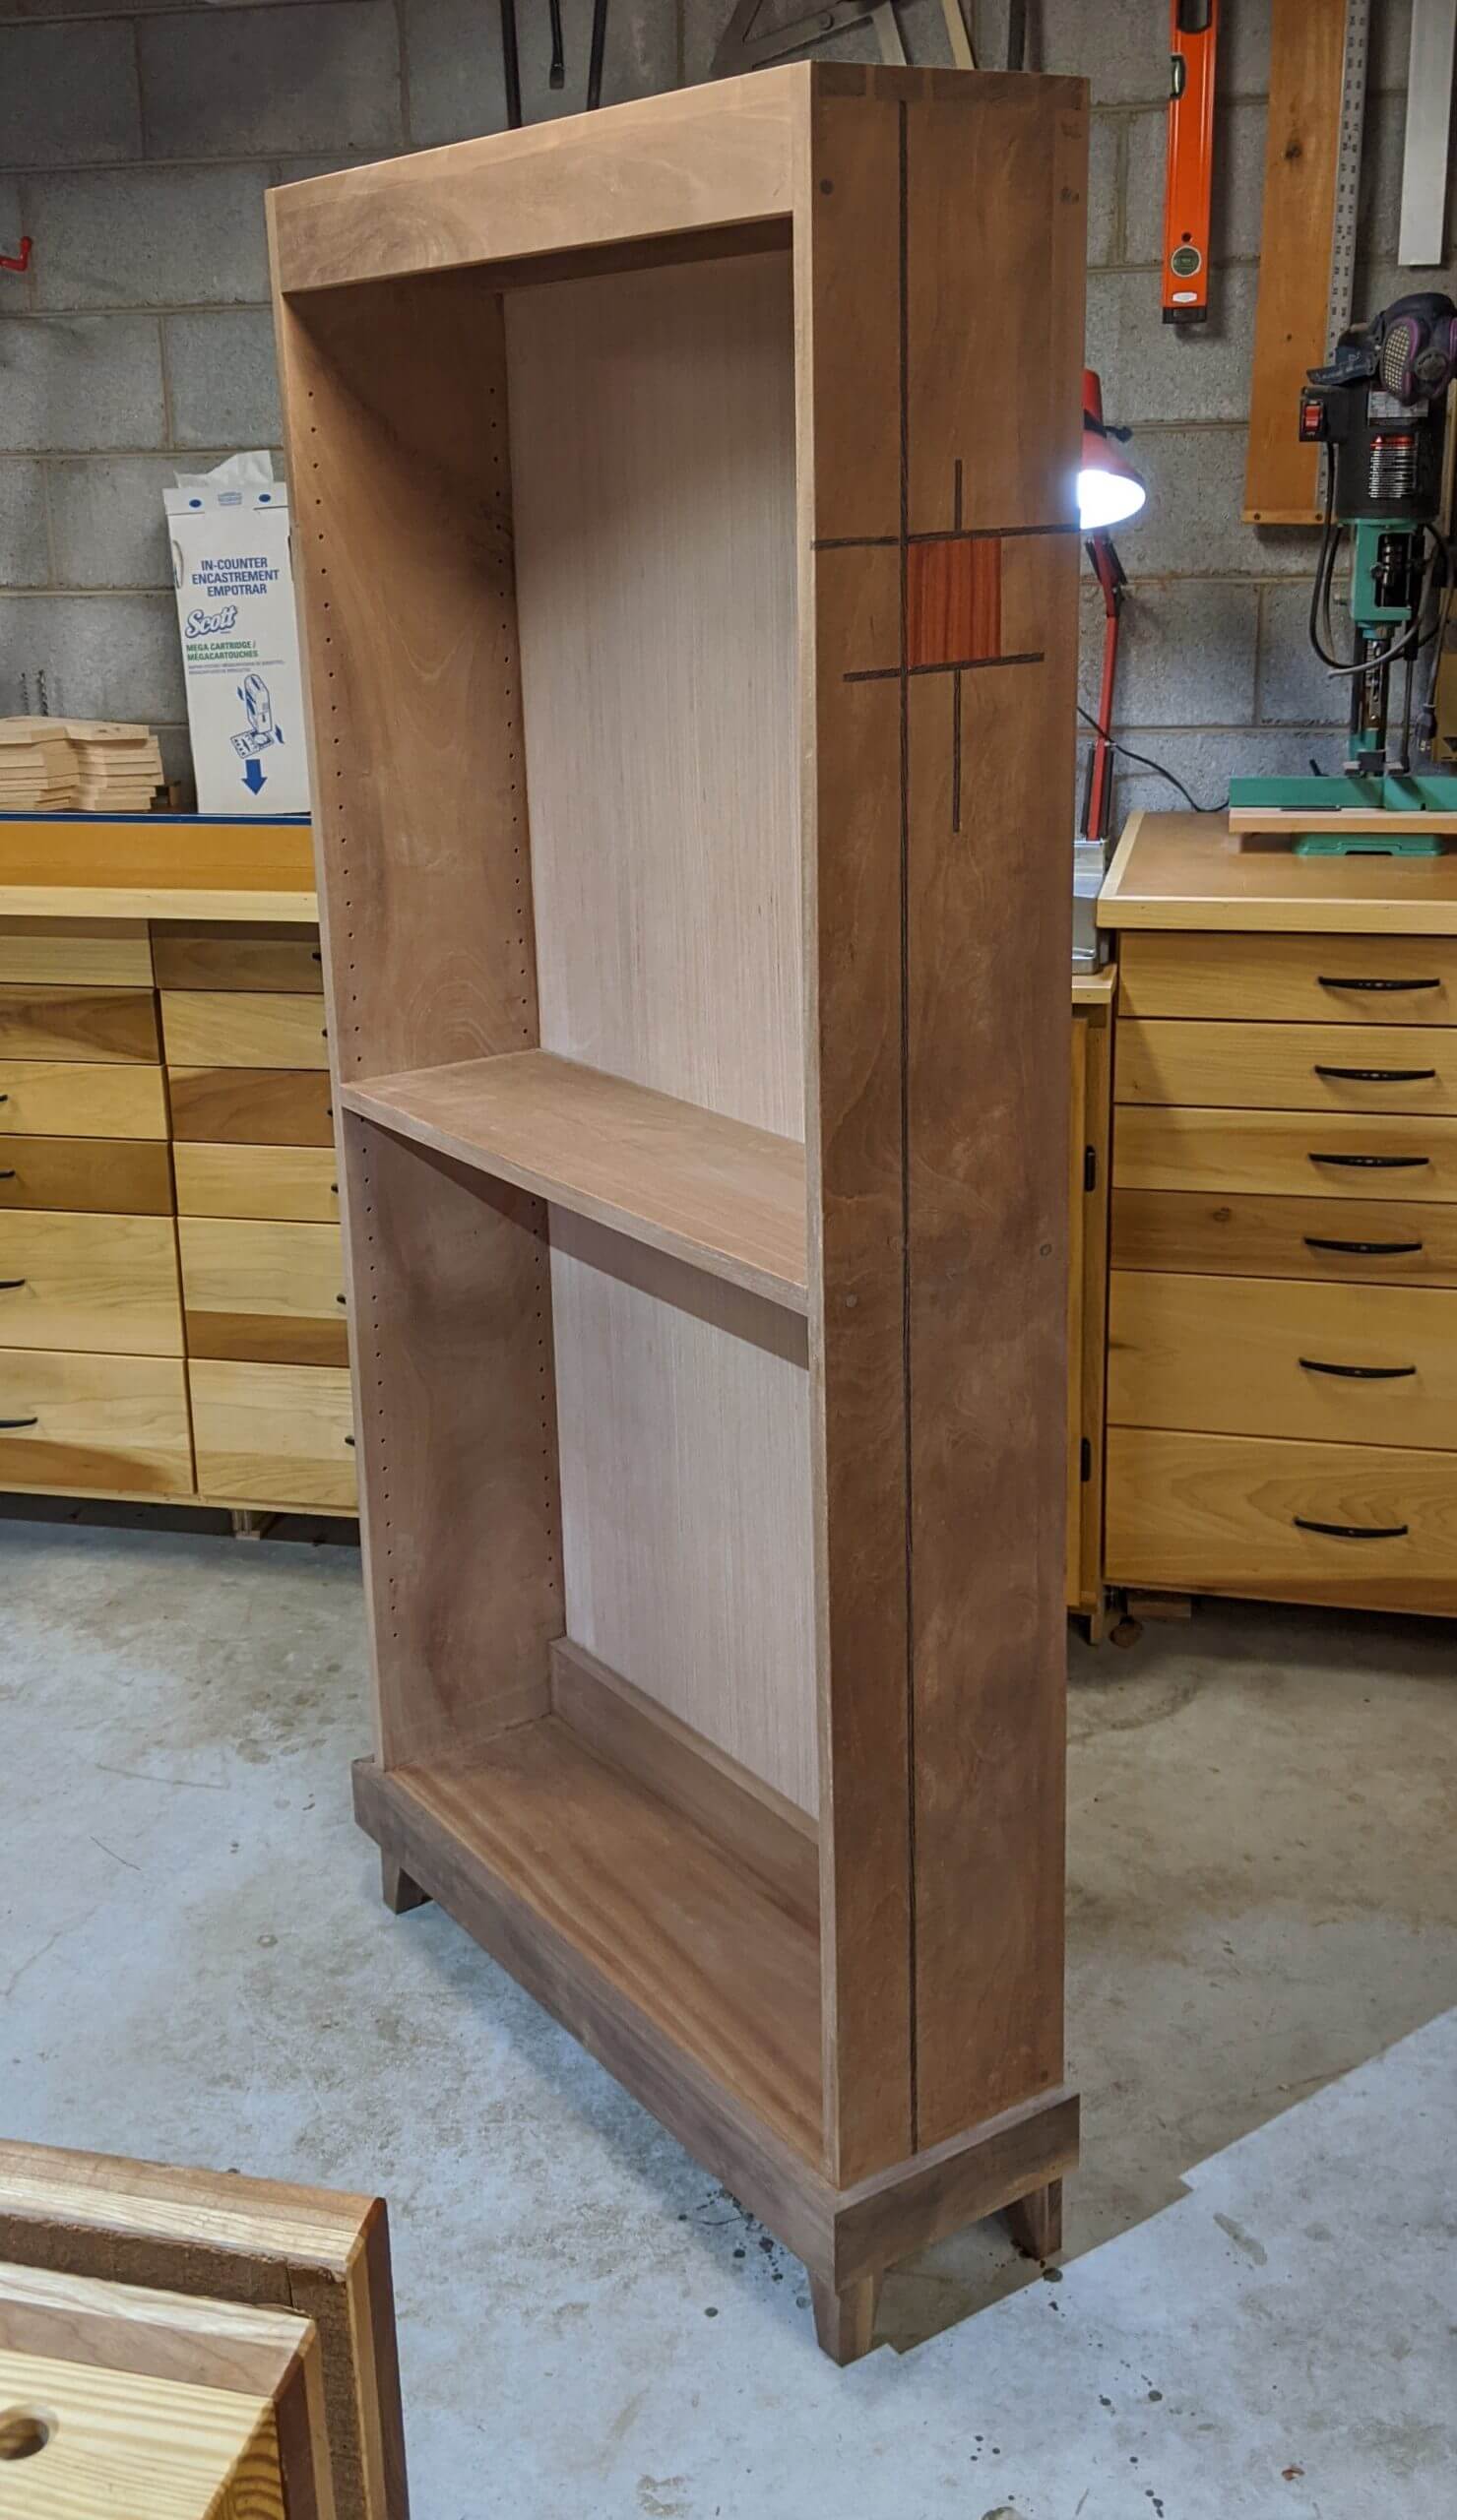
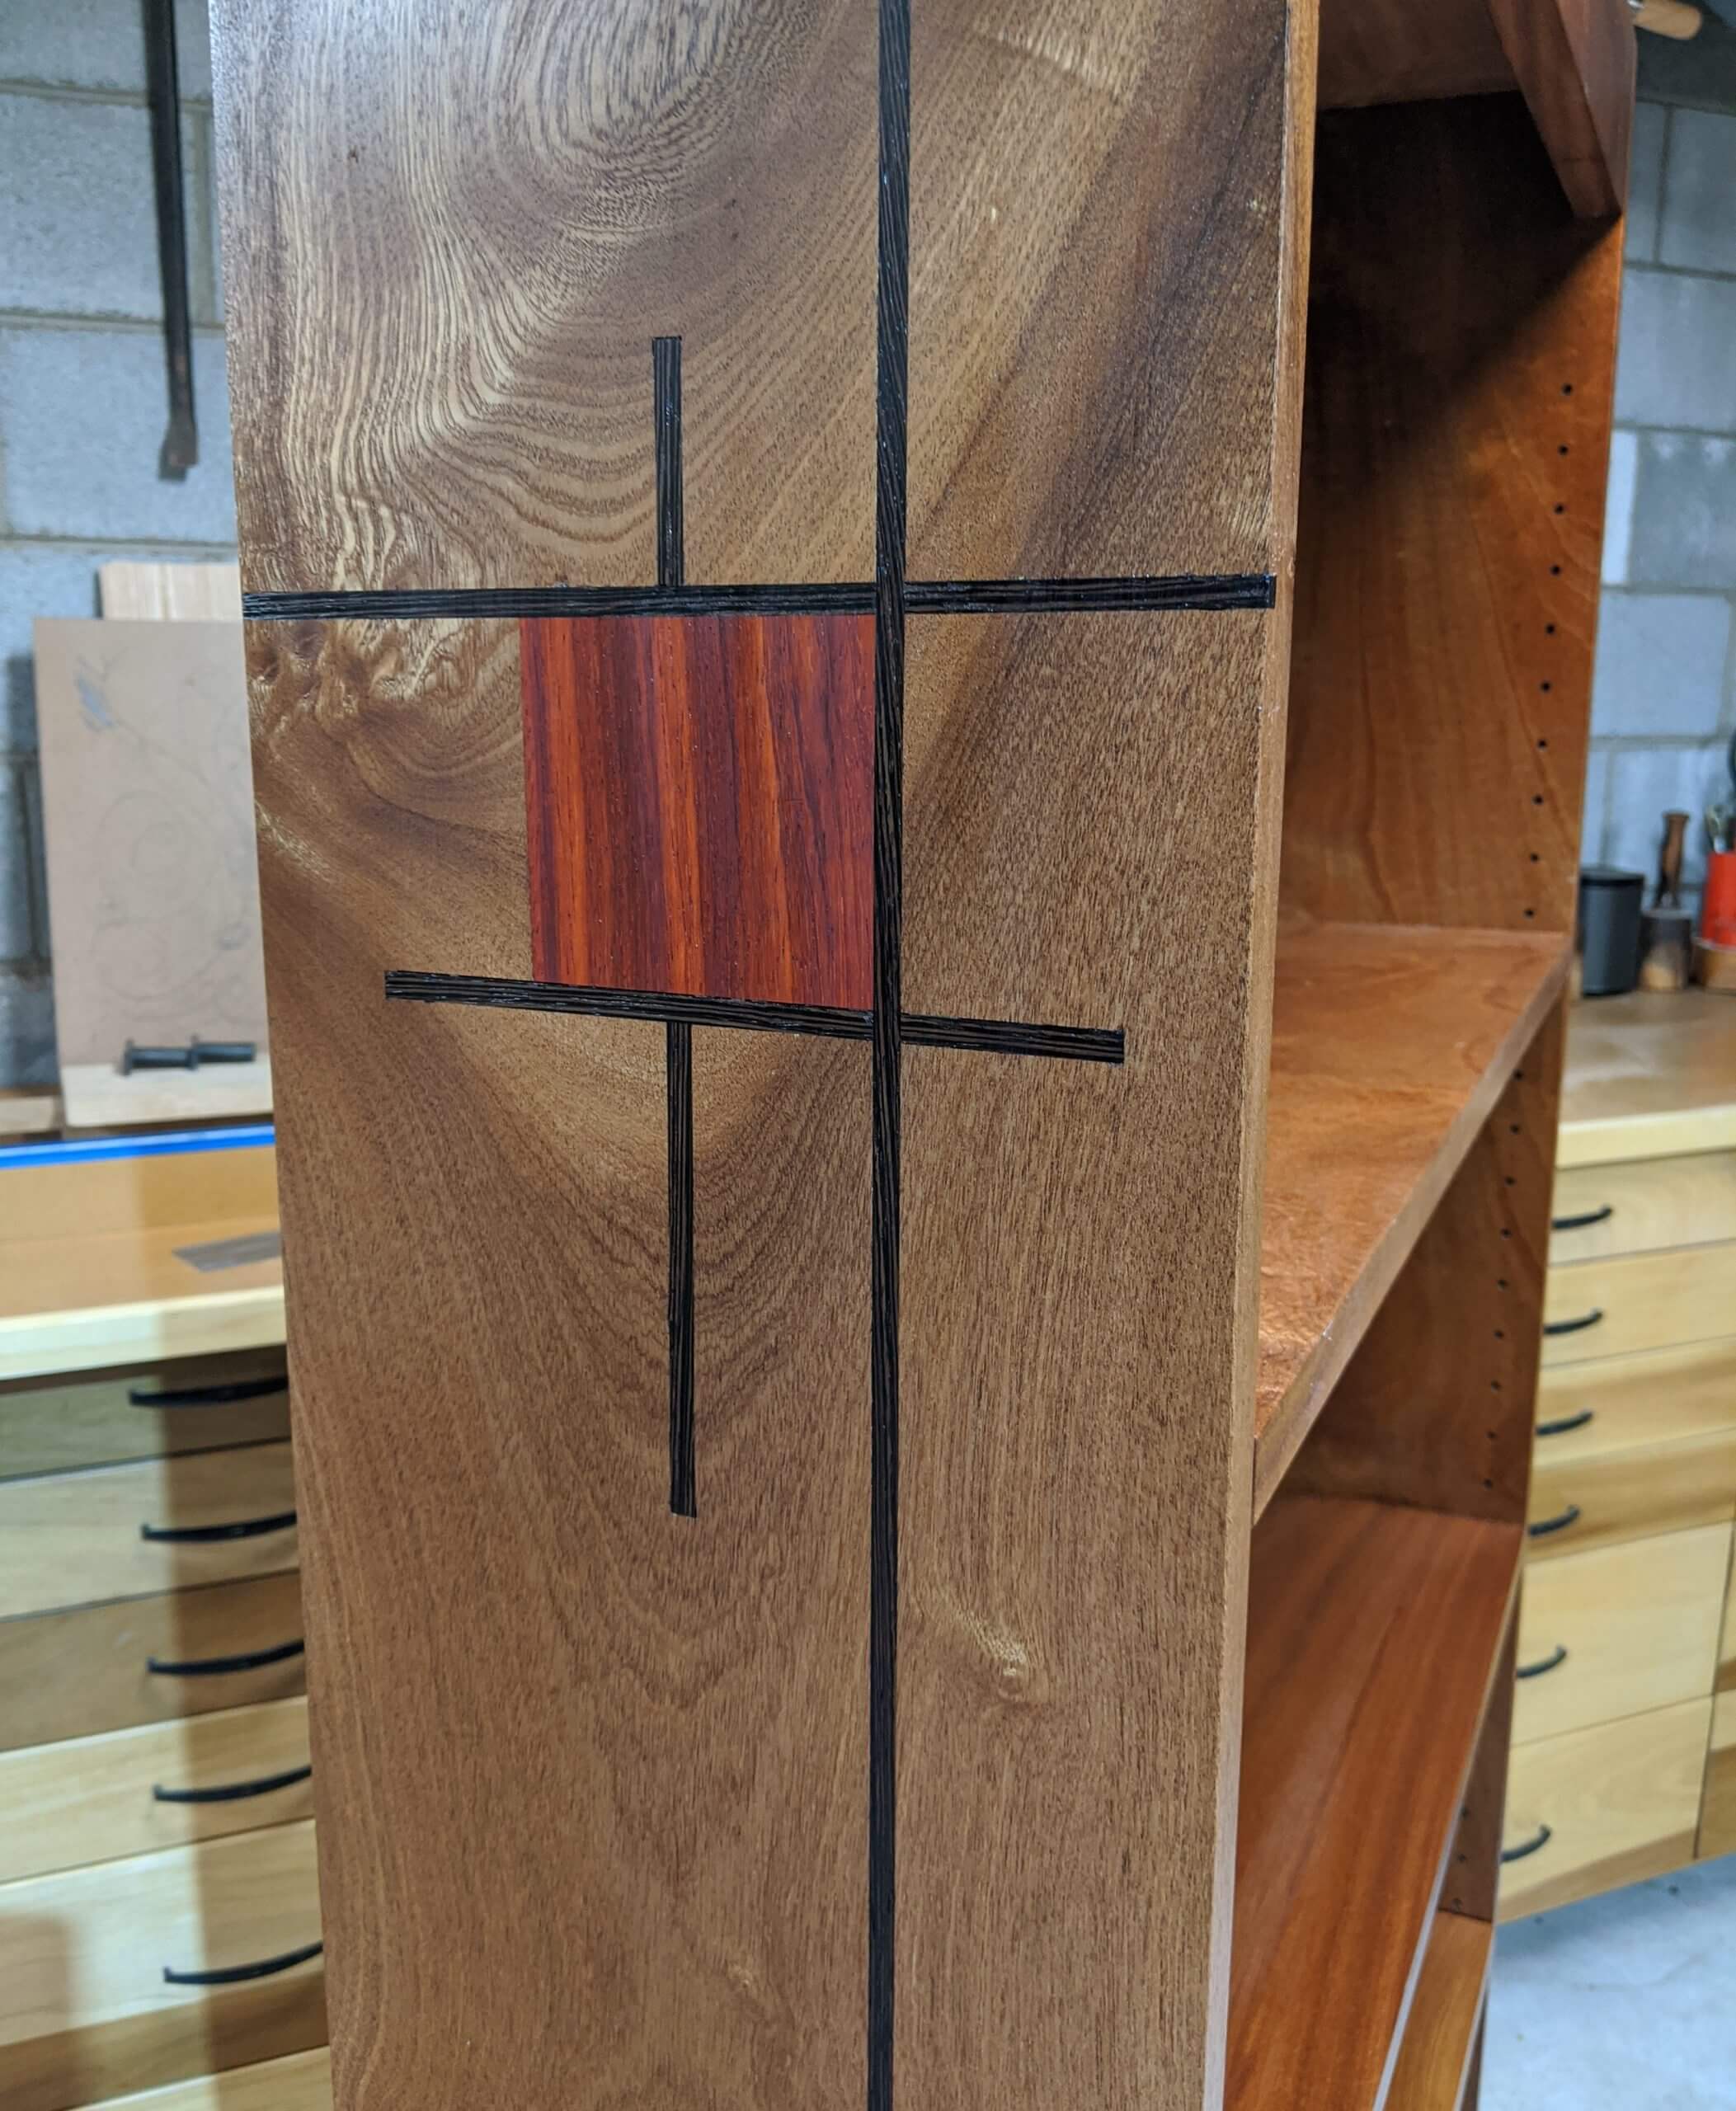
The pattern was laid out and parts for the inlay were rough cut. Each side is has to be a mirror image of the other. I drew mine identically then caught the error in time to correct it.
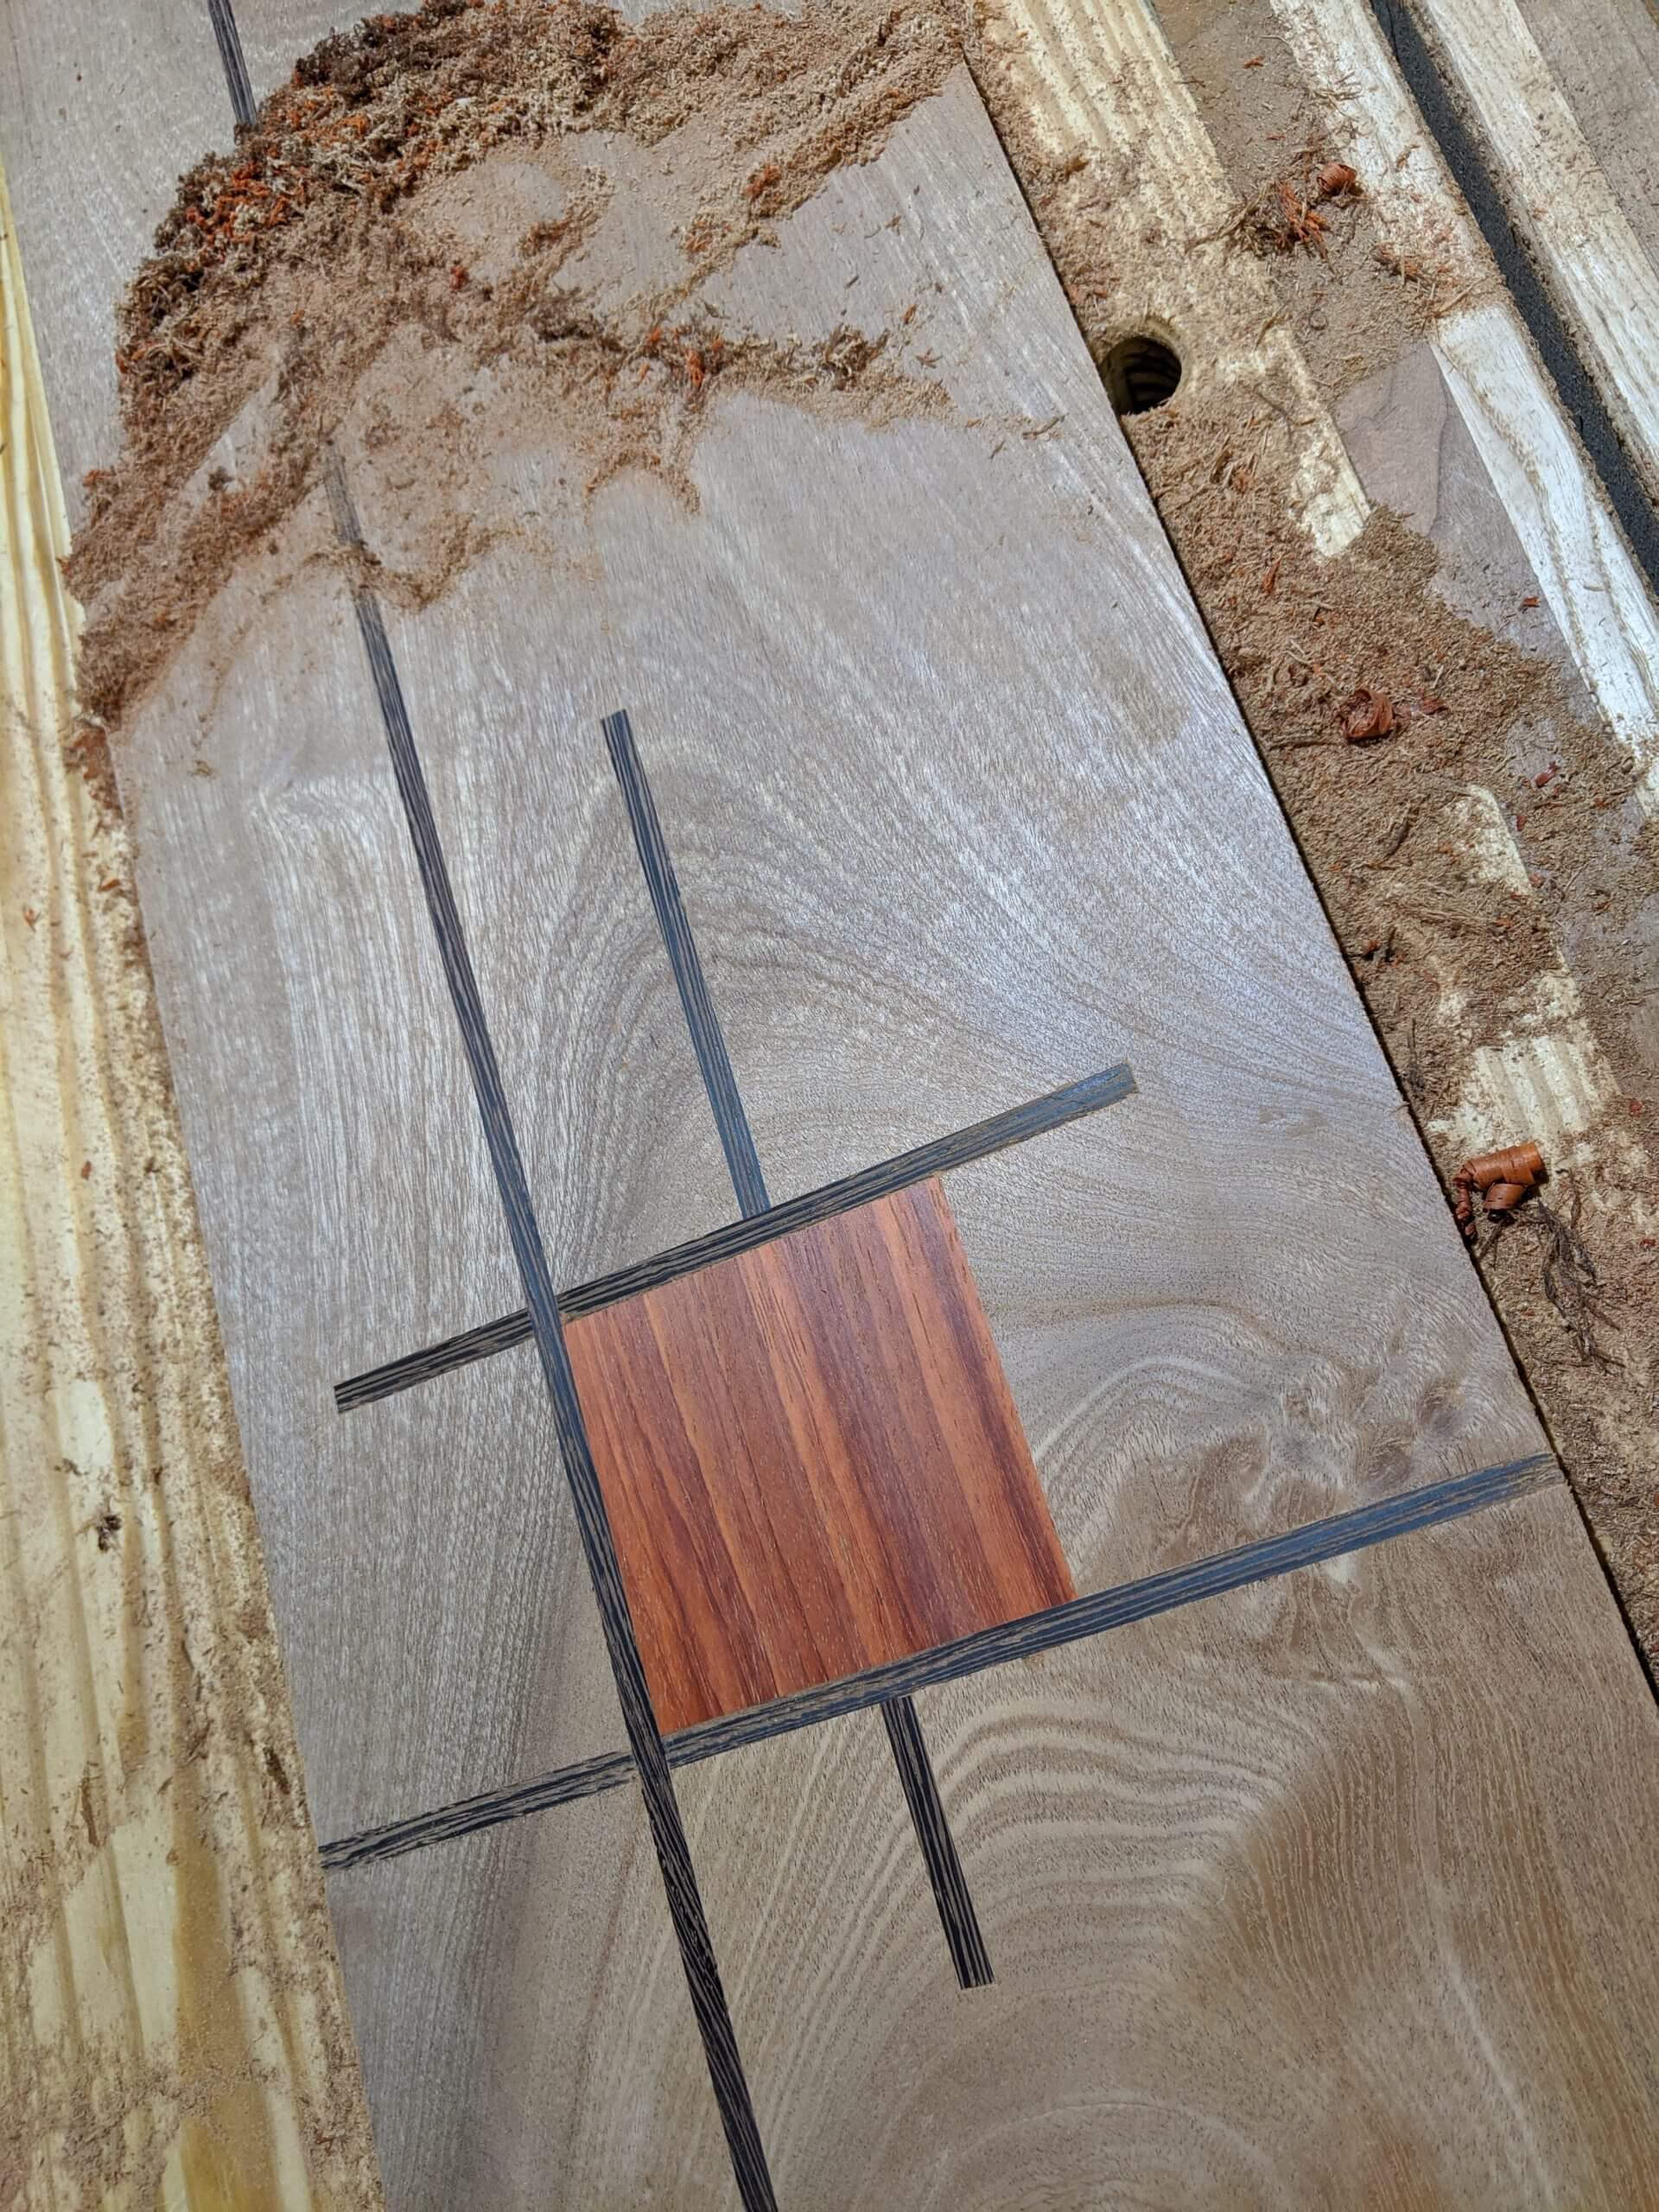
This is “simple” inlay using a 1/4″ router bit. The order of cuts is the only challenge. Start with the part that will be intersected the most so that future cuts run cleanly through it. I started with the center vertical Wenge strip as it is bisected or touched by three other parts. After that the square was installed as three of its edges can be clean cut after it is installed. The square is the only part that has a line that needs to be accurately cut (that will not be cleaned up by a future piece). After the square, the two horizontal strips were installed then the long vertical one. The inlay was cut flush with a hand plan then a card scraper
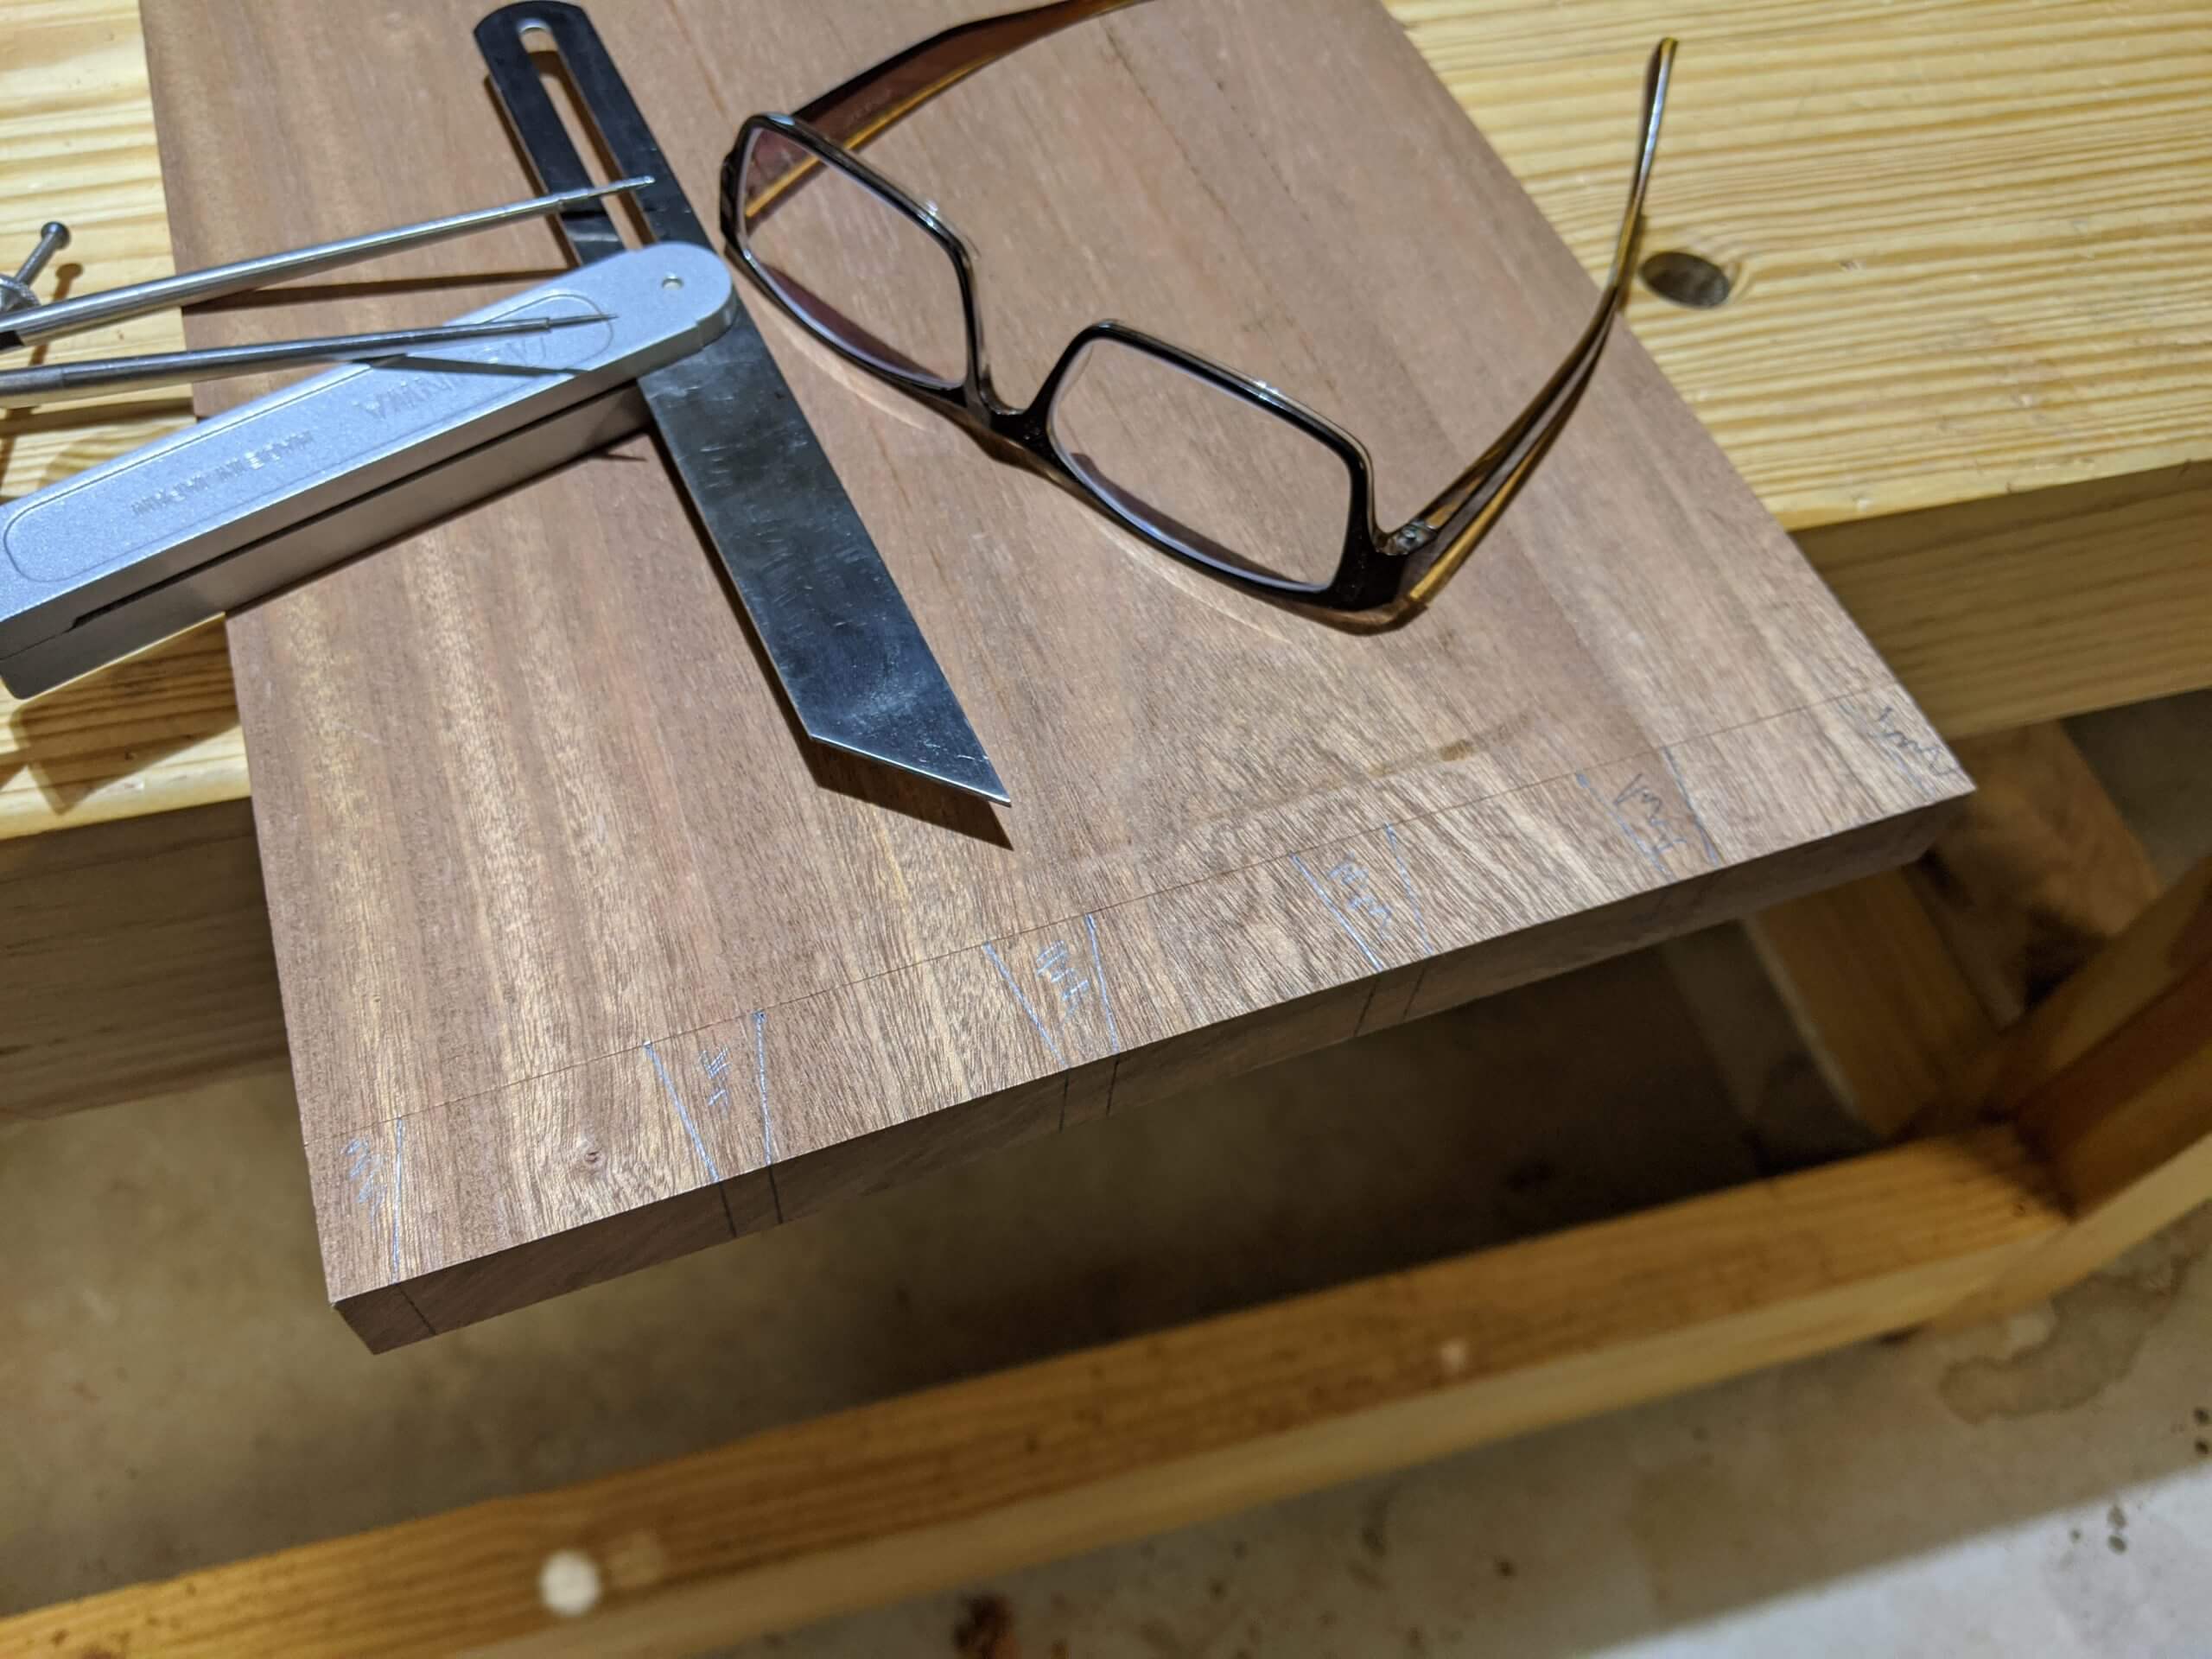
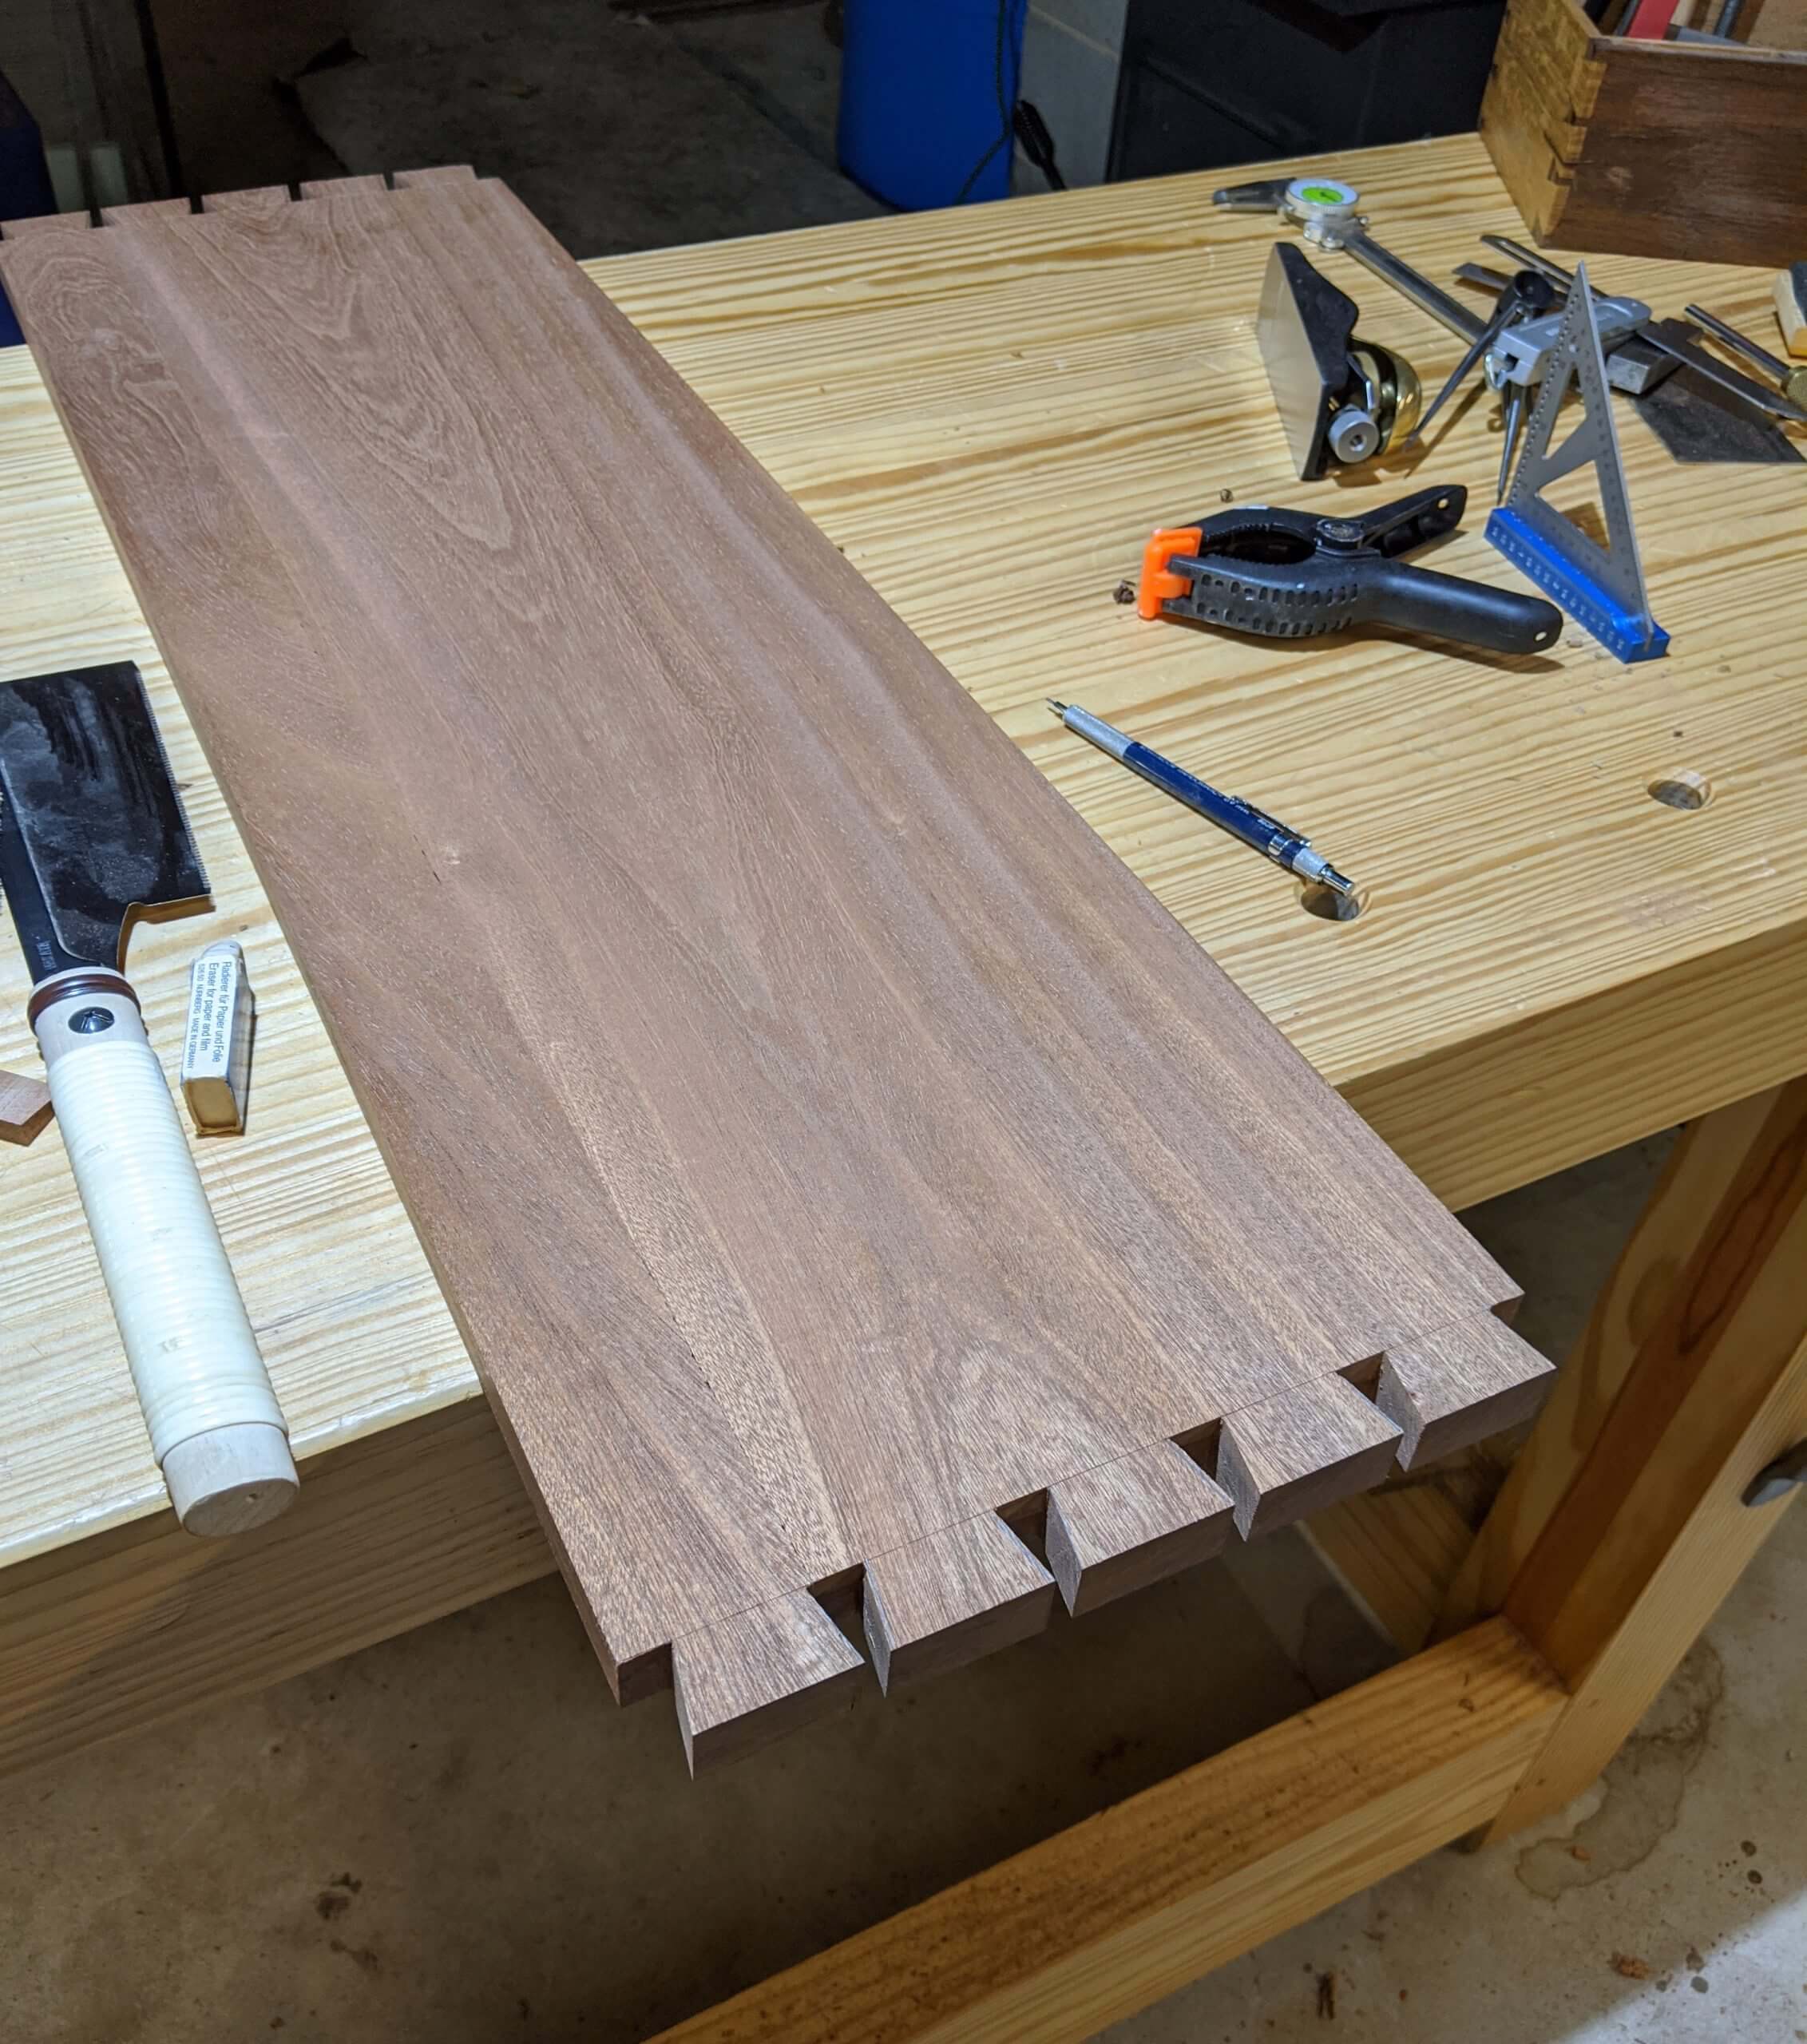
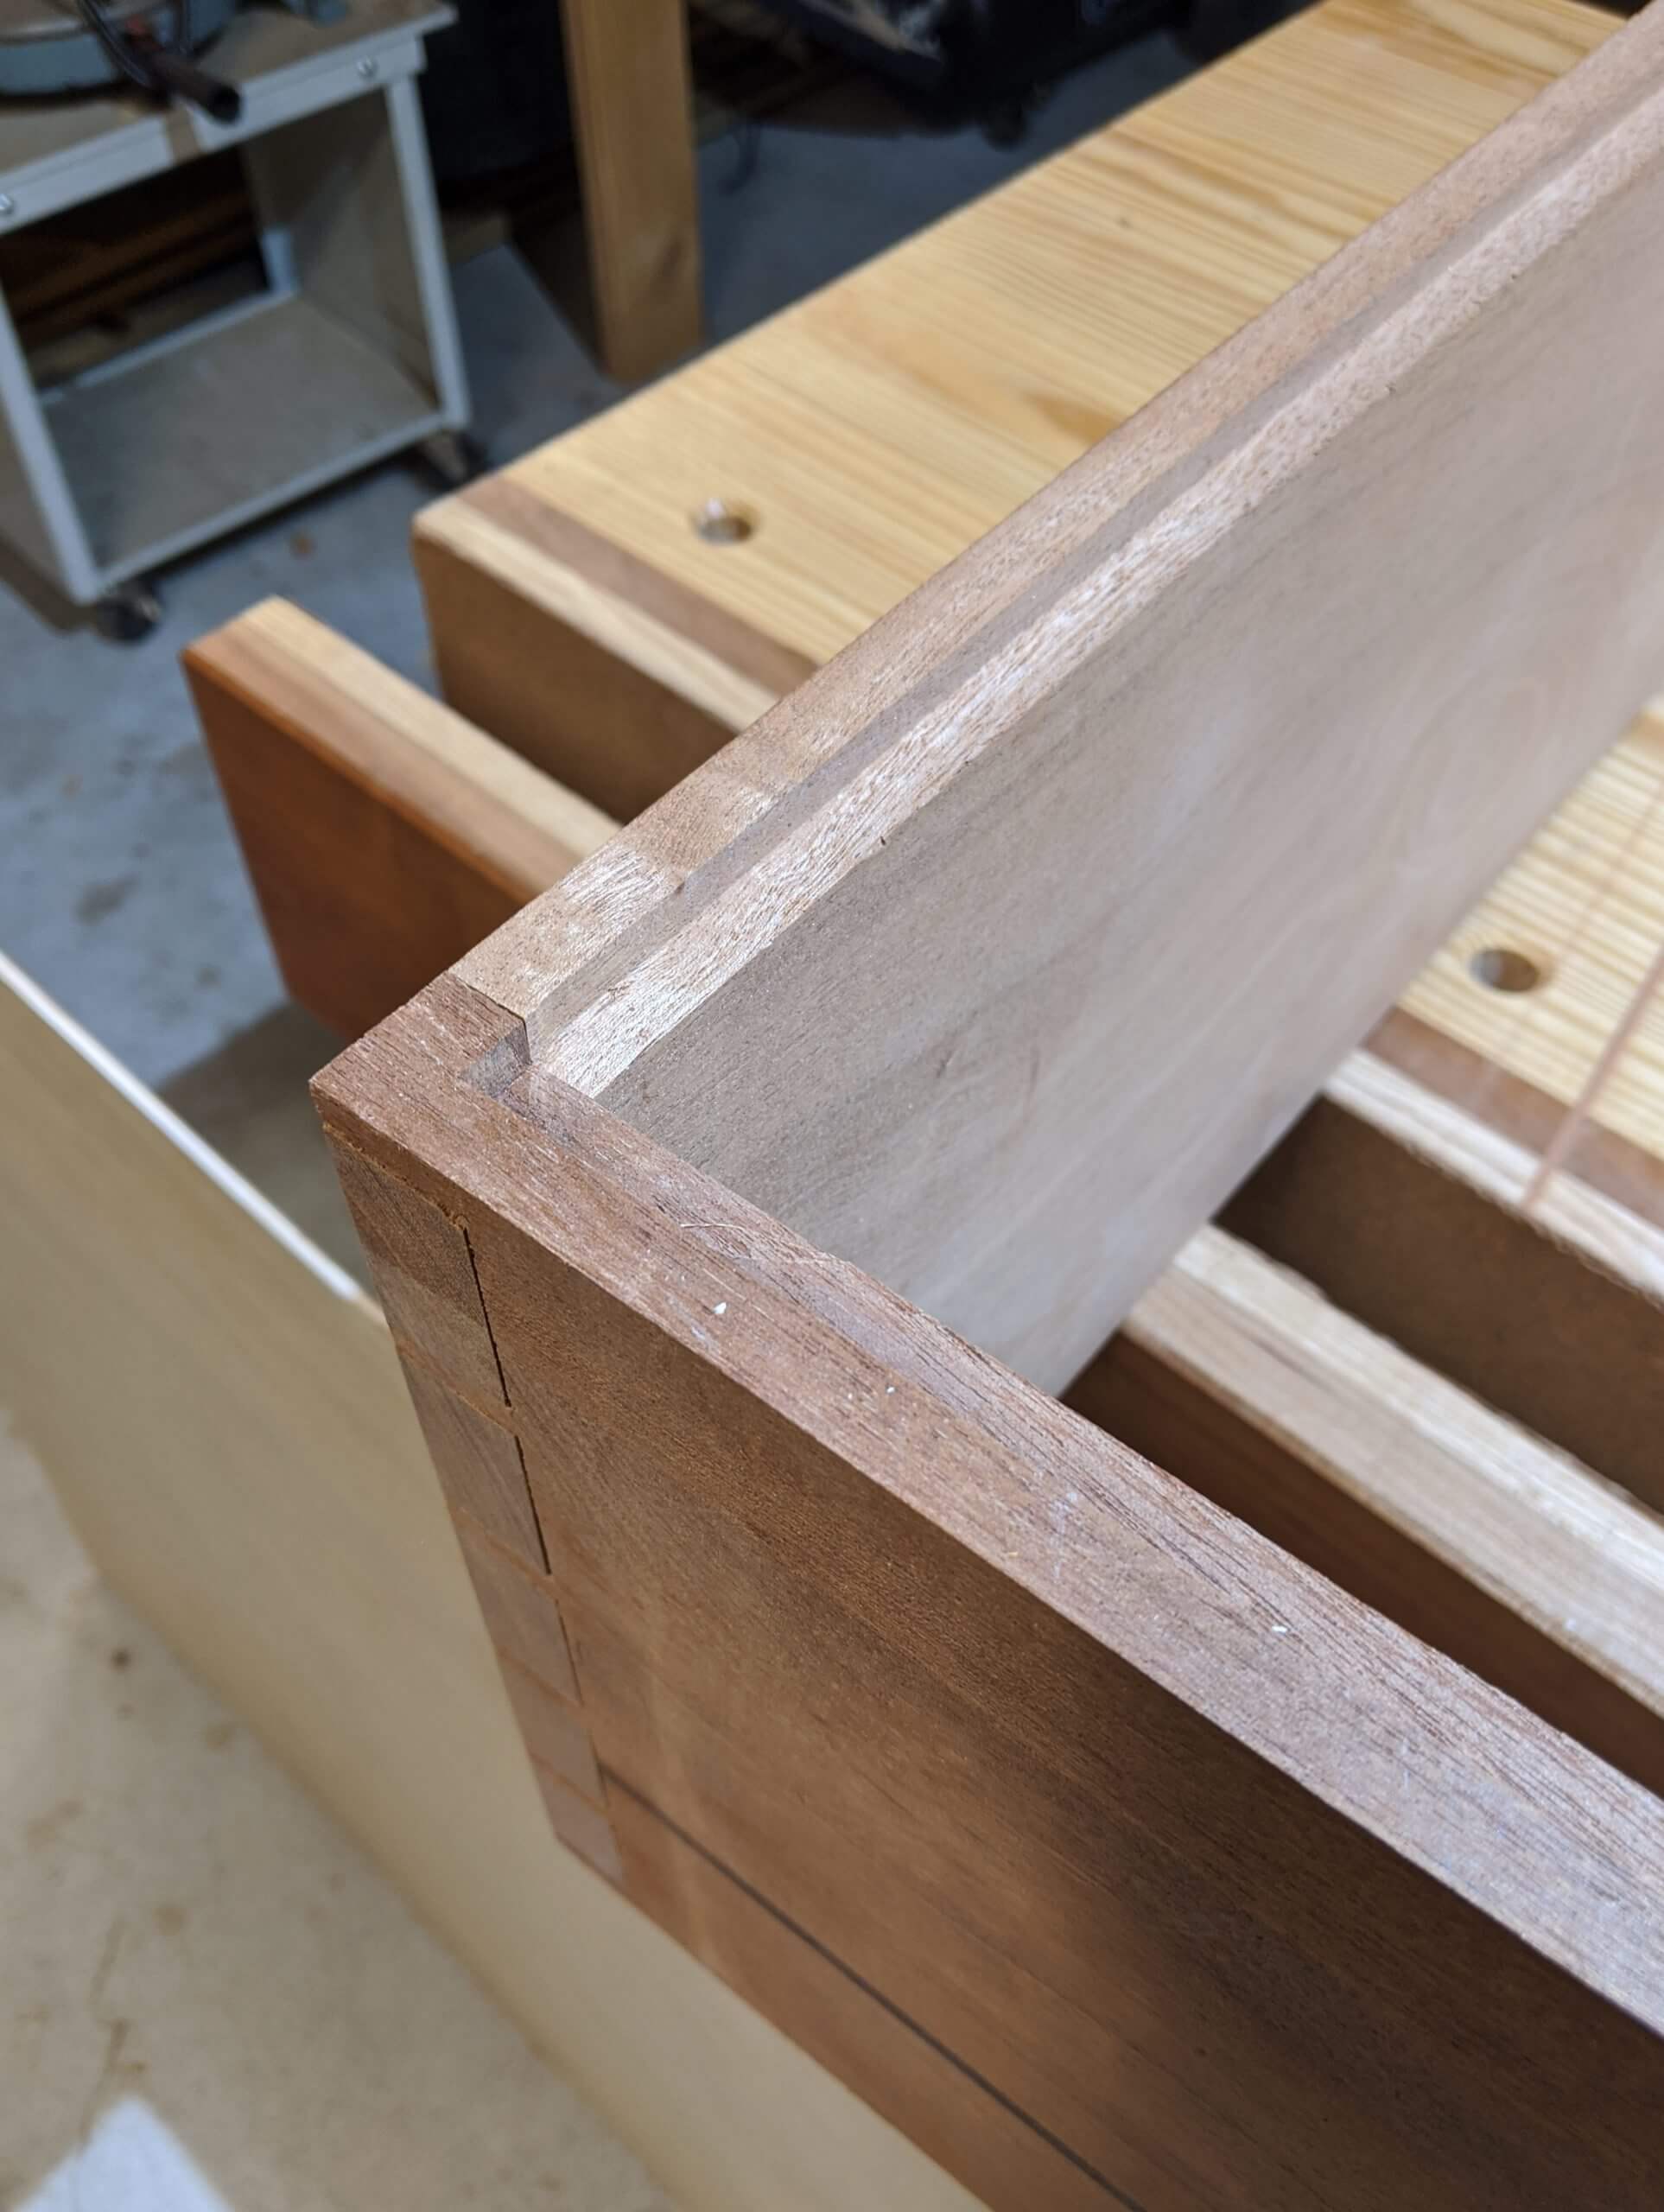
For strength and for appearance, the corners of the case will be dovetailed together. 11 degree dovetails were marked with the top and bottom being the tail piece.
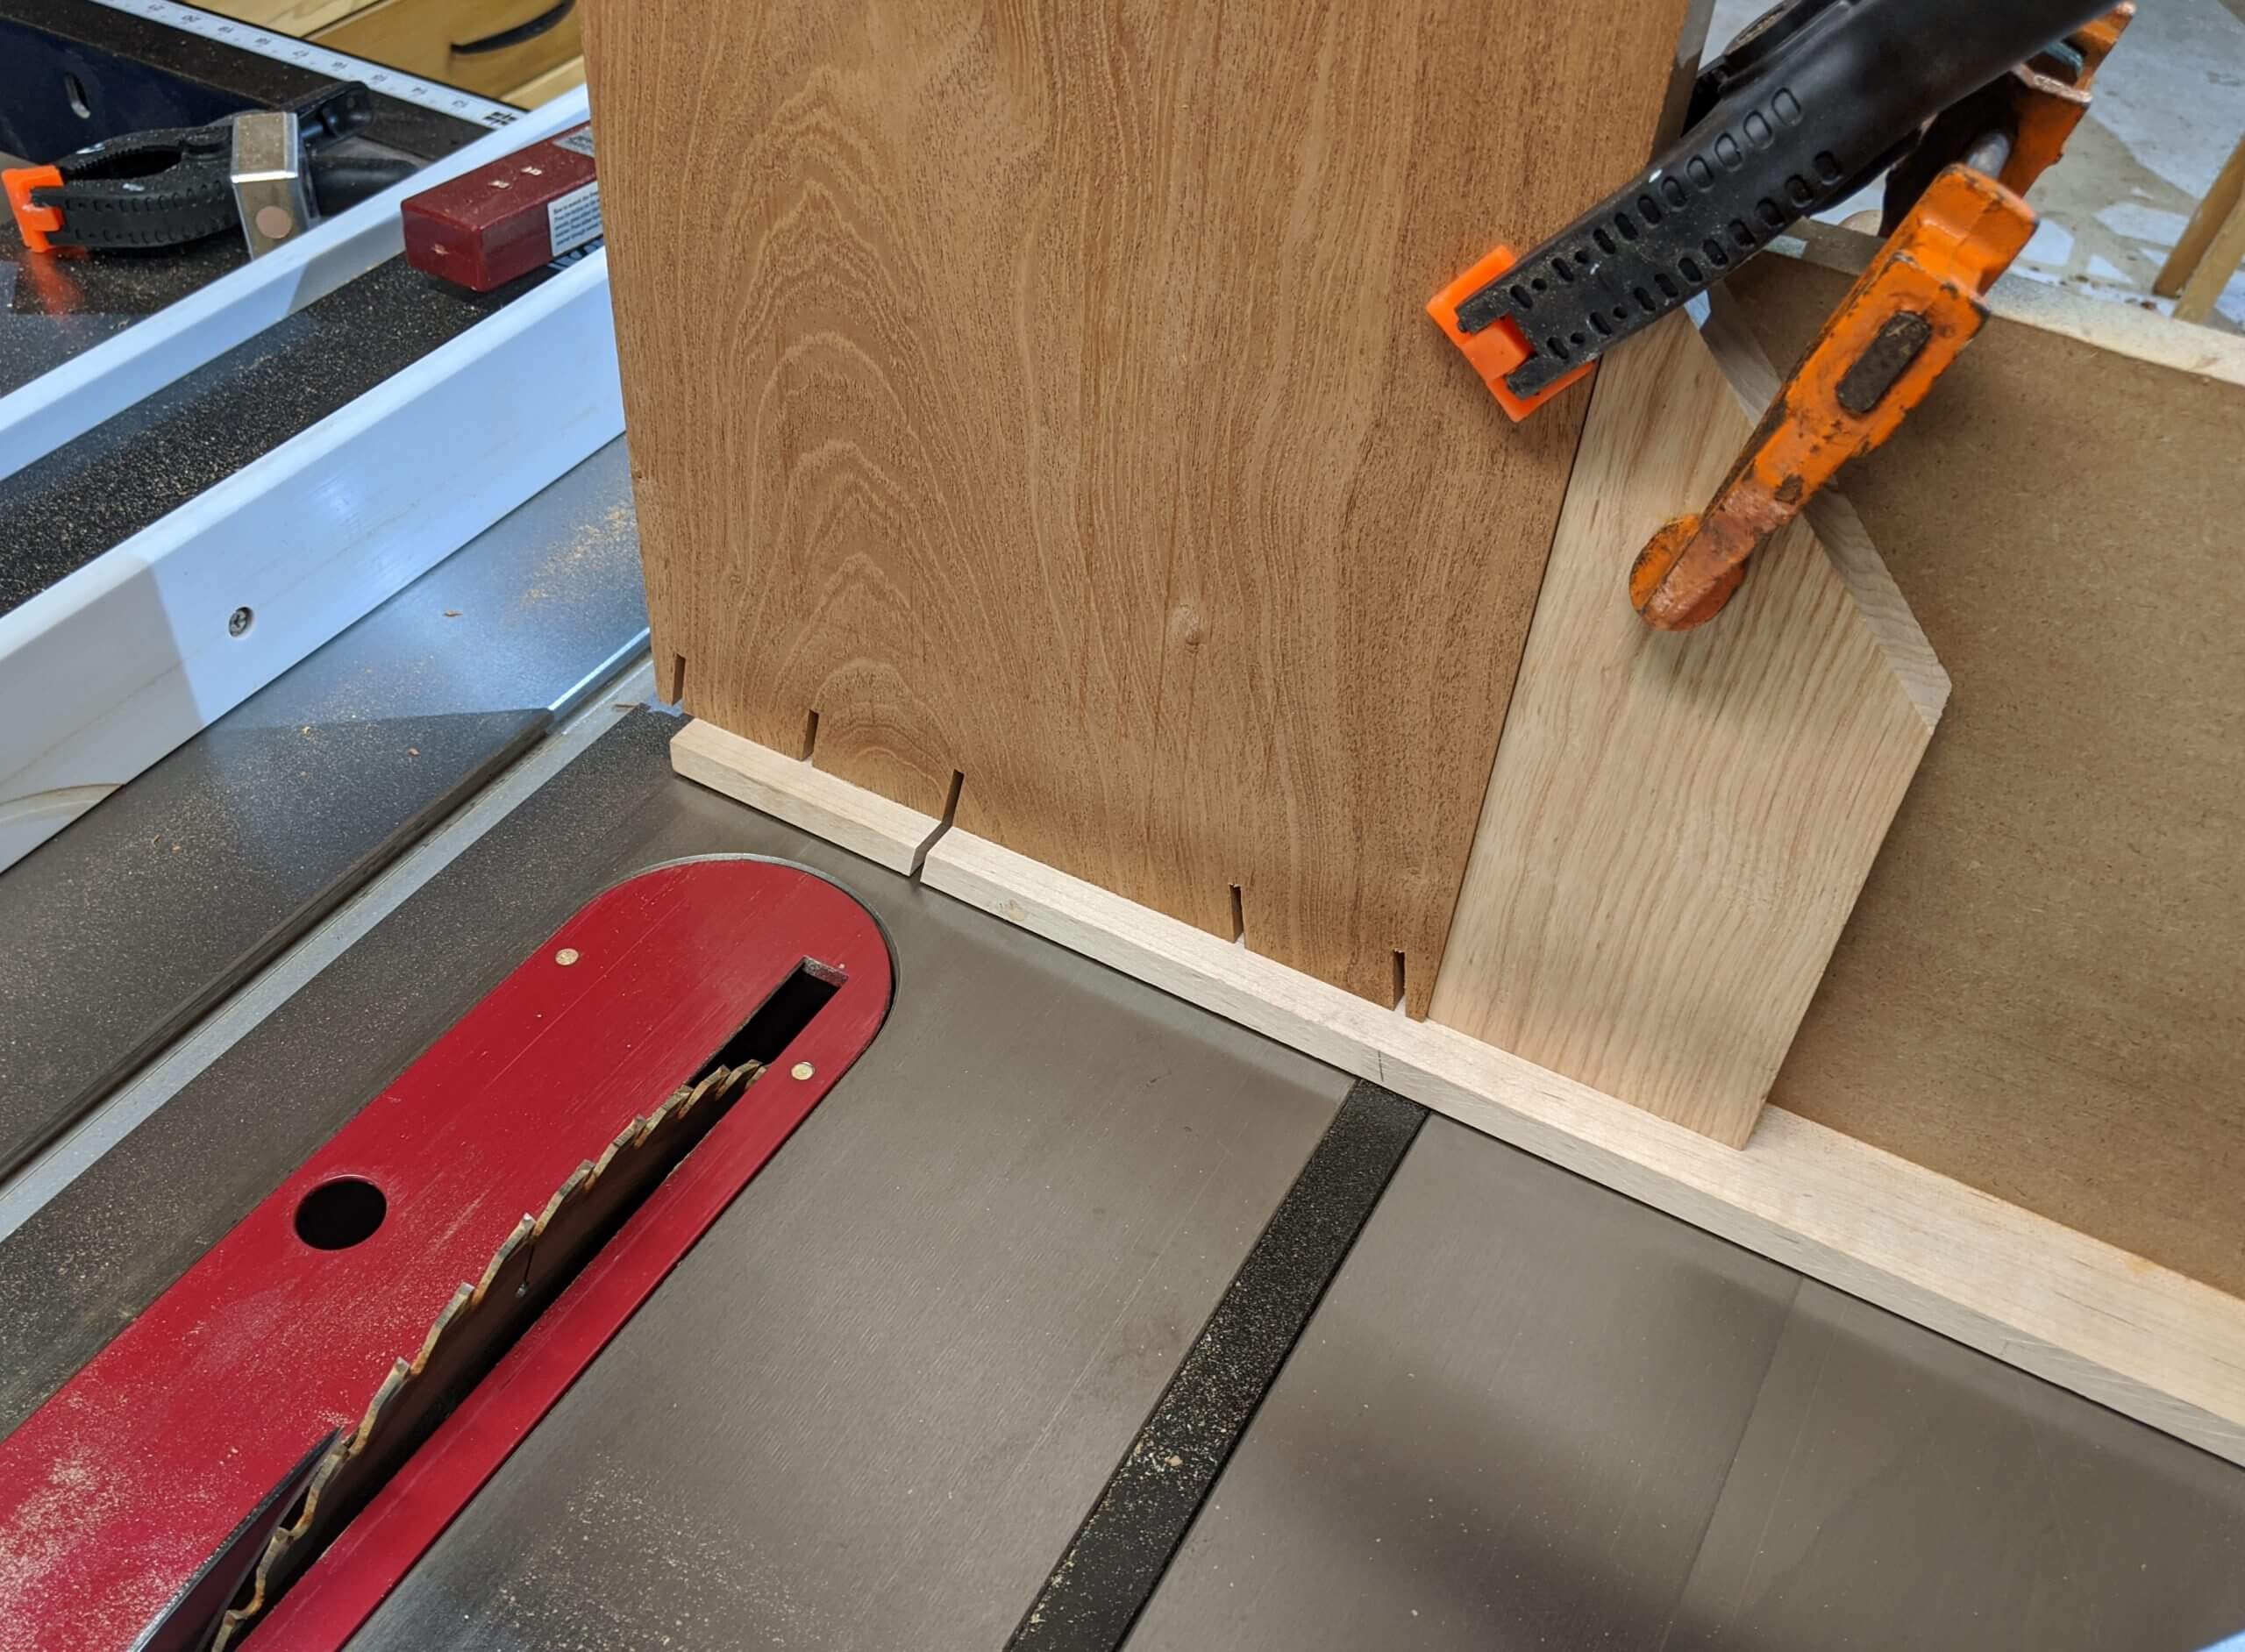
They were cut using the table saw method for tails (build a fence for your miter gauge with a small shelf on the bottom of the fence that will show you the kerf line, tilt the blade to your desired angle then adjust the height to the top of the tail cut). This is a great method for tail as you can position a stop block and make the same cut on each side and each end (four cuts) of each piece. So if you are making 20 drawers, you can cut them all with each stop block position.

The waste was cleaned out normally. Some use the table saw to “nibble” out the waste with this method.
Manually cleaning out the waste makes for a stunningly clean cut set of tails.
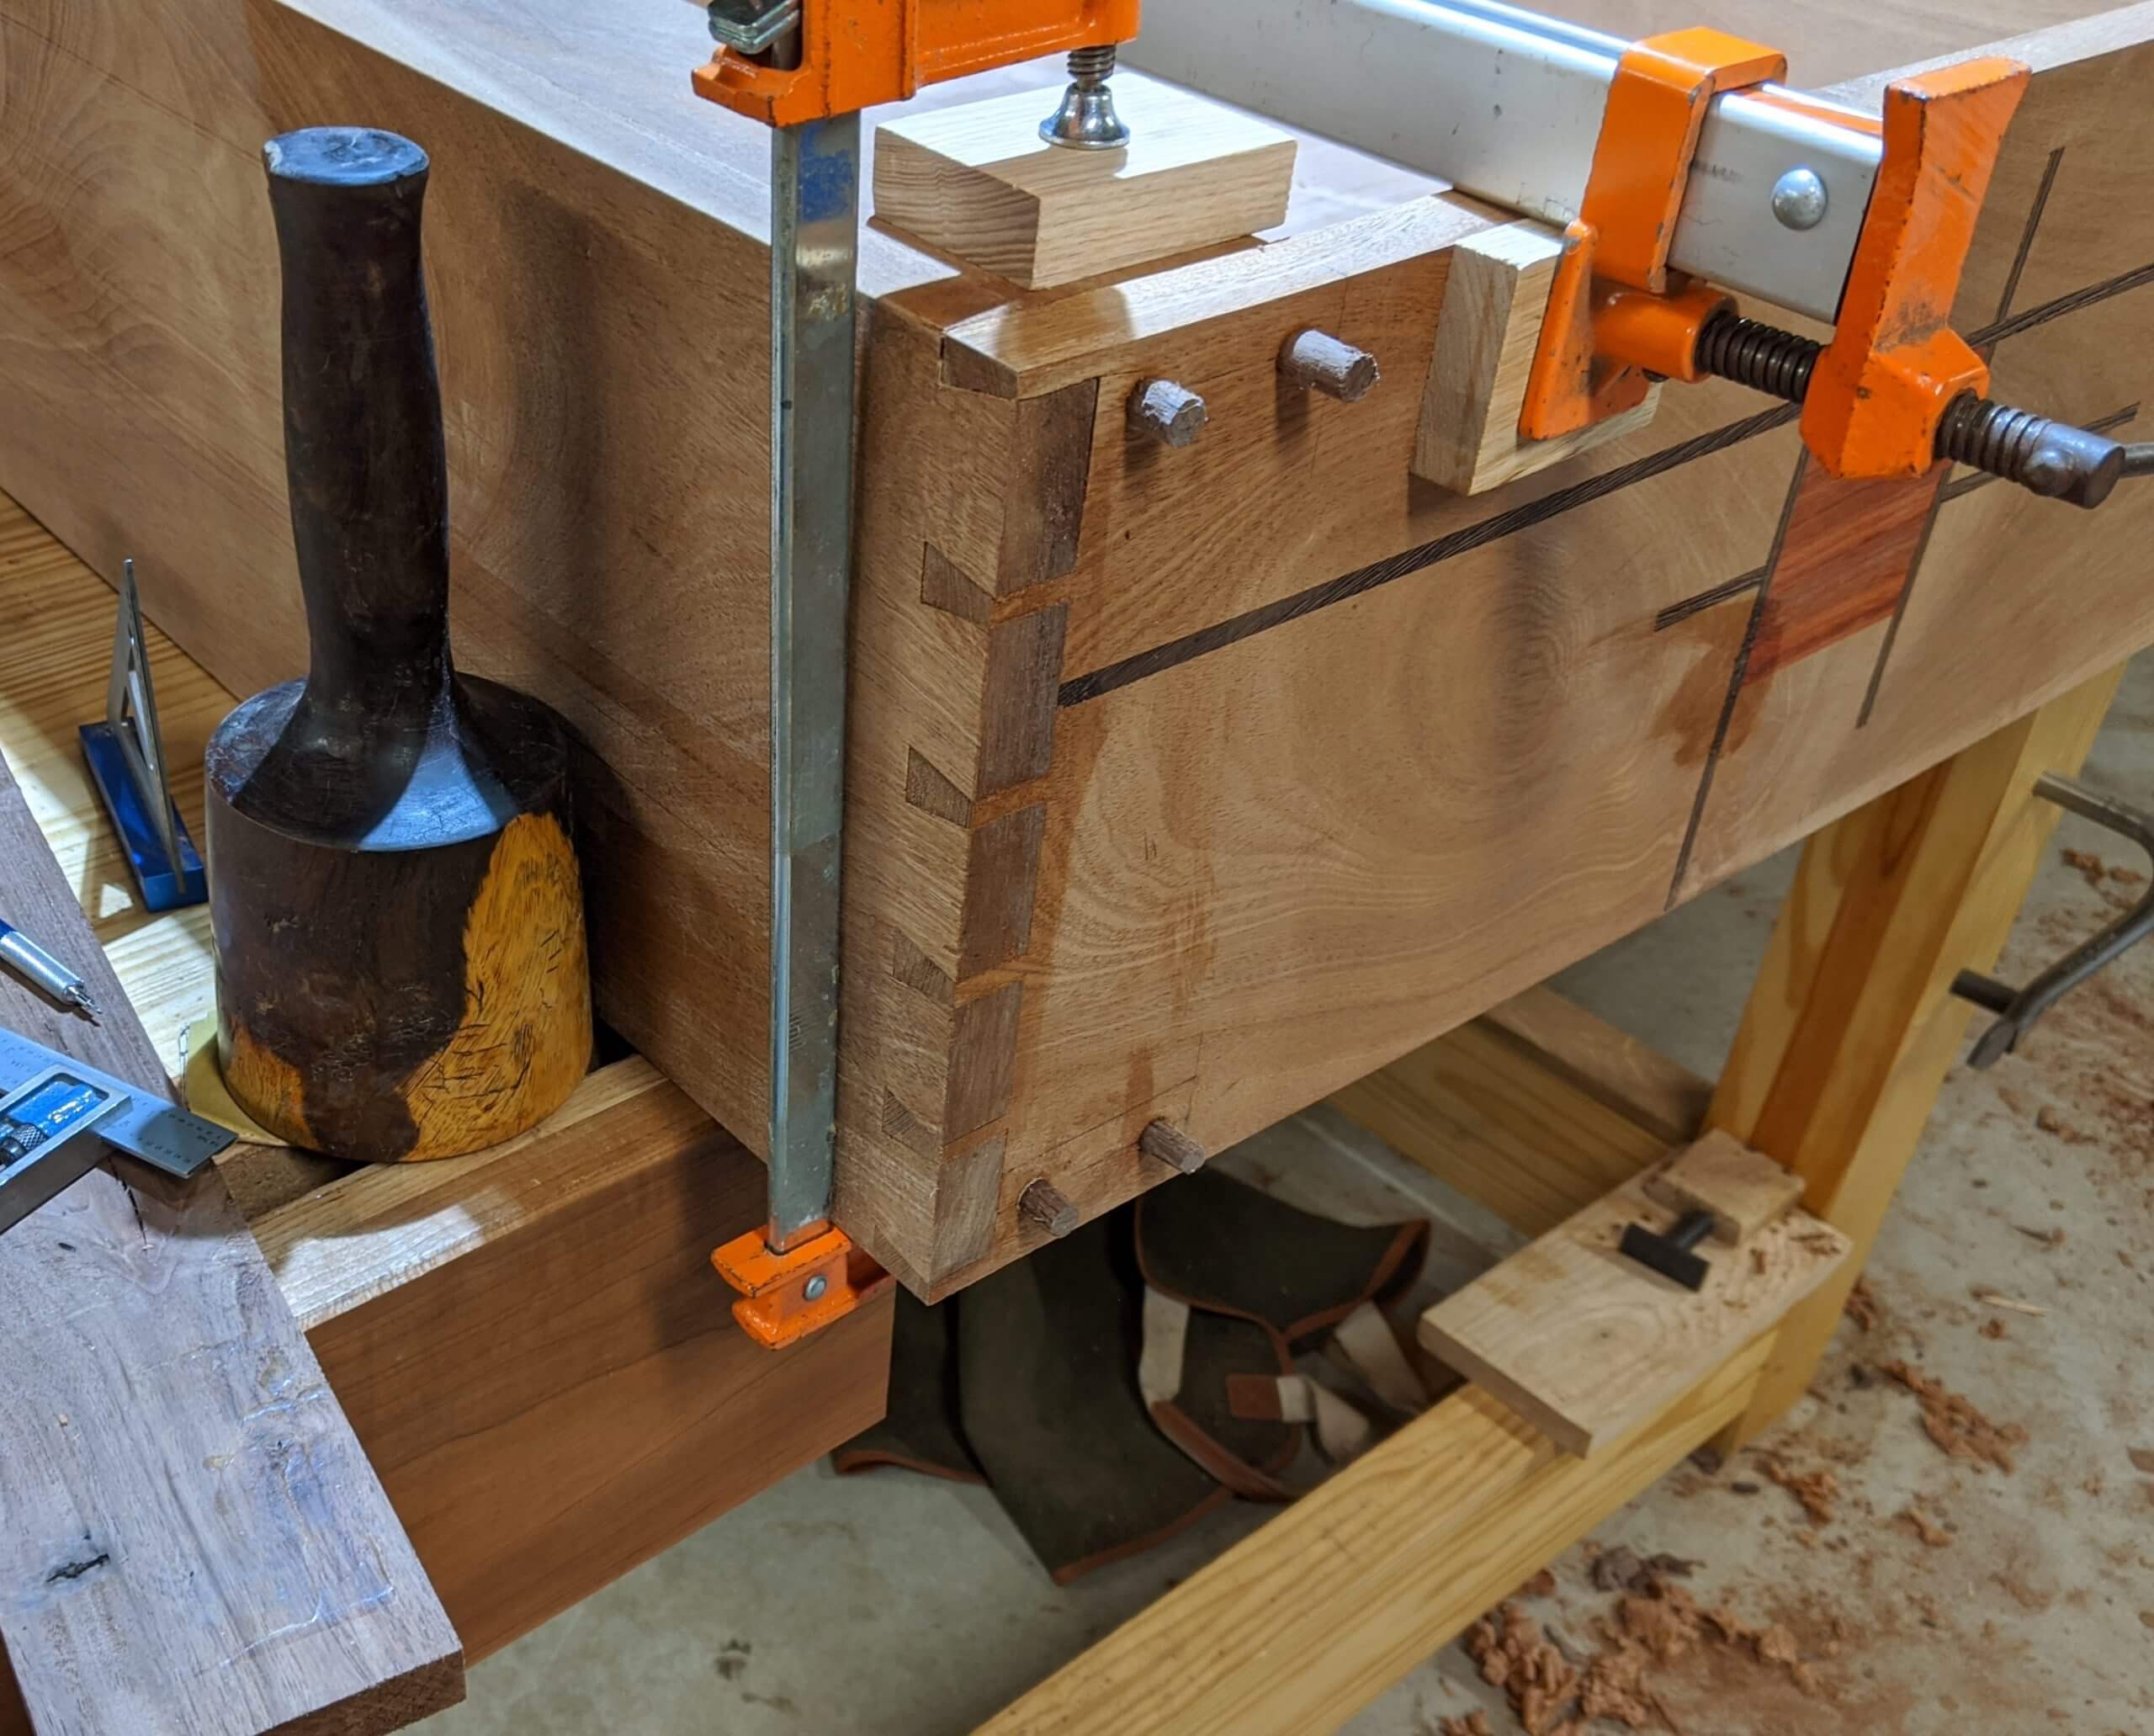
You can use the table saw to cut the pins, but my sides were way to long (making a second sled, and having the blade at 90 degrees and angling the miter to match the original blade setting). They were so long that marking them required the opposite setup from normal (tail board in the vice versus pin board). It worked, but I had to take a great deal of time making certain that the parts were squire (using a carpenters square and squaring the tail board to the bottom of the vice jaw and the pin board to the edge of the bench). Each took a good 15 minutes to get setup. Once set, the pins were marked with a knife. If I were to do this again, I would put a small rabbit on the inside tail service for registration.
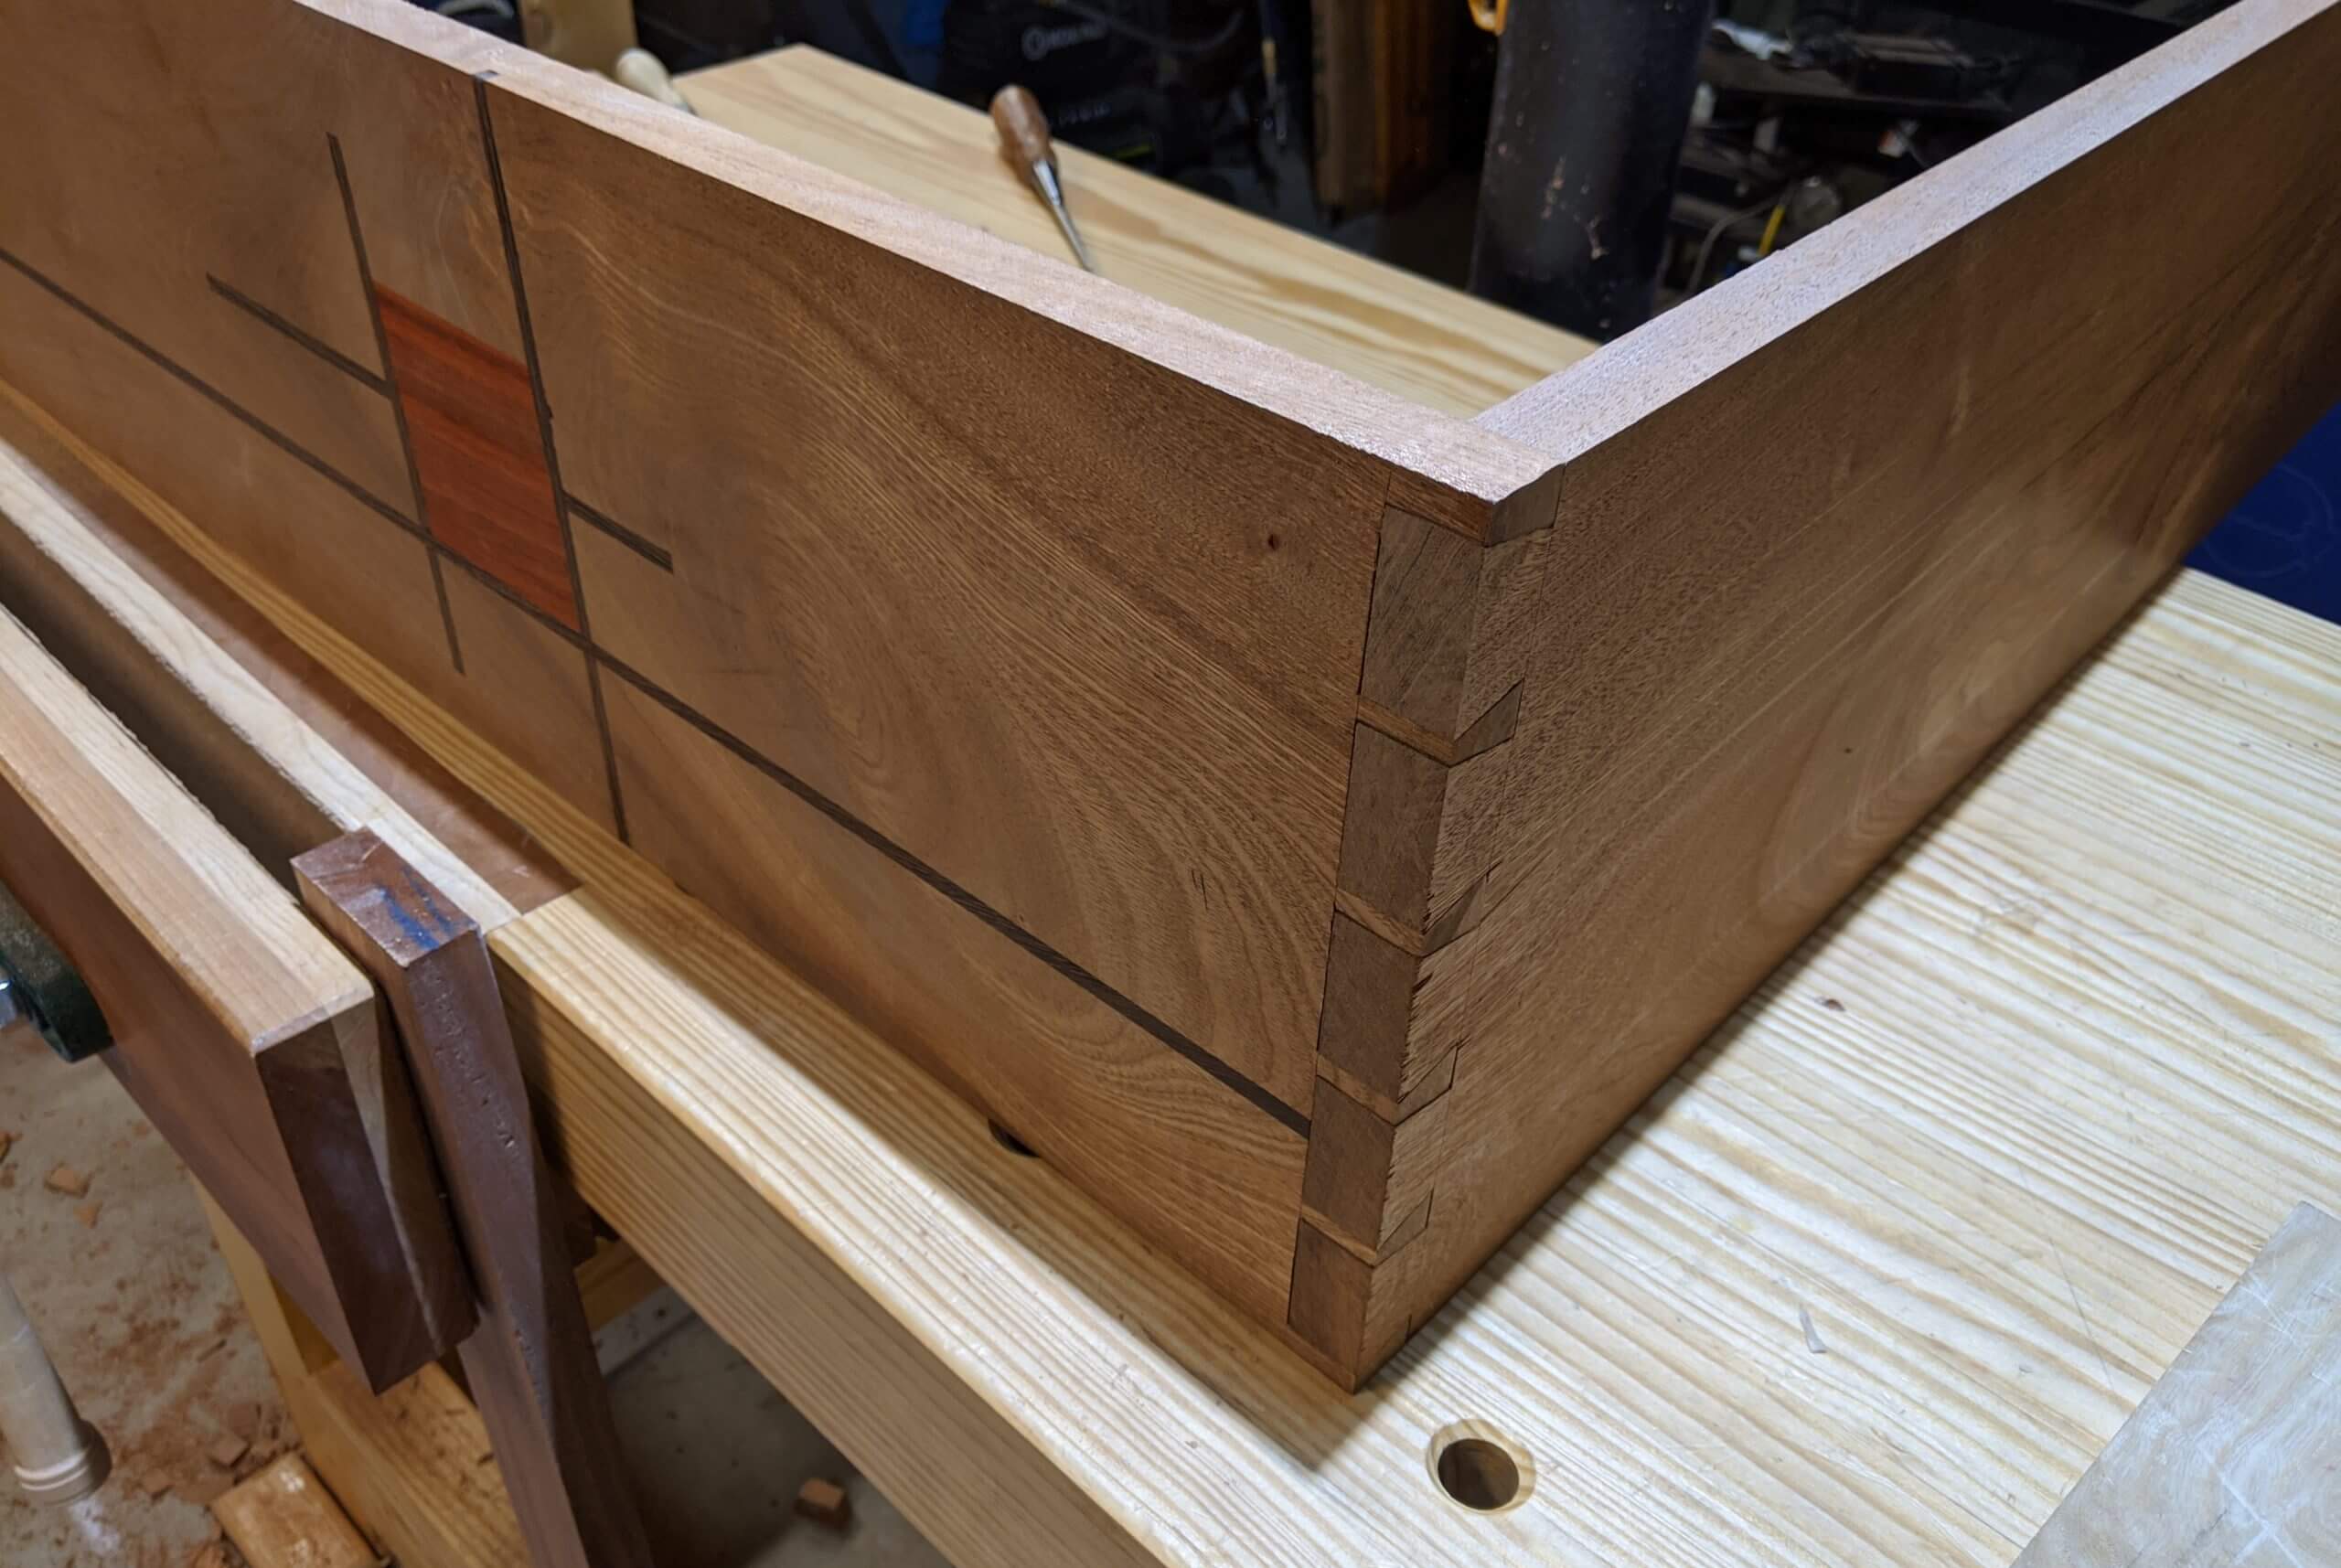
I stood on a bucket with the pin board in the vise and cut the pins. Not easy. Not fun. They came out “okay”.
Shelf Holes and Glue Up
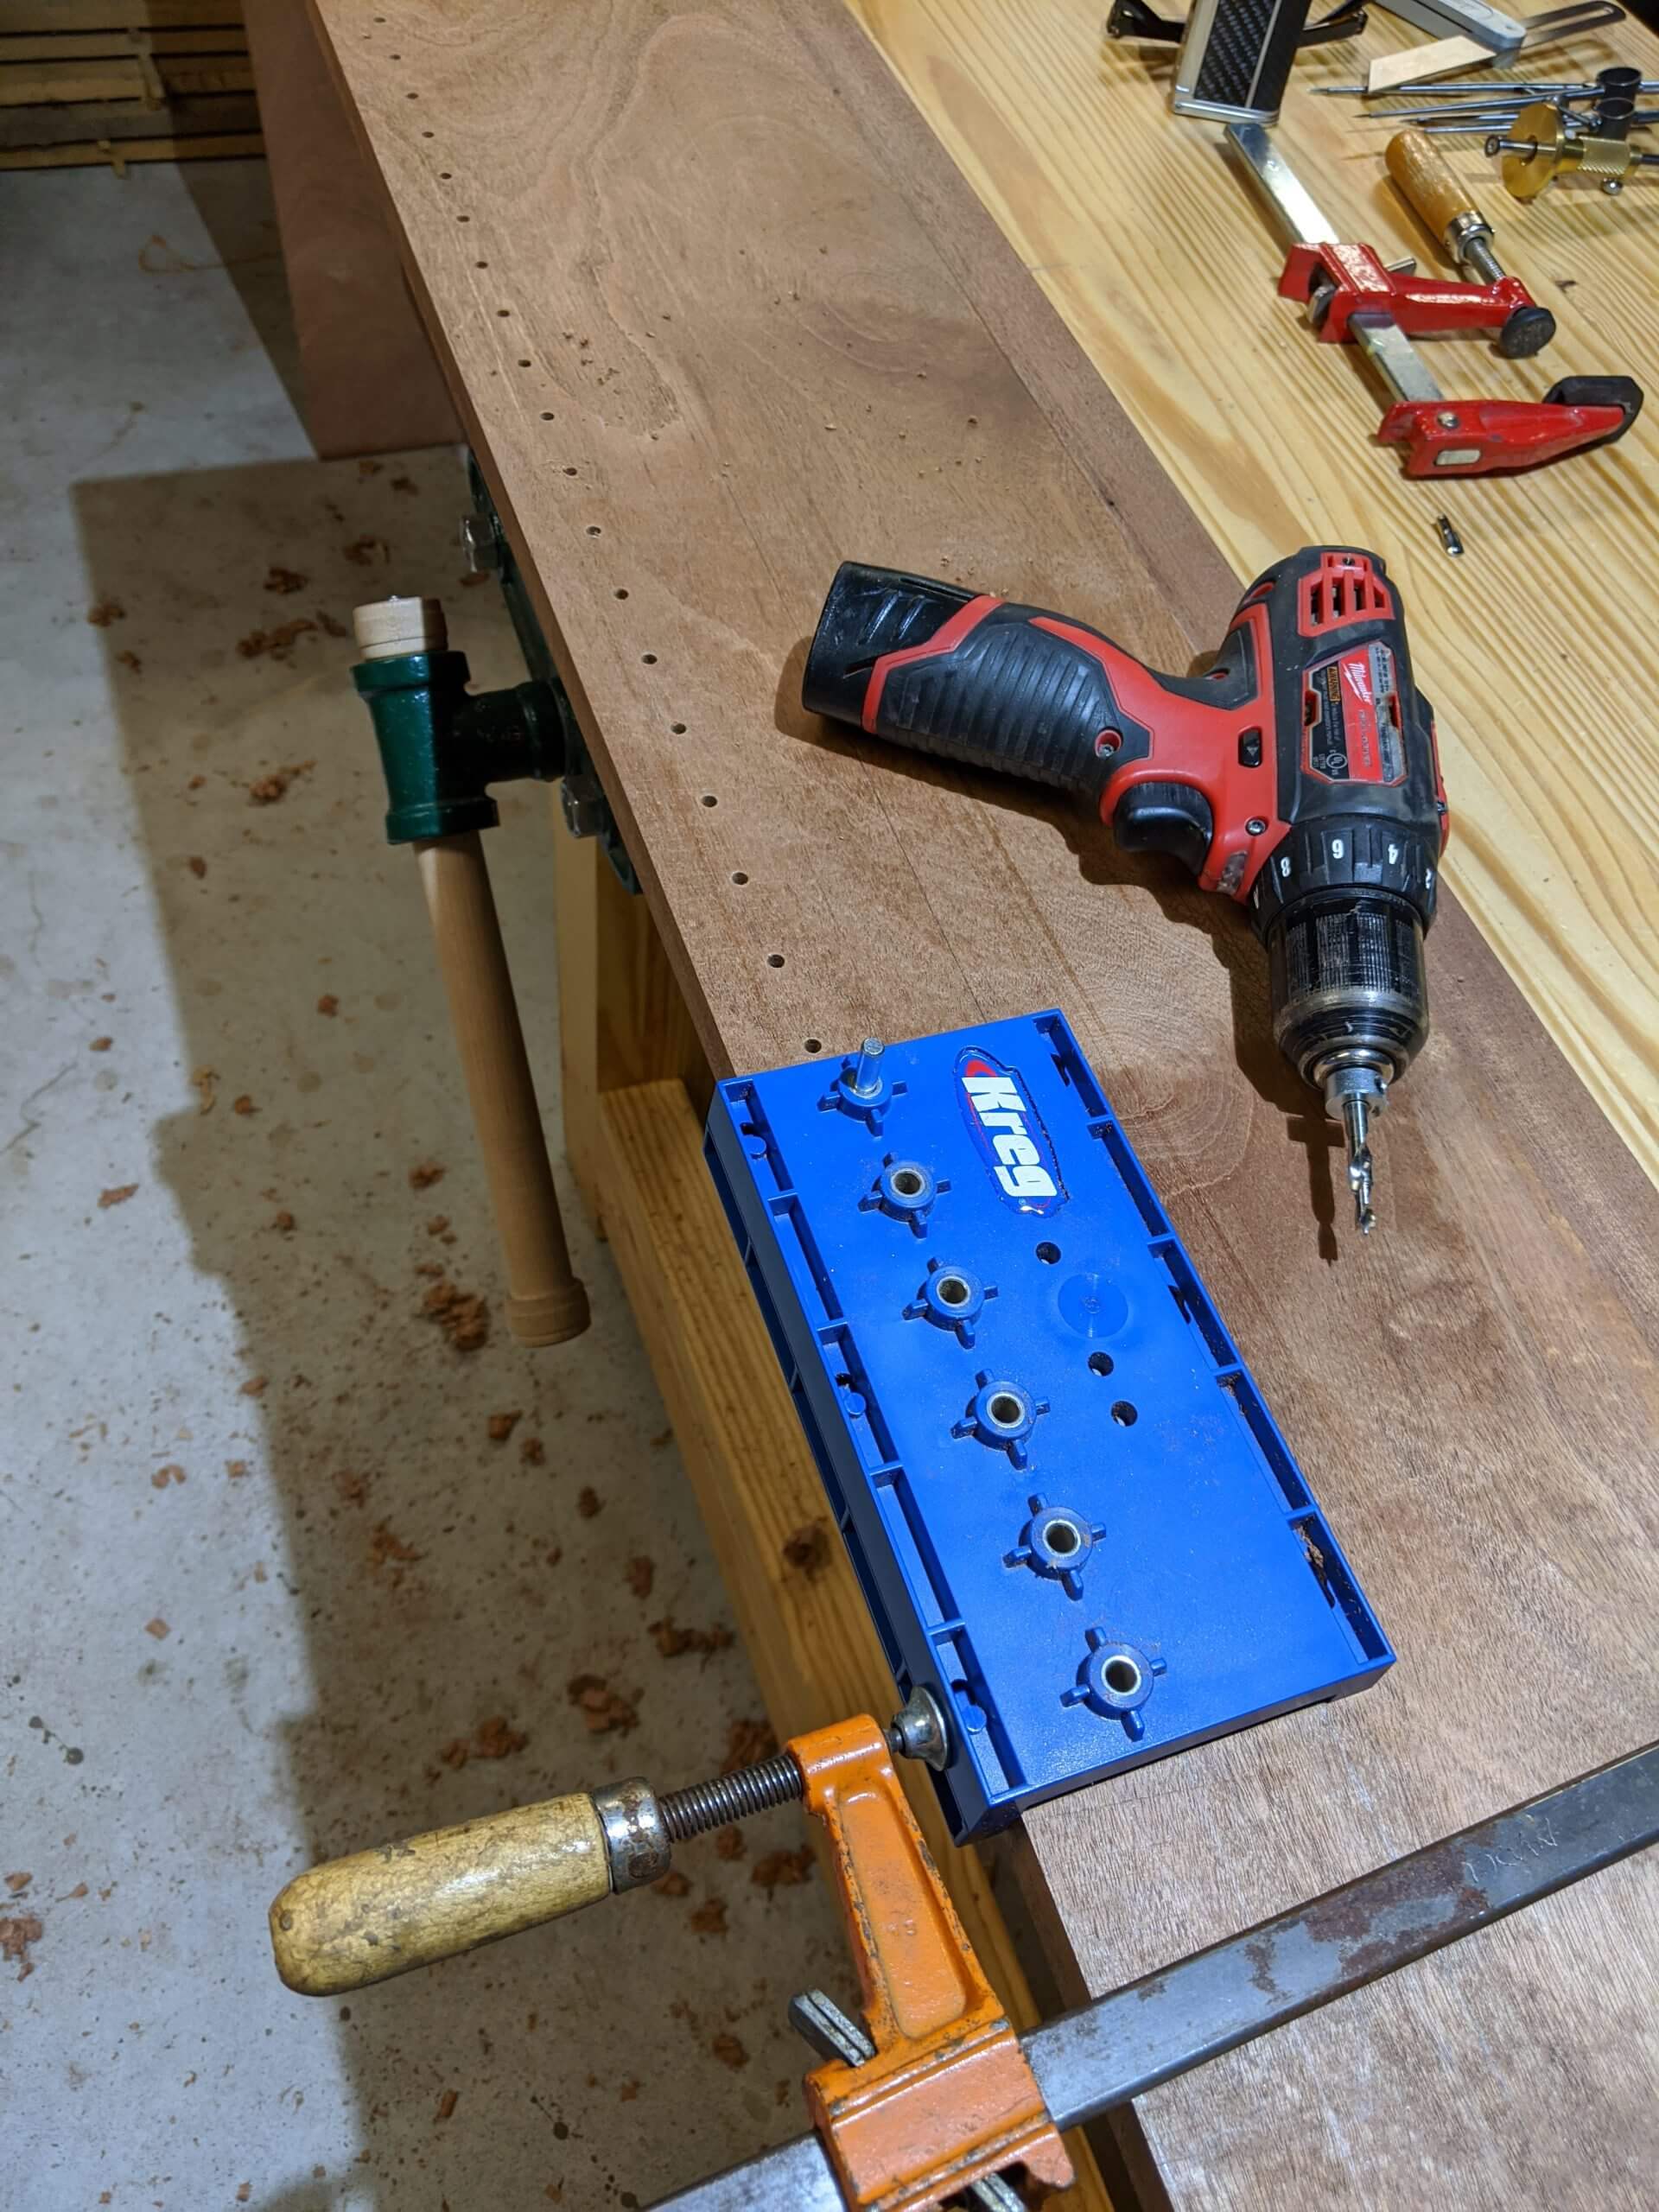
Prior to gluing the sides of the case together, shelf pin holes were drilled in each side. I used the Kreg jig, but a shop-built jig would work just as well.
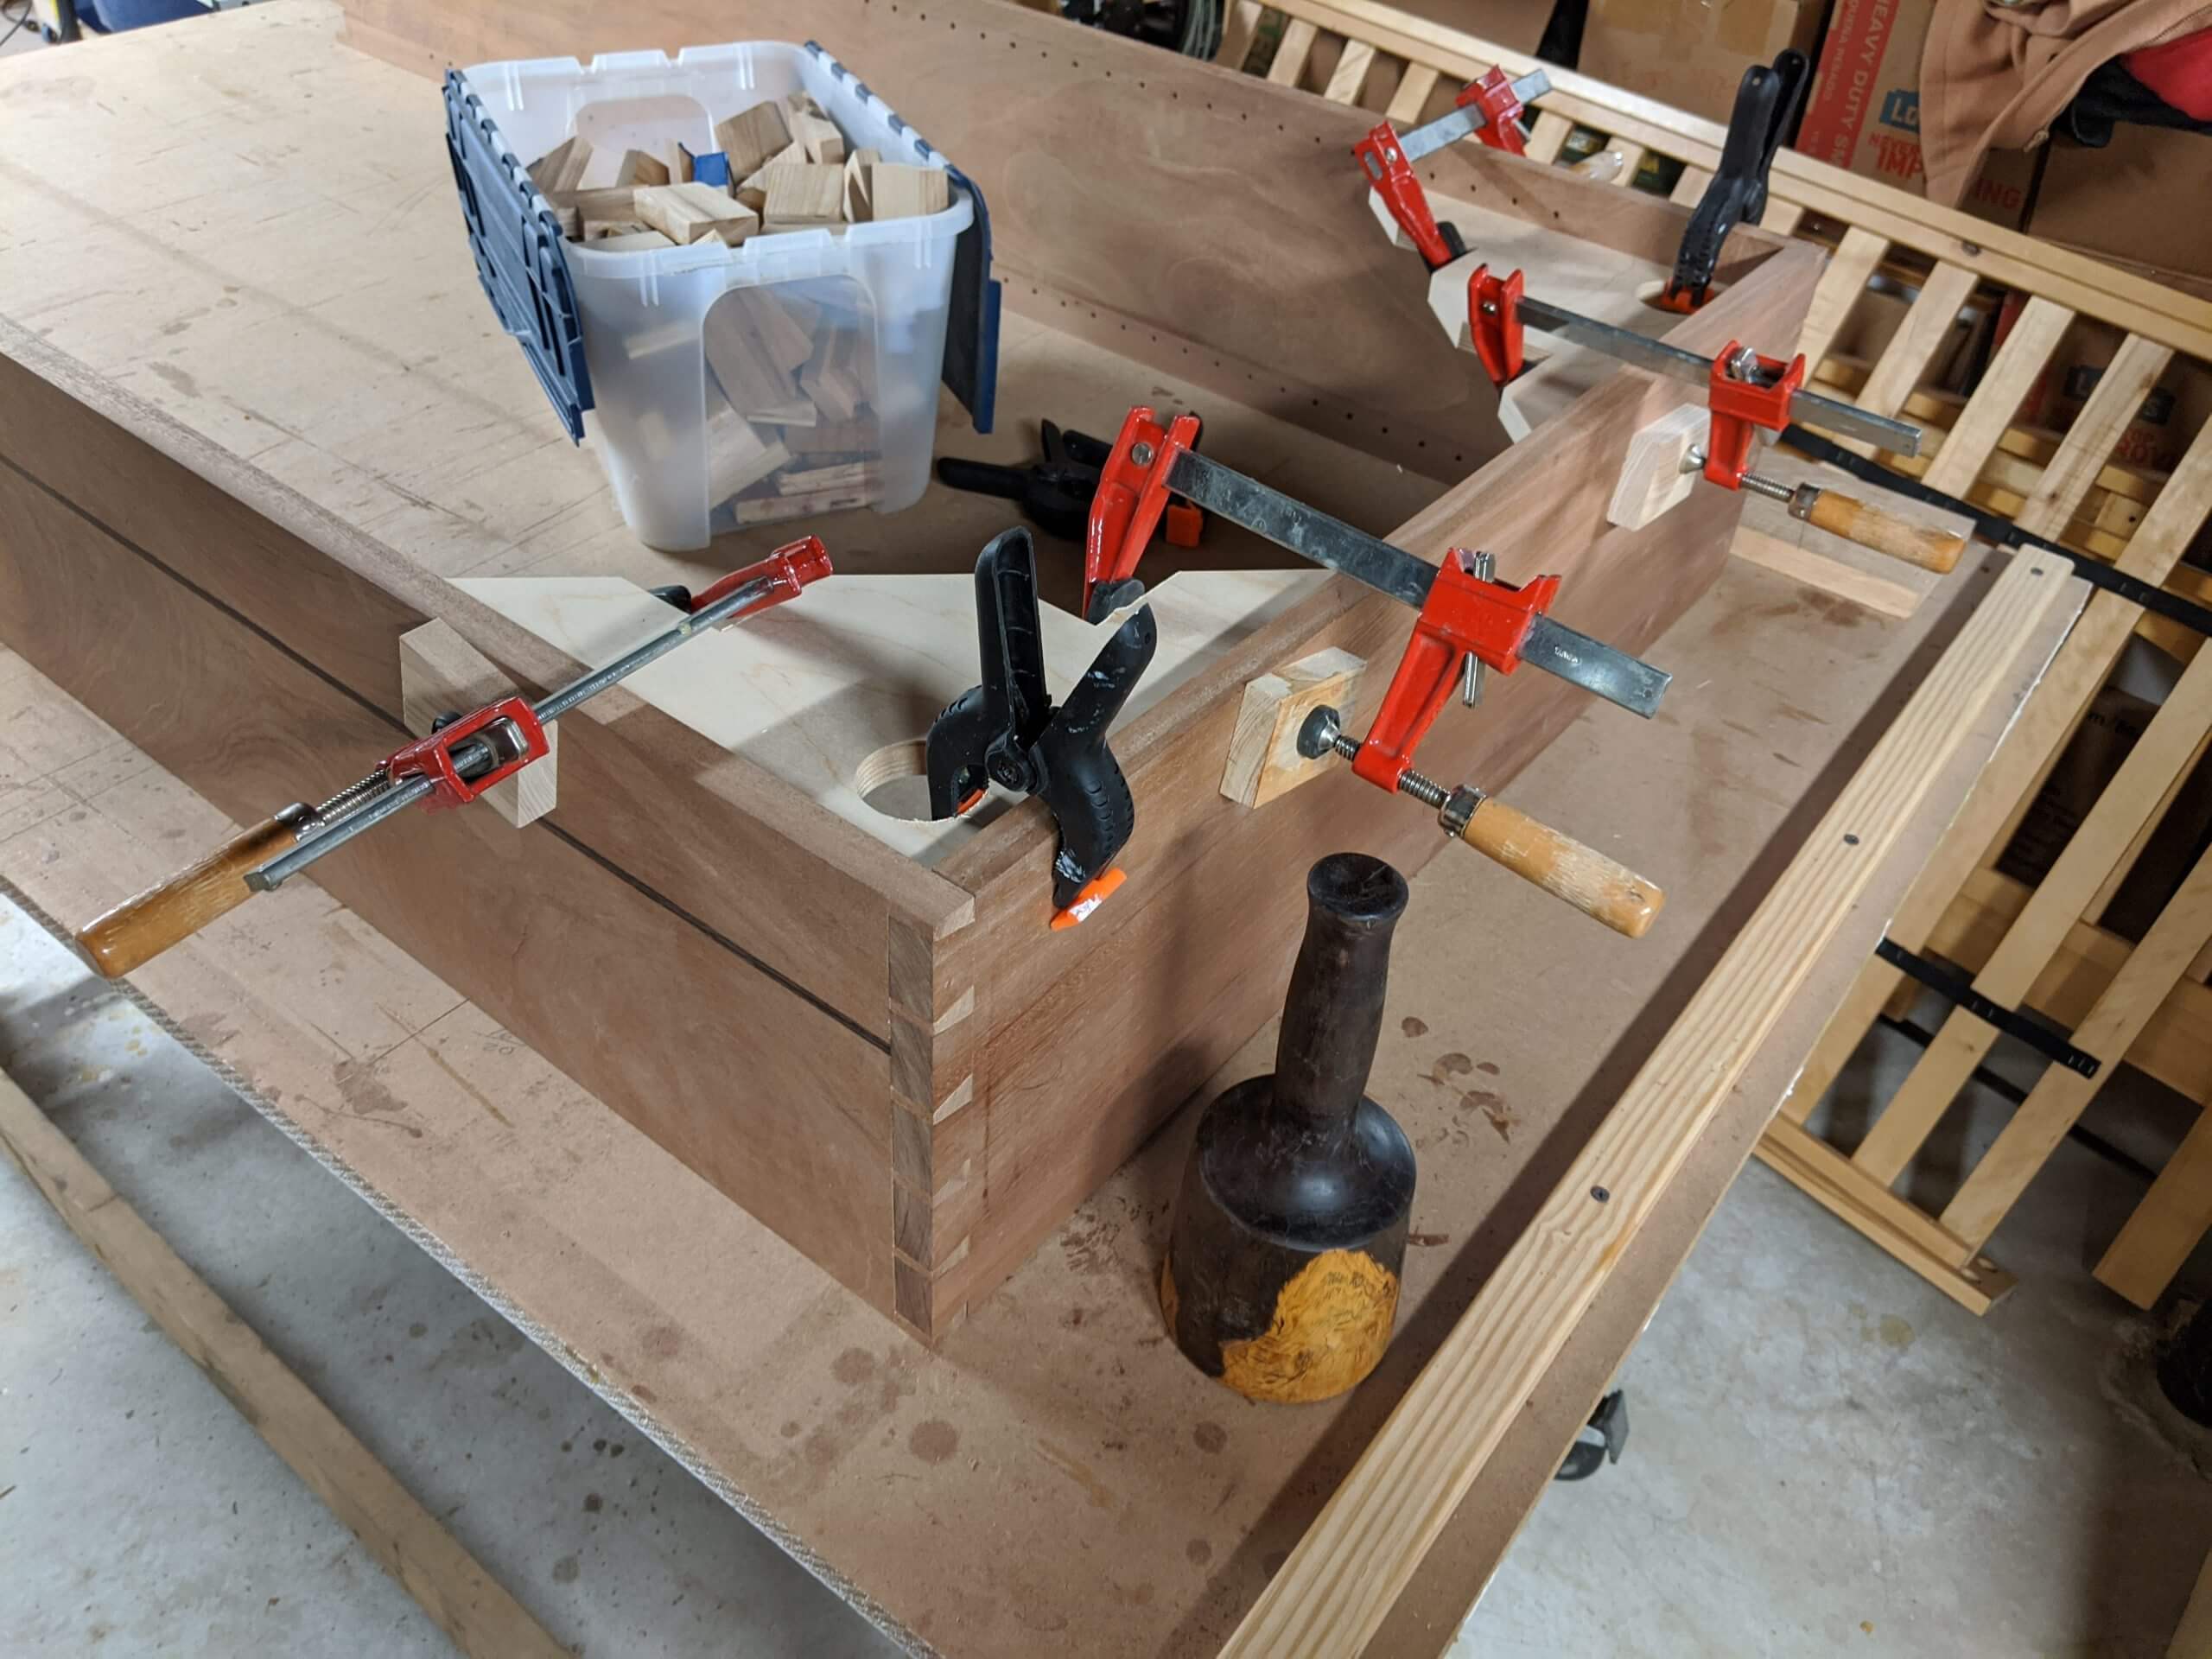
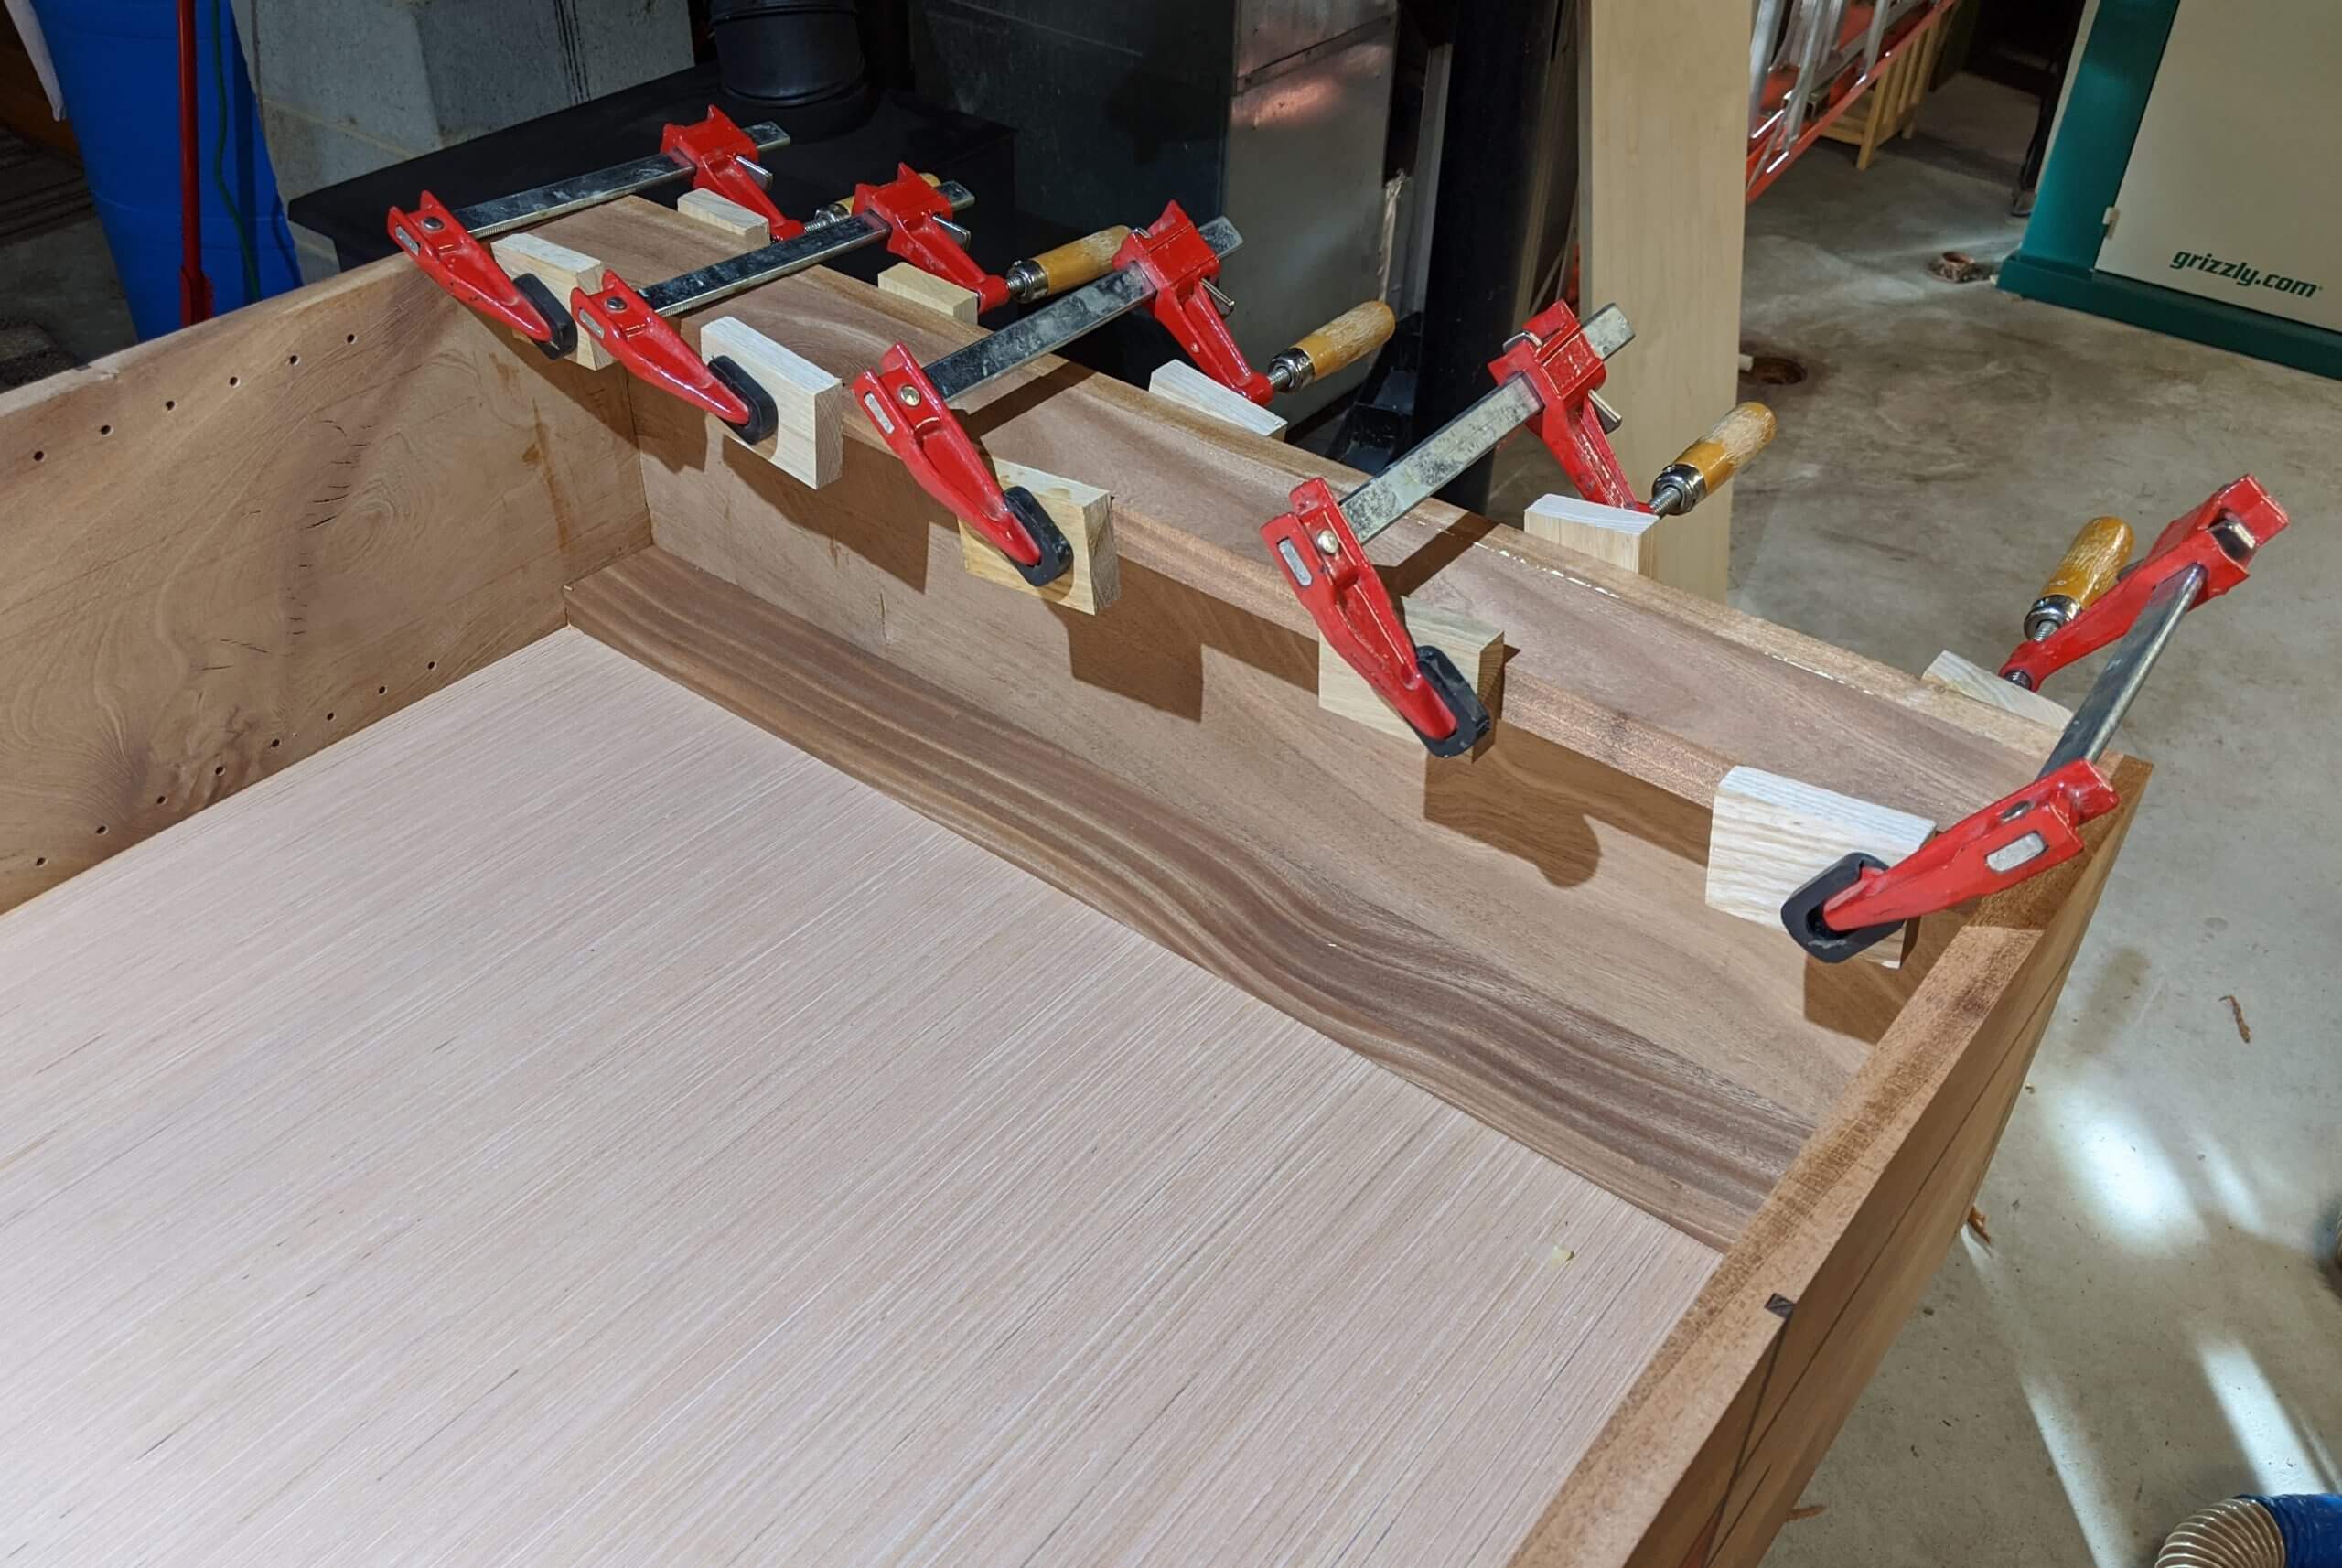
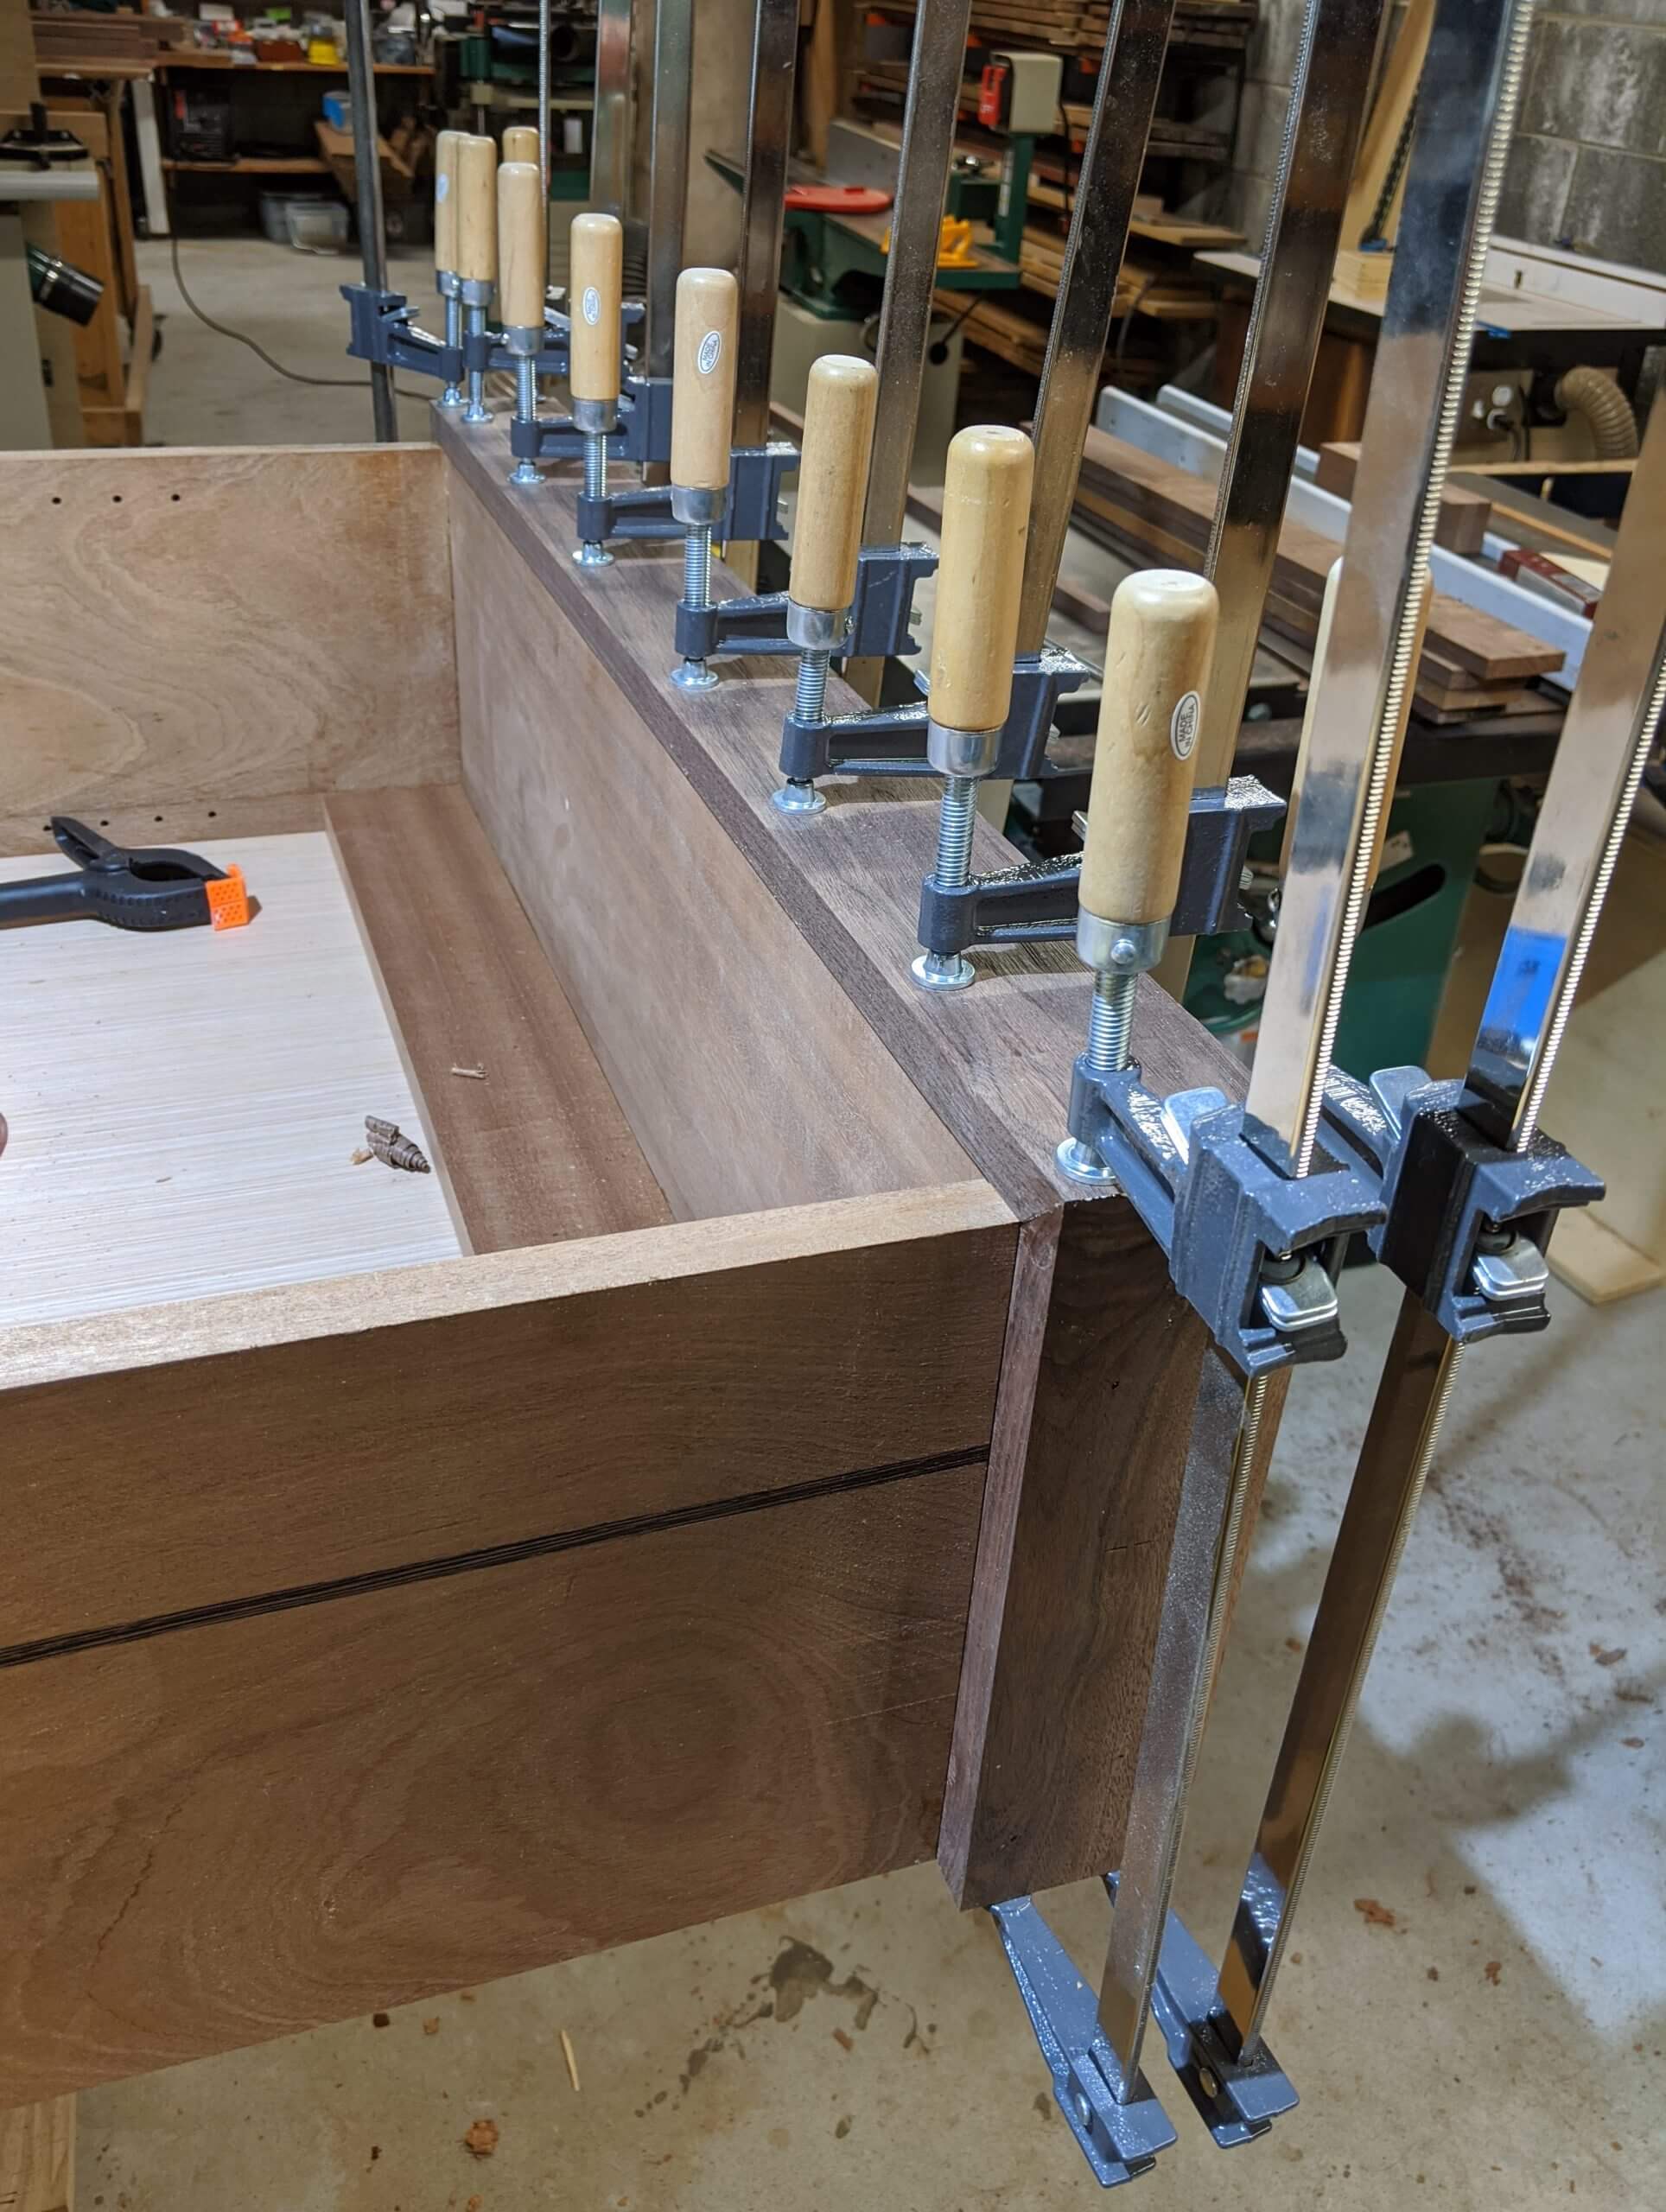
For glue-up, I use 90 degree cauls. I first dry fitted one end, then glued and clamped the other, let it sit two hours, then removed the dry end and glued that end.
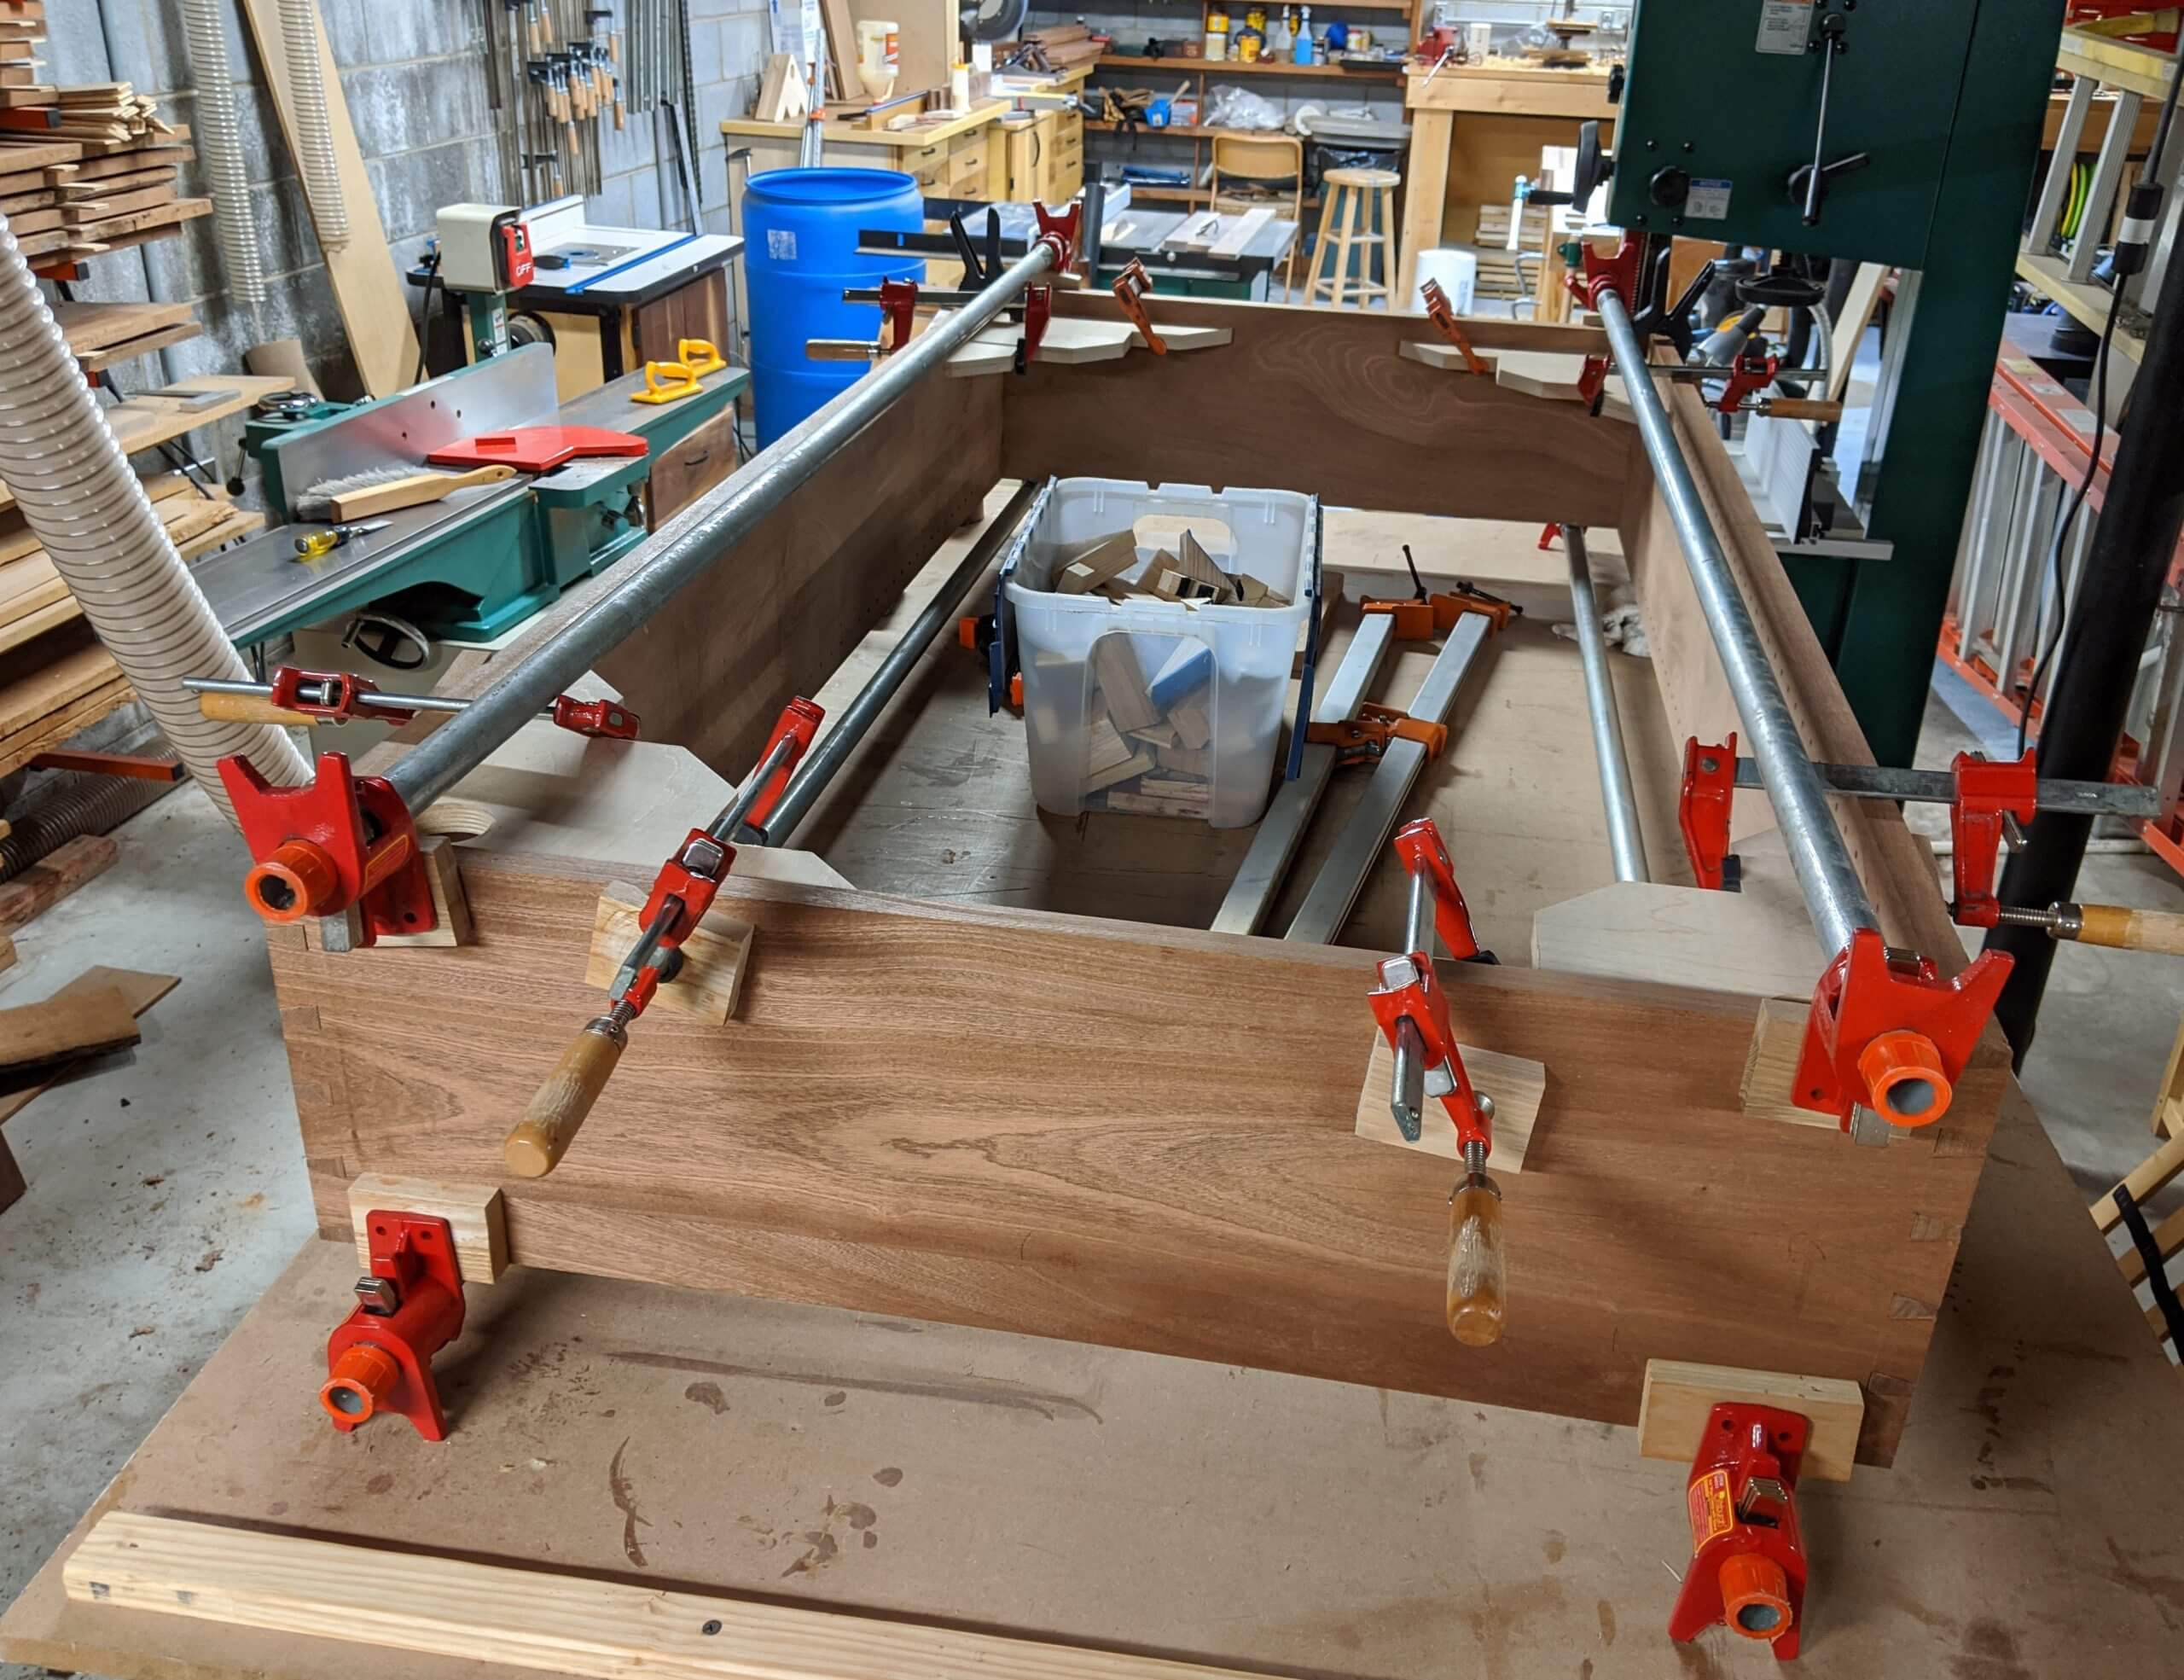
Long clamps were a must.
Base Legs and Back
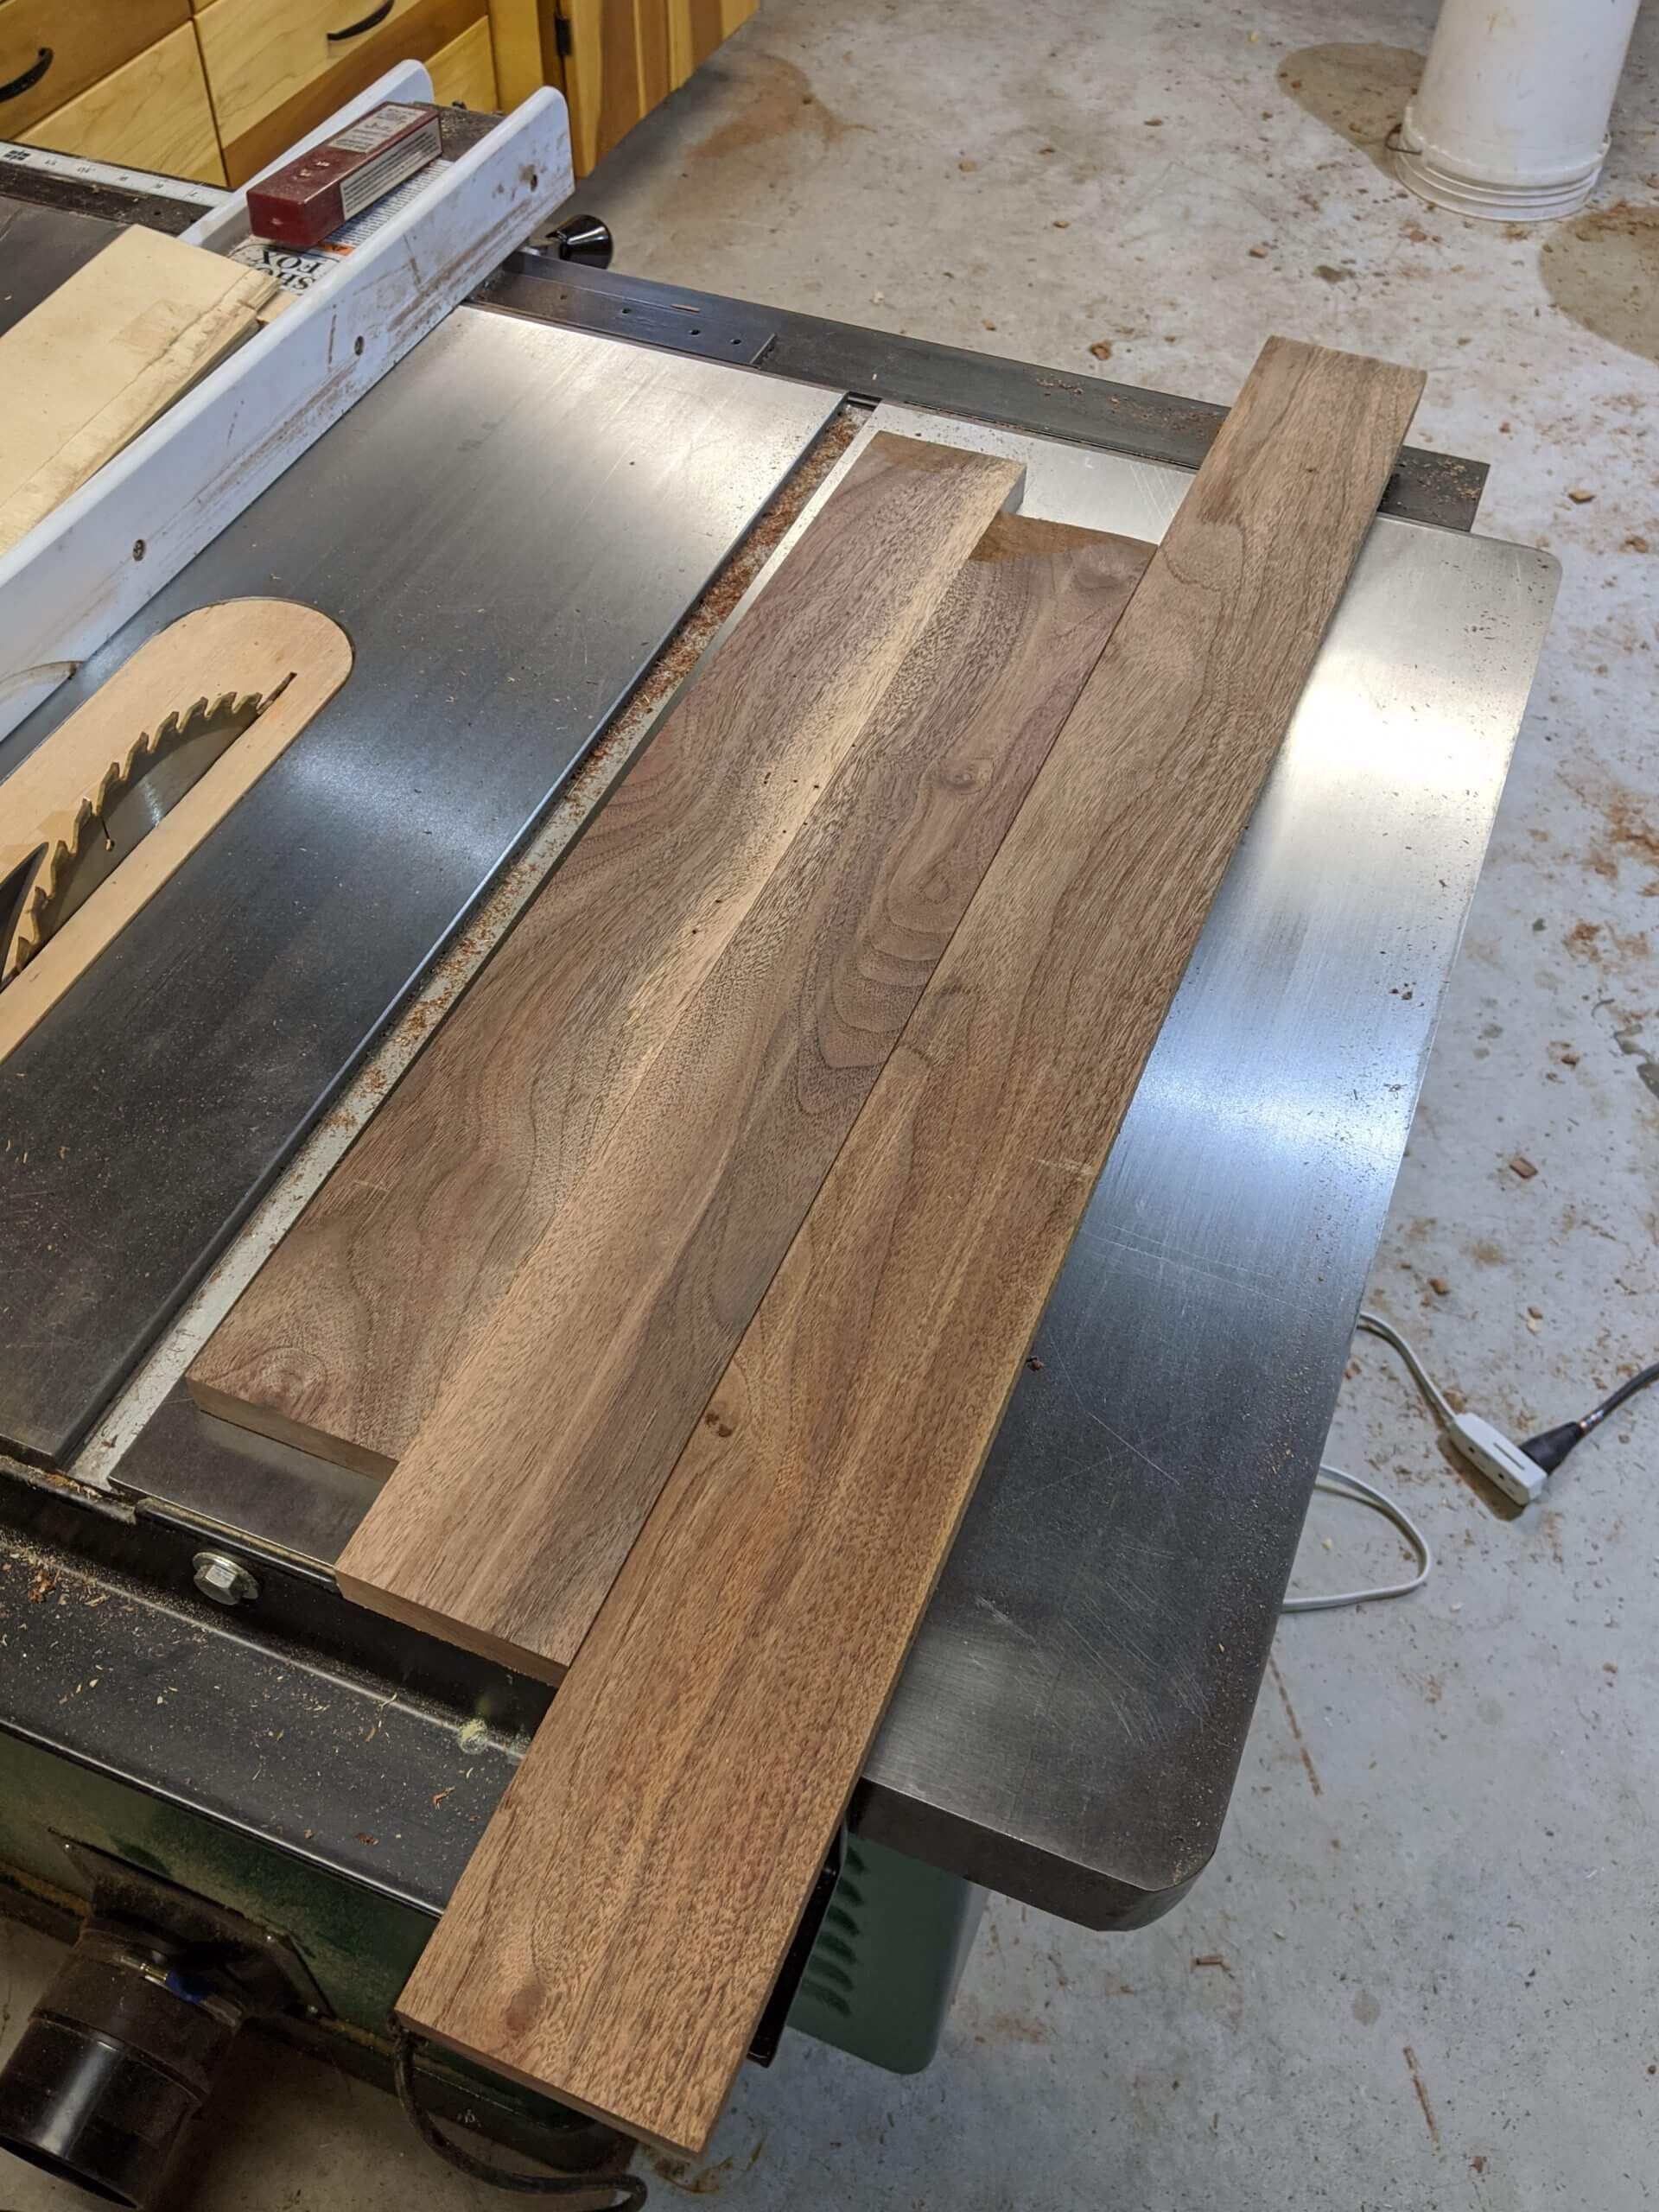
While the four parts of the case dried, I milled up some walnut to make the base and legs.
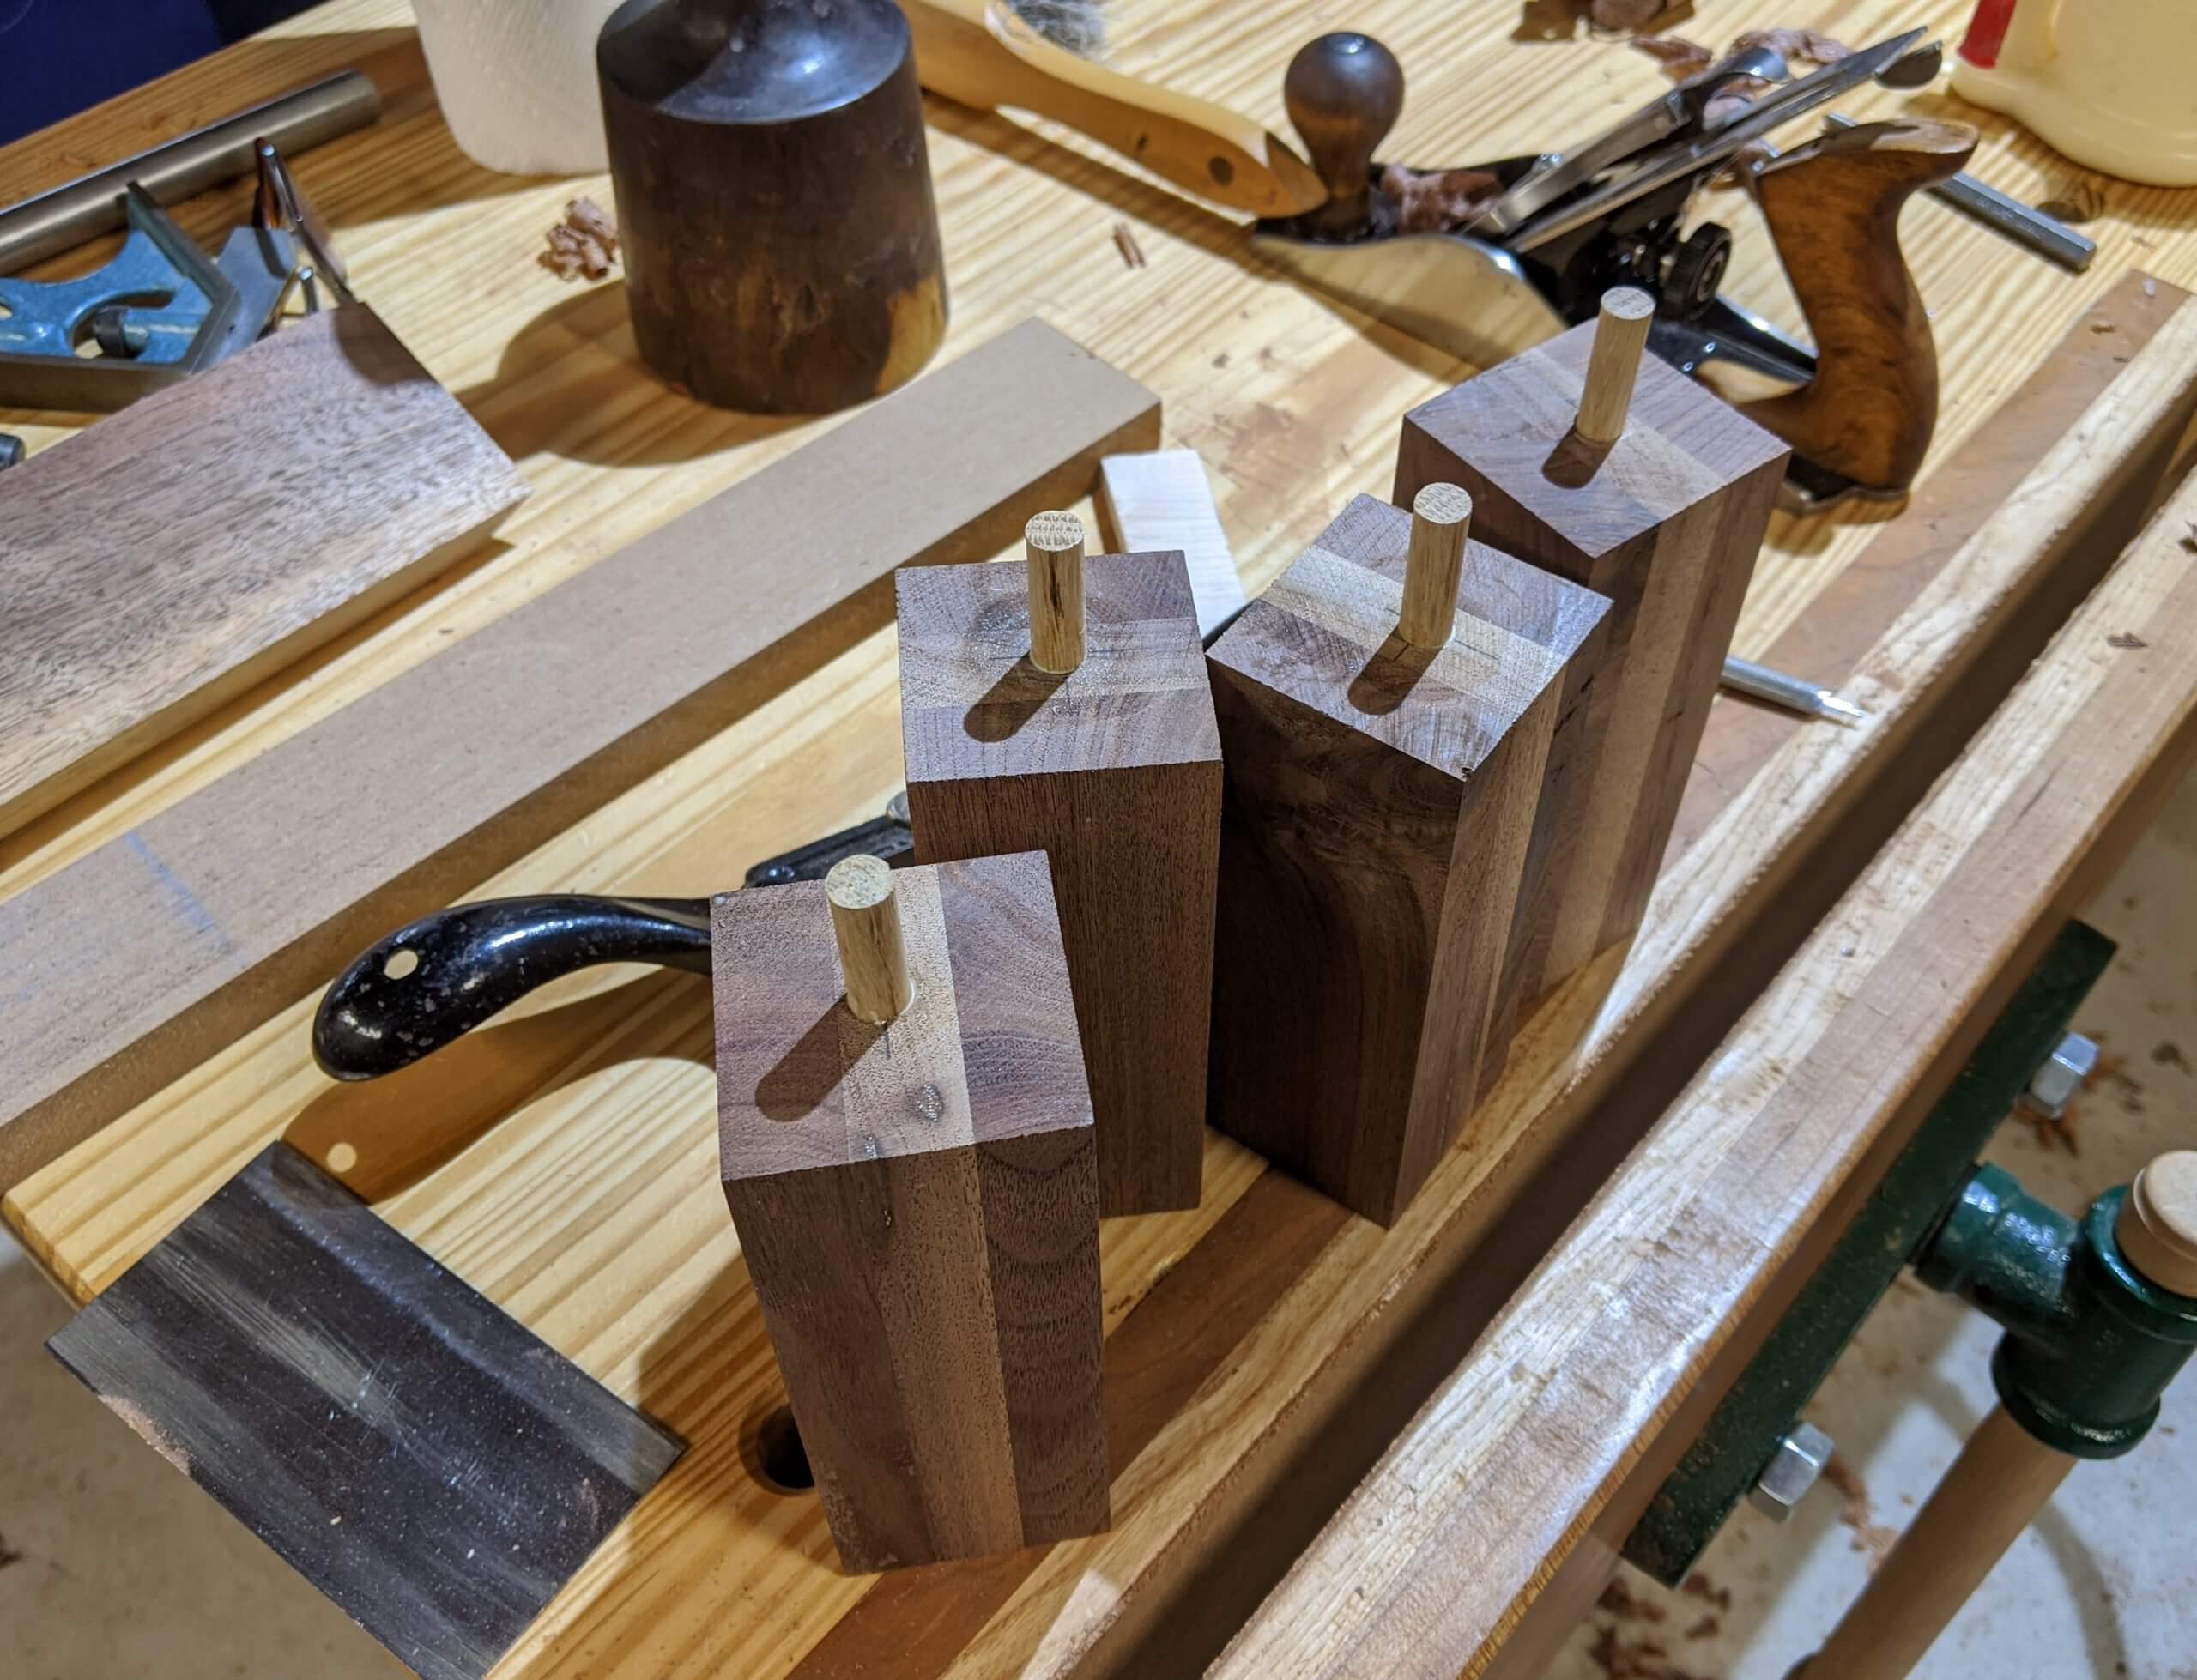
Three pieces were glued to make thicker stock for the legs. Once glued, they were cut to length and center drilled for a dowel.
Once the case was dry, a 1/4″ rabbit was cut into the back edge.

A back was installed out of 1/4″ ply.
Stiffeners were installed on the back top and bottom as well as the top front. They are held by the long grain to long grain glue of the stiffener to the top or bottom and will be secured to the sides with dowels. Since the dowels in this case will be exposed contrasting wood, they will be installed later.
The walnut for the base was mitered to fit and installed with glue and clamps.
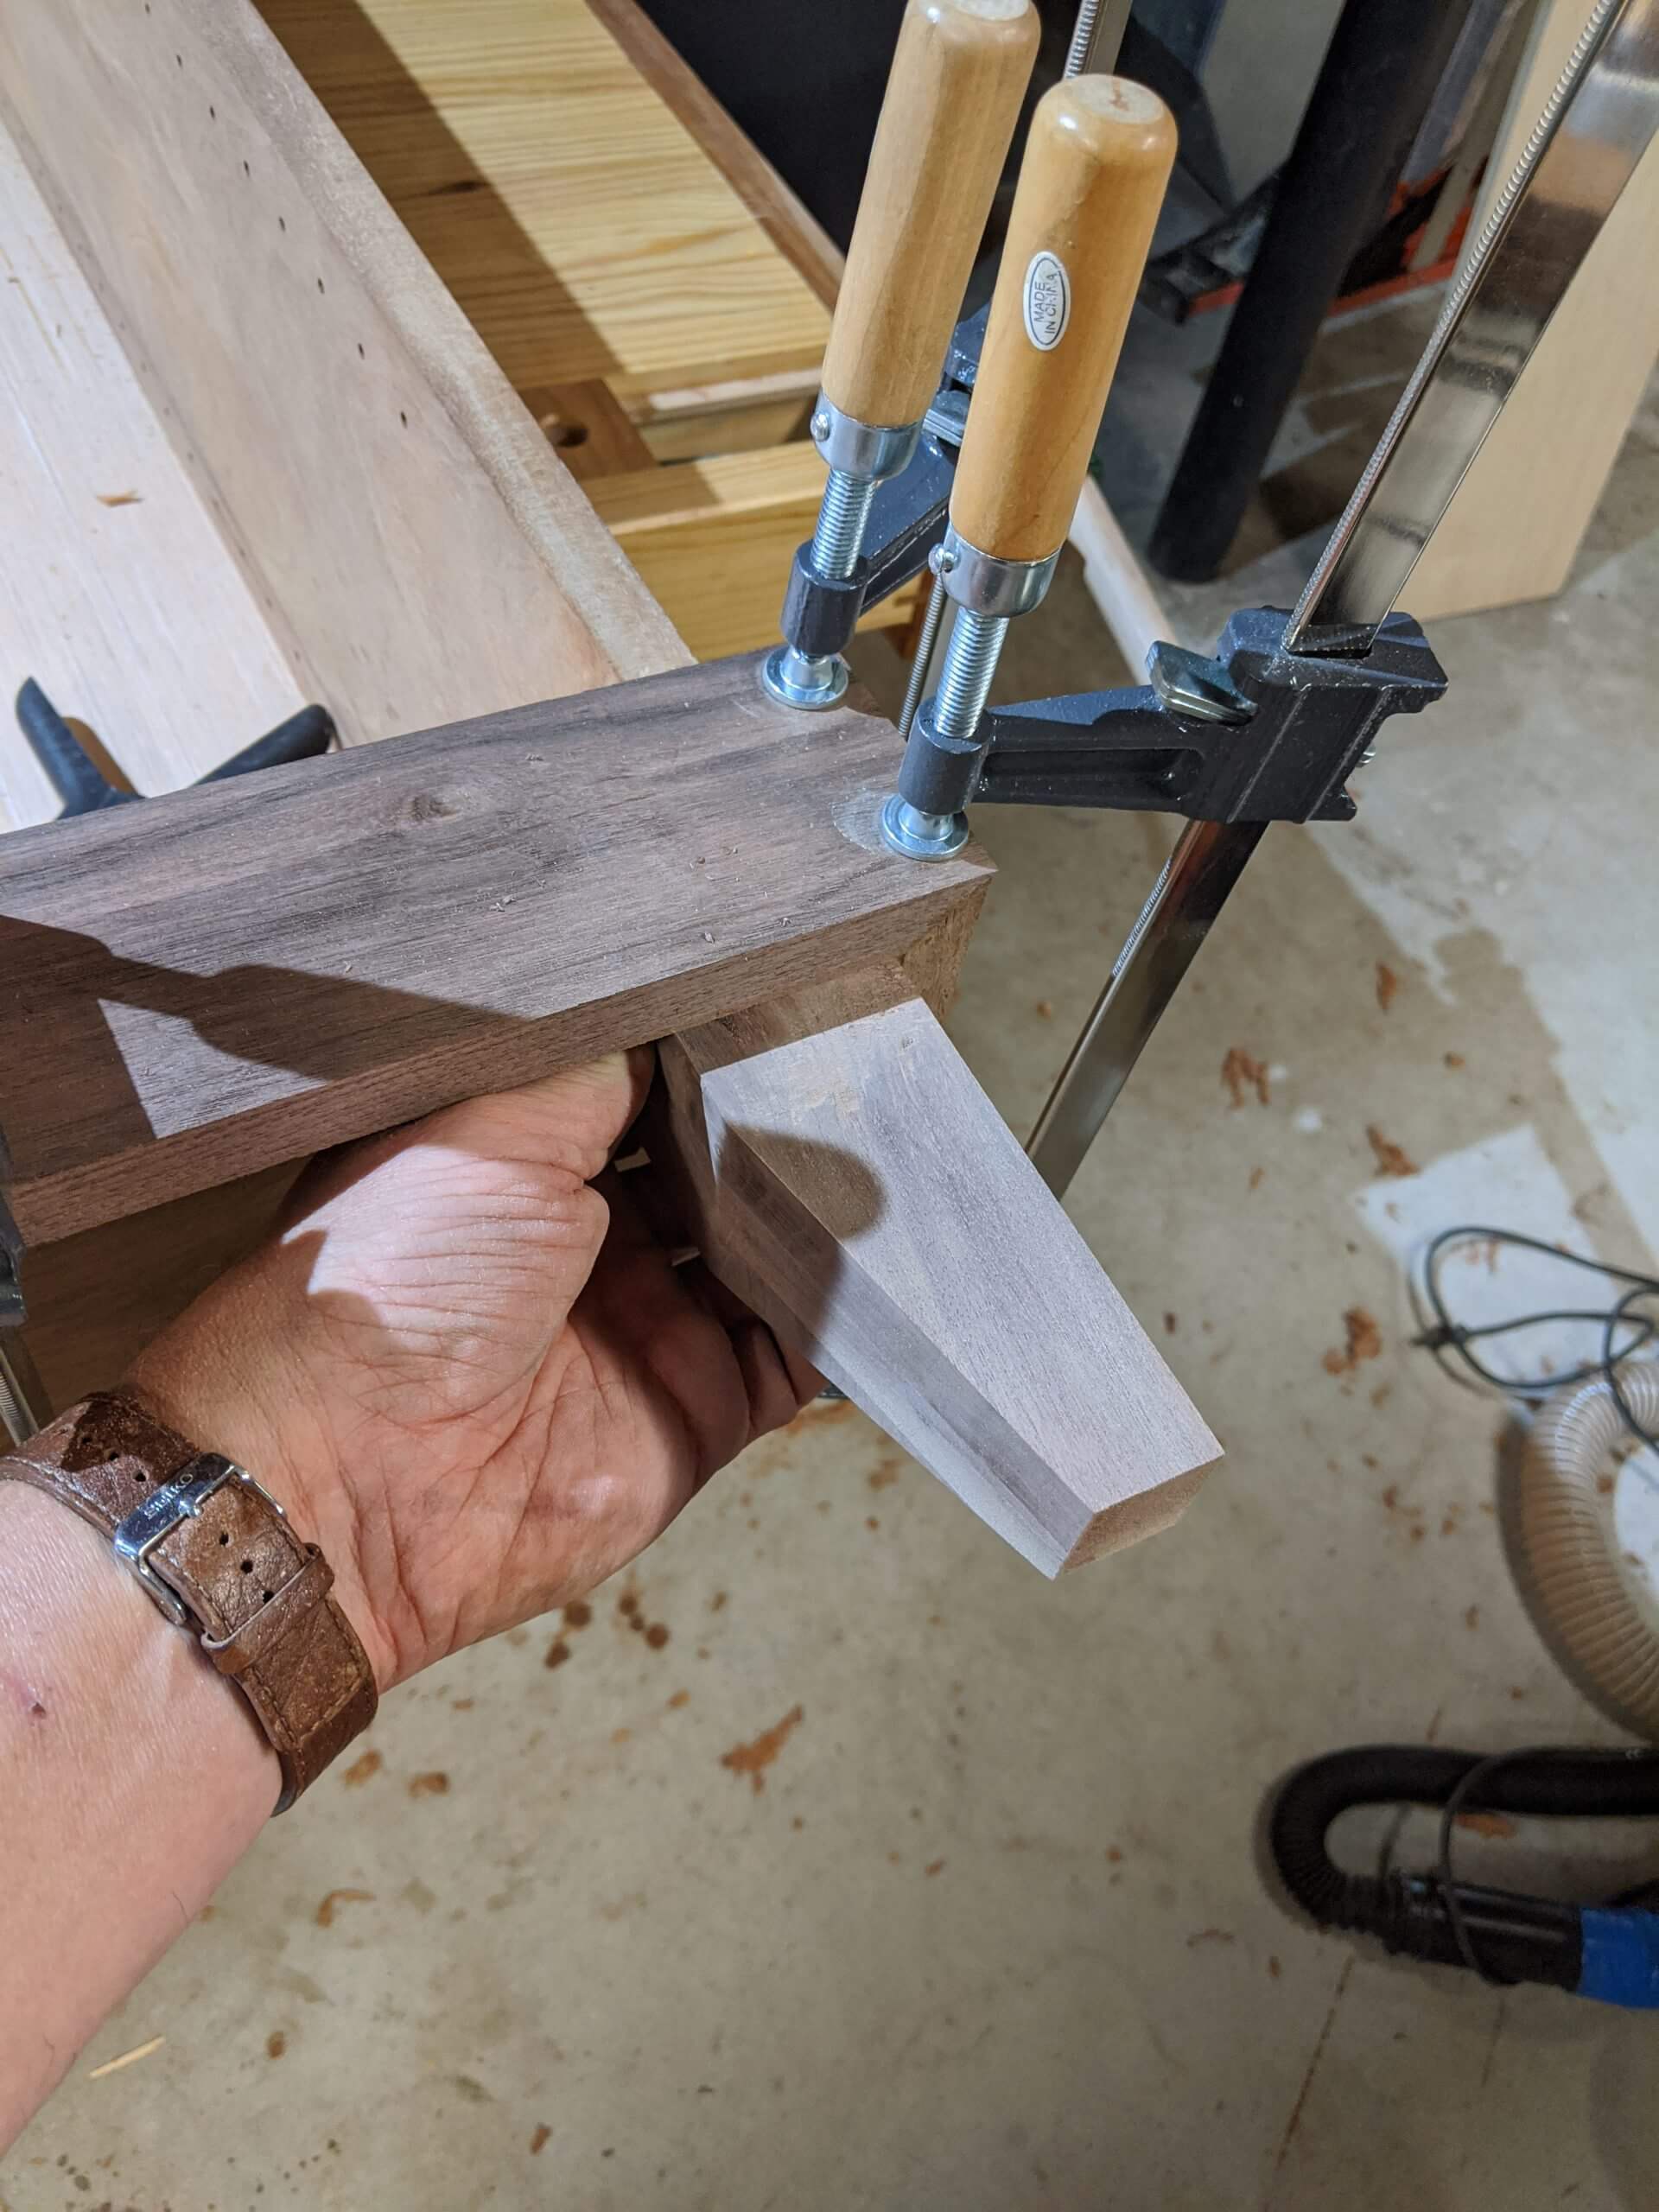
Prior to tapering the legs, dowel center finders were used to mark for matching holes in the bottom. Holes were drilled, then the legs tapered on each inside face using a band saw. They were planed smooth then installed. Tapering in this instance is nothing special and jig is required. Draw the line that appeals to you and cut it out on the two inside faces. Clean the cut with a hand plan going down hill.

Dowels, Shelves and Finish
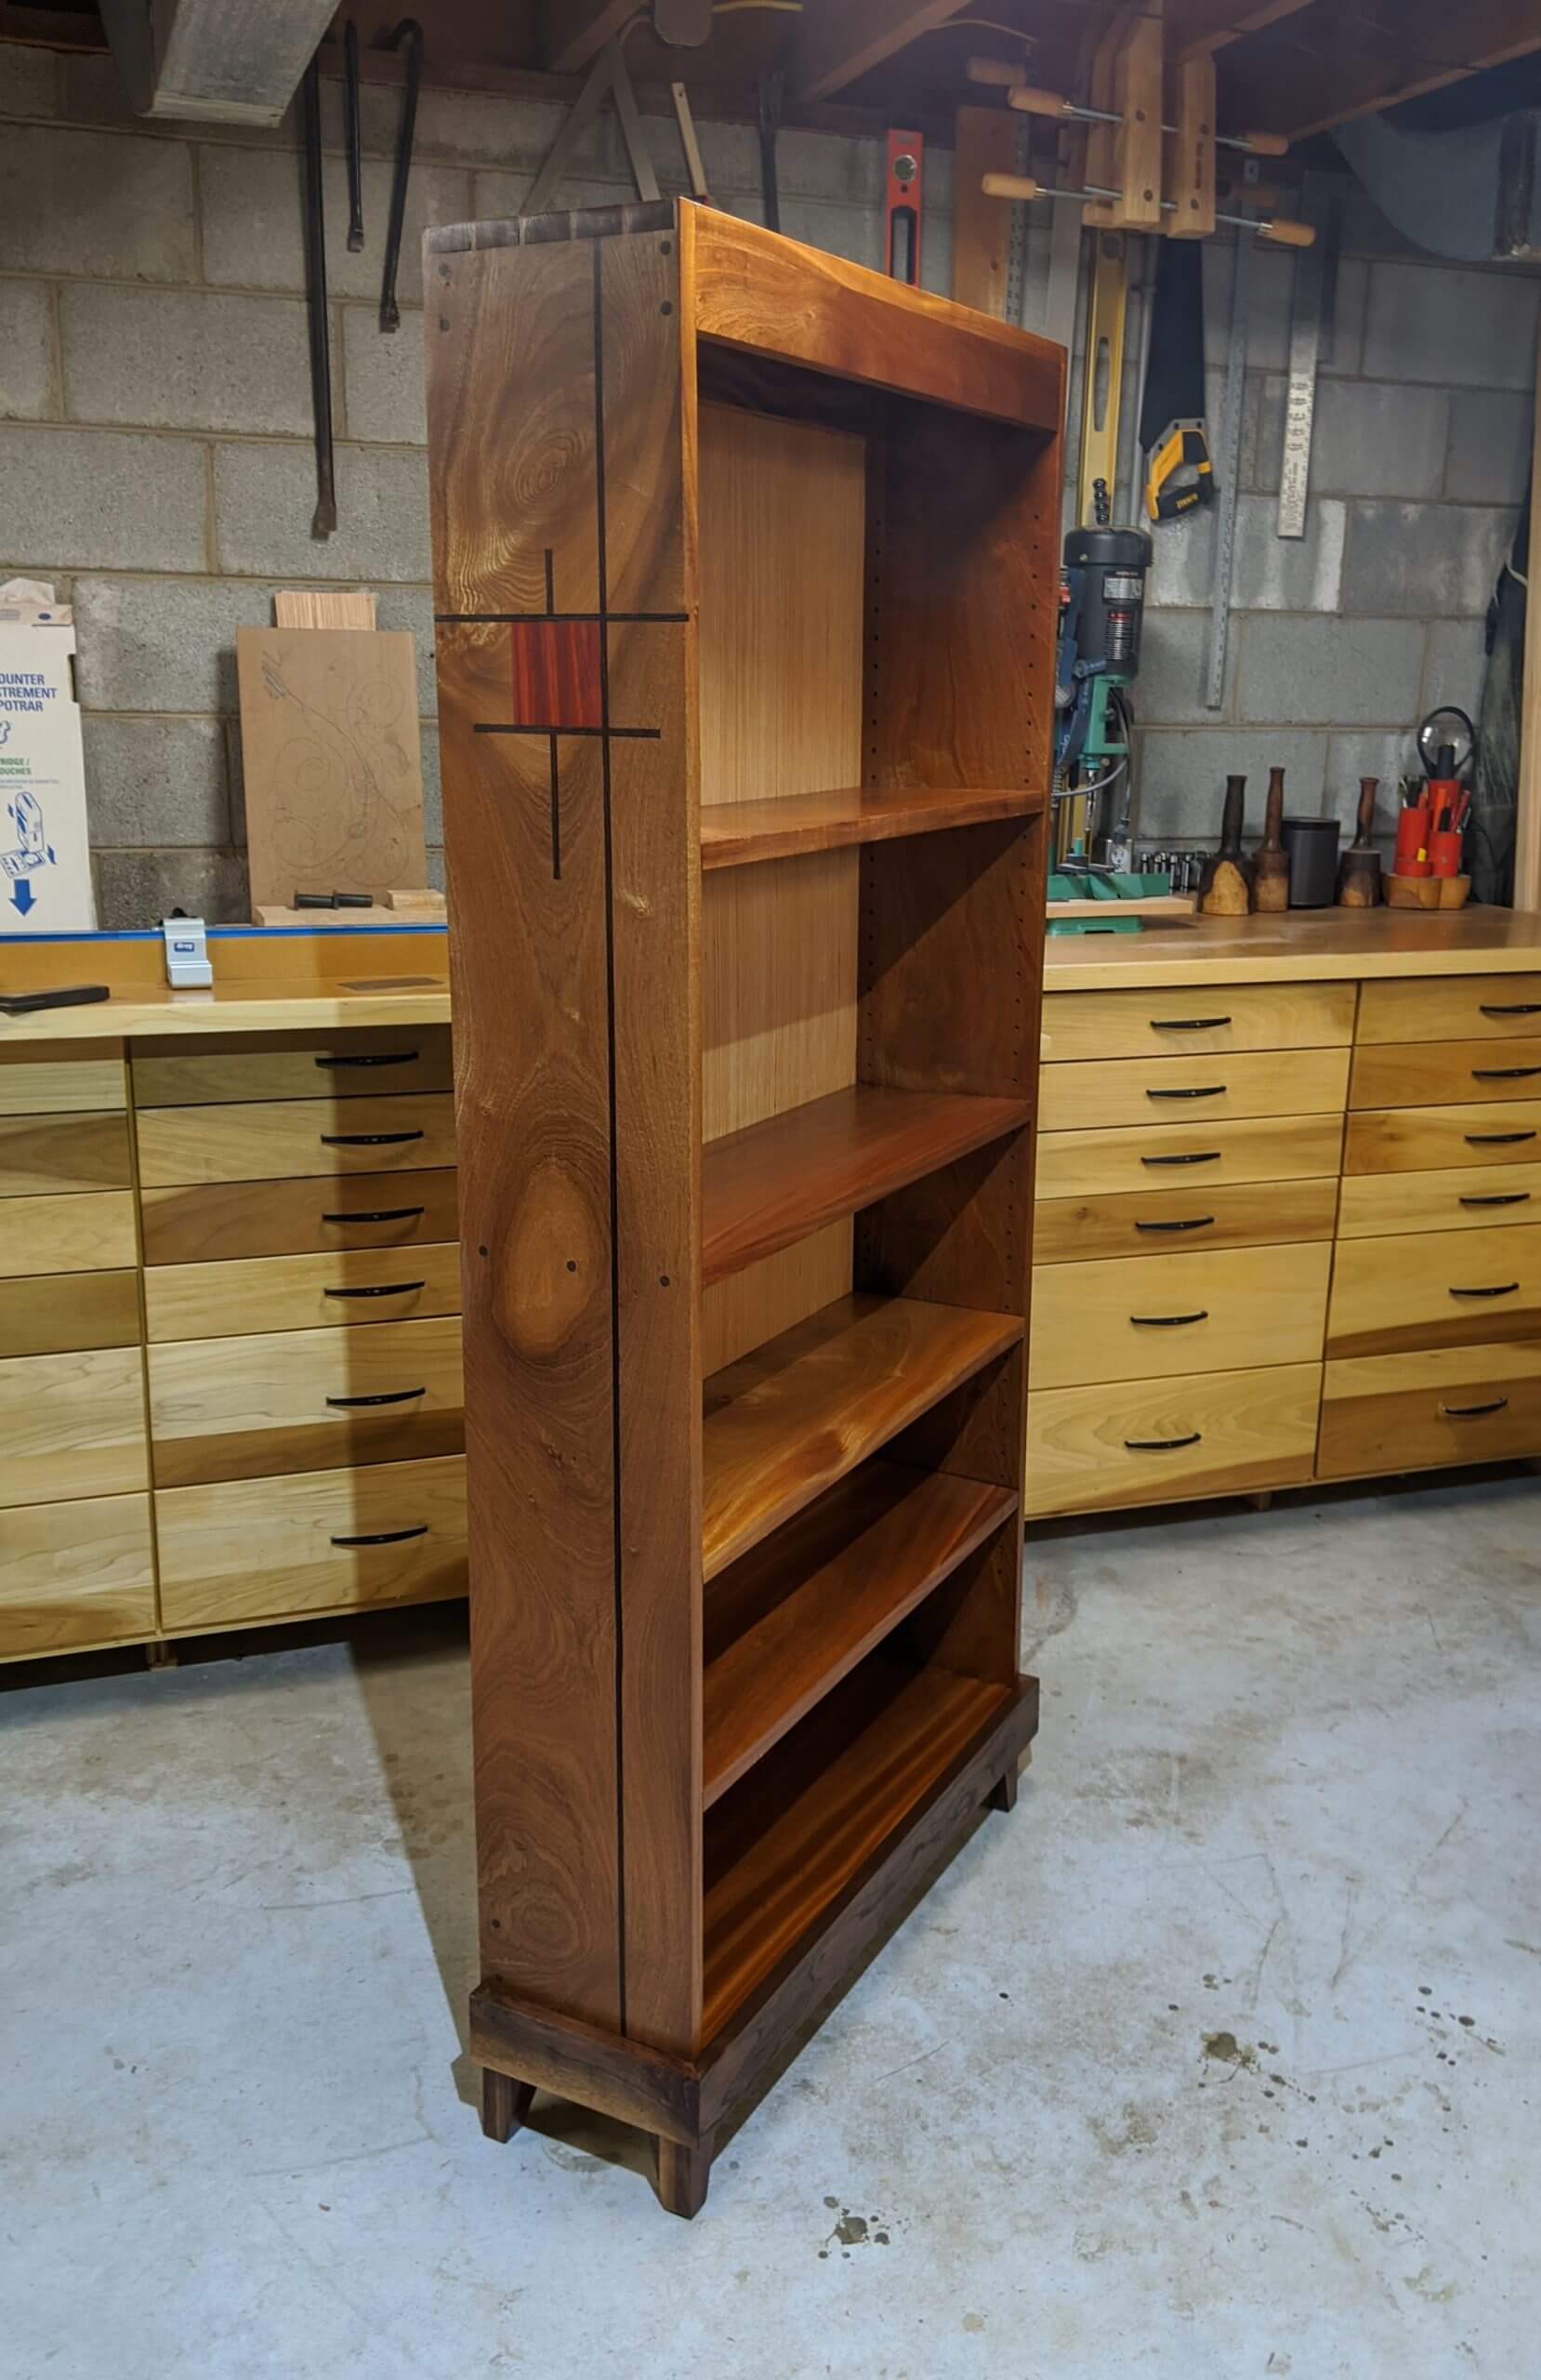
Dowels were made out of walnut to incorporate into the appearance of the marquetry.
Where each stiffener and the one fixed shelf intersected the side, dowels were installed and flushed with a hand plane. Two for each end of a stiffener and three for each end of the shelf.
The adjustable shelves were cut to width and sanded. A small recess was cut using a router to allow it to drop onto the shelf pin without a tendency to pull forward when removing a book. The router table was great for this task (image is after first coat of finish).
The case and shelves were finish sanded with 220 grit paper and any minor gaps in the marquetry or the dovetails were filled with a mixture of sepele sawdust and shellac. The shellac was sanded off when dry.
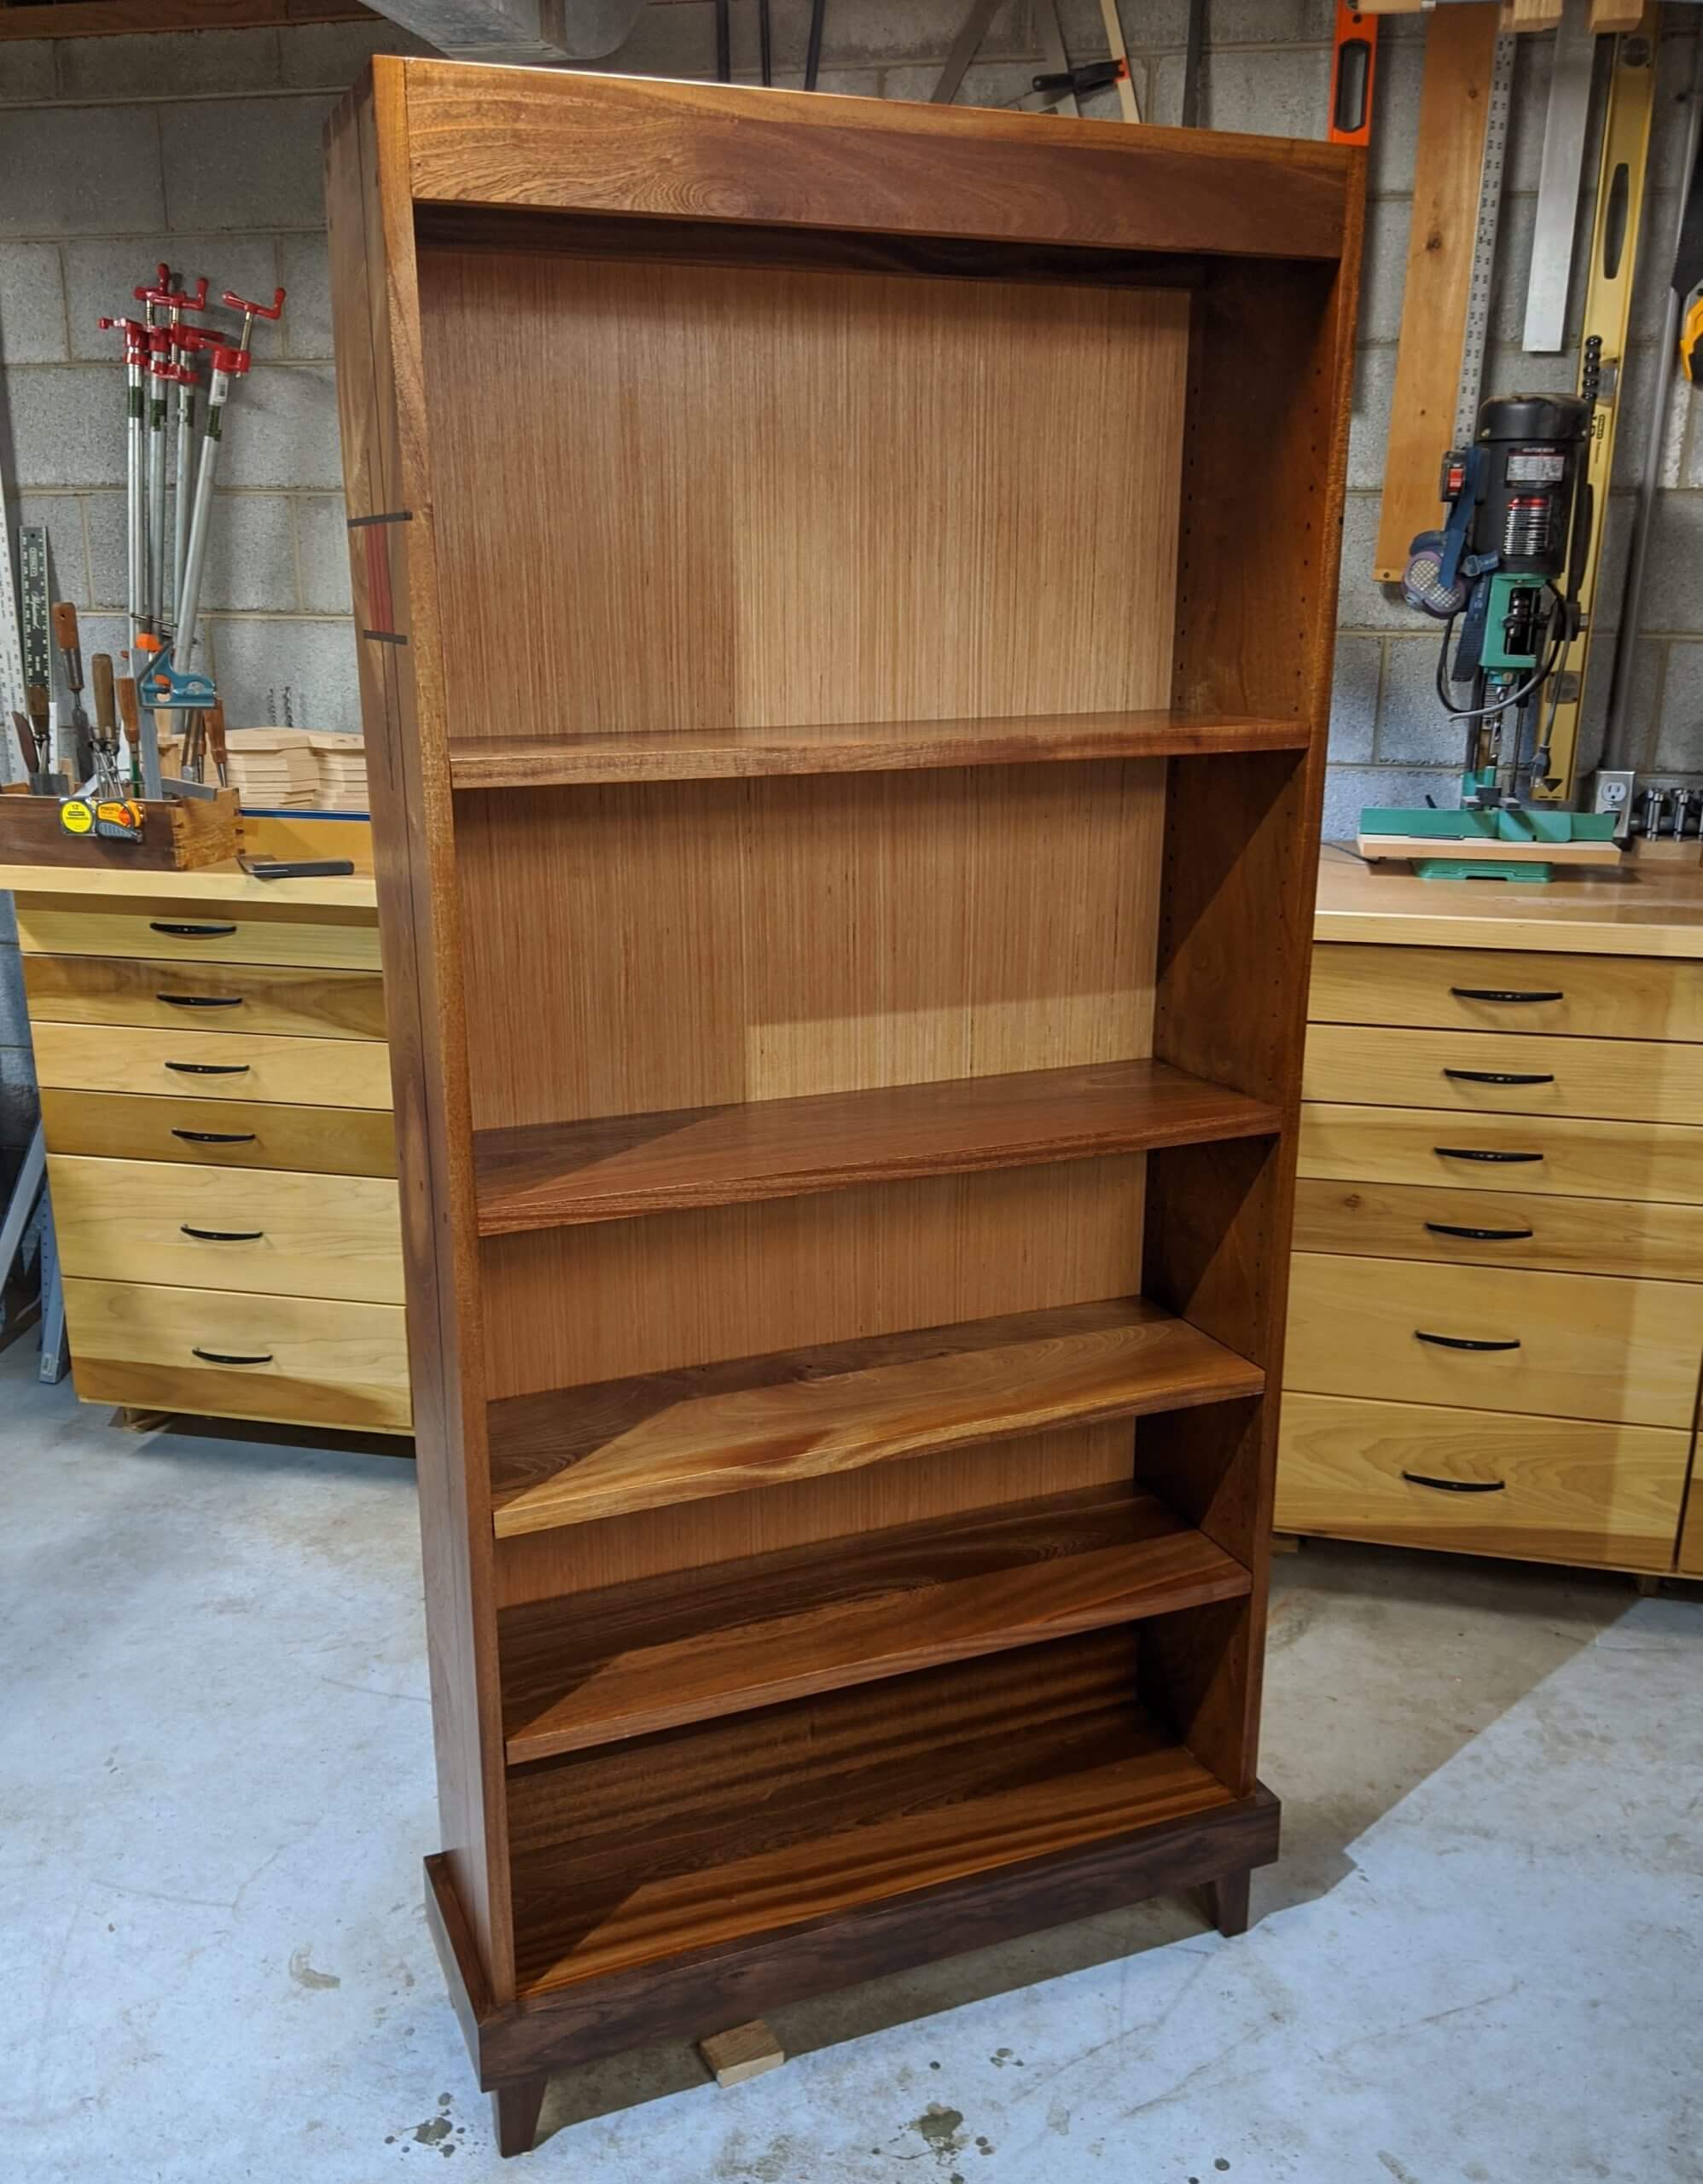
Three coats of Osmo Poly Wax was applied, rubbing with 0000 wool and wool lube before the final coat. This is the same finish used on the dresser and on the night stands.