
Bench Top Tool Box/Tote
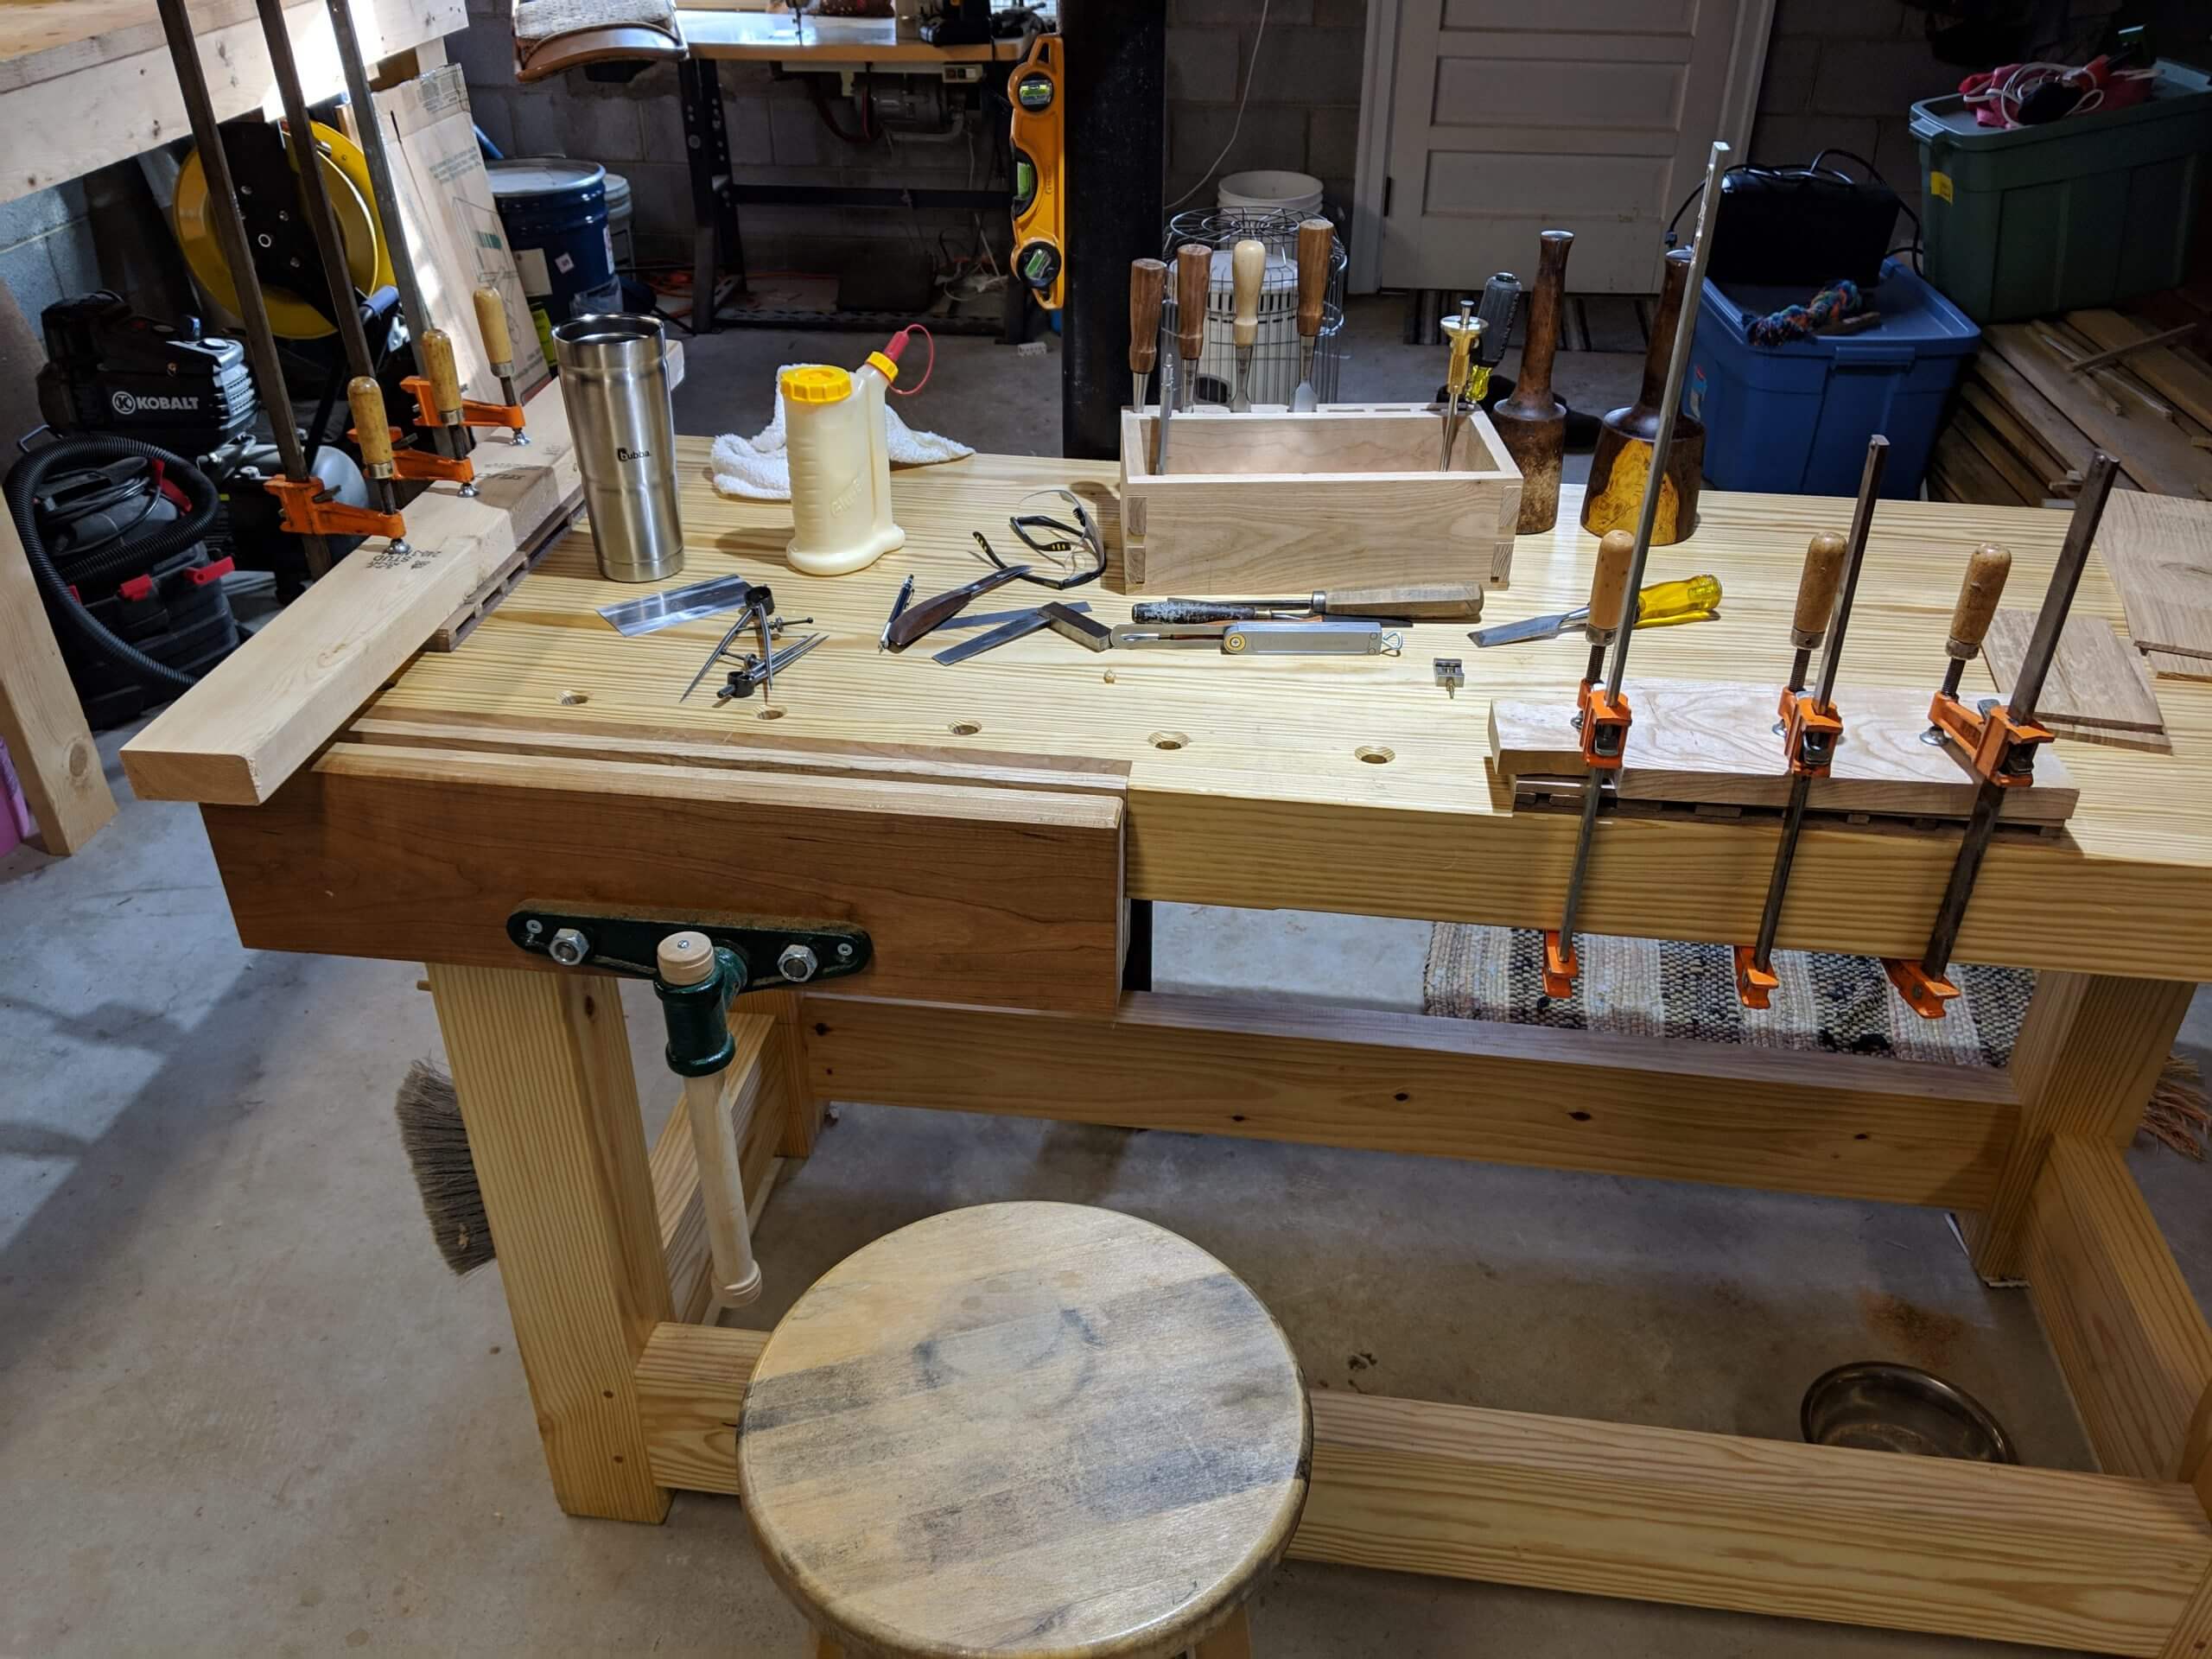
I use the same tools over and over again when doing bench work and have taken to just keeping them in a box. I decided to improve the box. Here is the project. It is simple and can be made from scraps.
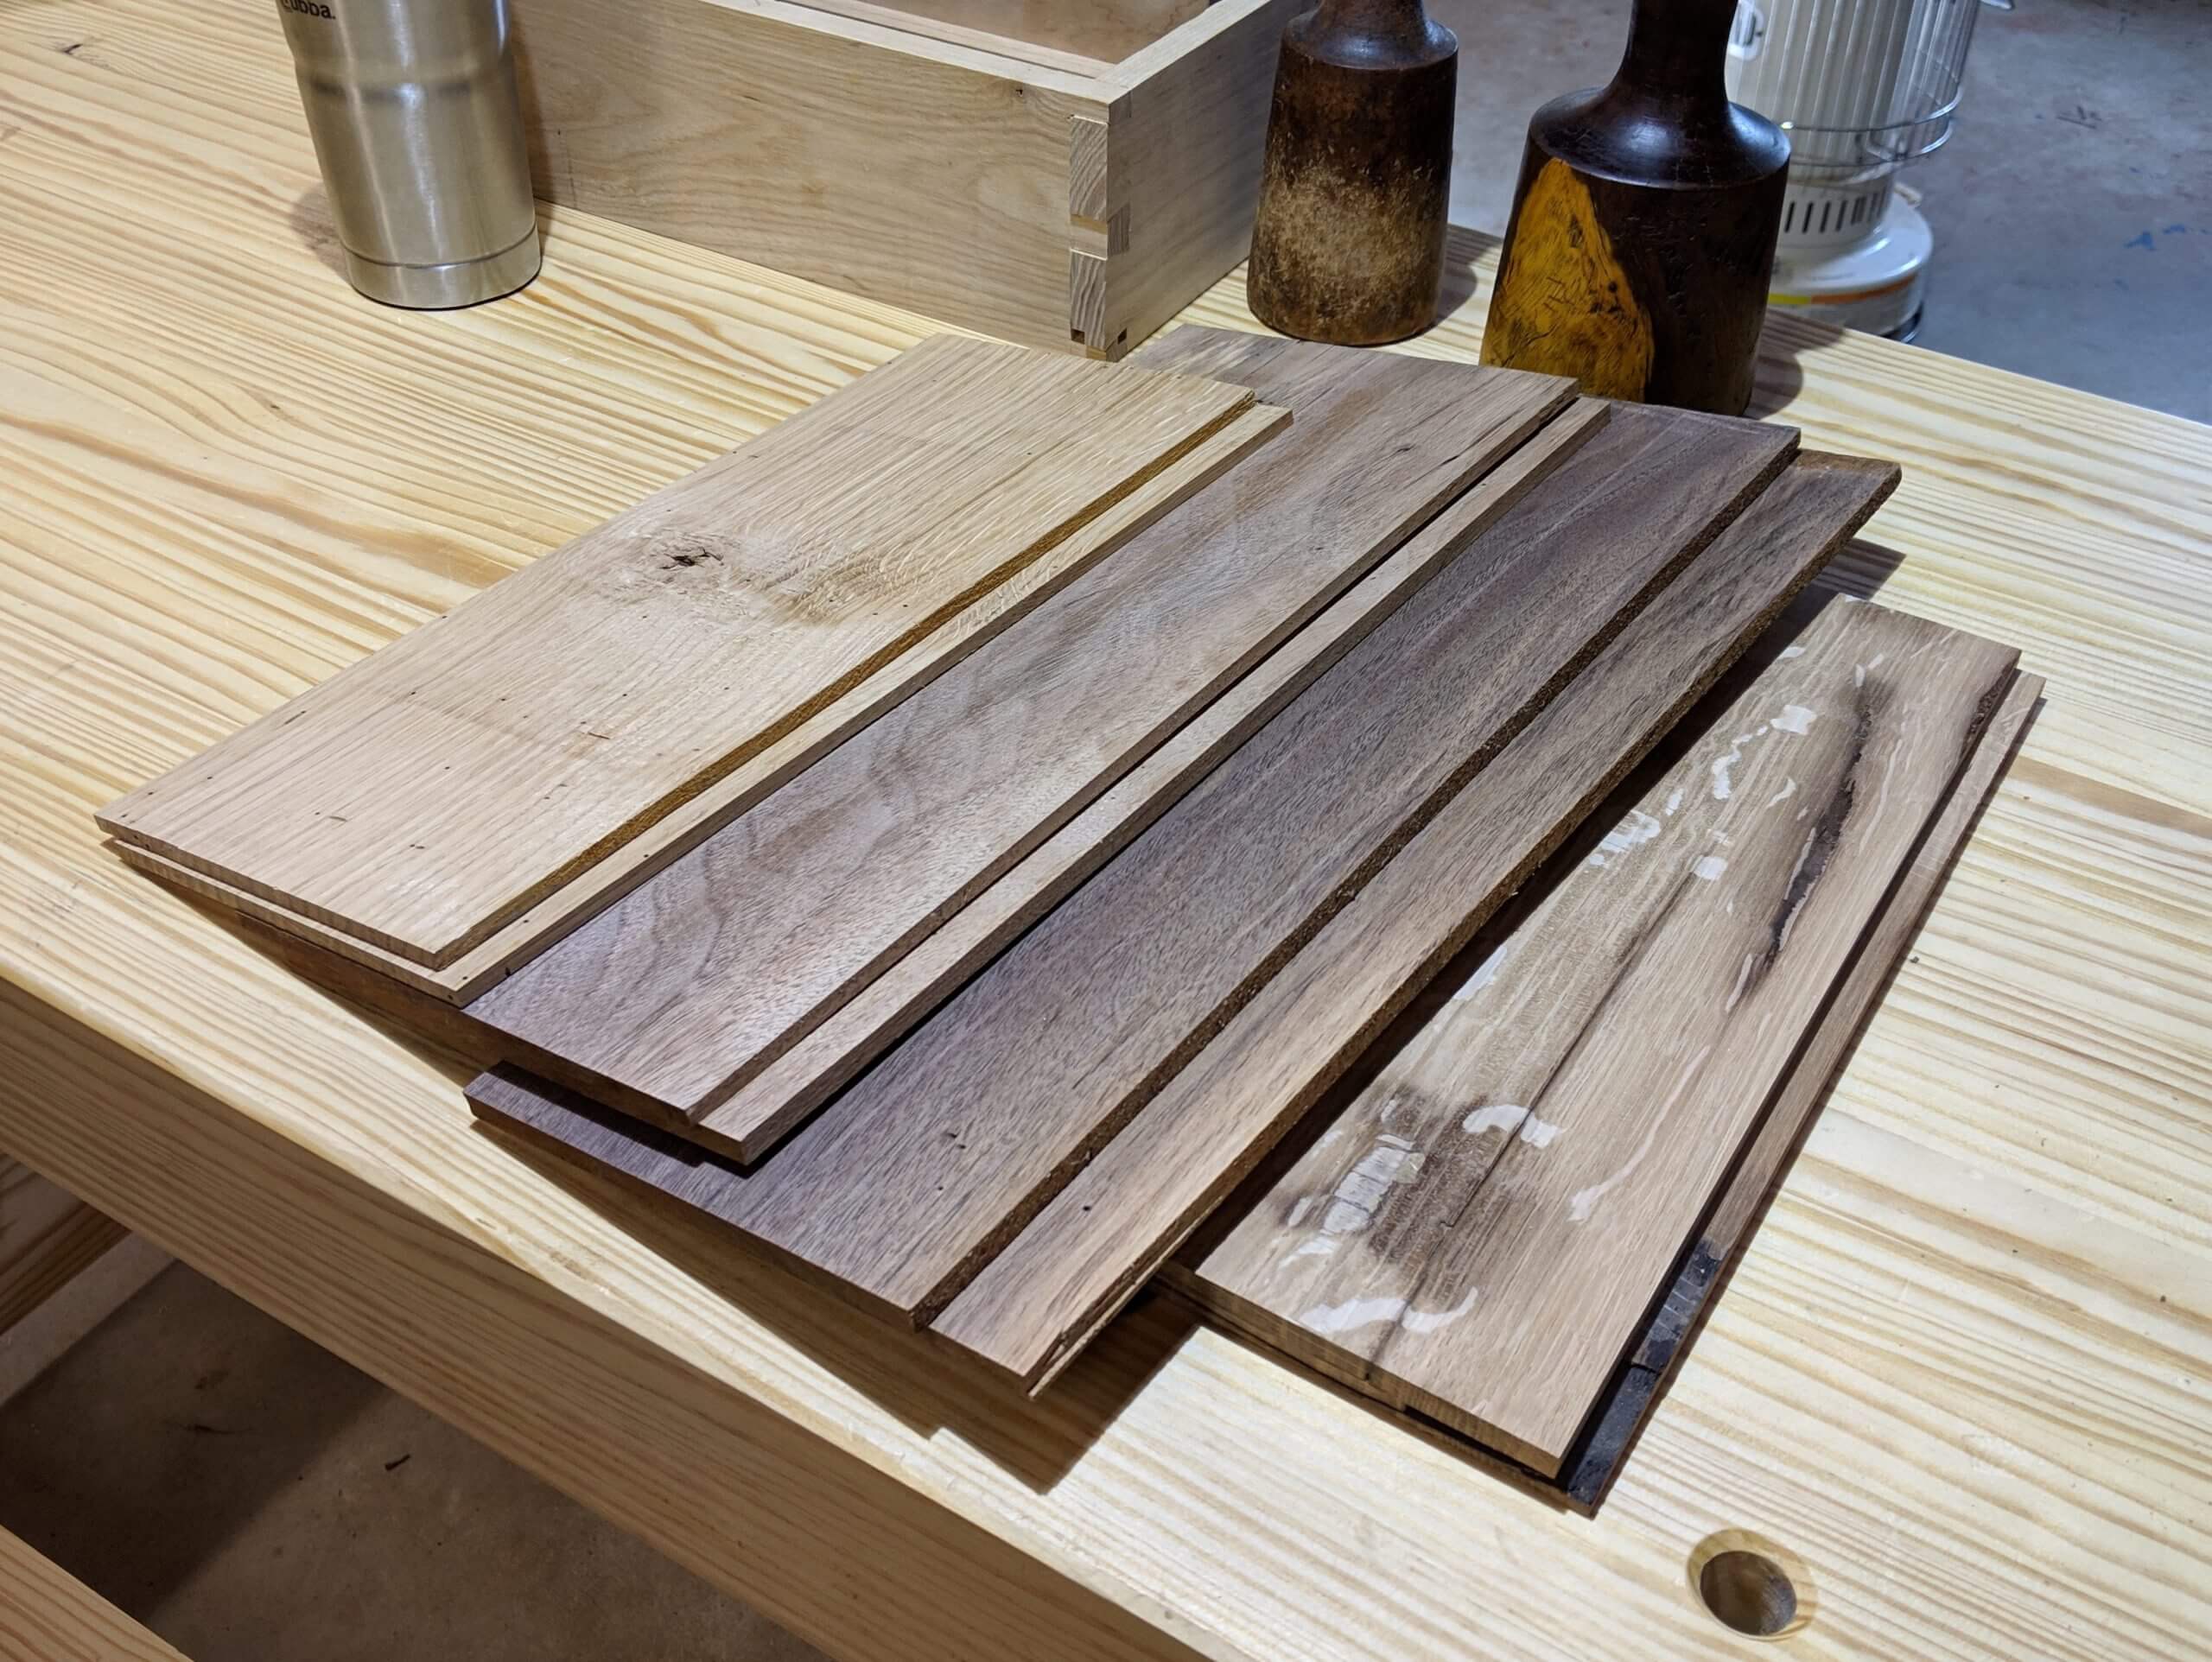
I started with some 4/4 scrap. Some white oak and some air dried Walnut. You need four long sides and just two short sides. I re-sawed them to just under 1/2″ thick after surfacing one side. After re-sawing, the parts were planned down to 1/4″.
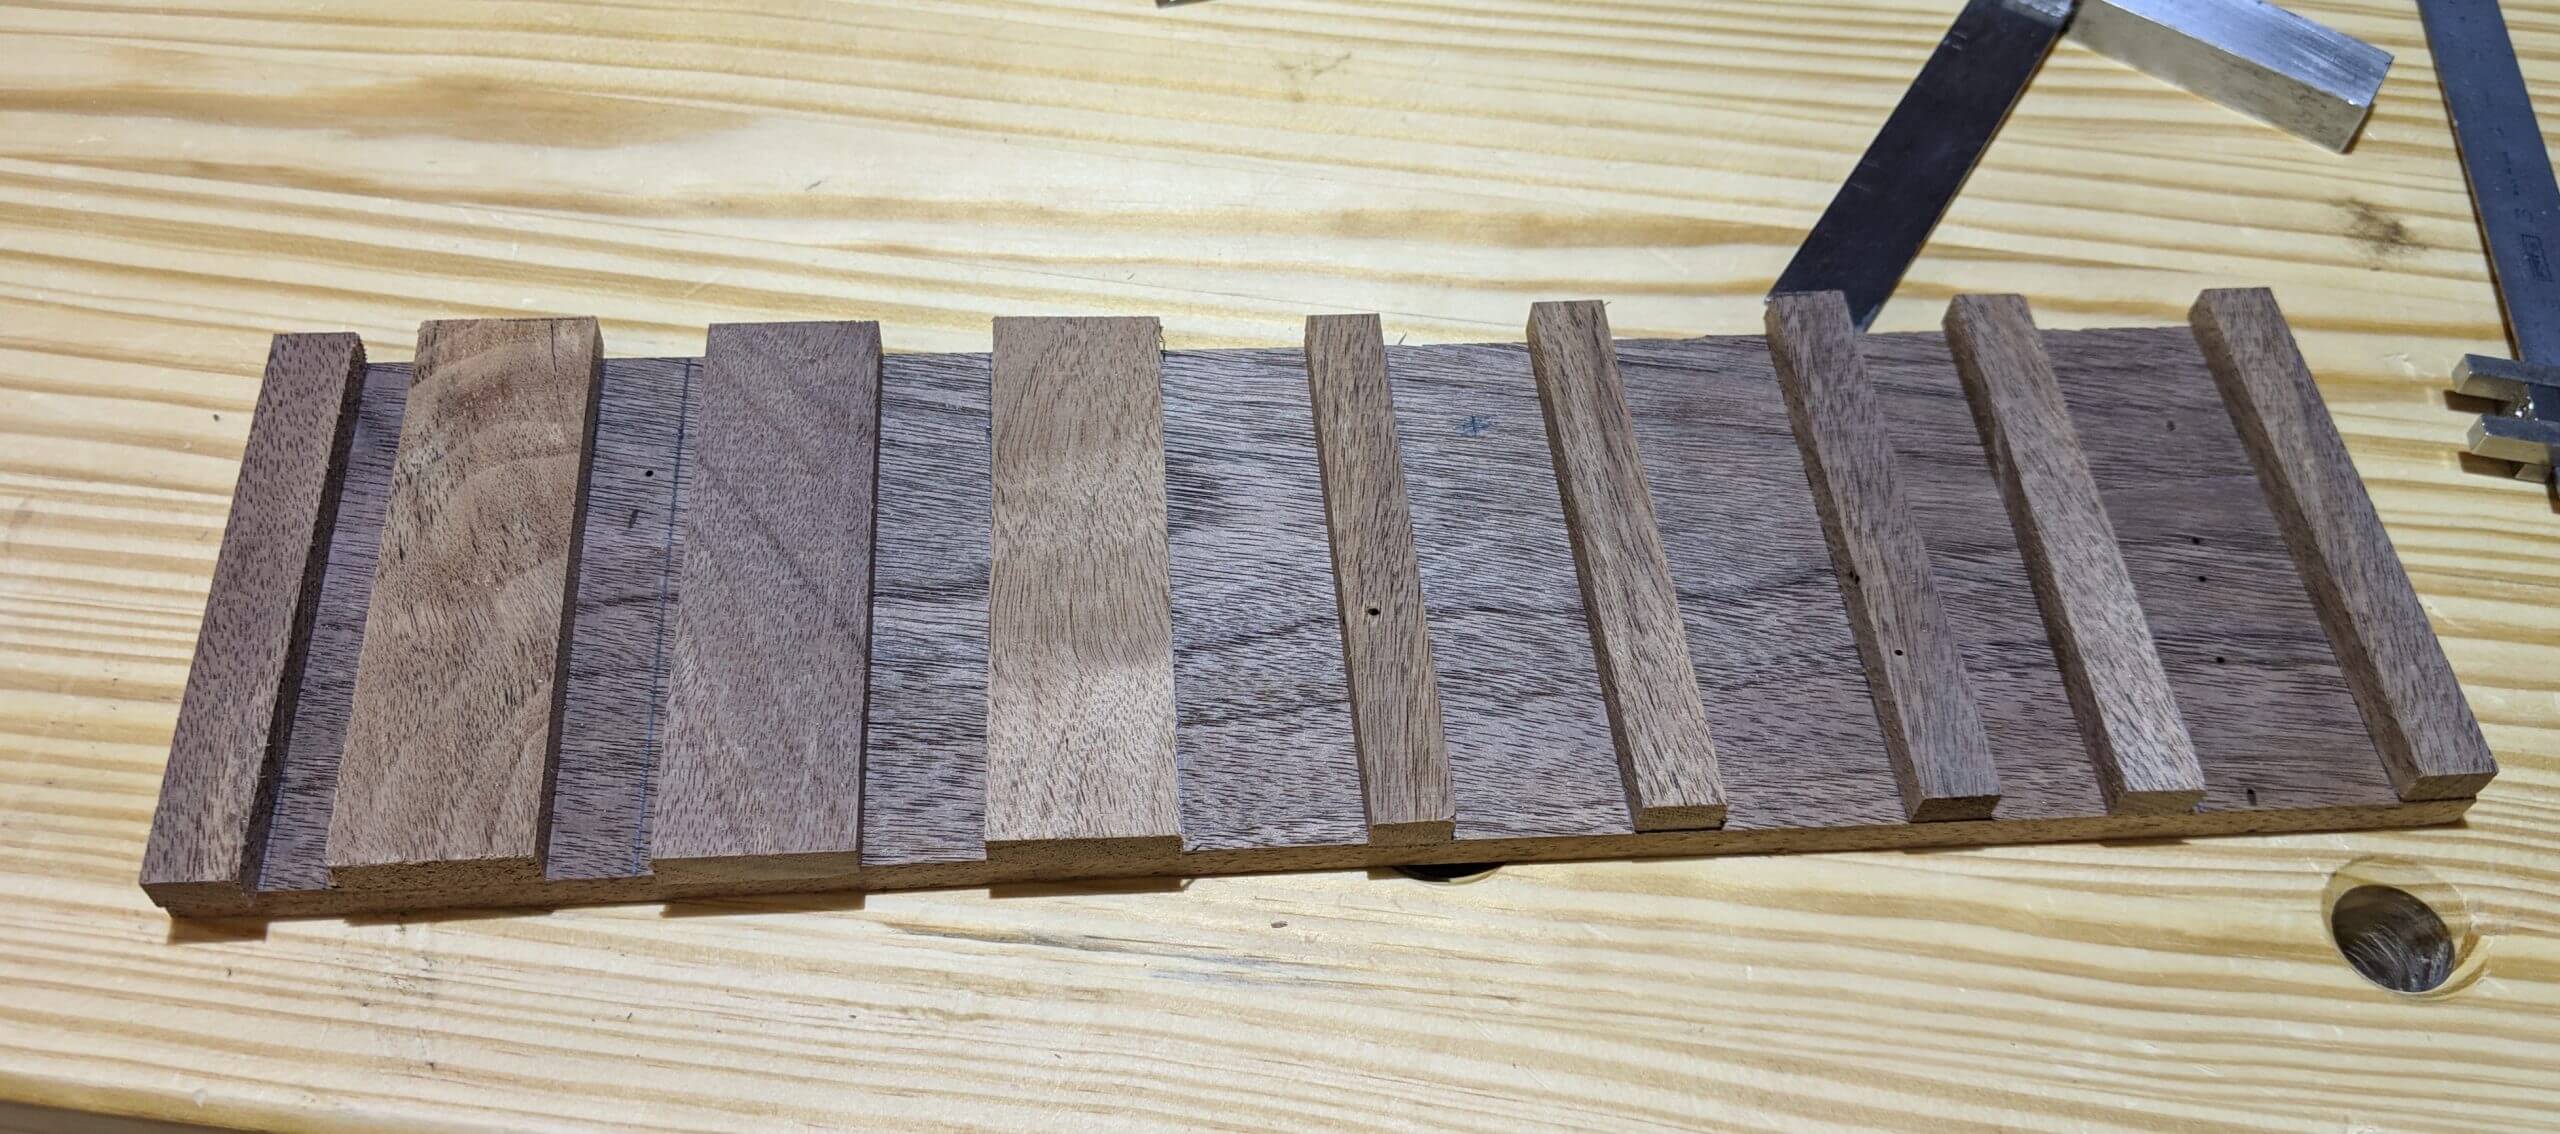
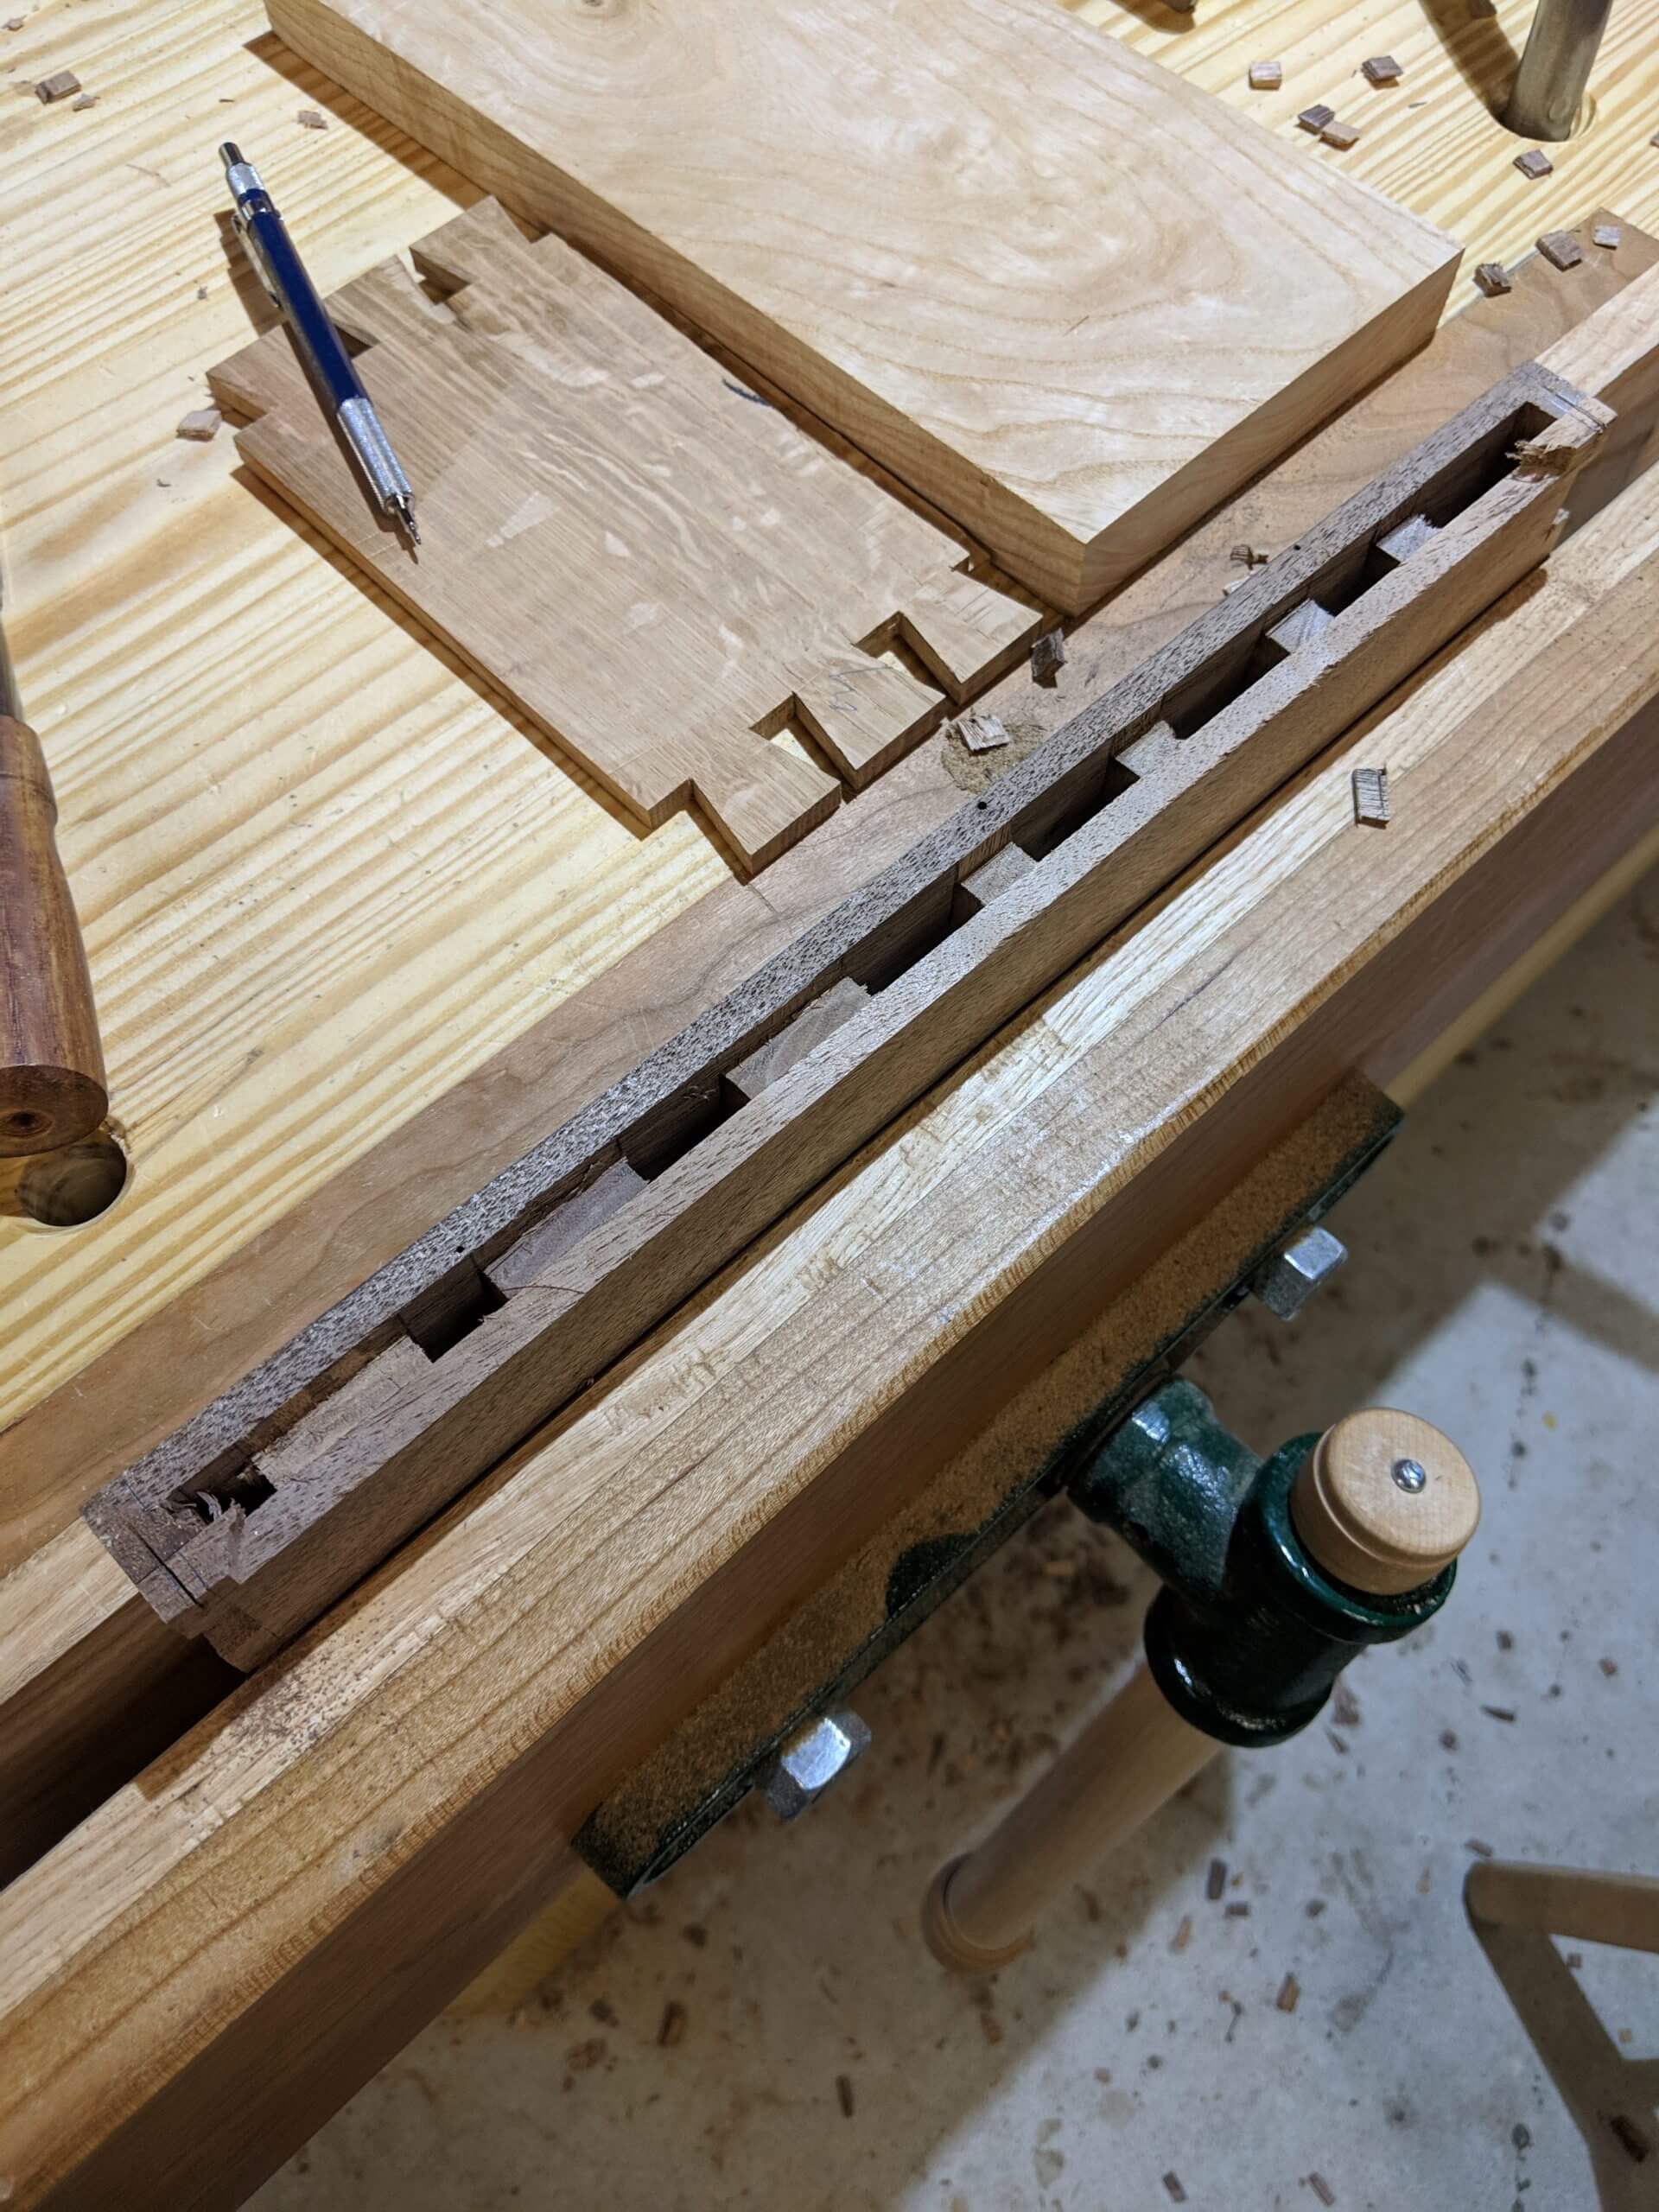
I made 1/4″ spacers out of the cut-offs after sizing the sides to my box dimensions. I positioned the spacers to fit my common tools, specifically a set of chisels, then created an assortment of long and narrow openings.
Finally, a spacer was used at each end to create a “faux” thick board for dovetailing.
The spacers were glued down square to the side piece and glue was allowed to set just a bit to prevent movement when the second side was attached.
The top of the spacers were glued and the second side piece was applied and clamped with a caul.

Once dry, the sides were run through the joiner to even out the spacers.
Side pieces were cut to the same width and a length that created the box I was after.
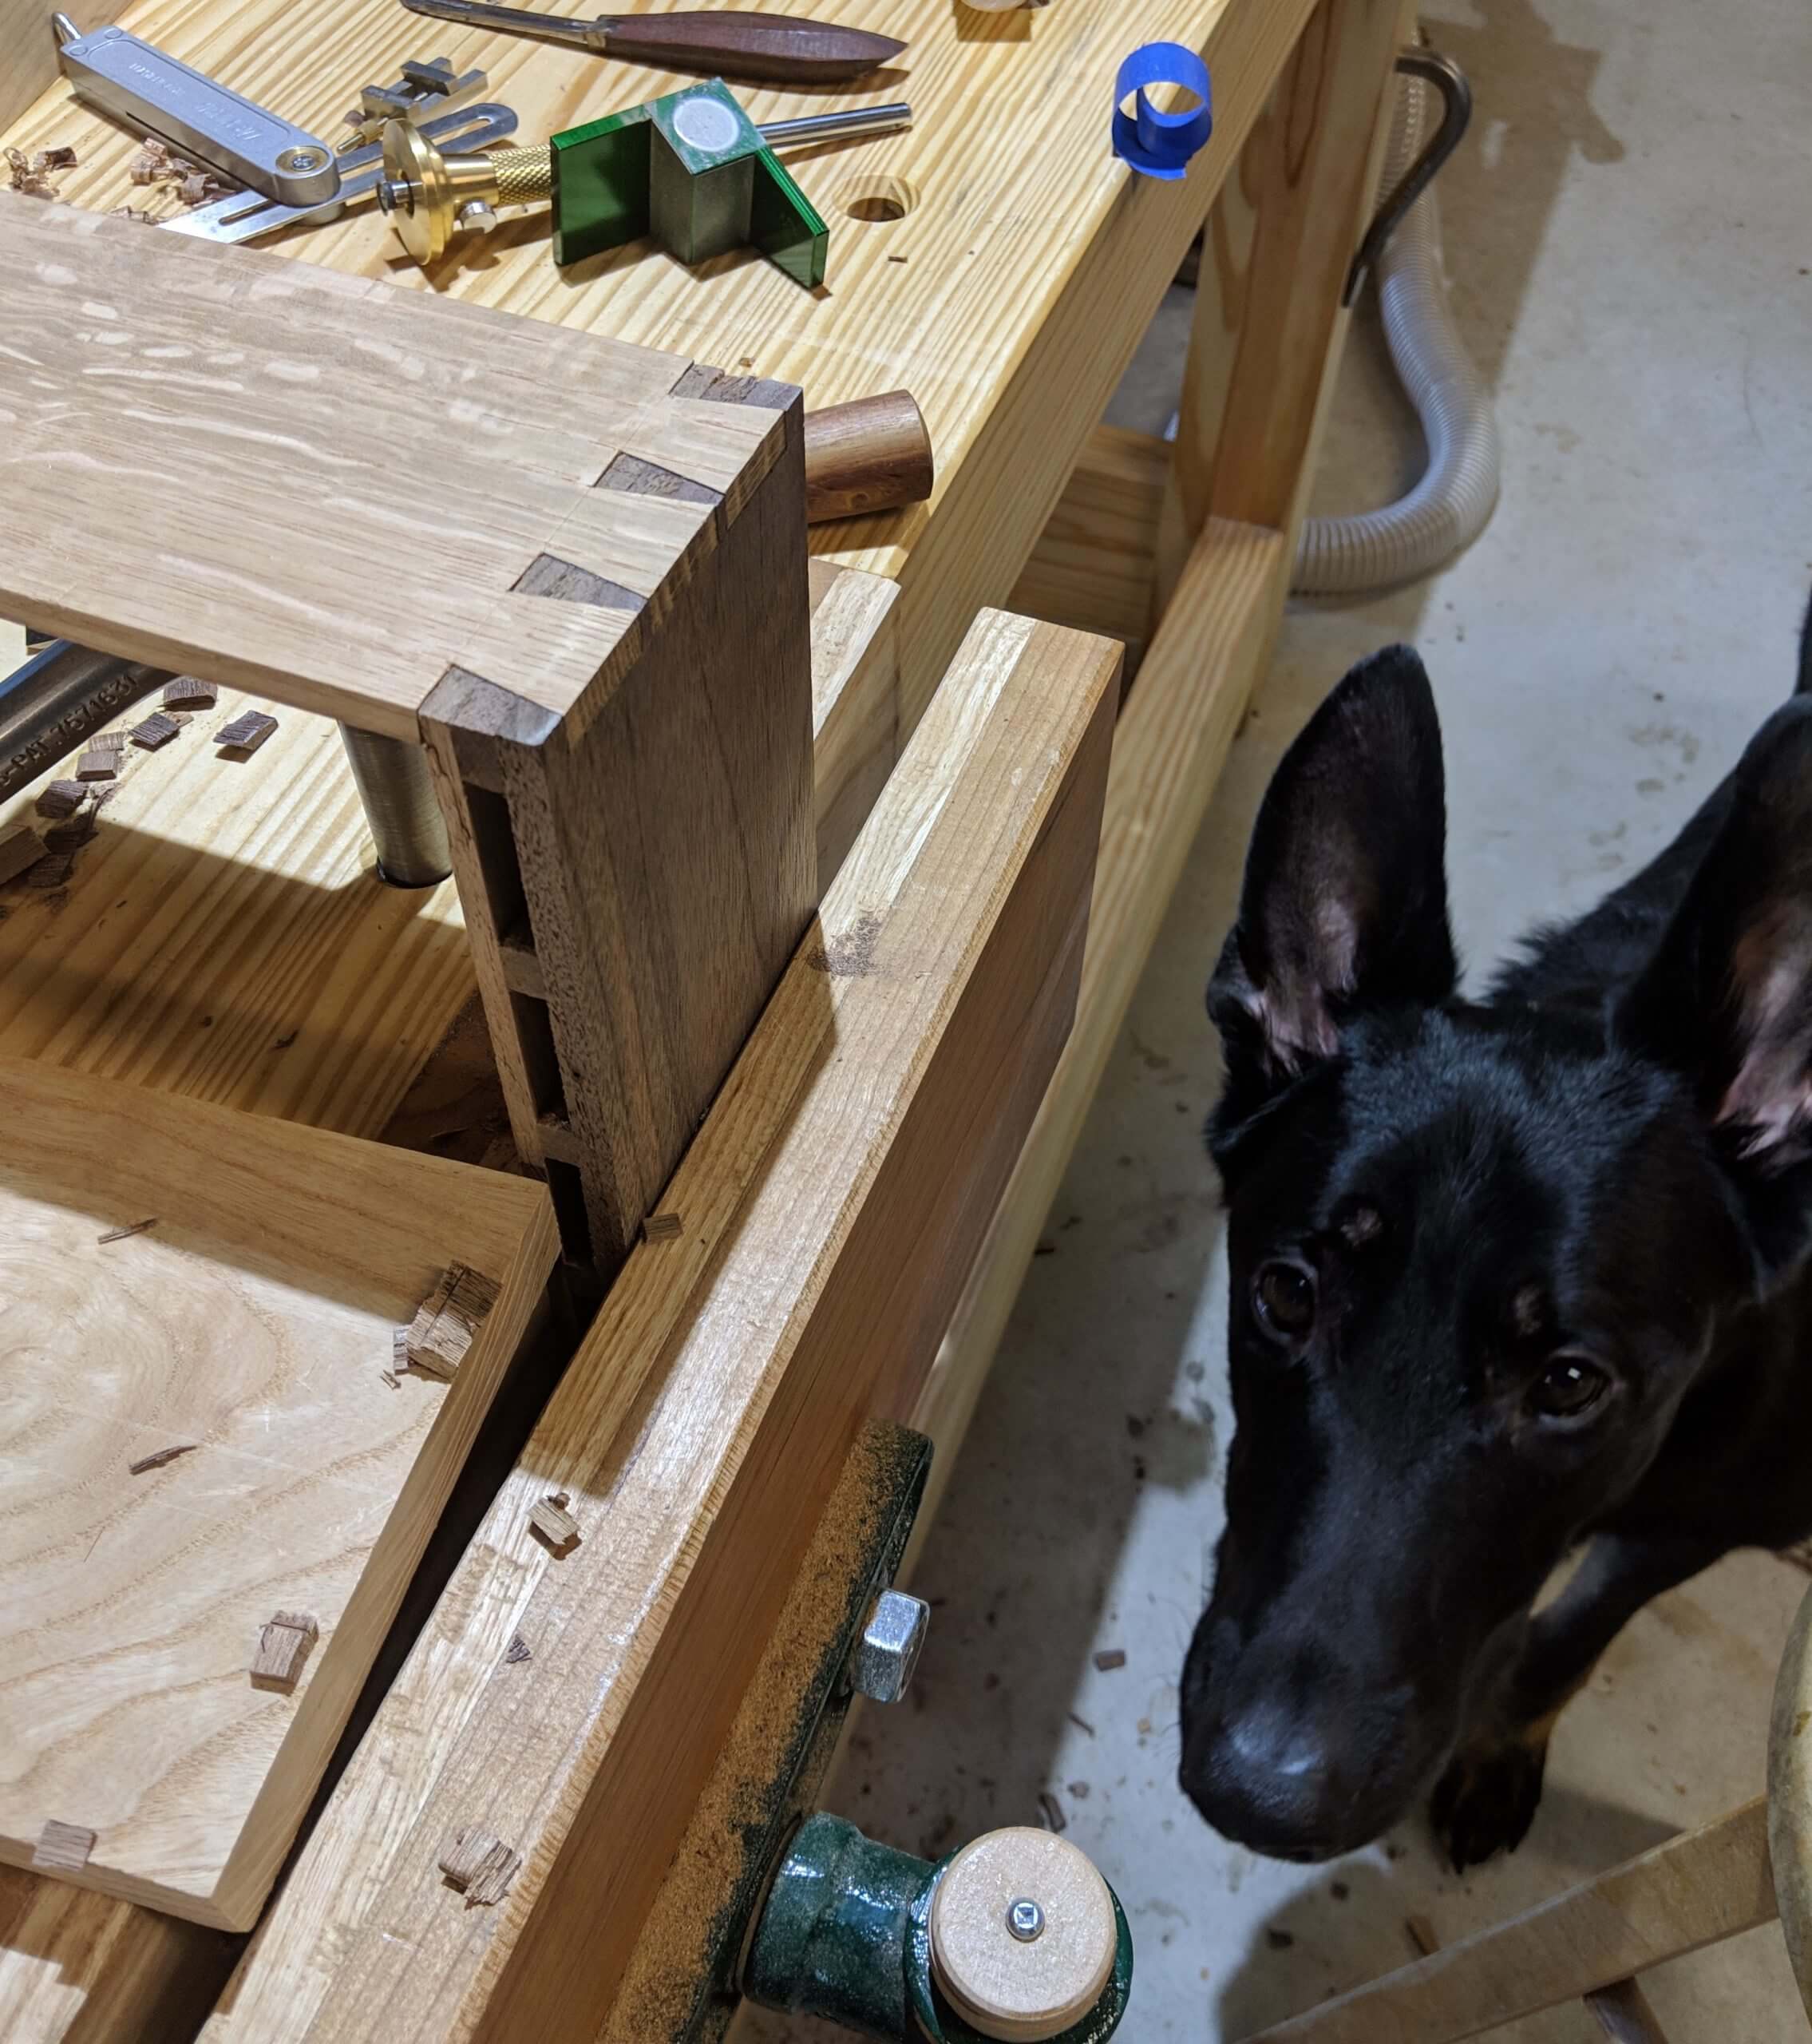
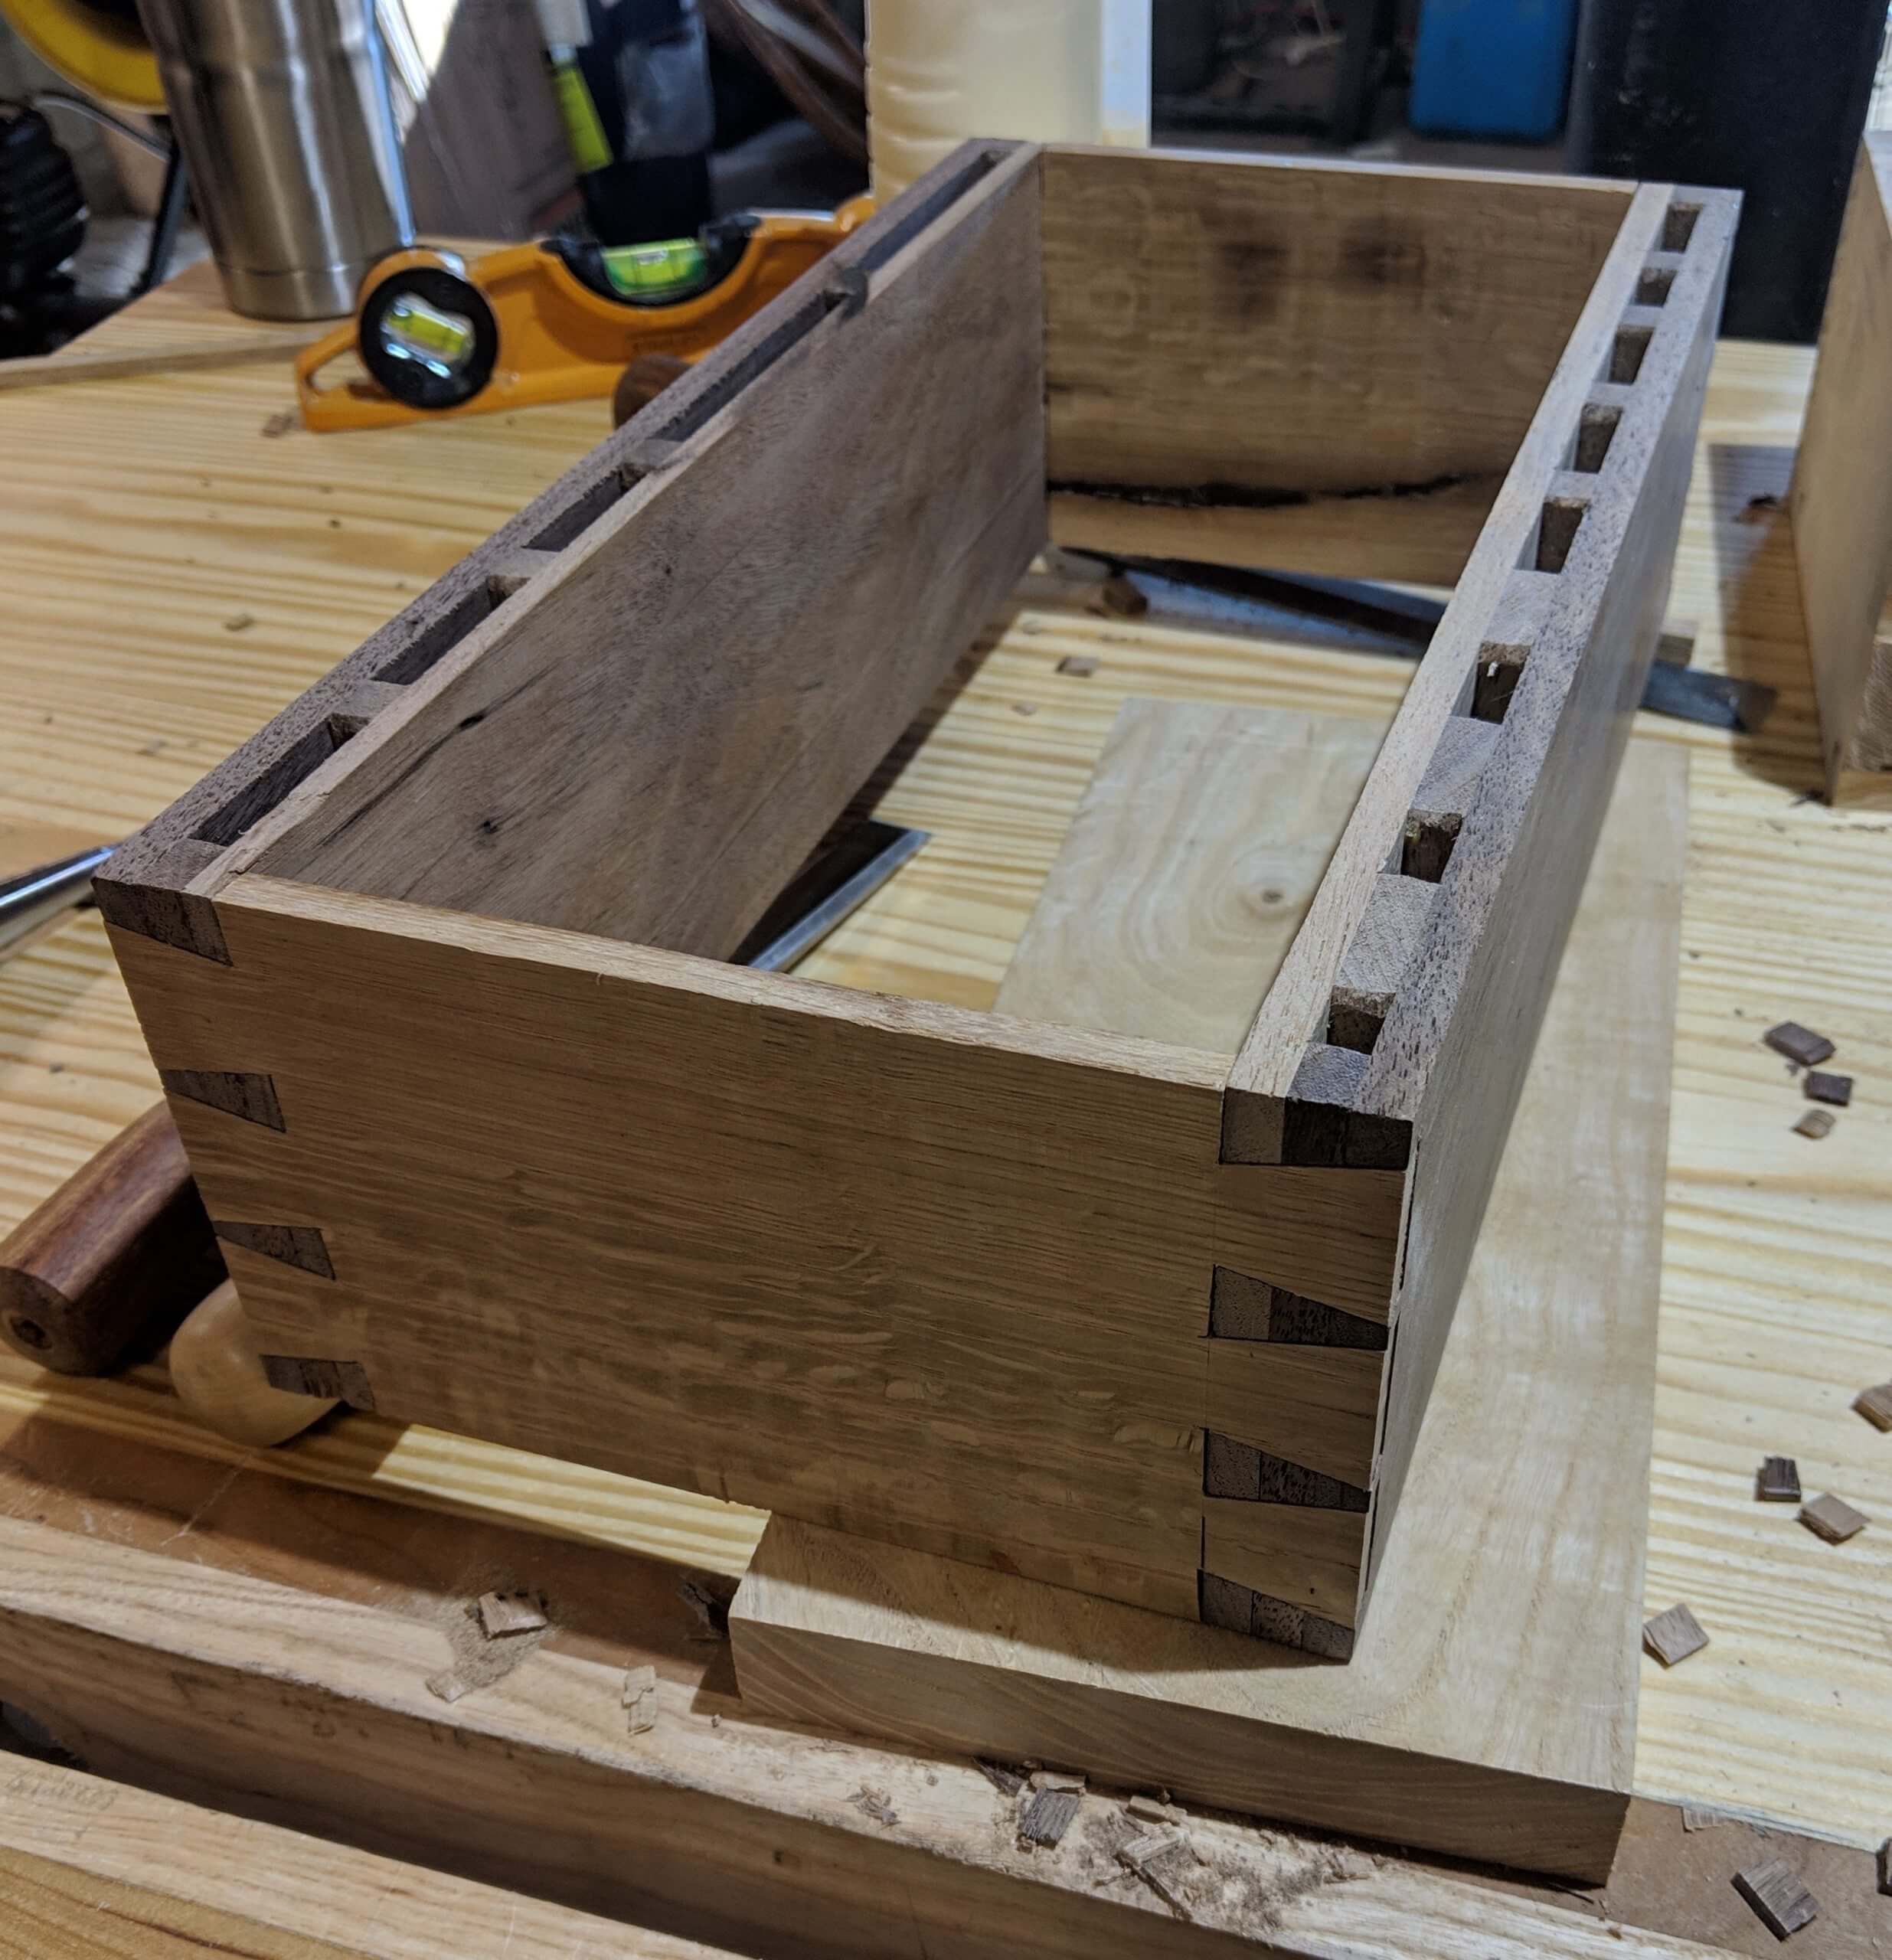
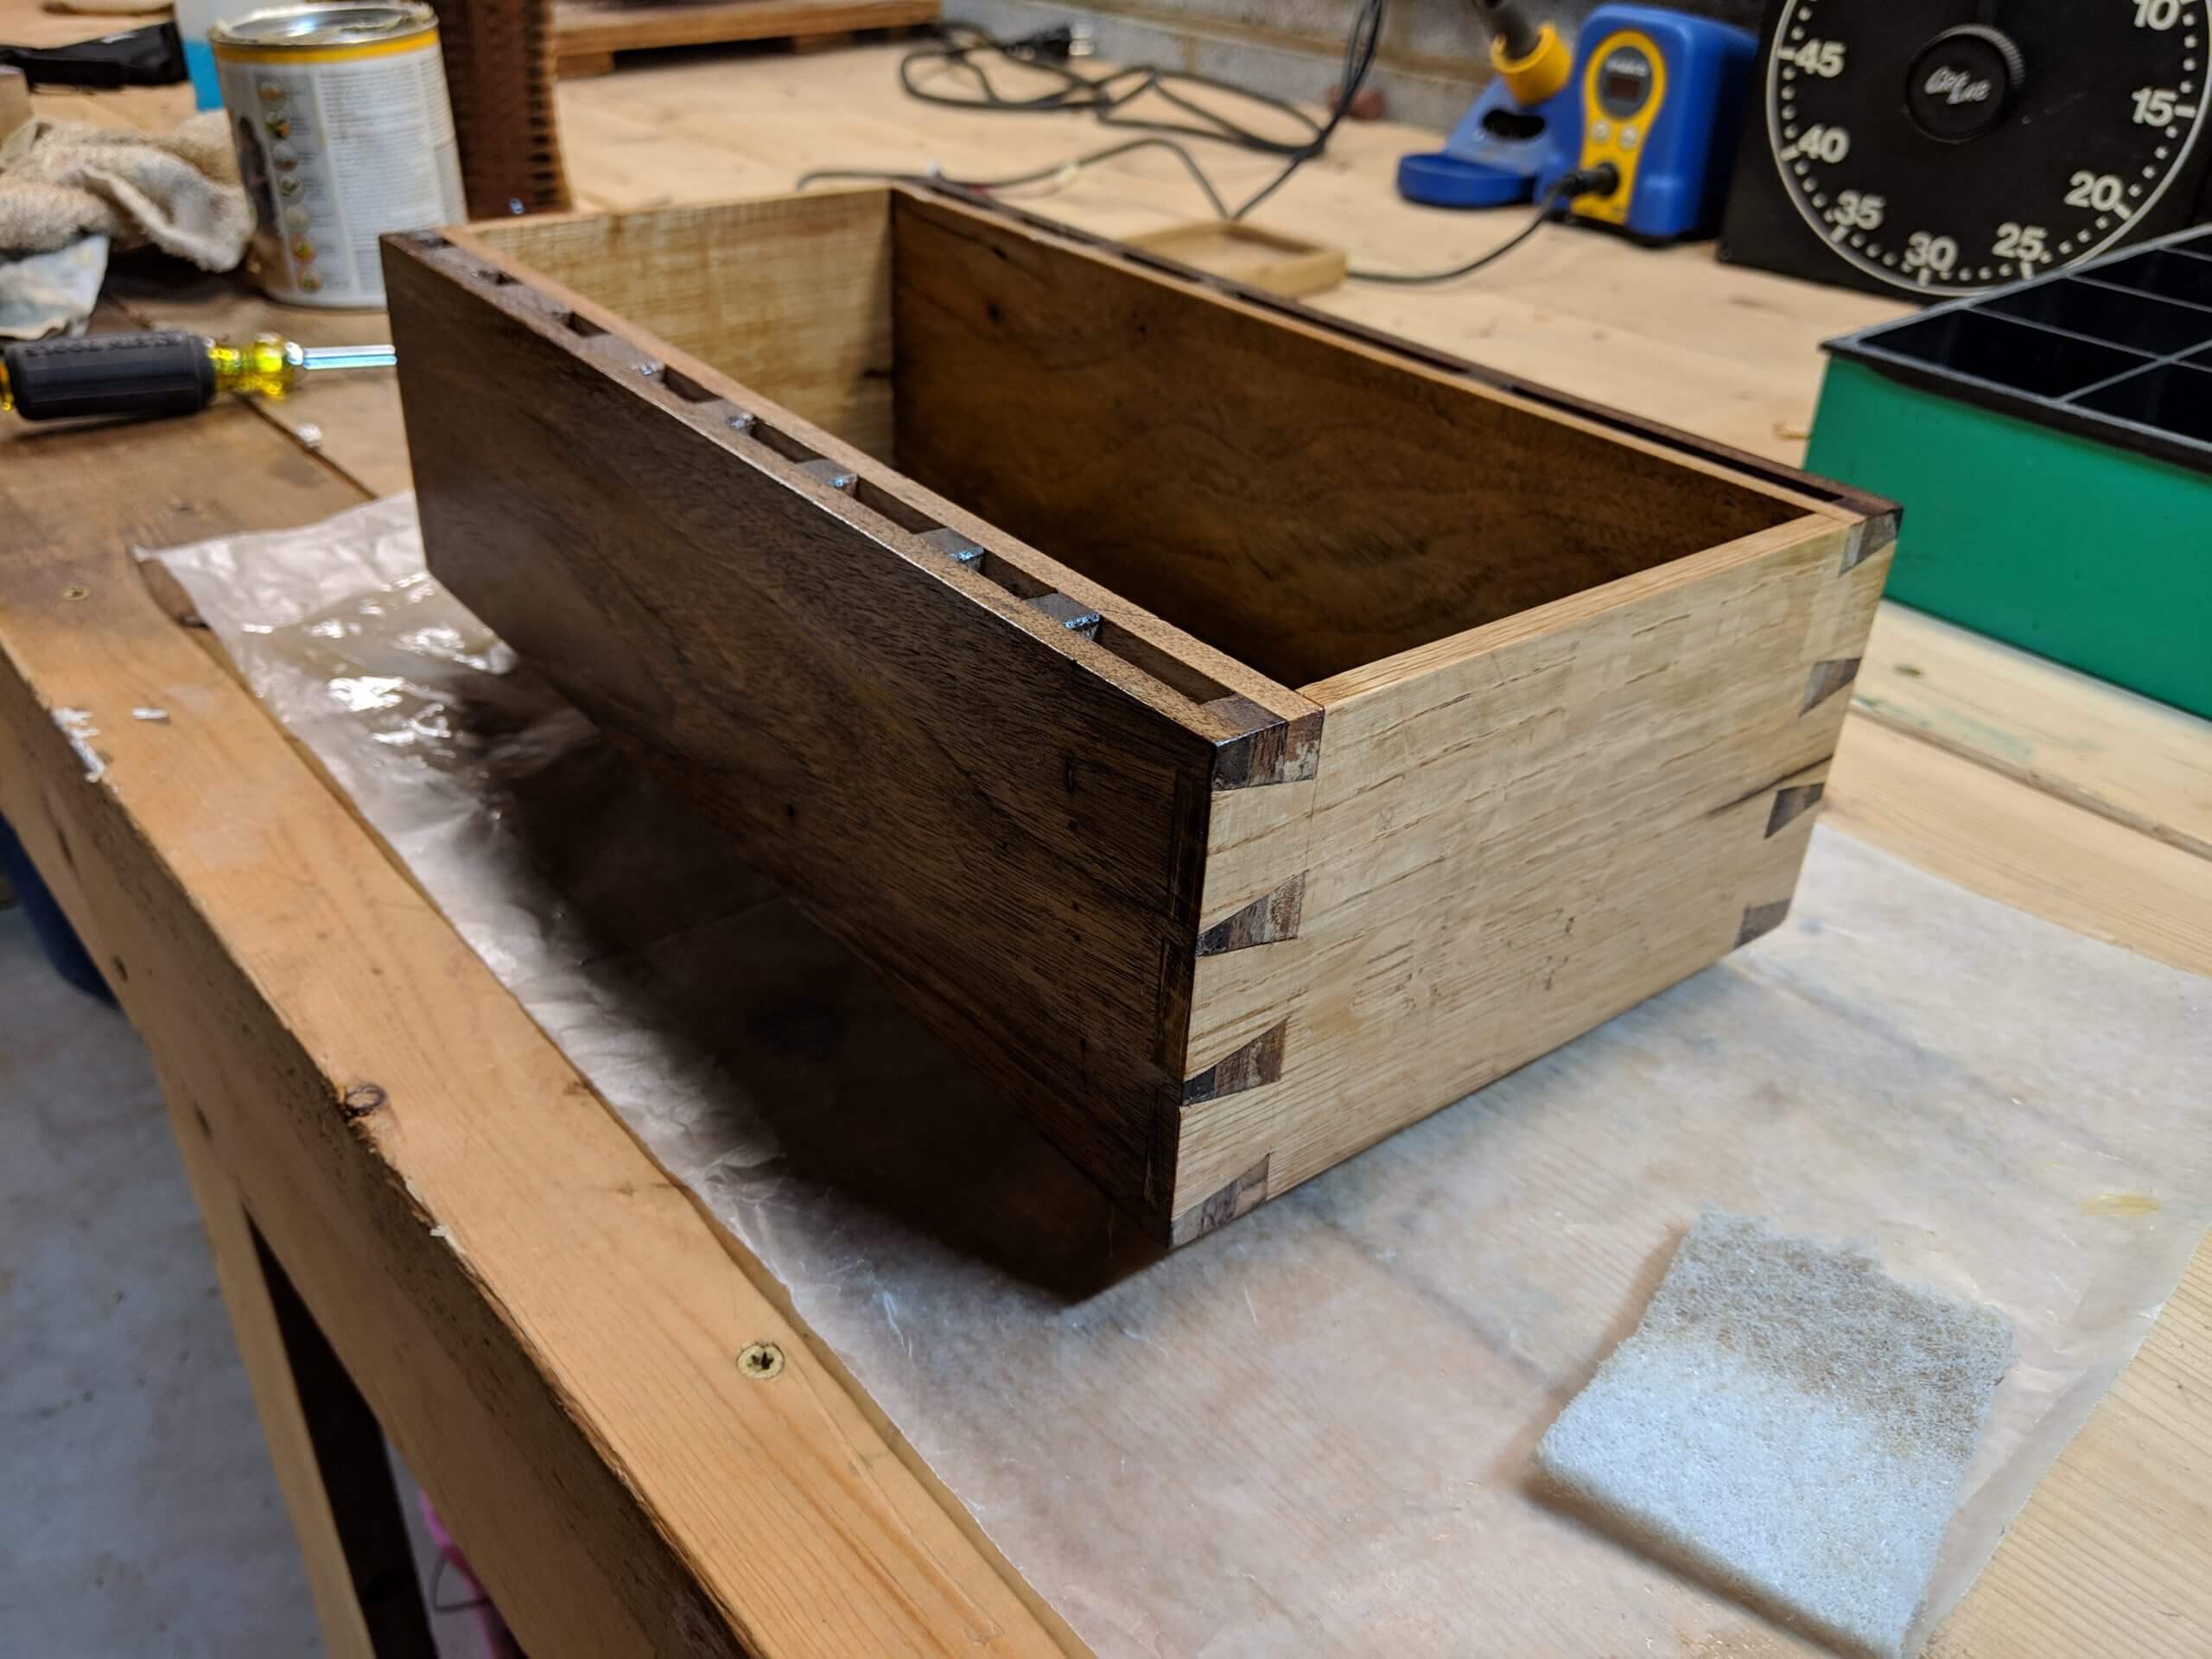
I cut dovetails into the parts and did a dry fit.
The bottom is a problem in that it needs to extend to cover the slots so items can’t fall through or drag on the bench.
To manage this I cut a 1/4″ deep by 1/2″ wide stop rebate in long sides and a 1/4″ deep by 1/8″ wide through rebate in the short sides.
The rebate on the on the long sides needs to be cleaned out/squared with a chisel.

Once the rebate was done the base box was glued-up.
Once dry a simple 1/4″ plywood bottom was installed in the rebate. I did break off two of the dovetail pins while cleaning up the rebate, but they were easy to glue back in when the bottom was installed.
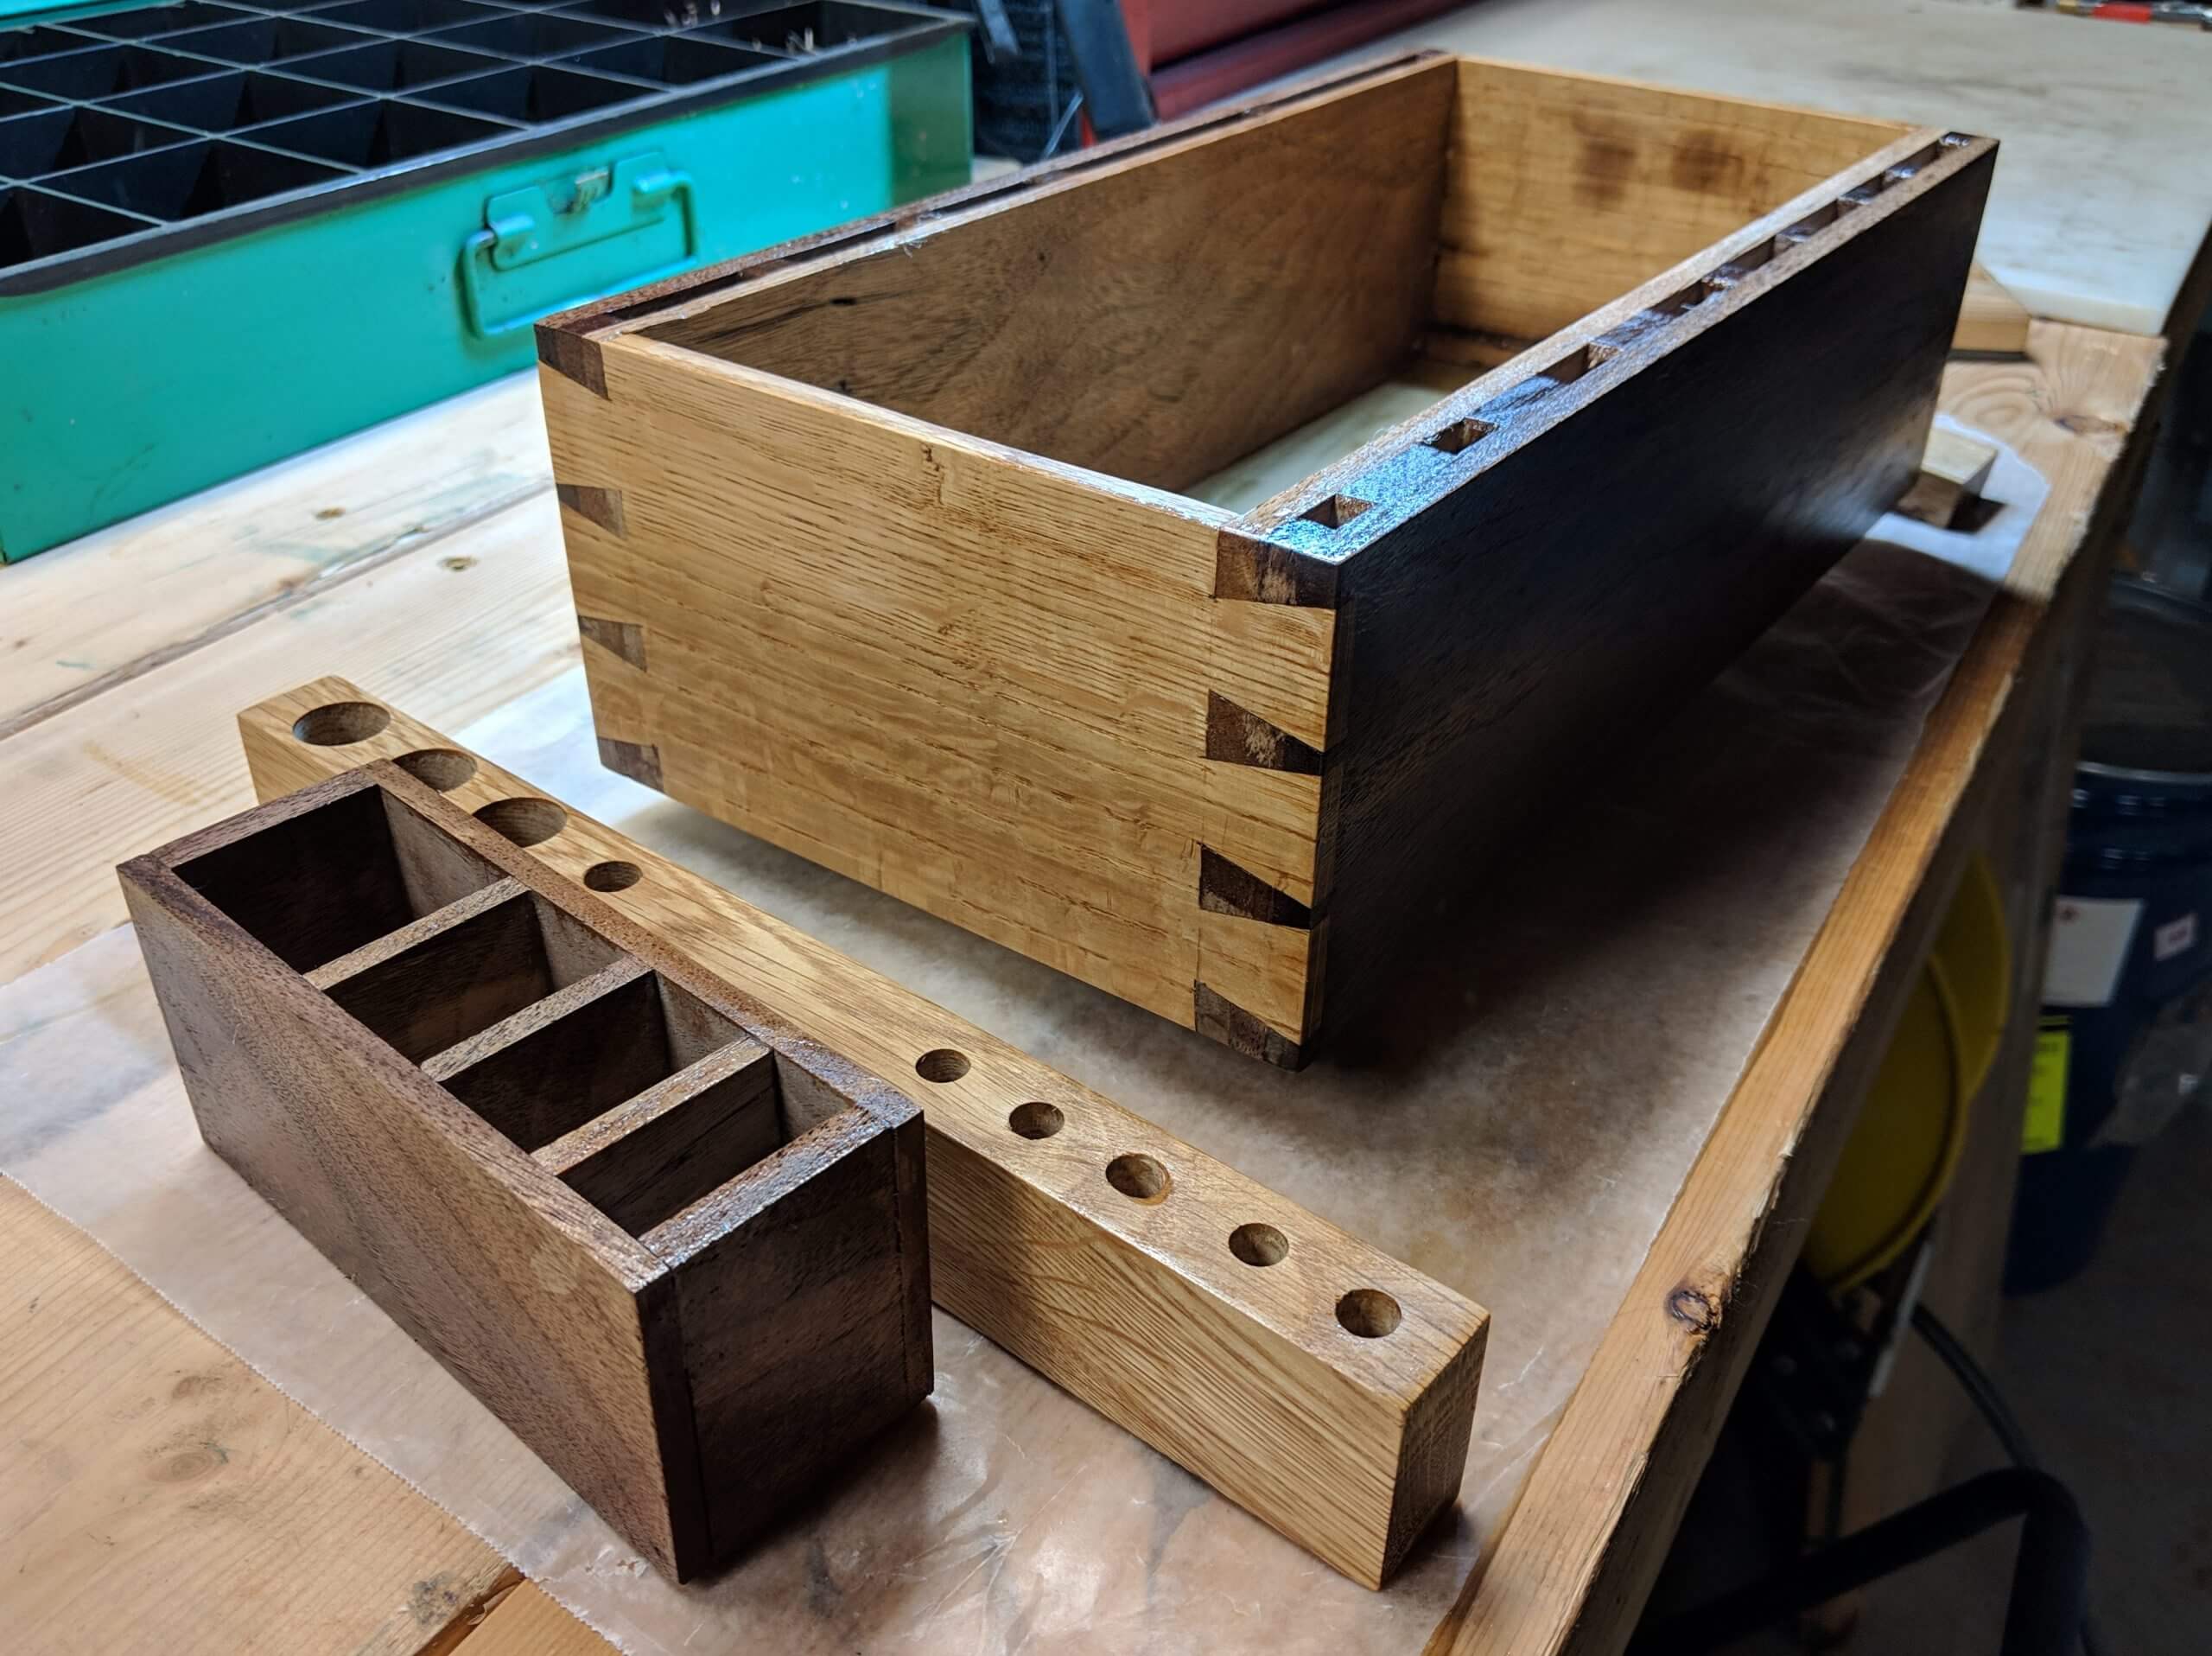
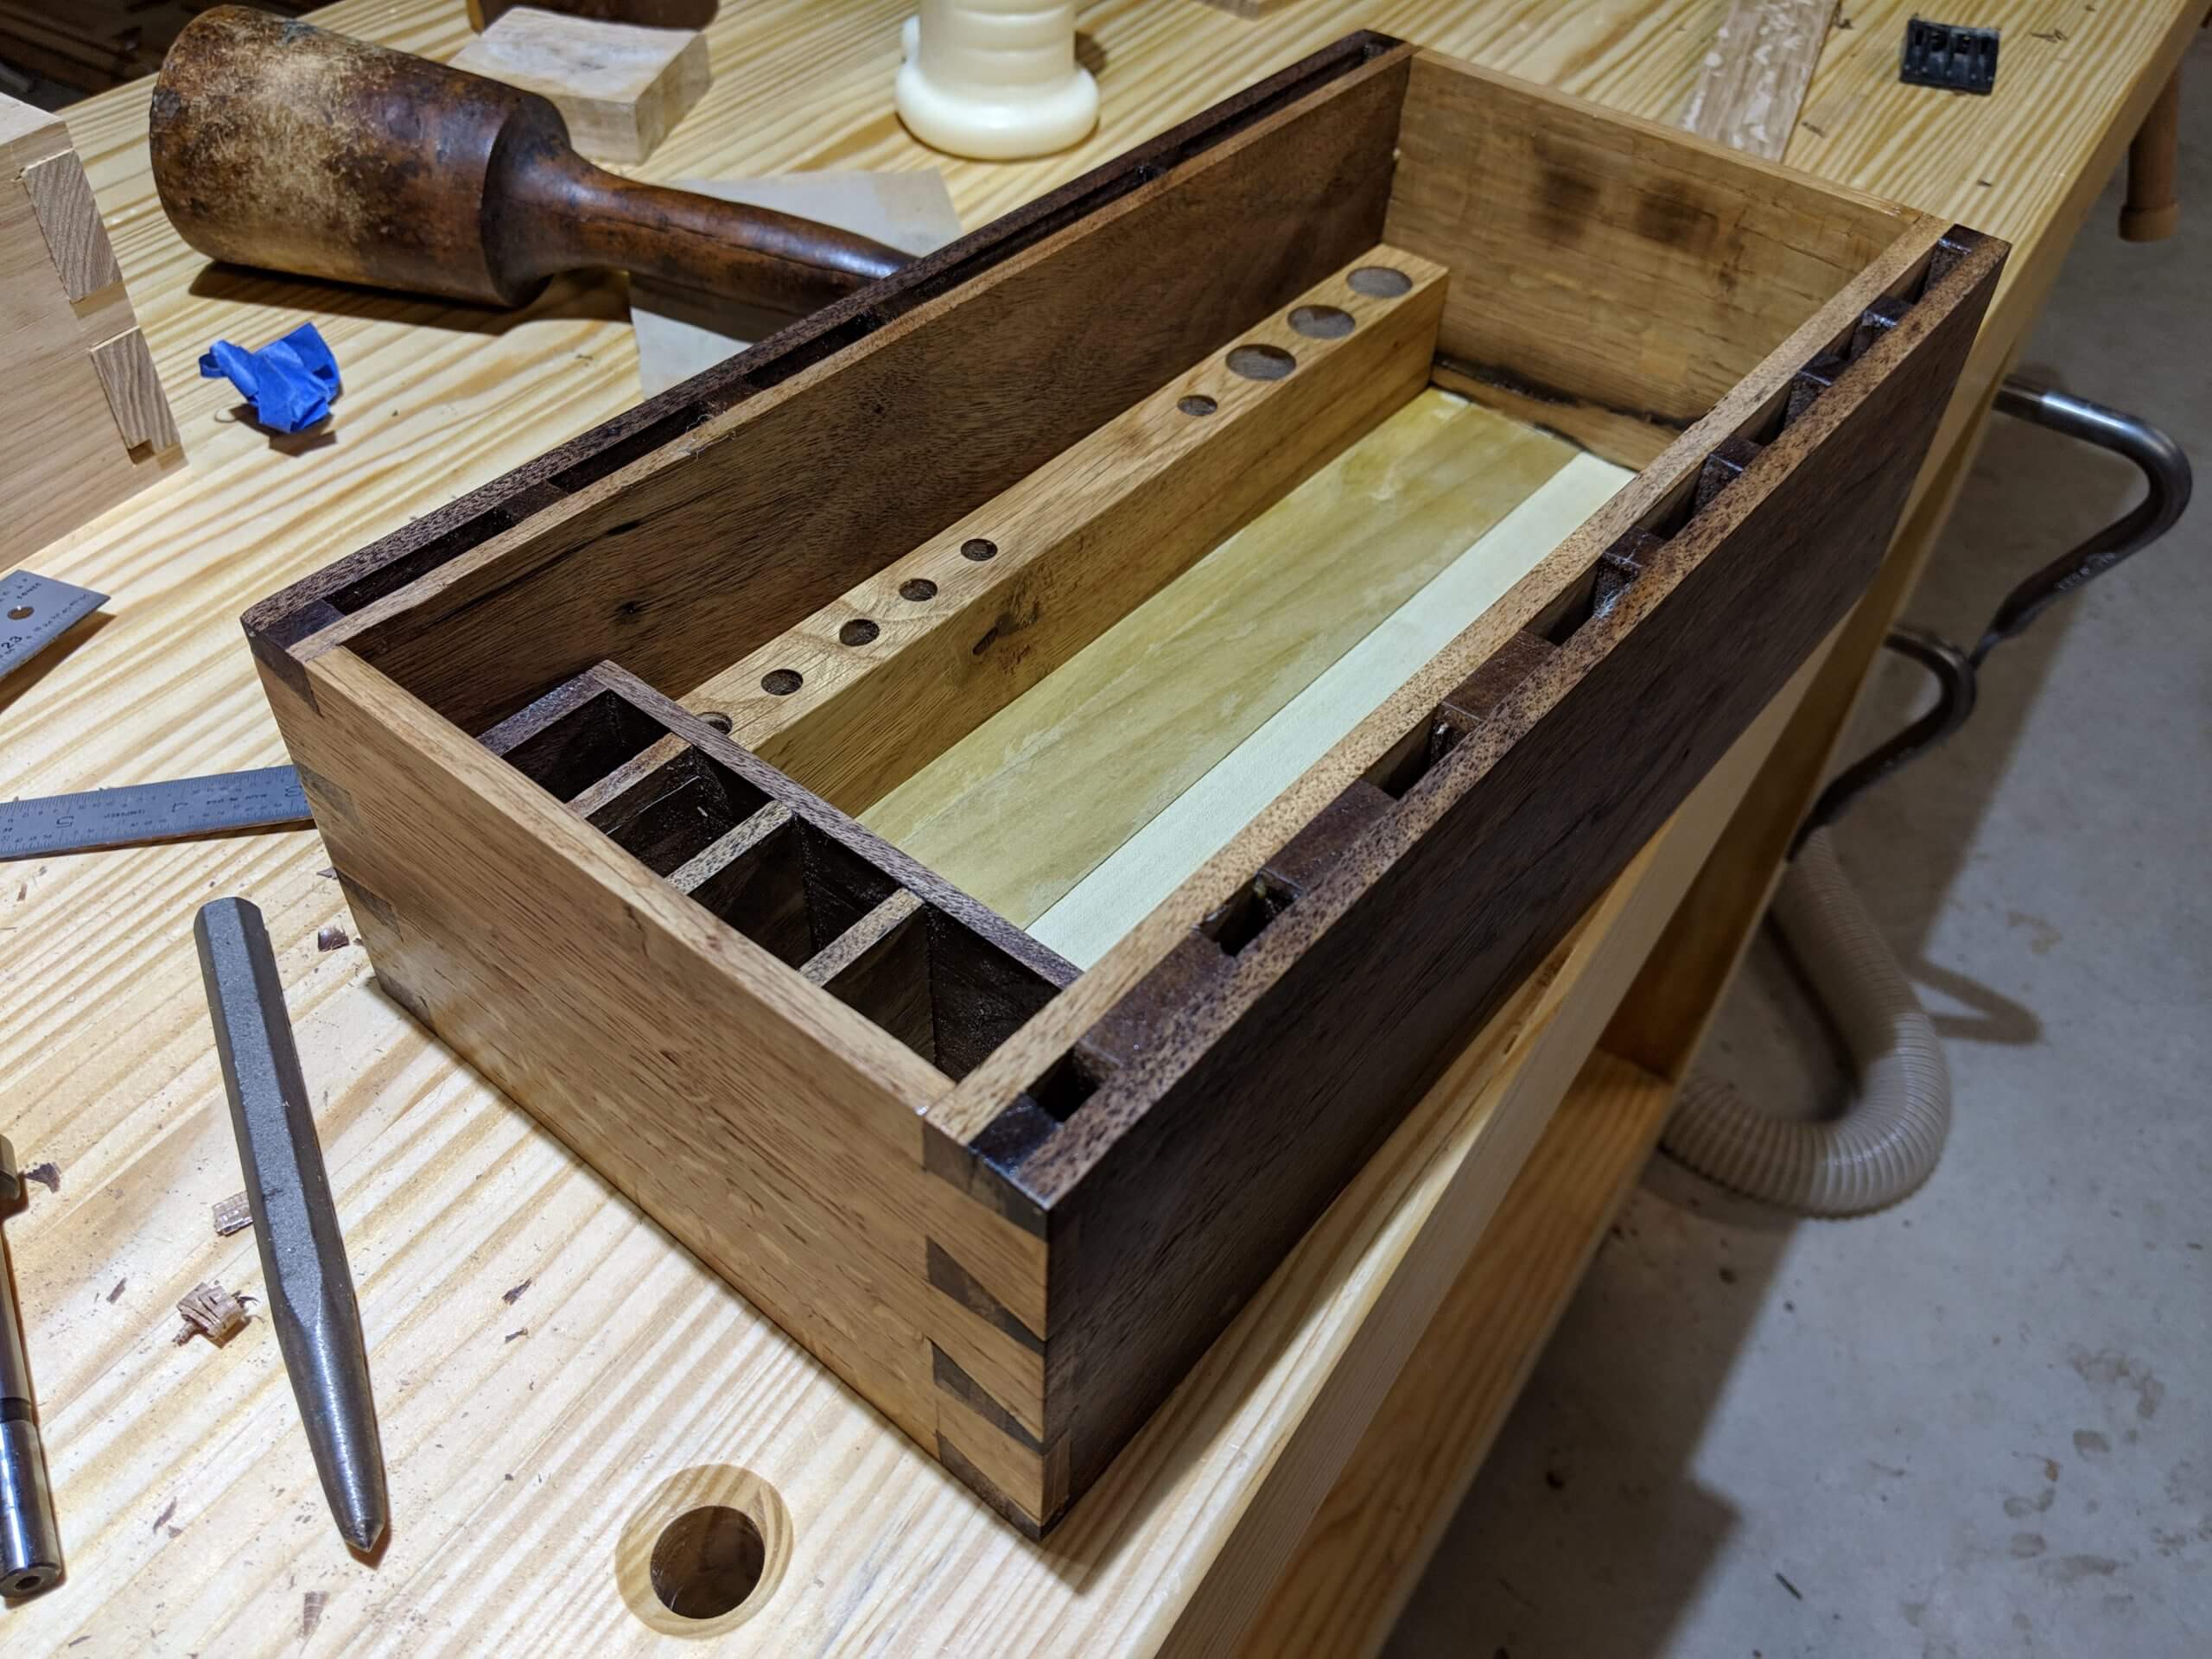
For the interior, I made a small box with compartments sized for “squarish” things. and a long block with holes for things such as pens and similar.
These are not glued in place, but can be removed and replaced easily if the desired layout changes.
The entire box and internal components were given three coats of Osmo Hardwax Oil then hit with #0000 steel wool.
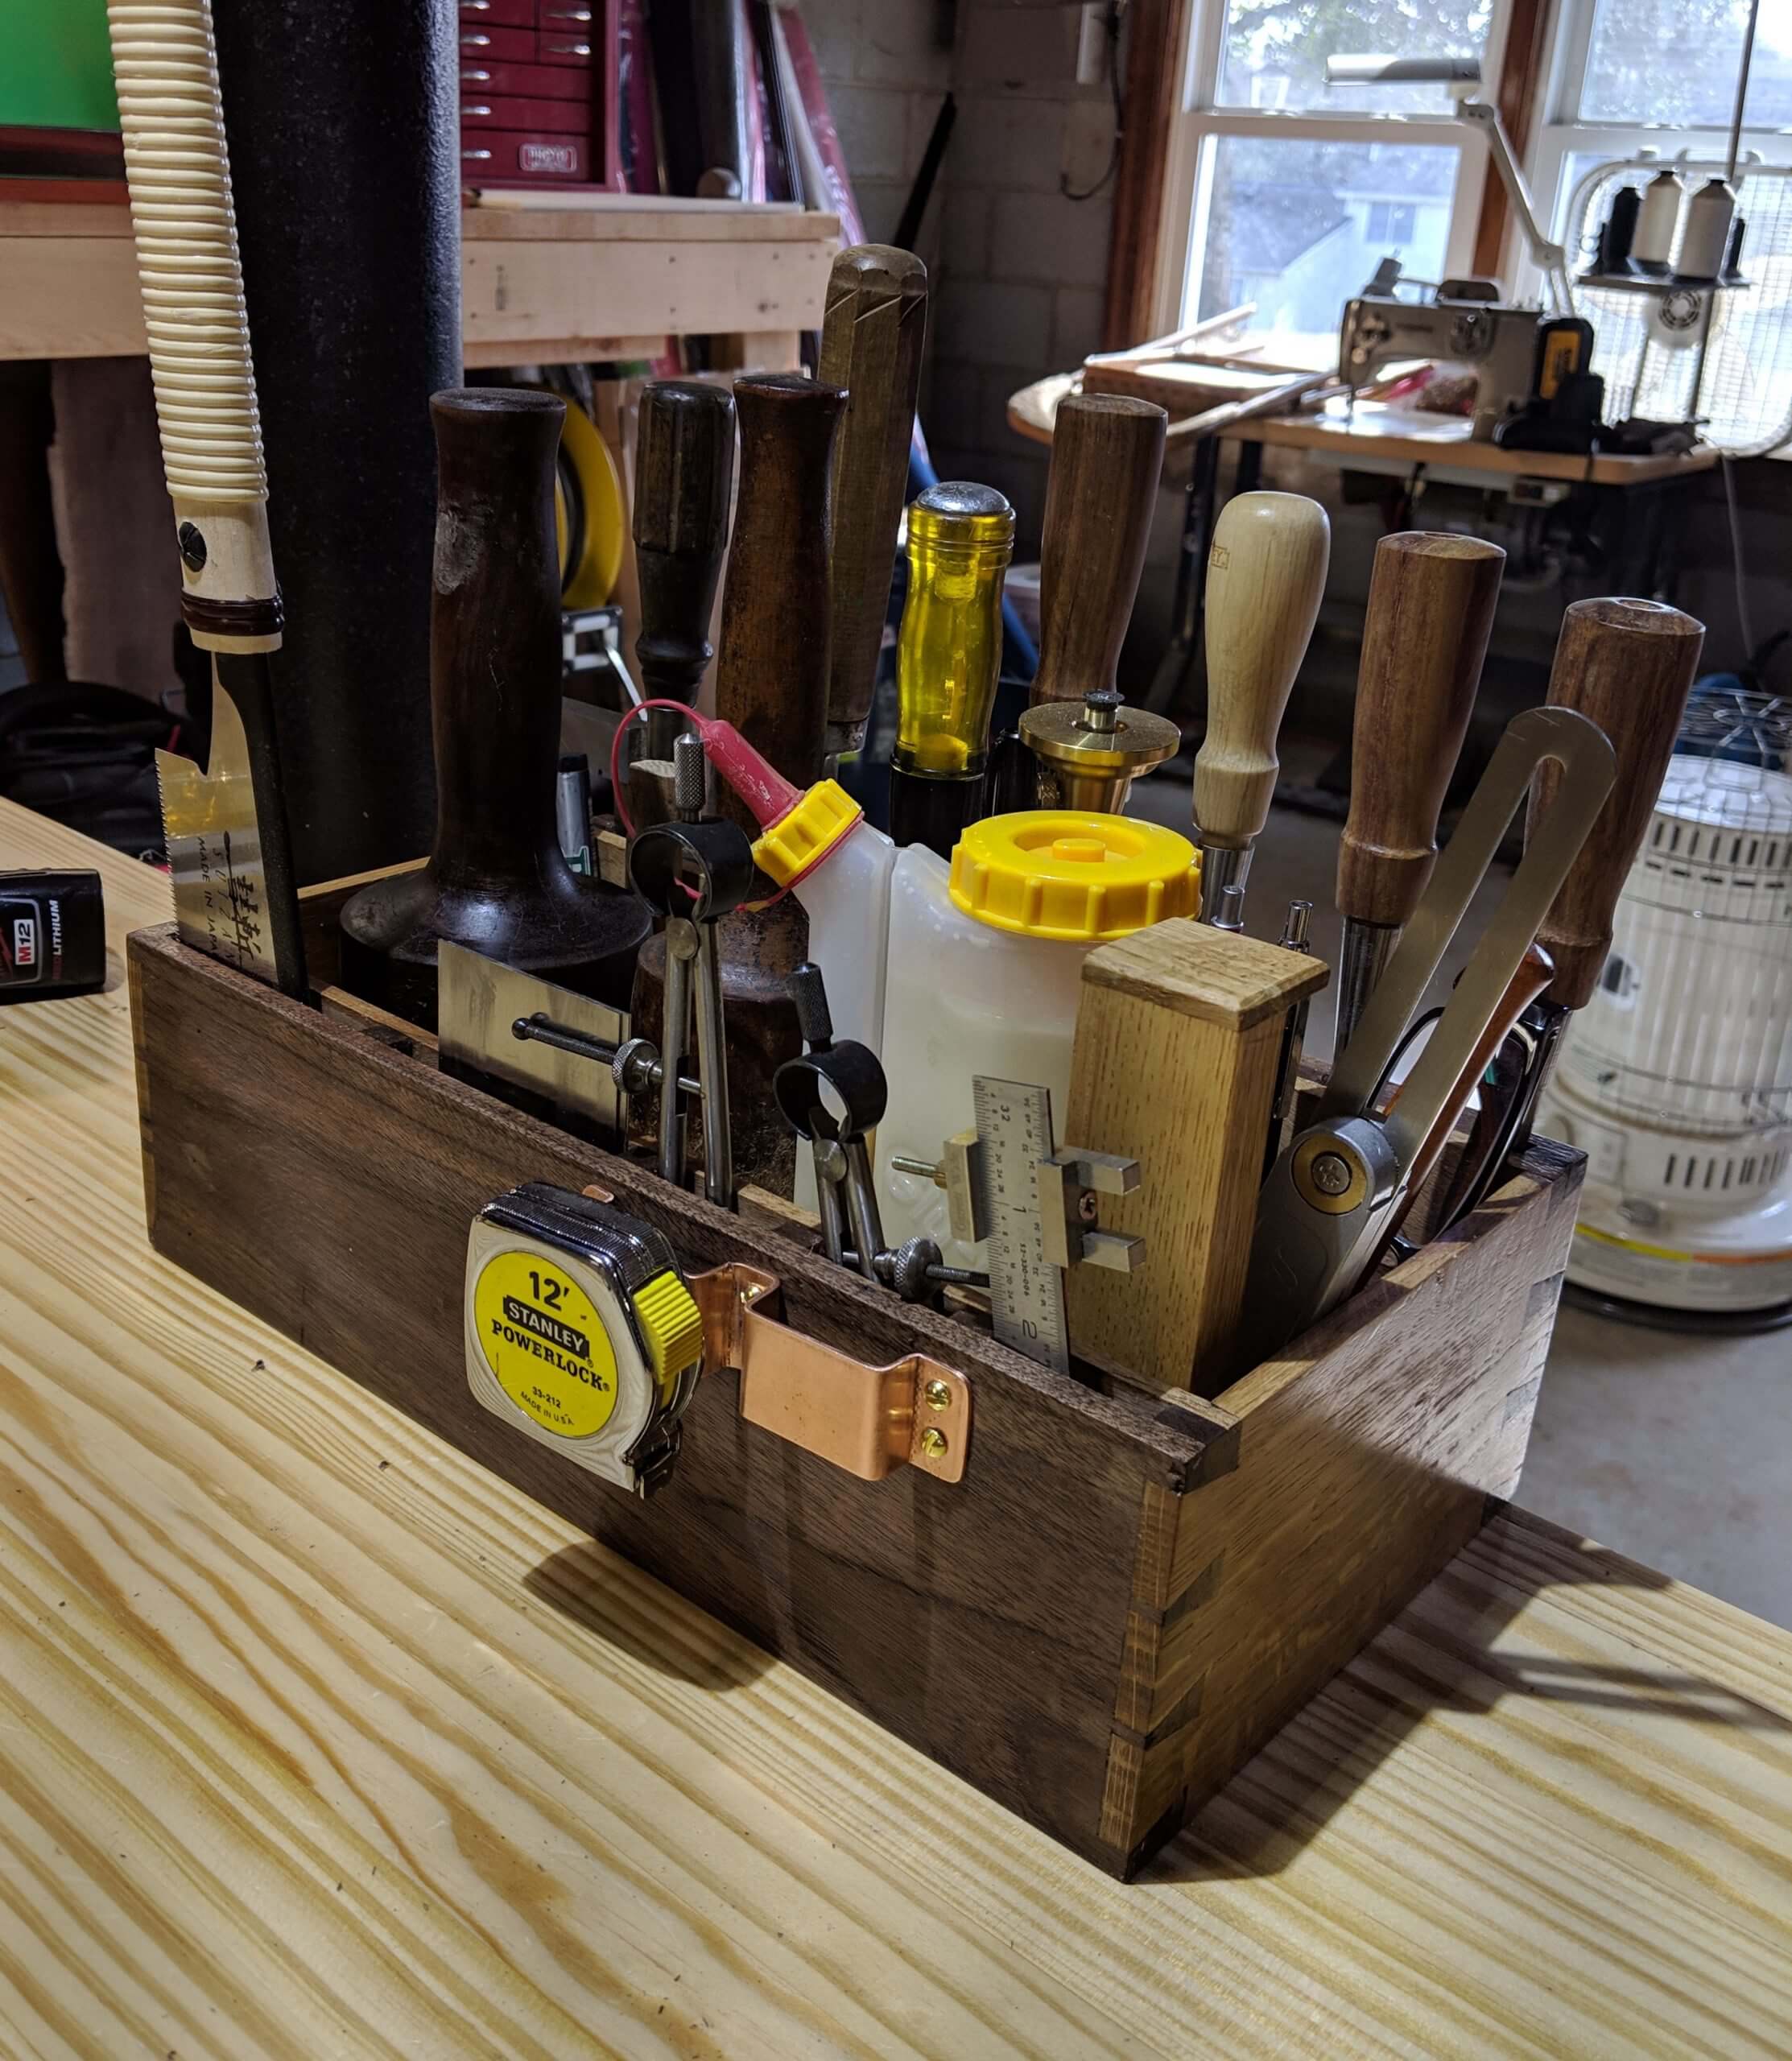
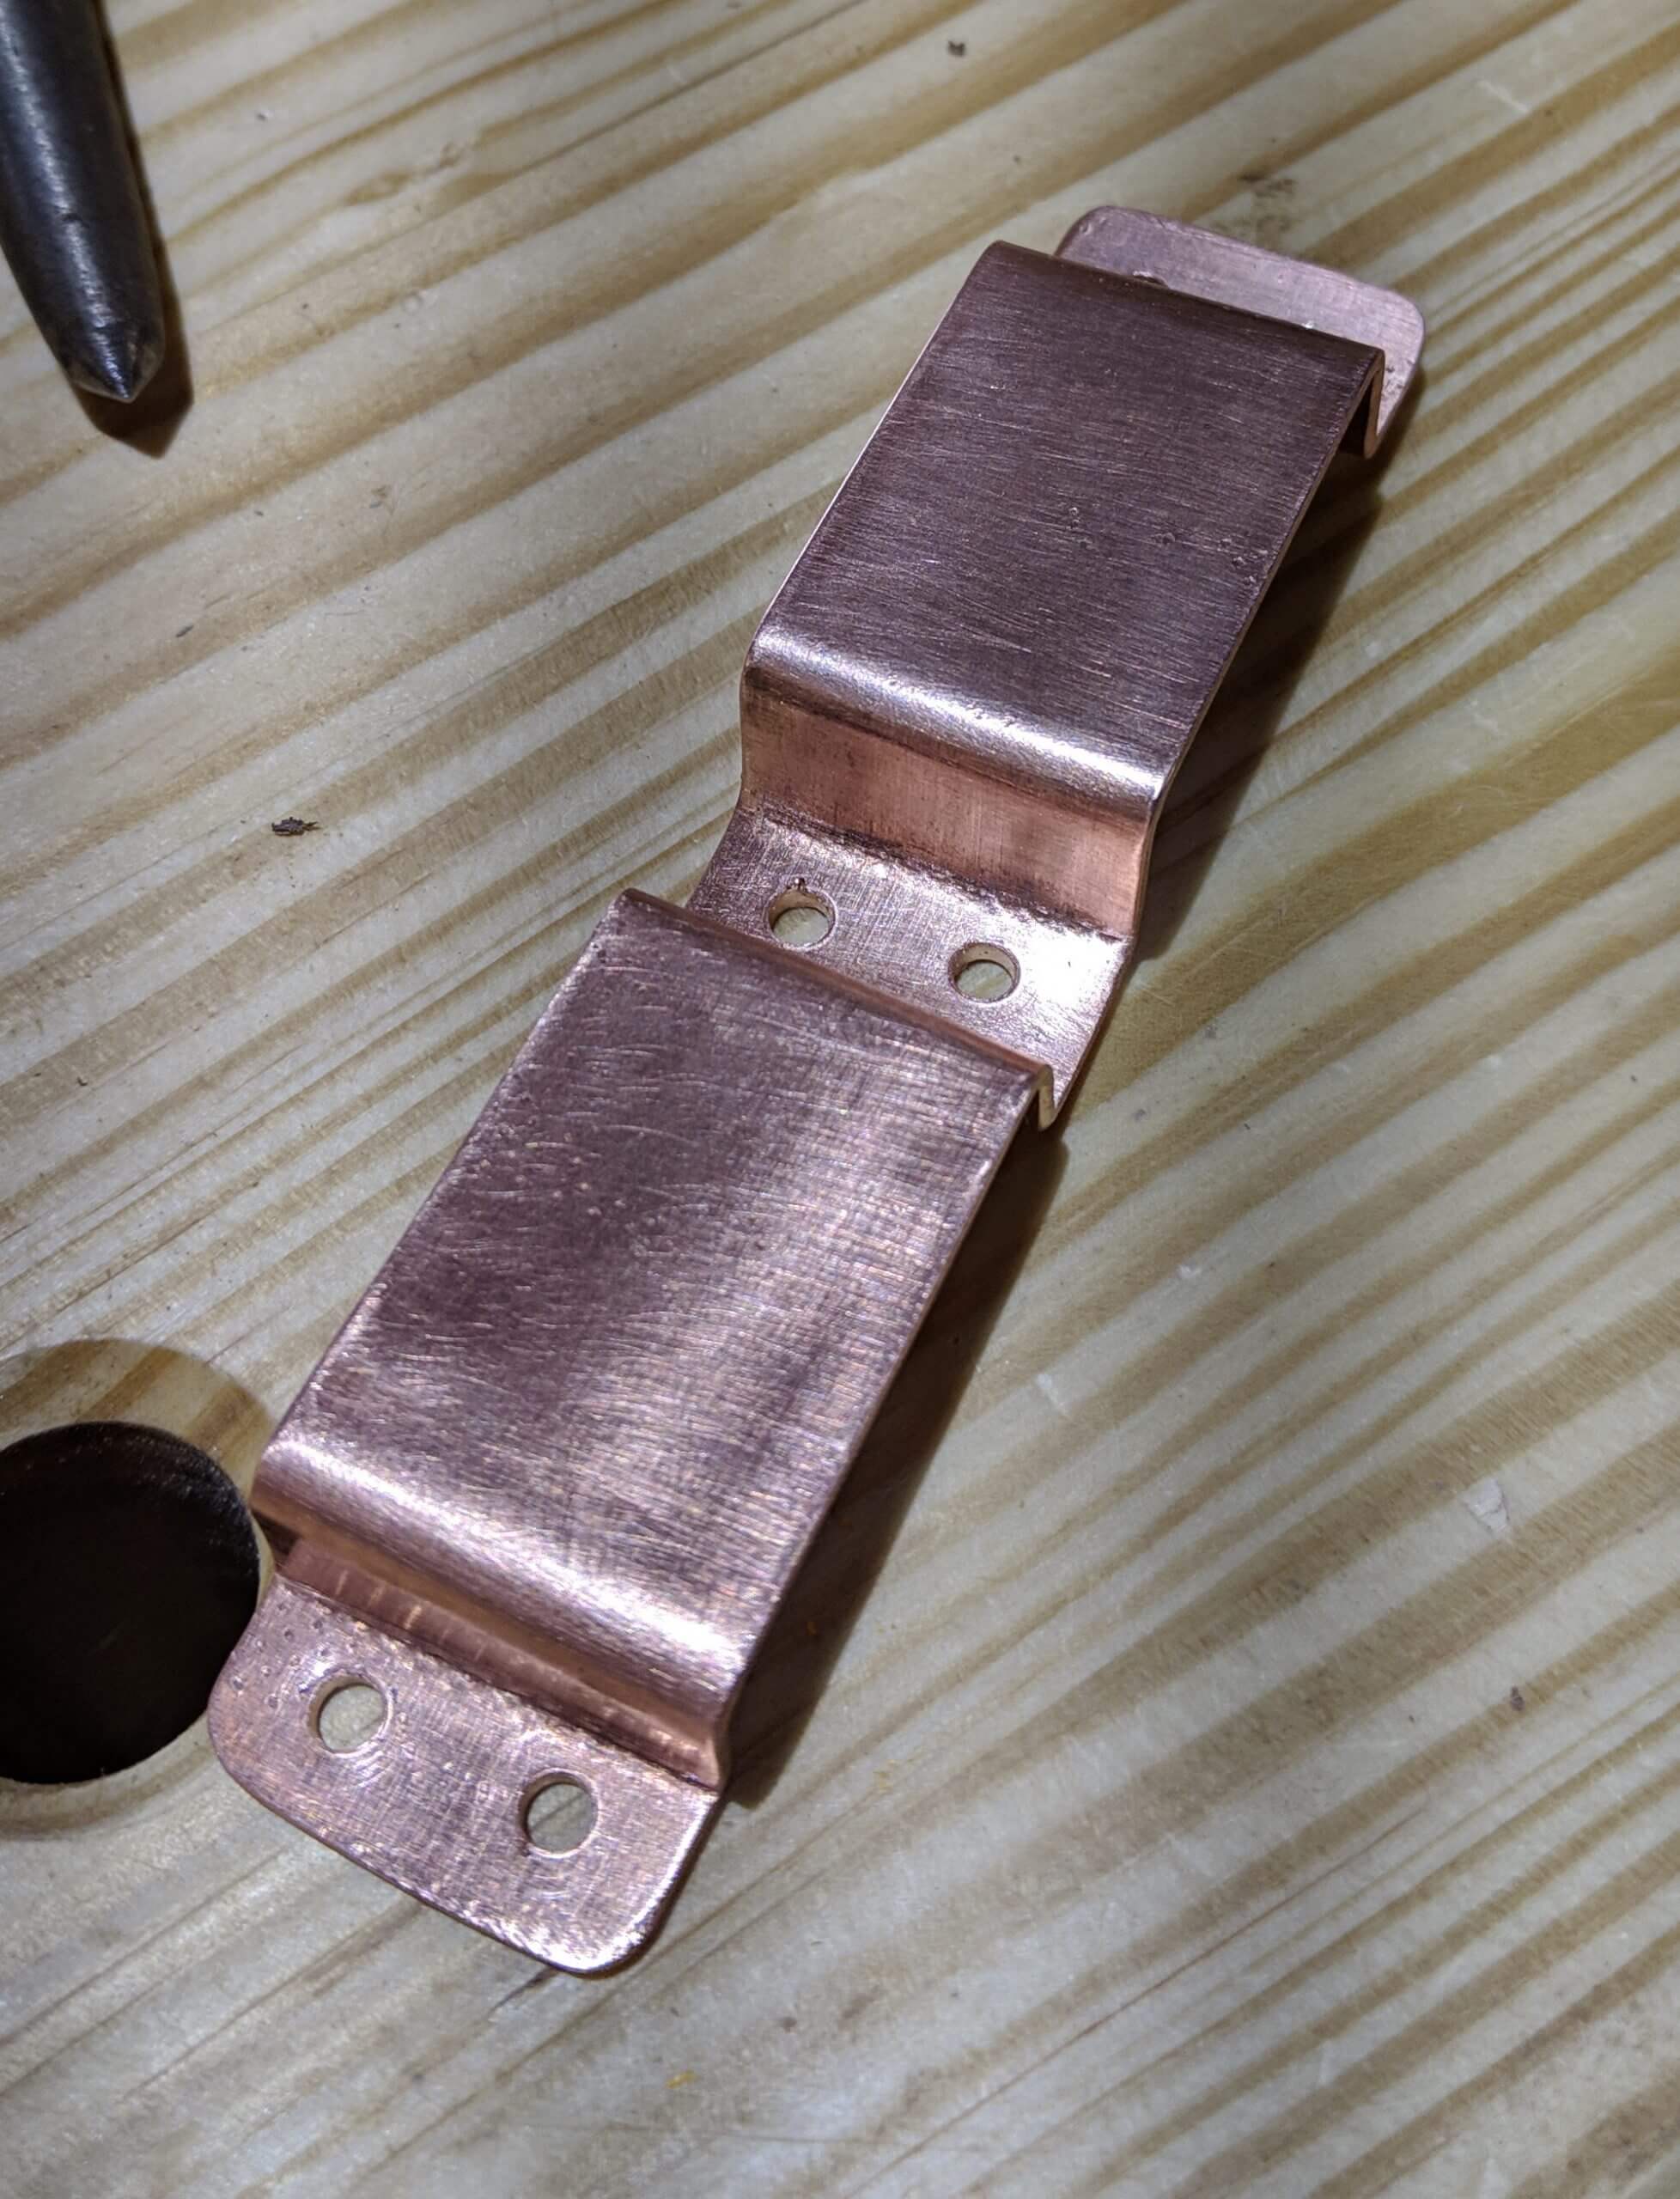
To hold my tape measure, I bend a piece of copper and attached it with brass screws.
It works great and holds everything I need when I go to the bench for some hand work.
What is in it includes:
- Set of four standard Stanley Chisels
- Fishtail Chisel
- Marking Knife
- Carving Knife
- 1″ Work Chisel
- Screw Driver for Plane Irons etc
- 6″ Rule with Stop
- 12′ Tape
- Large and Small Compass
- Card Scrapers
- Marking Gauge
- Dovetail Saw
- Angle Gauge
- Bench Vise Block
- Glasses
- Large and Medium Mallet
- Glue
- .5 and .7 Pencils
- Marker
- Marking Crayon
- Center Punch
- Eraser
- Engineers Square
- Wax
The Chisel side is on the “back” so I can face that side towards me when doing dovetails and can grab any chisel.
I am certain the layout will change, but it is nice having the same group of tools together when needed.
Outstanding as well as really interesting blog site. Will read a lot
more from now on.