
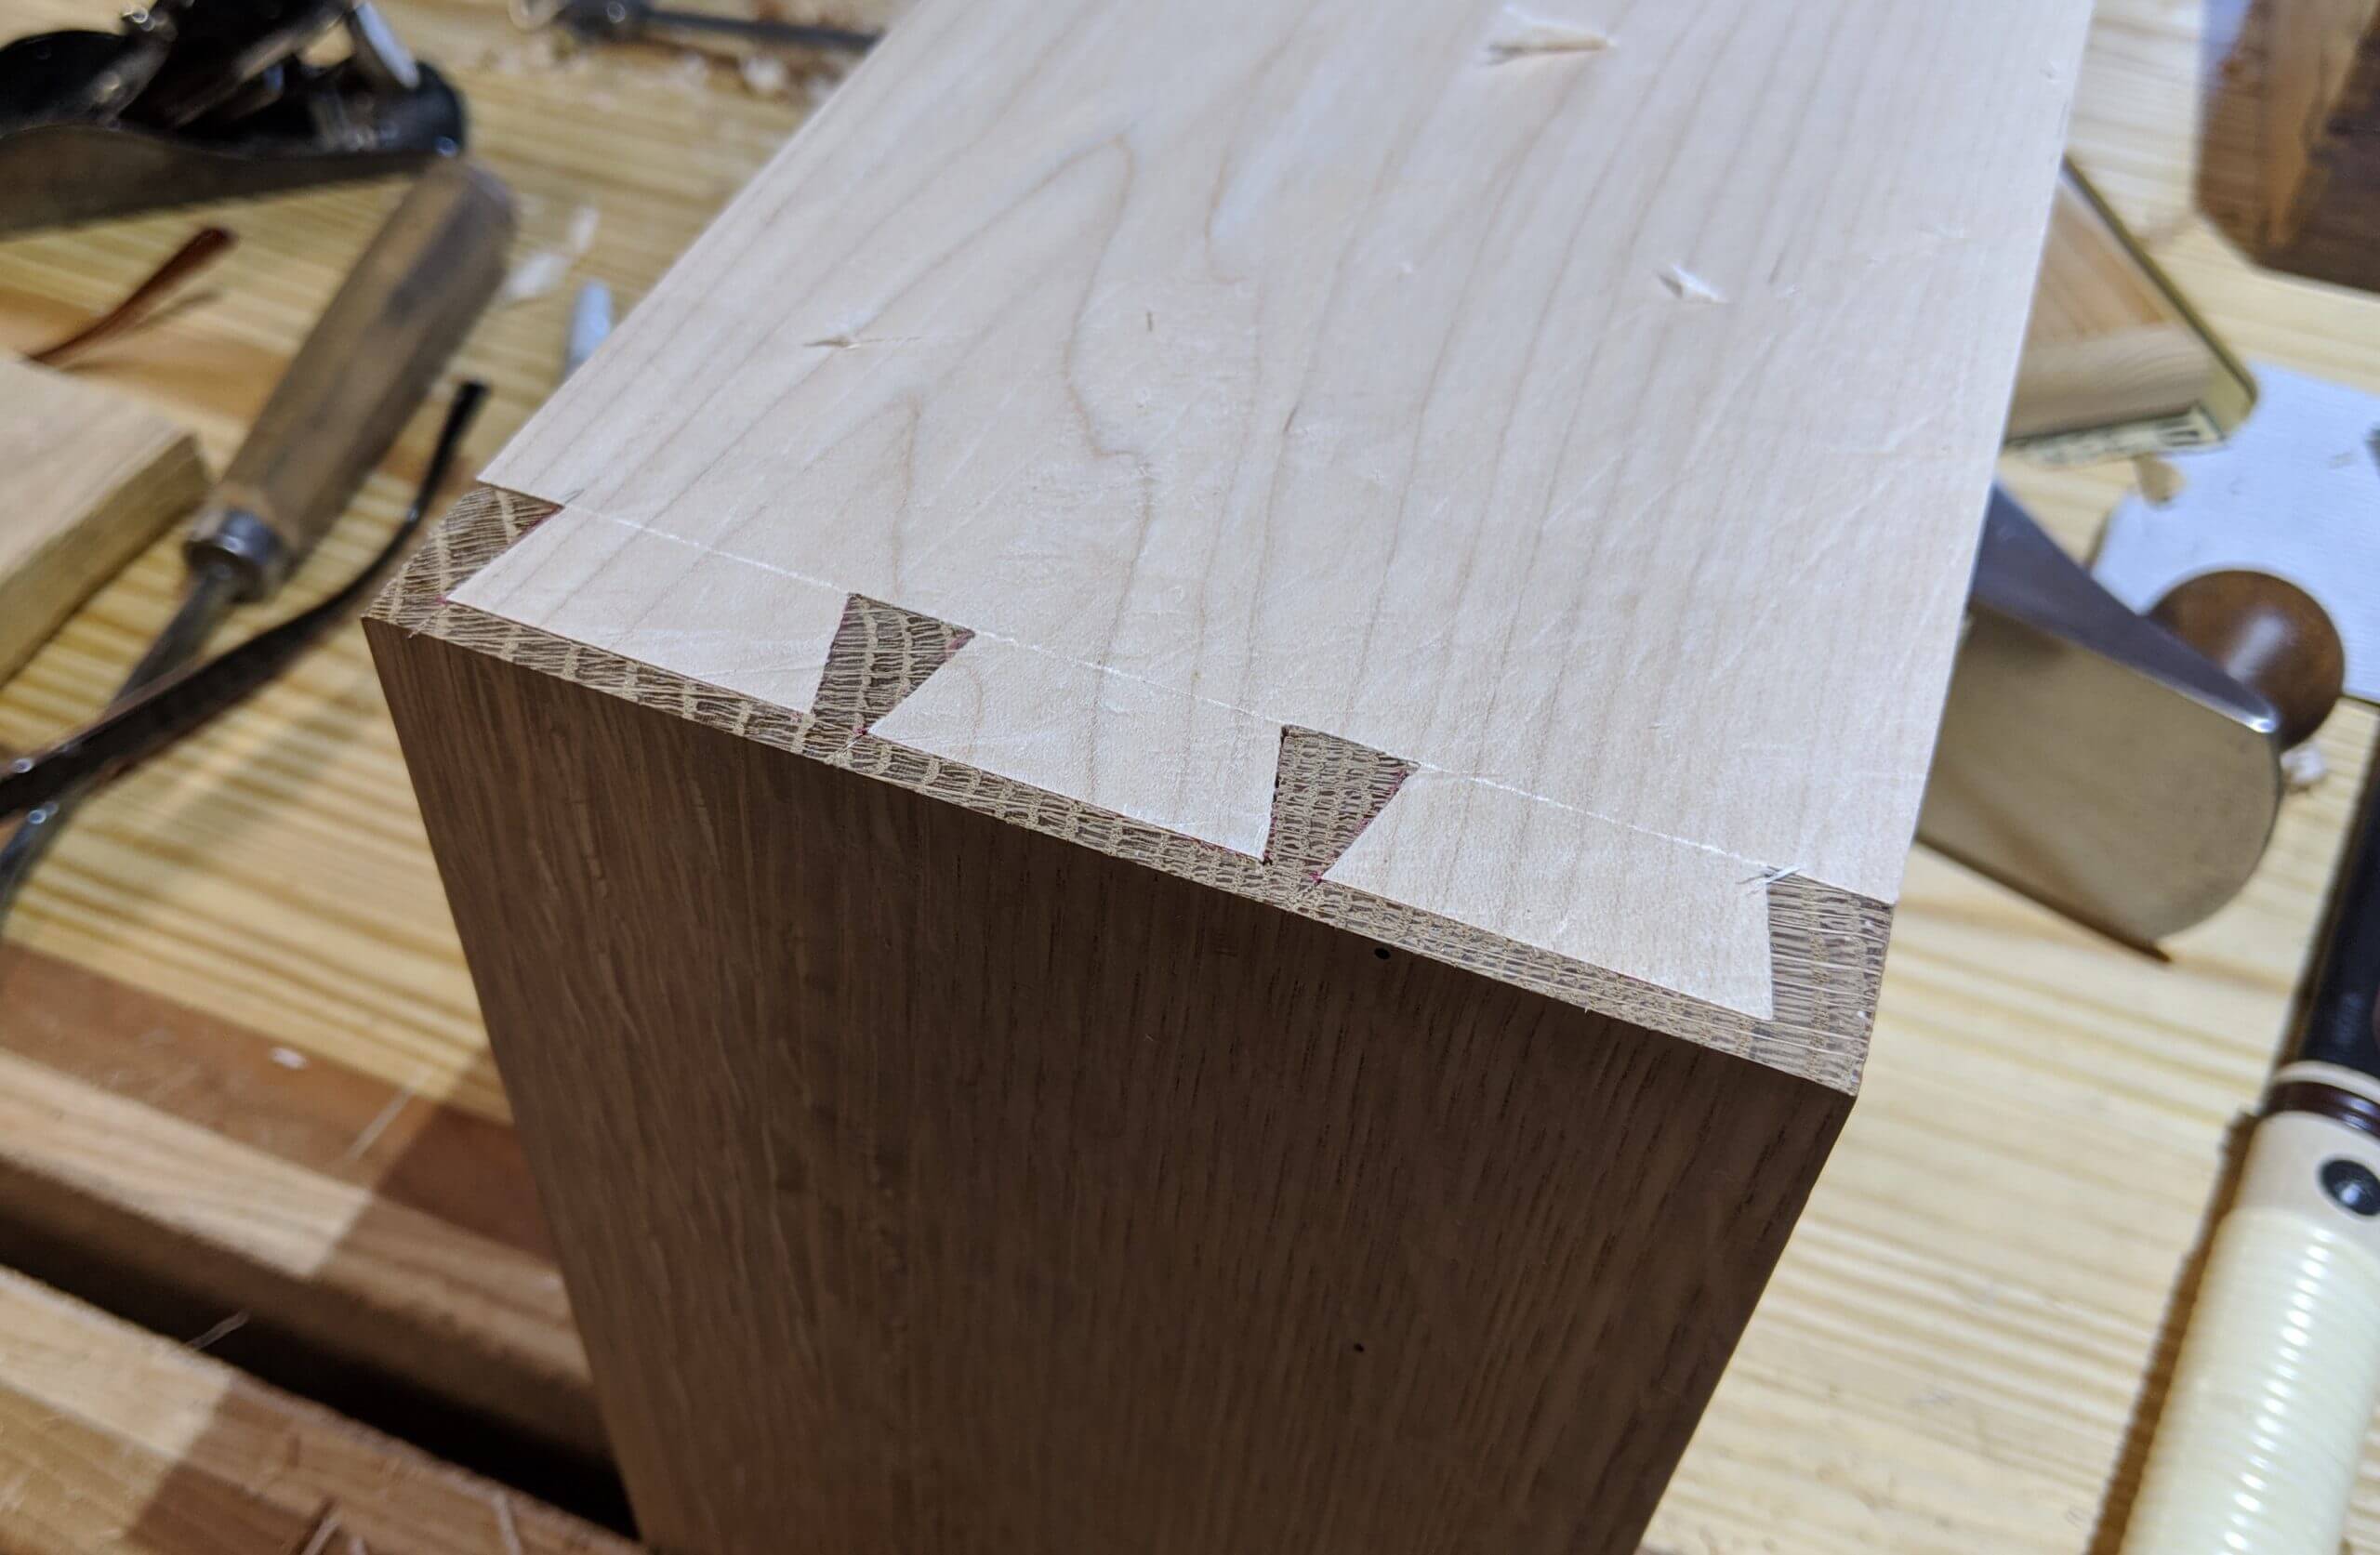
Manual Dovetails with some power tools.
Dovetails are great. Strong, attractive and variable enough to add flair to any project. They are also straight forward with the tools most woodworkers have on-hand. In this writeup I used (in no order) marking gauge, two compasses, protractor, bevel gauge, chisels, bandsaw, square, table saw, fret saw and marking tools. You will find these joints in the night stands and the dresser.
They can also be structural joints such as displayed in the bookcase.
For the sake being on the same page, the term Dovetail on its own refers to standard through dovetails where the pins and the tails go through each joining board and are visible on two sides. A Half Blind Dovetail is a joint where the pins go through the tail board, but the edge of the tail board is buried in the pin board so that only one side of the joint is visible.
Layout
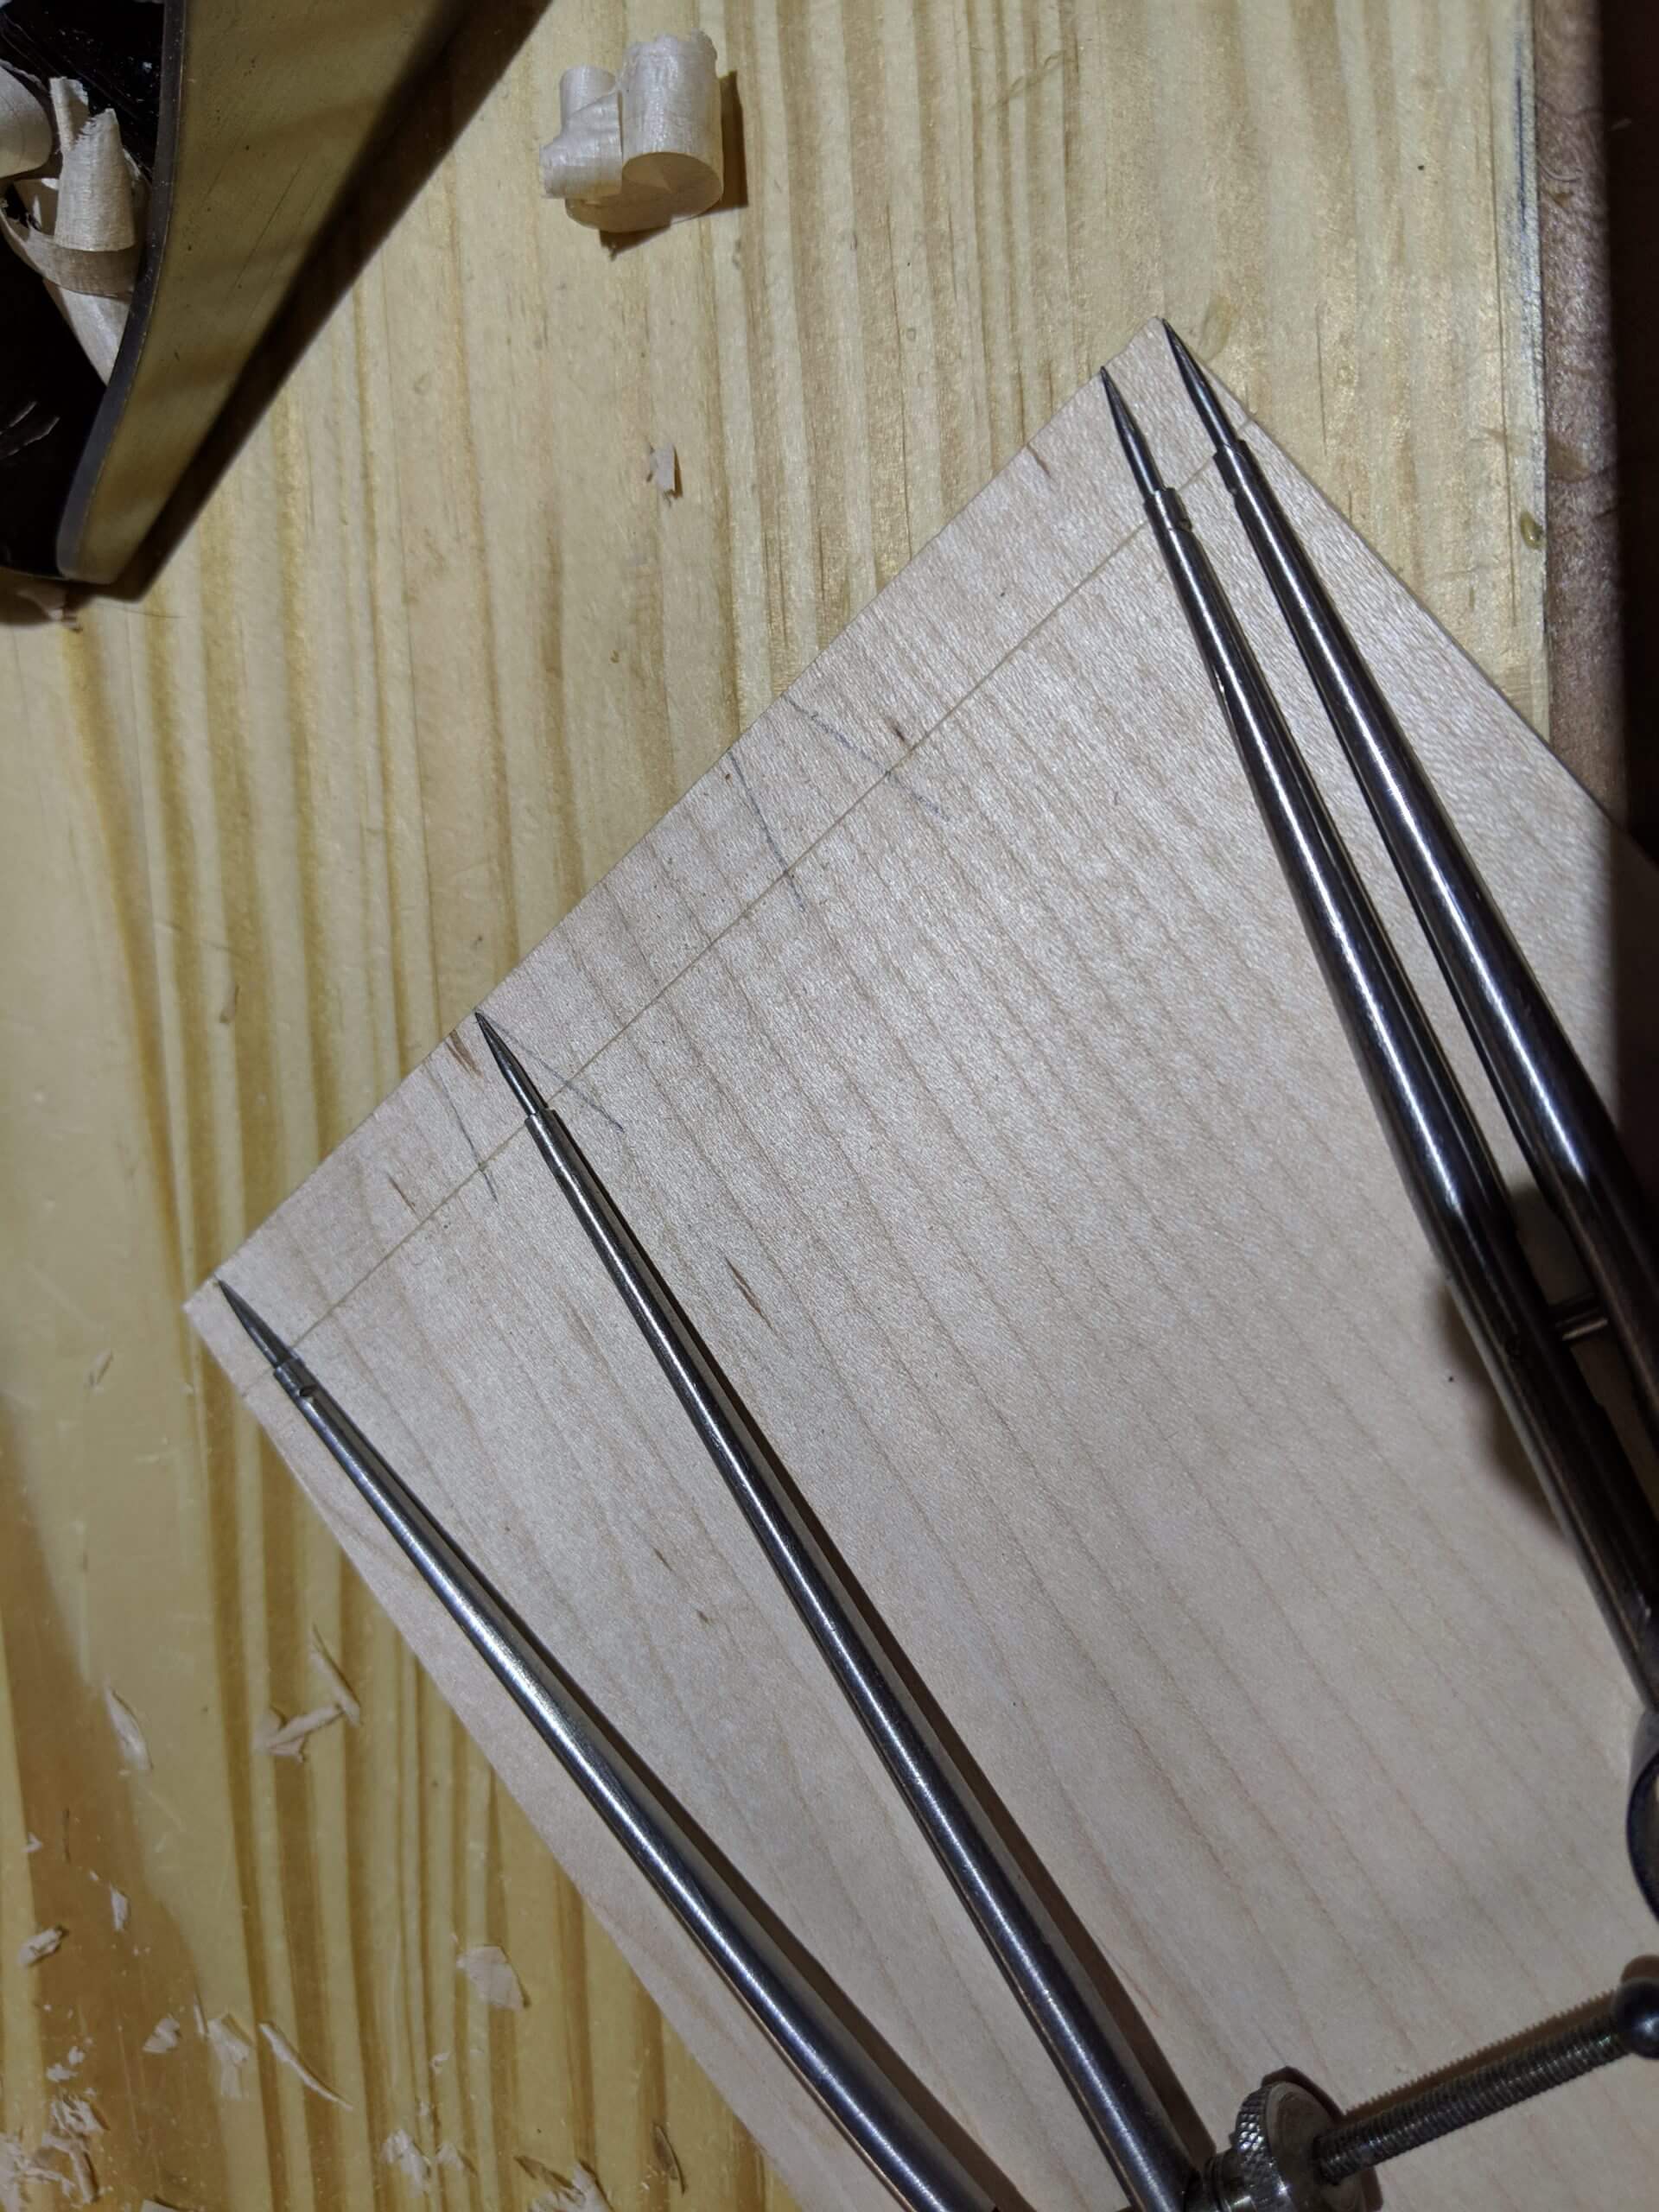
I use the two compass method. Set your smaller compass for the size of the first pin (your slot for a drawer bottom will go above this so smaller is better in that you don’t loose drawer depth…if you are making a drawer, if not, it is up to you). The larger compass is set to the width of the tail plus the desired pin width between tails.
This is straightforward and harder to describe than do! Start with a good guess then plant one end of the compass on the mark made for the outside pin then count over. When you get to the number that you want stop. Are you past the second pin mark on the other edge? If not, you need to increase the size and try again. If you are past the second mark or when you eventually get a width that gets you just past it, look at the amount you are past it. This is the pin width that that setup will make (moving the dividers in from each side will make that gap at each pin location). If you want a larger pin, increase the gap in the compass a bit and try again…the amount you open up the compass will be multiplied by the number of tails, so small changes make big results.
When you are satisfied and have your larger compass set so that it gives you the number of tails you want and the width of pin you want, you can mark those locations on the board. Mark from the left then the right outside pin mark.
The next step in the layout is to pick and angle or ratio for your tail. There are guides out there for hardwood, softwood, the first Monday of the month etc…but they are all rubbish. If the angle is too shallow it starts to look like a finger joint and if it is too steep you may have strength issues on the tips of the tails. The best advice I have seen and can give is to pick an angle that looks good to you, that fits the look and feel of your project. The lowest I will go is 7 degrees and I typically use 11 degrees. The ones in the images that follow are all 14 degrees. The ones in the first image are 11 degrees.
You can set your bevel gauge up to various angles and draw them out (use your protractor). How do they look? Do you like it. Too much or not enough? Personally if I am going through the trouble of making them, I want the owner/user to look at them and say wow…nice dovetails, so that usually keeps me in the 11 to 14 degree range.
Marking
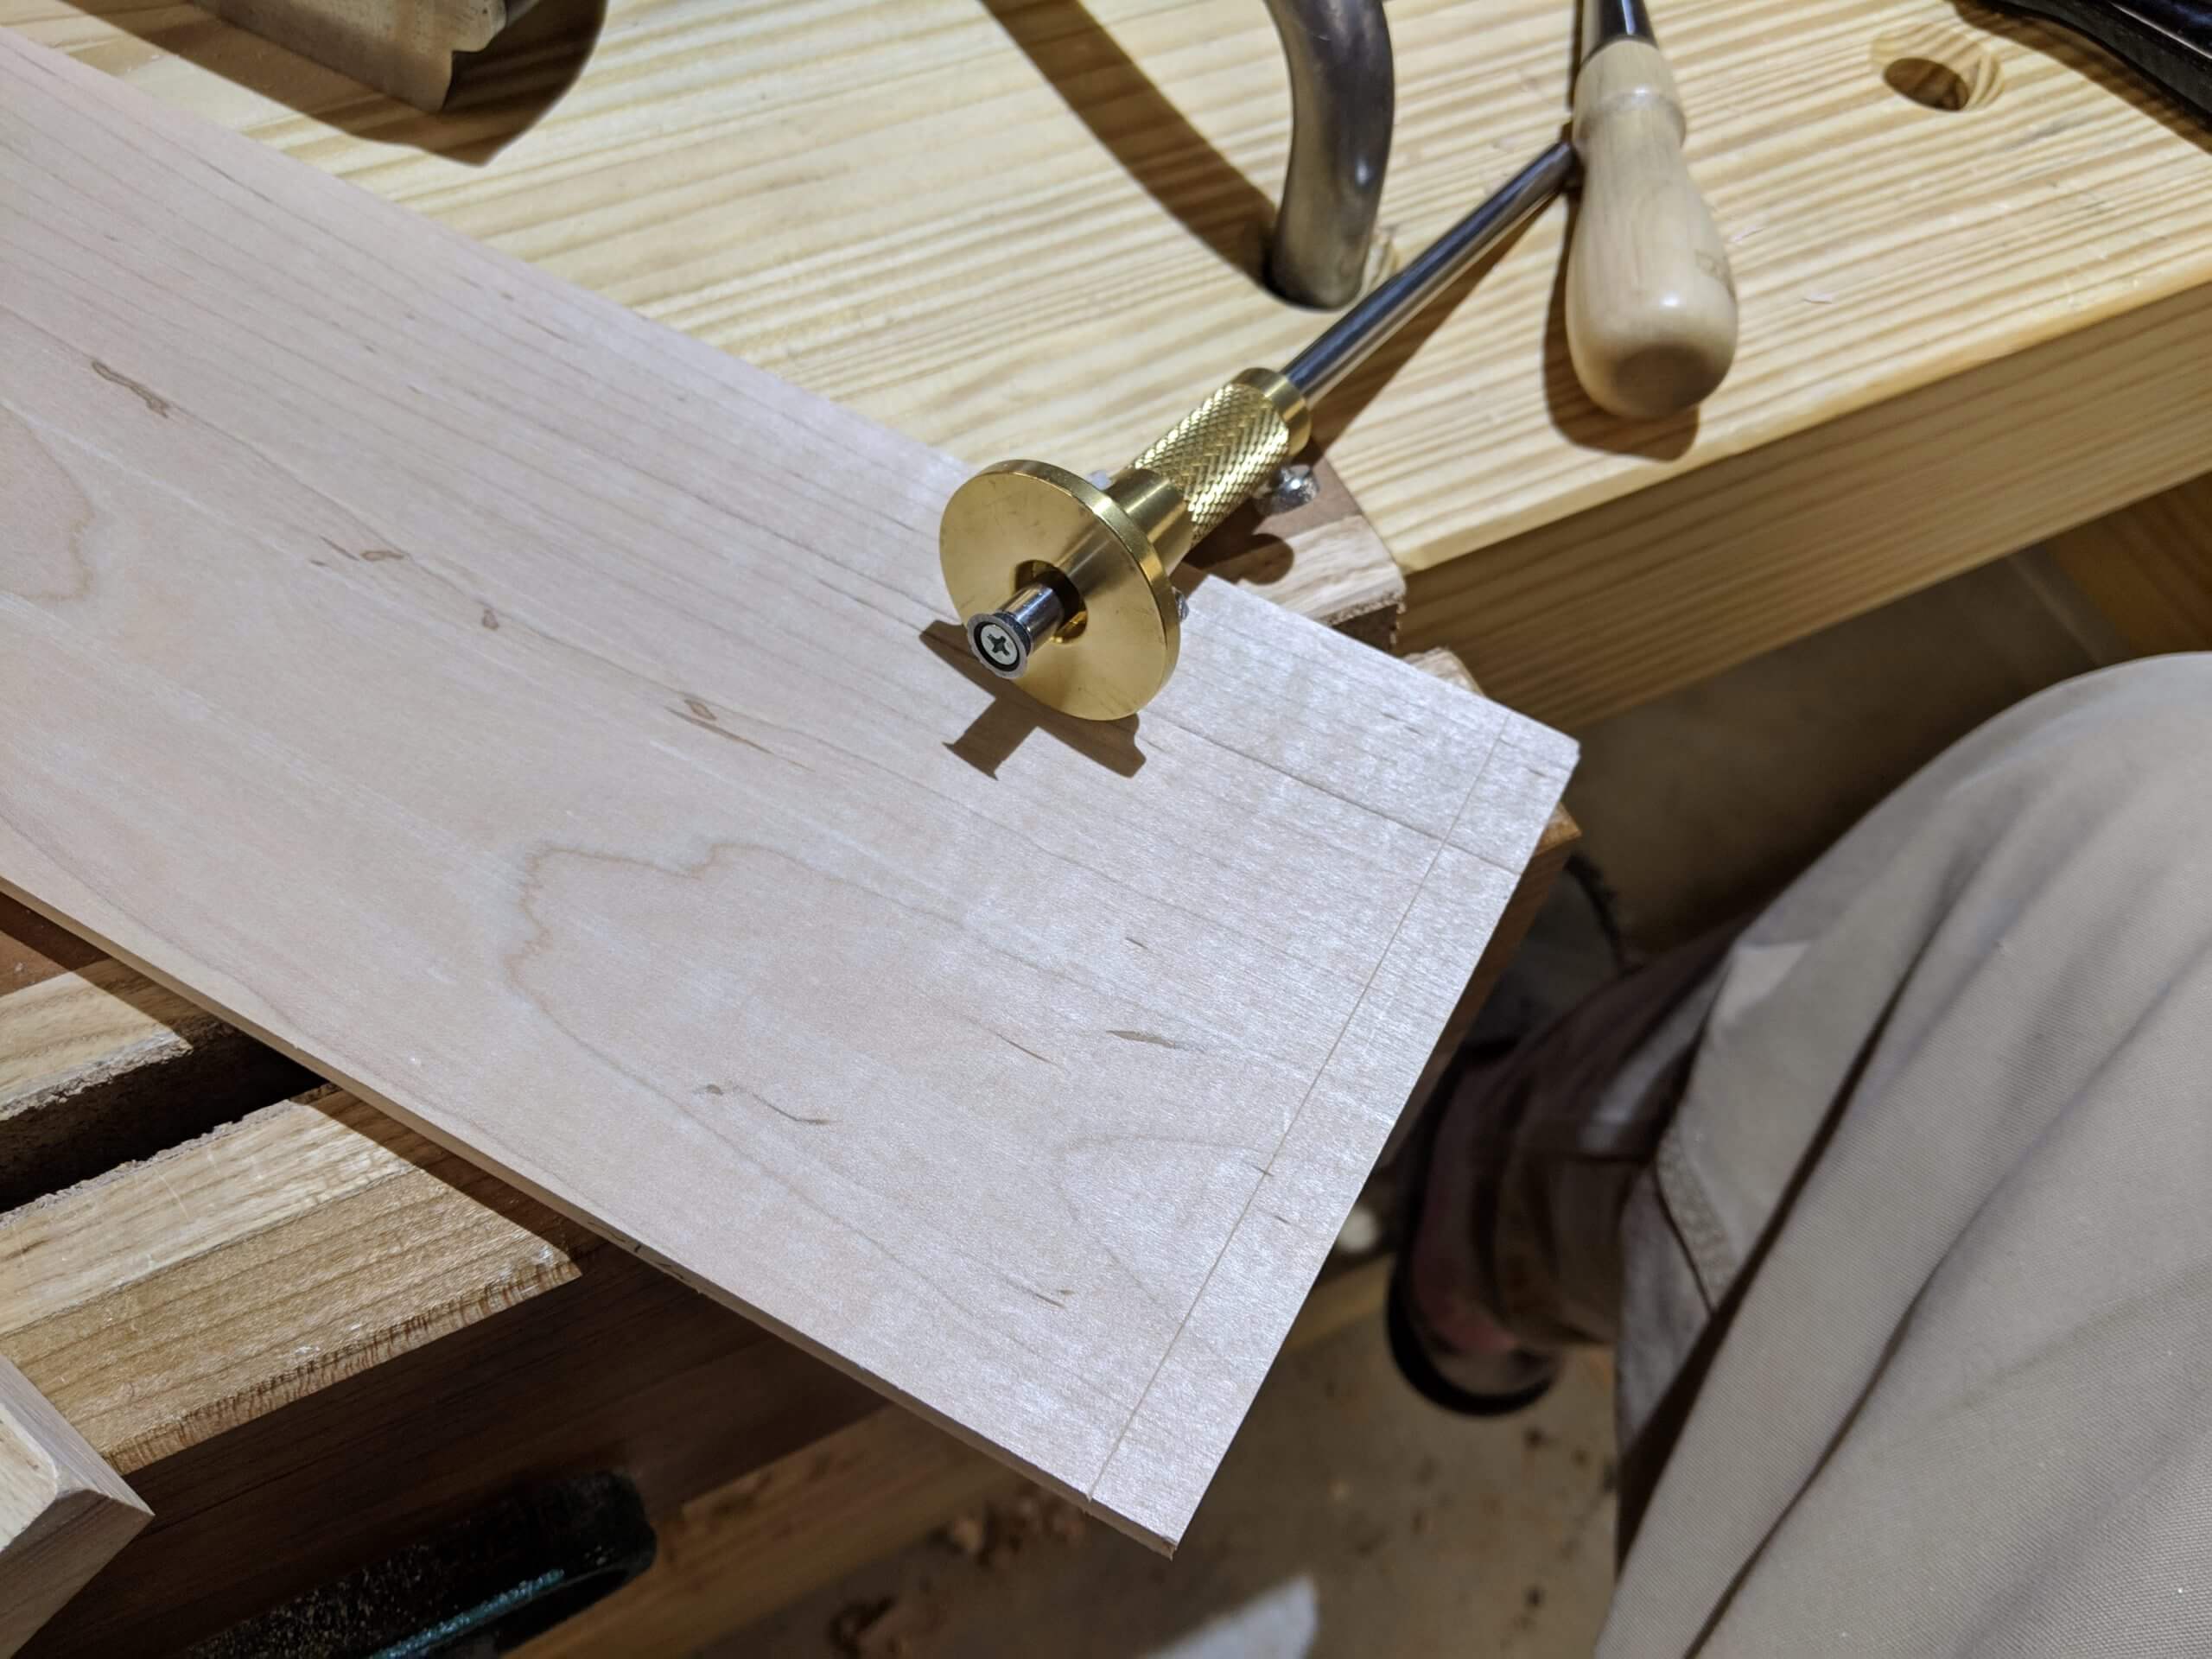
For standard Dovetails, set your marking gauge to the thickness of your pin board (often the same as the tail board, but not always and rarely for half blind joints).
Use the marking gauge to scribe a line on all four sides of the tail board. If making a drawer, you can do each tail board at a time (tail boards are always the drawer sides).
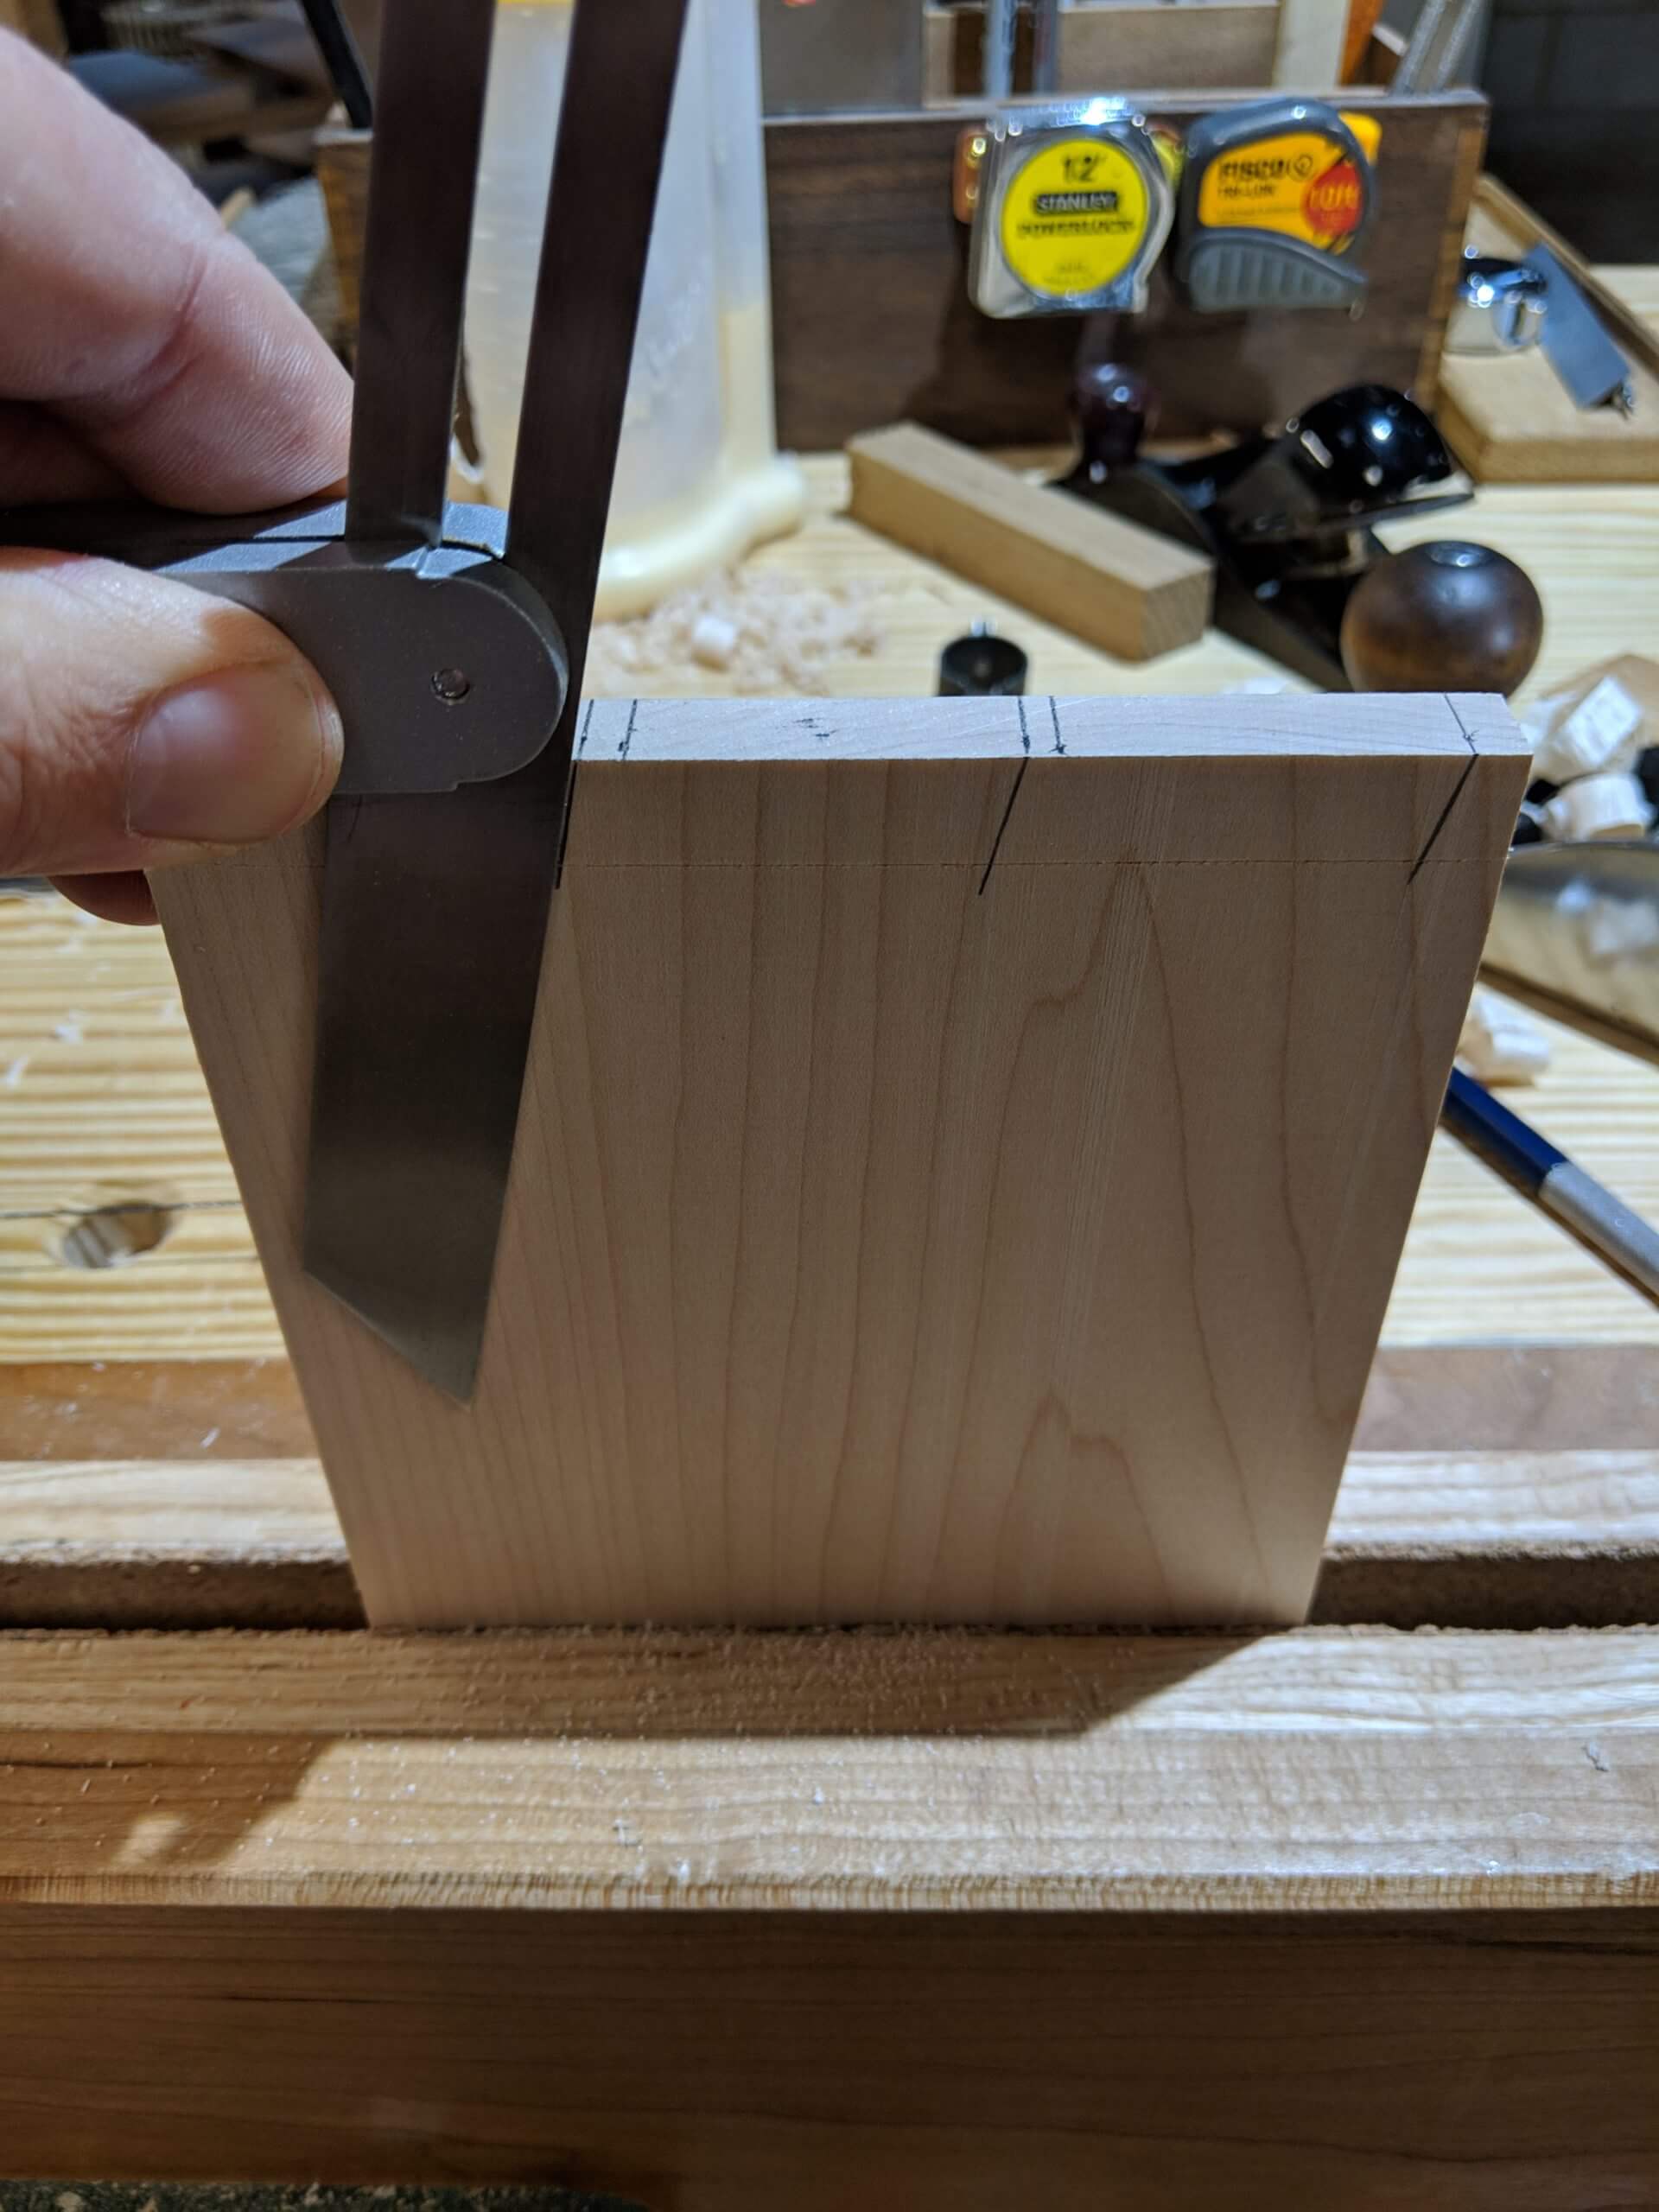
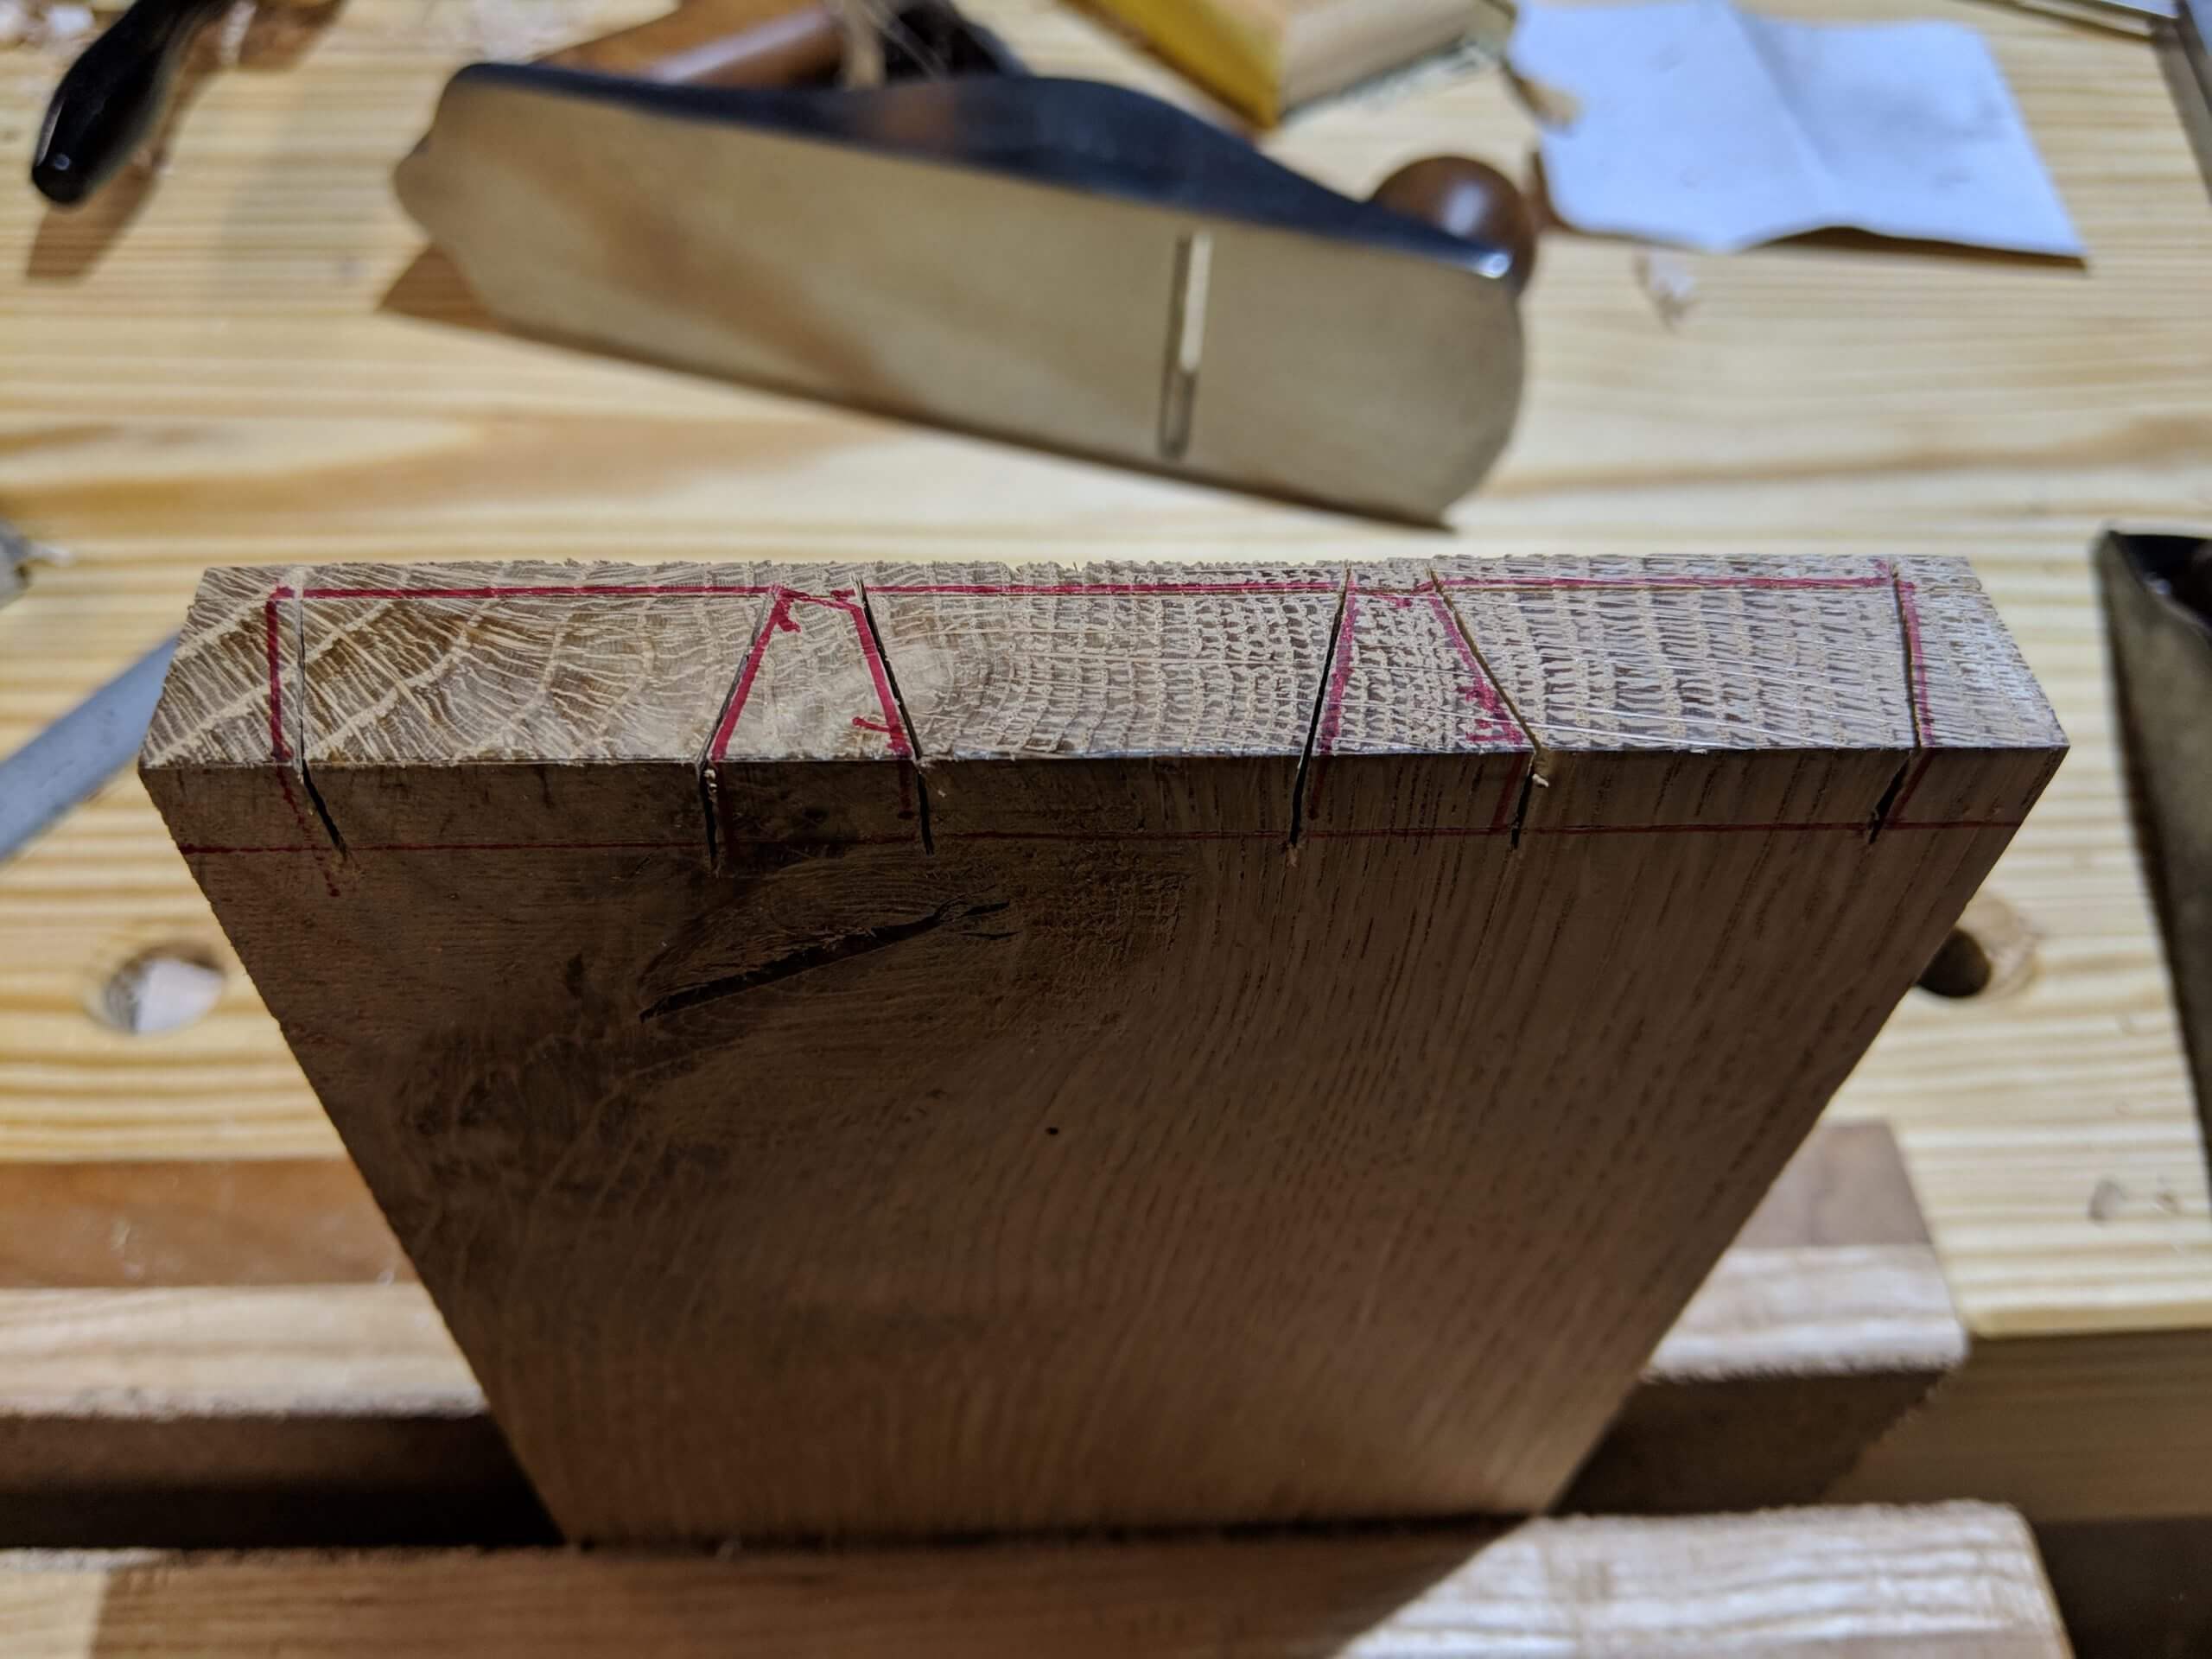
Once the line is scribed, use the square to transfer the location marks made with the dividers into straight lines across the edge of the board. Then draw lines representing the tails with an angle gauge set to the angle you are using (14 in my case). You can go past the scribe line as it will come off when sanded, or be fastidious and stop at the scribe line.
The lines are “guides” only as the tails will be cut on the bandsaw with a jig that will make a consistent angle. The lines simply tell you where you generally want a cut.
Simple Jig
The key to a perfect joint is a square tail. Burn that into your memory. A tail that is out of square (from one face of the side to the other) will leave a gap on the tail face or the pin face or simply be impossible to assemble. A lot of tutorials online go to great lengths on how to cut square tails. Jigs to use to hold the saw against, methods for learning to hold the saw square and everything you can imagine. For me, the simplest approach is to cut them with a tool that guarantees a square cut line: the bandsaw. You can cut tails on the bandsaw if you can hold your work easily at the angle you have chosen for the tails and to do that you can make a simple jig.
To make the jig simply take a small piece of 1/4″ plywood and draw an angle line on one edge at the angle you are using for your dovetails then glue a block on this line accurately. You can then run the part (when the glue has setup) through the table saw with the opposite side against the fence to square up the block to the plywood, establishing a flat edge to ride against the bandsaw fence.
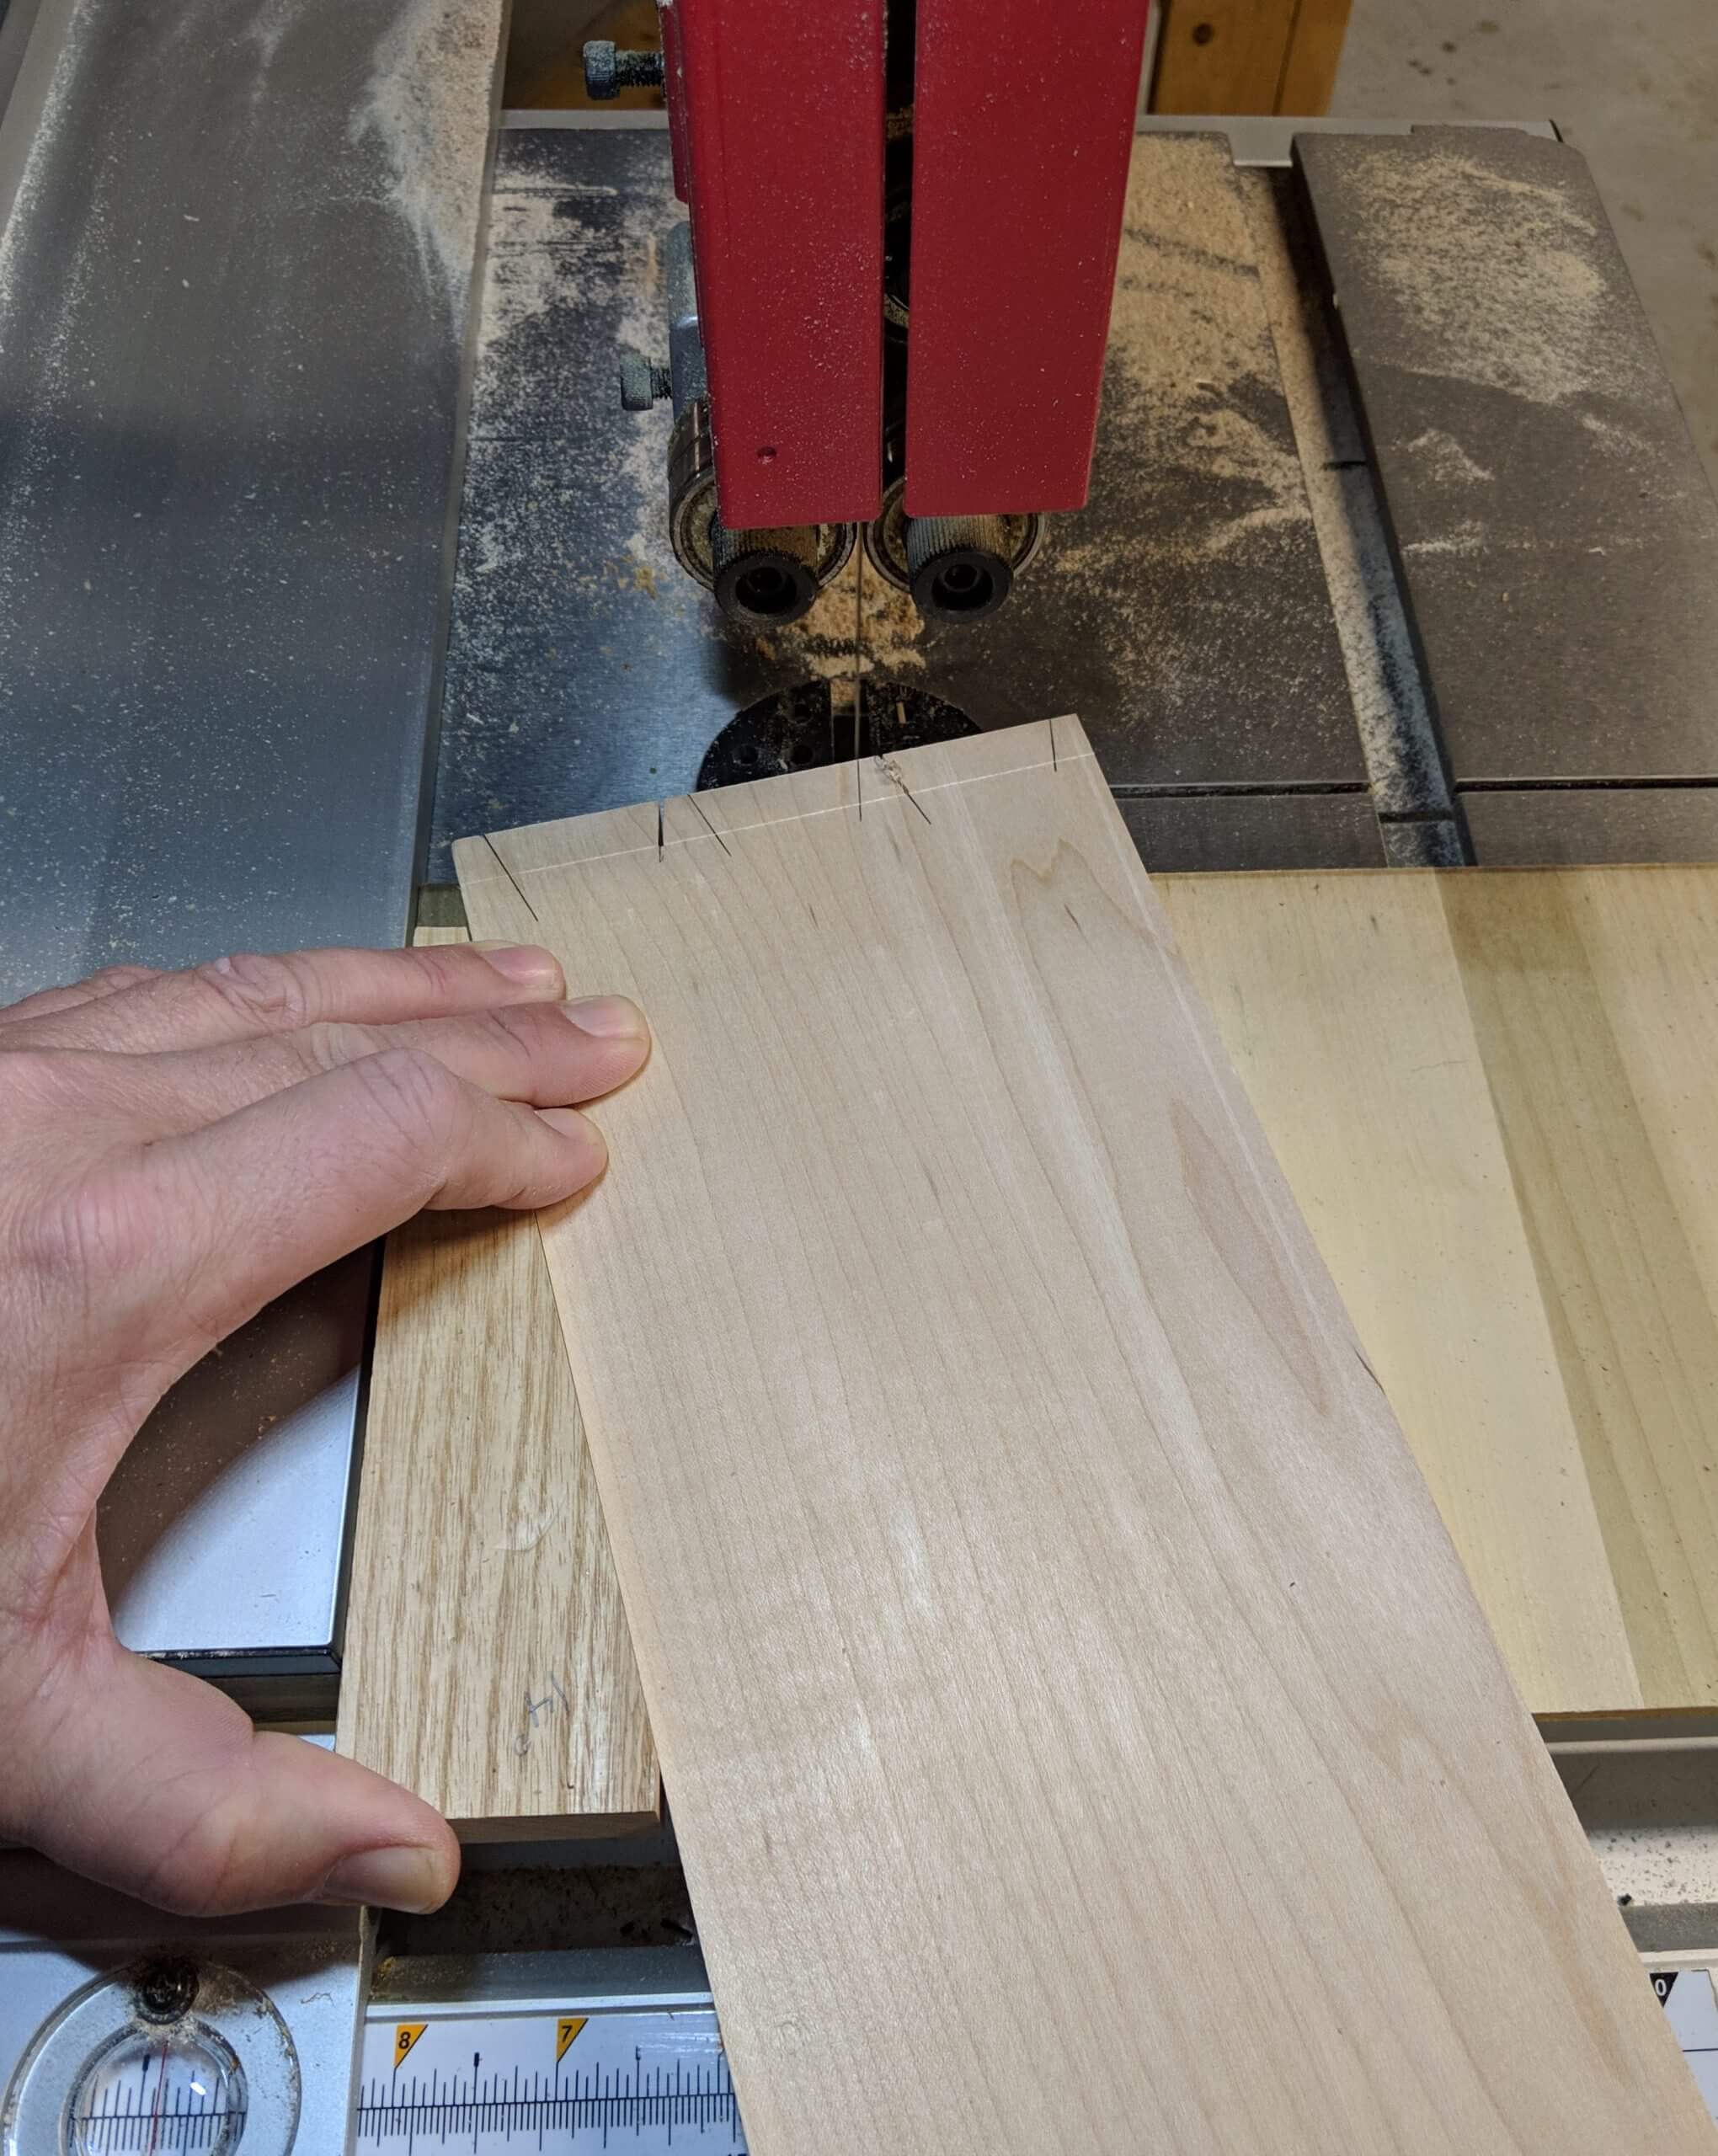
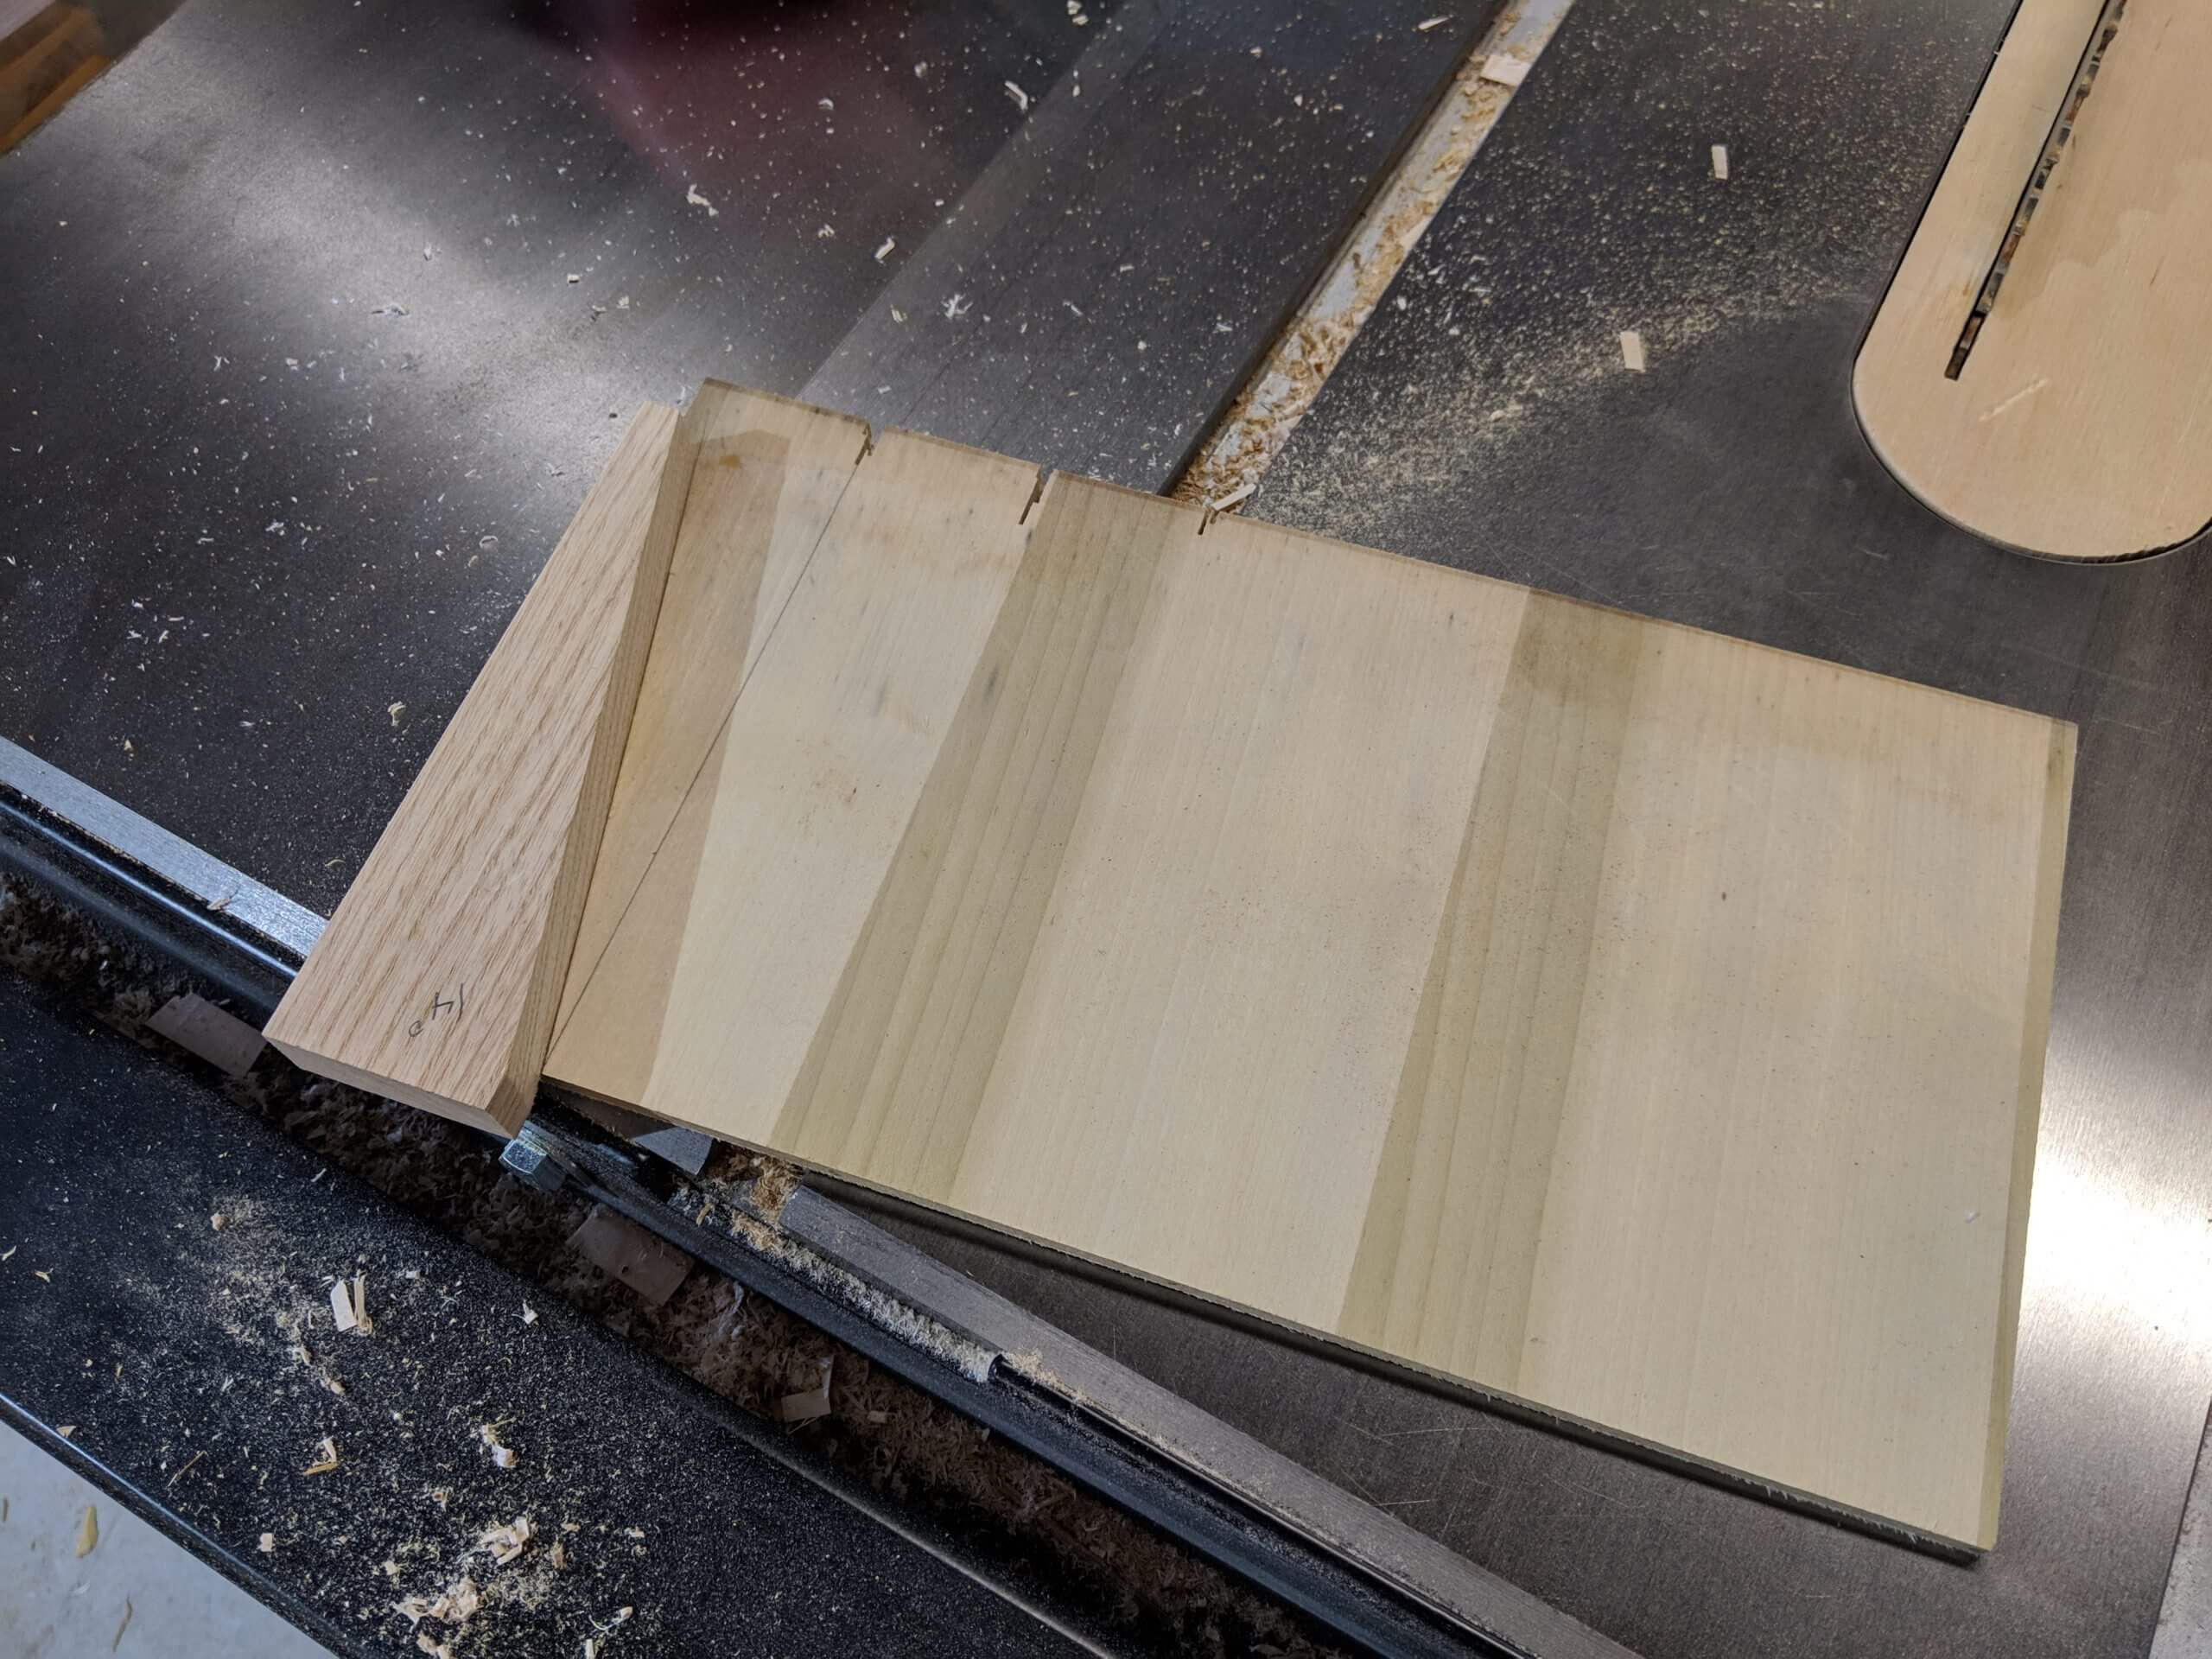
Cut the Tails
To use the jig, place a side board on it, extending out past the edge of the plywood about an inch then adjust the fence so that the blade is generally aligned with the left most tail line. To get the tail cut line exact, move the drawer side forward on the jig to move the line to the left and backward on the jig to move it to the right. When aligned, move the drawer side and jig forward together on the bandsaw fence and the line will be cut at a perfect angle. Cut right up to the scribed marking line. This gives a cut that is square to the face of each board and a square shoulder.
Flip the board and you will be generally aligned for the other side (that runs in the opposite angle, but is now the correct angle as it was flipped). Make the cut and then move the fence in until you are generally aligned with the next cut mark. Cut then flip then move the fence and repeat until all the tail lines are cut.
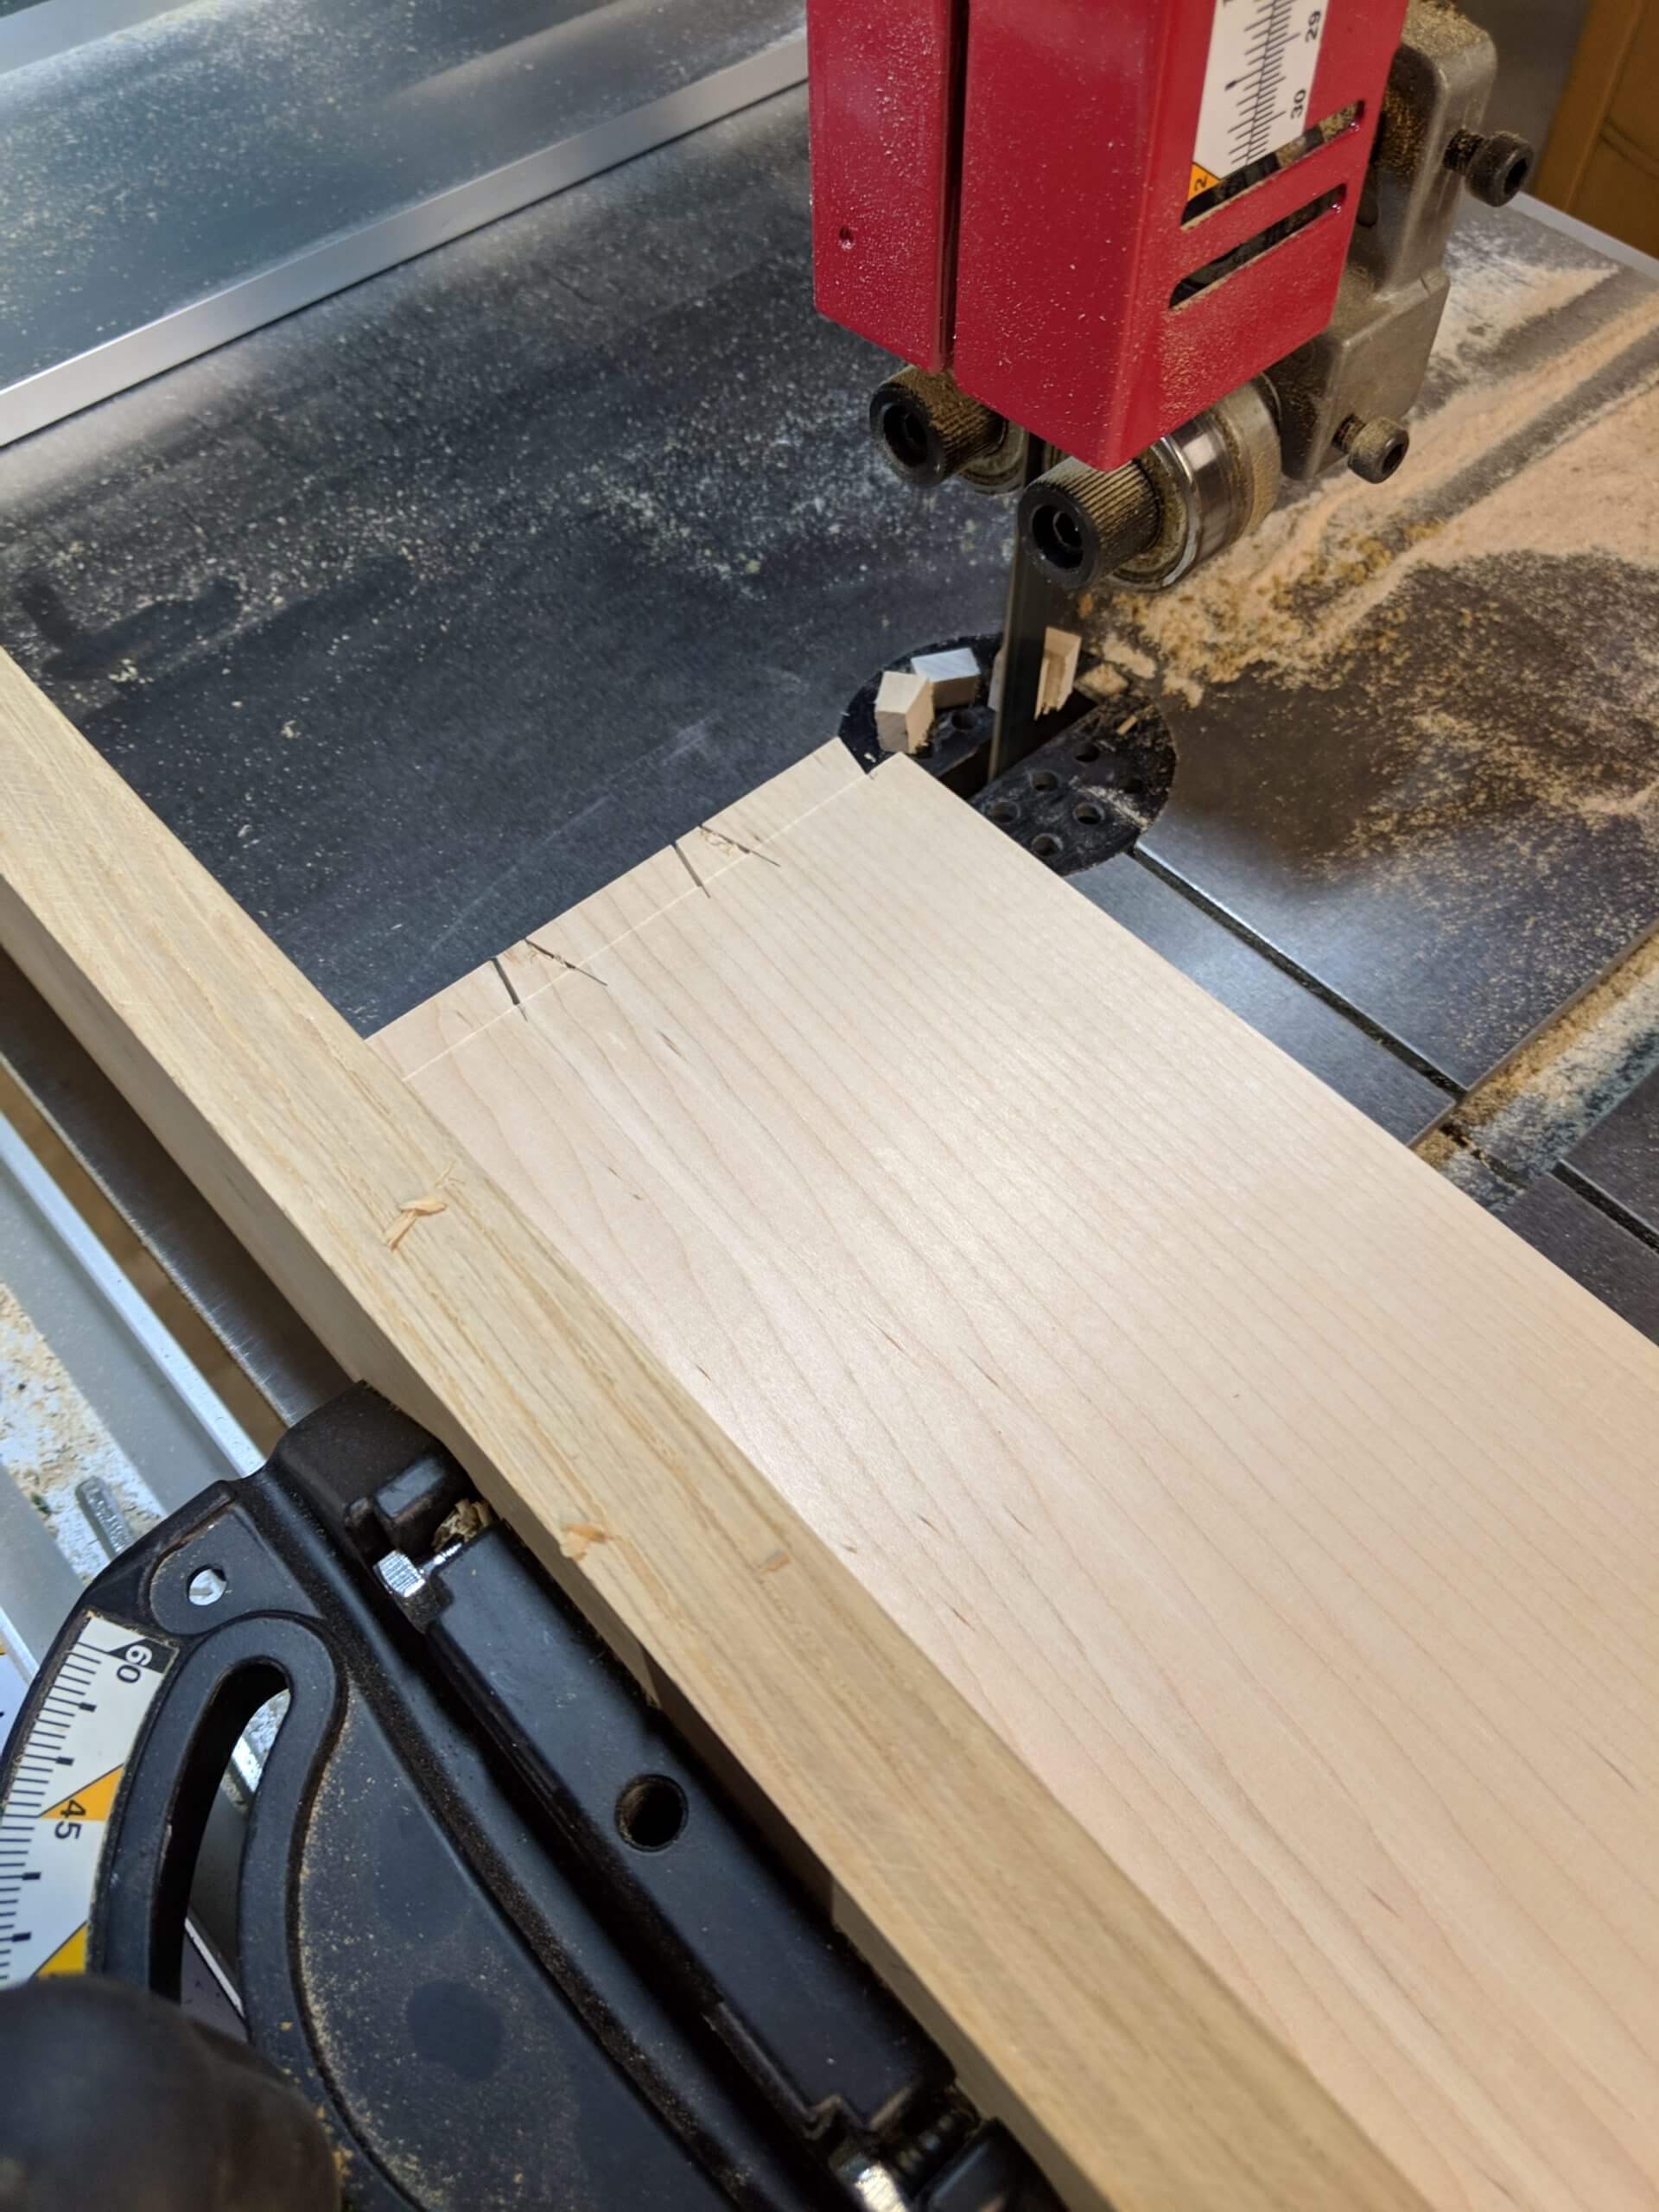
There is no need for anything other than general accuracy with the tails as the pins will be cut to fit them. As long as you are more or less on the line, they will be uniform. You do need to be very accurate in not cutting past the scribe line. Cut to the line, the bandsaw blade should stop in the middle of the dent made by the marking gauge.
While at the bandsaw, put away the tail jig and use the miter guide to cut the waste off of the the edges. Here you want to position the side board to that you cut exactly on the scribe line, stopping at the prior cut line. With practice you can cut these perfectly so no paring is required. If you are at all in doubt, leave a 32nd or a 16th to remove with a chisel.
In practice, I make all the drawer side cuts at the same time, so I have a stack of sides and I do the two cuts on them all (cut once, flip and cut) then move the fence and repeat my way through the stack, so I move the fence once per tail for the entire group of sides versus moving it three times per side.
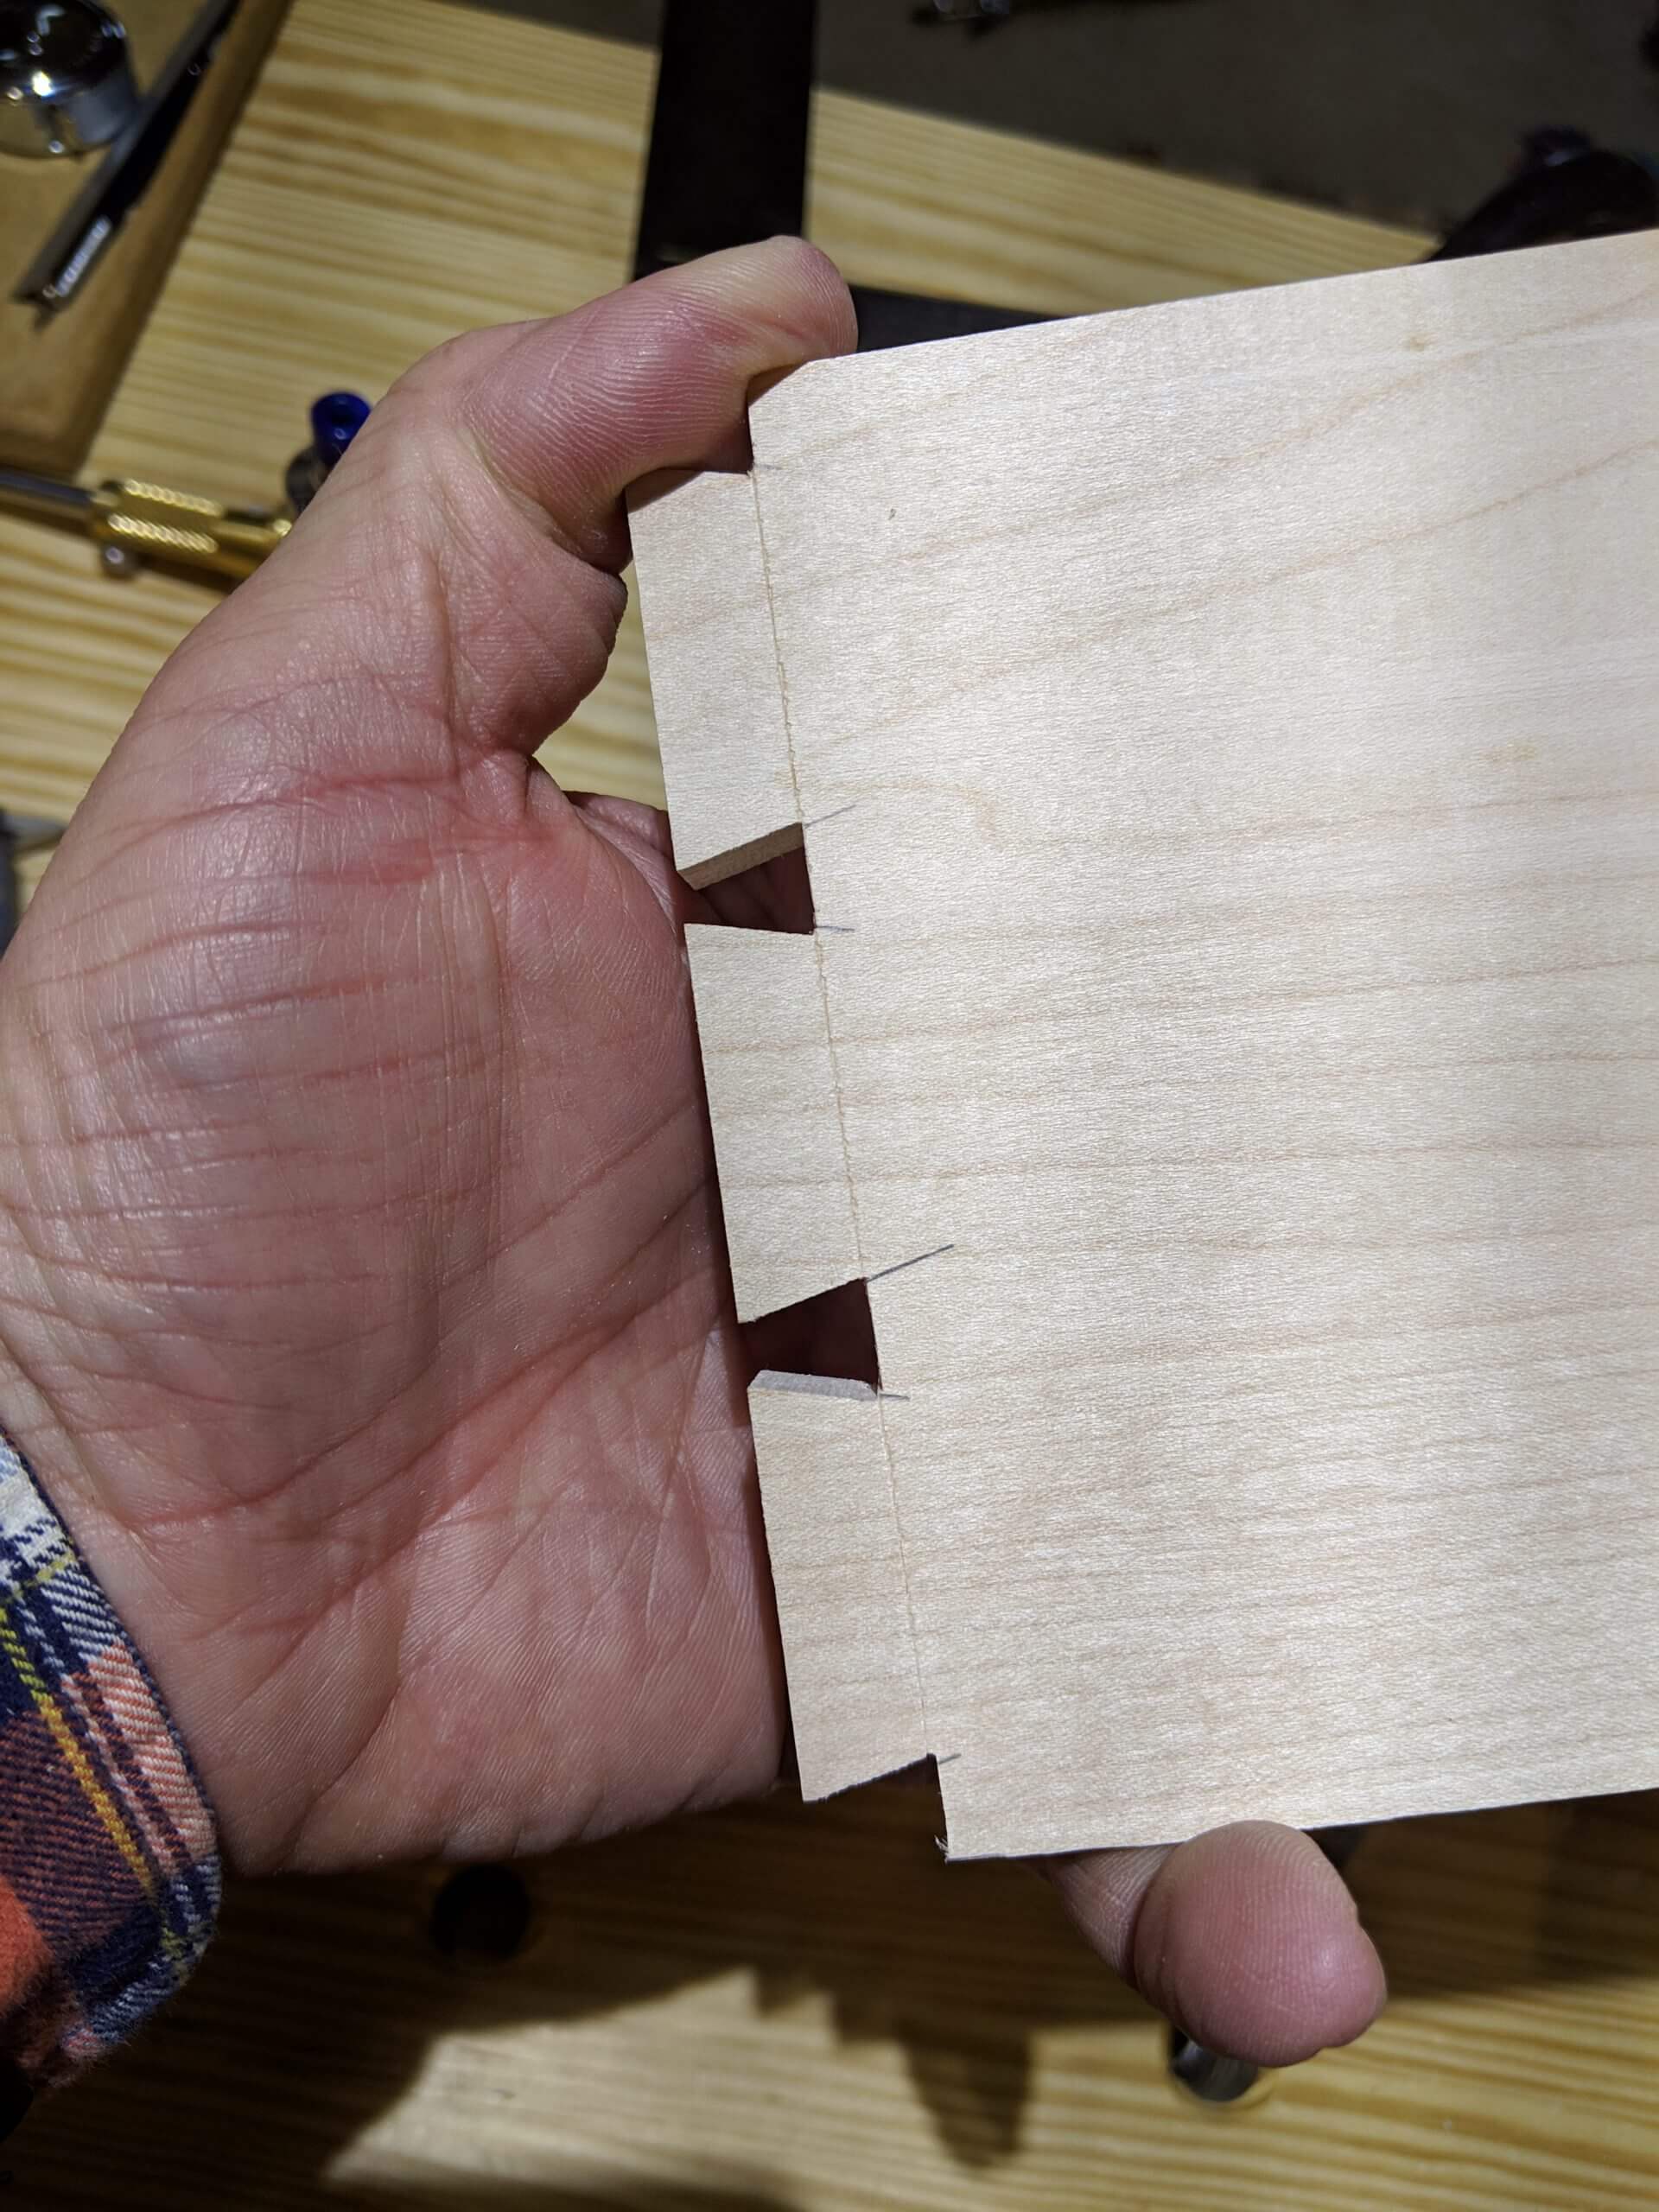
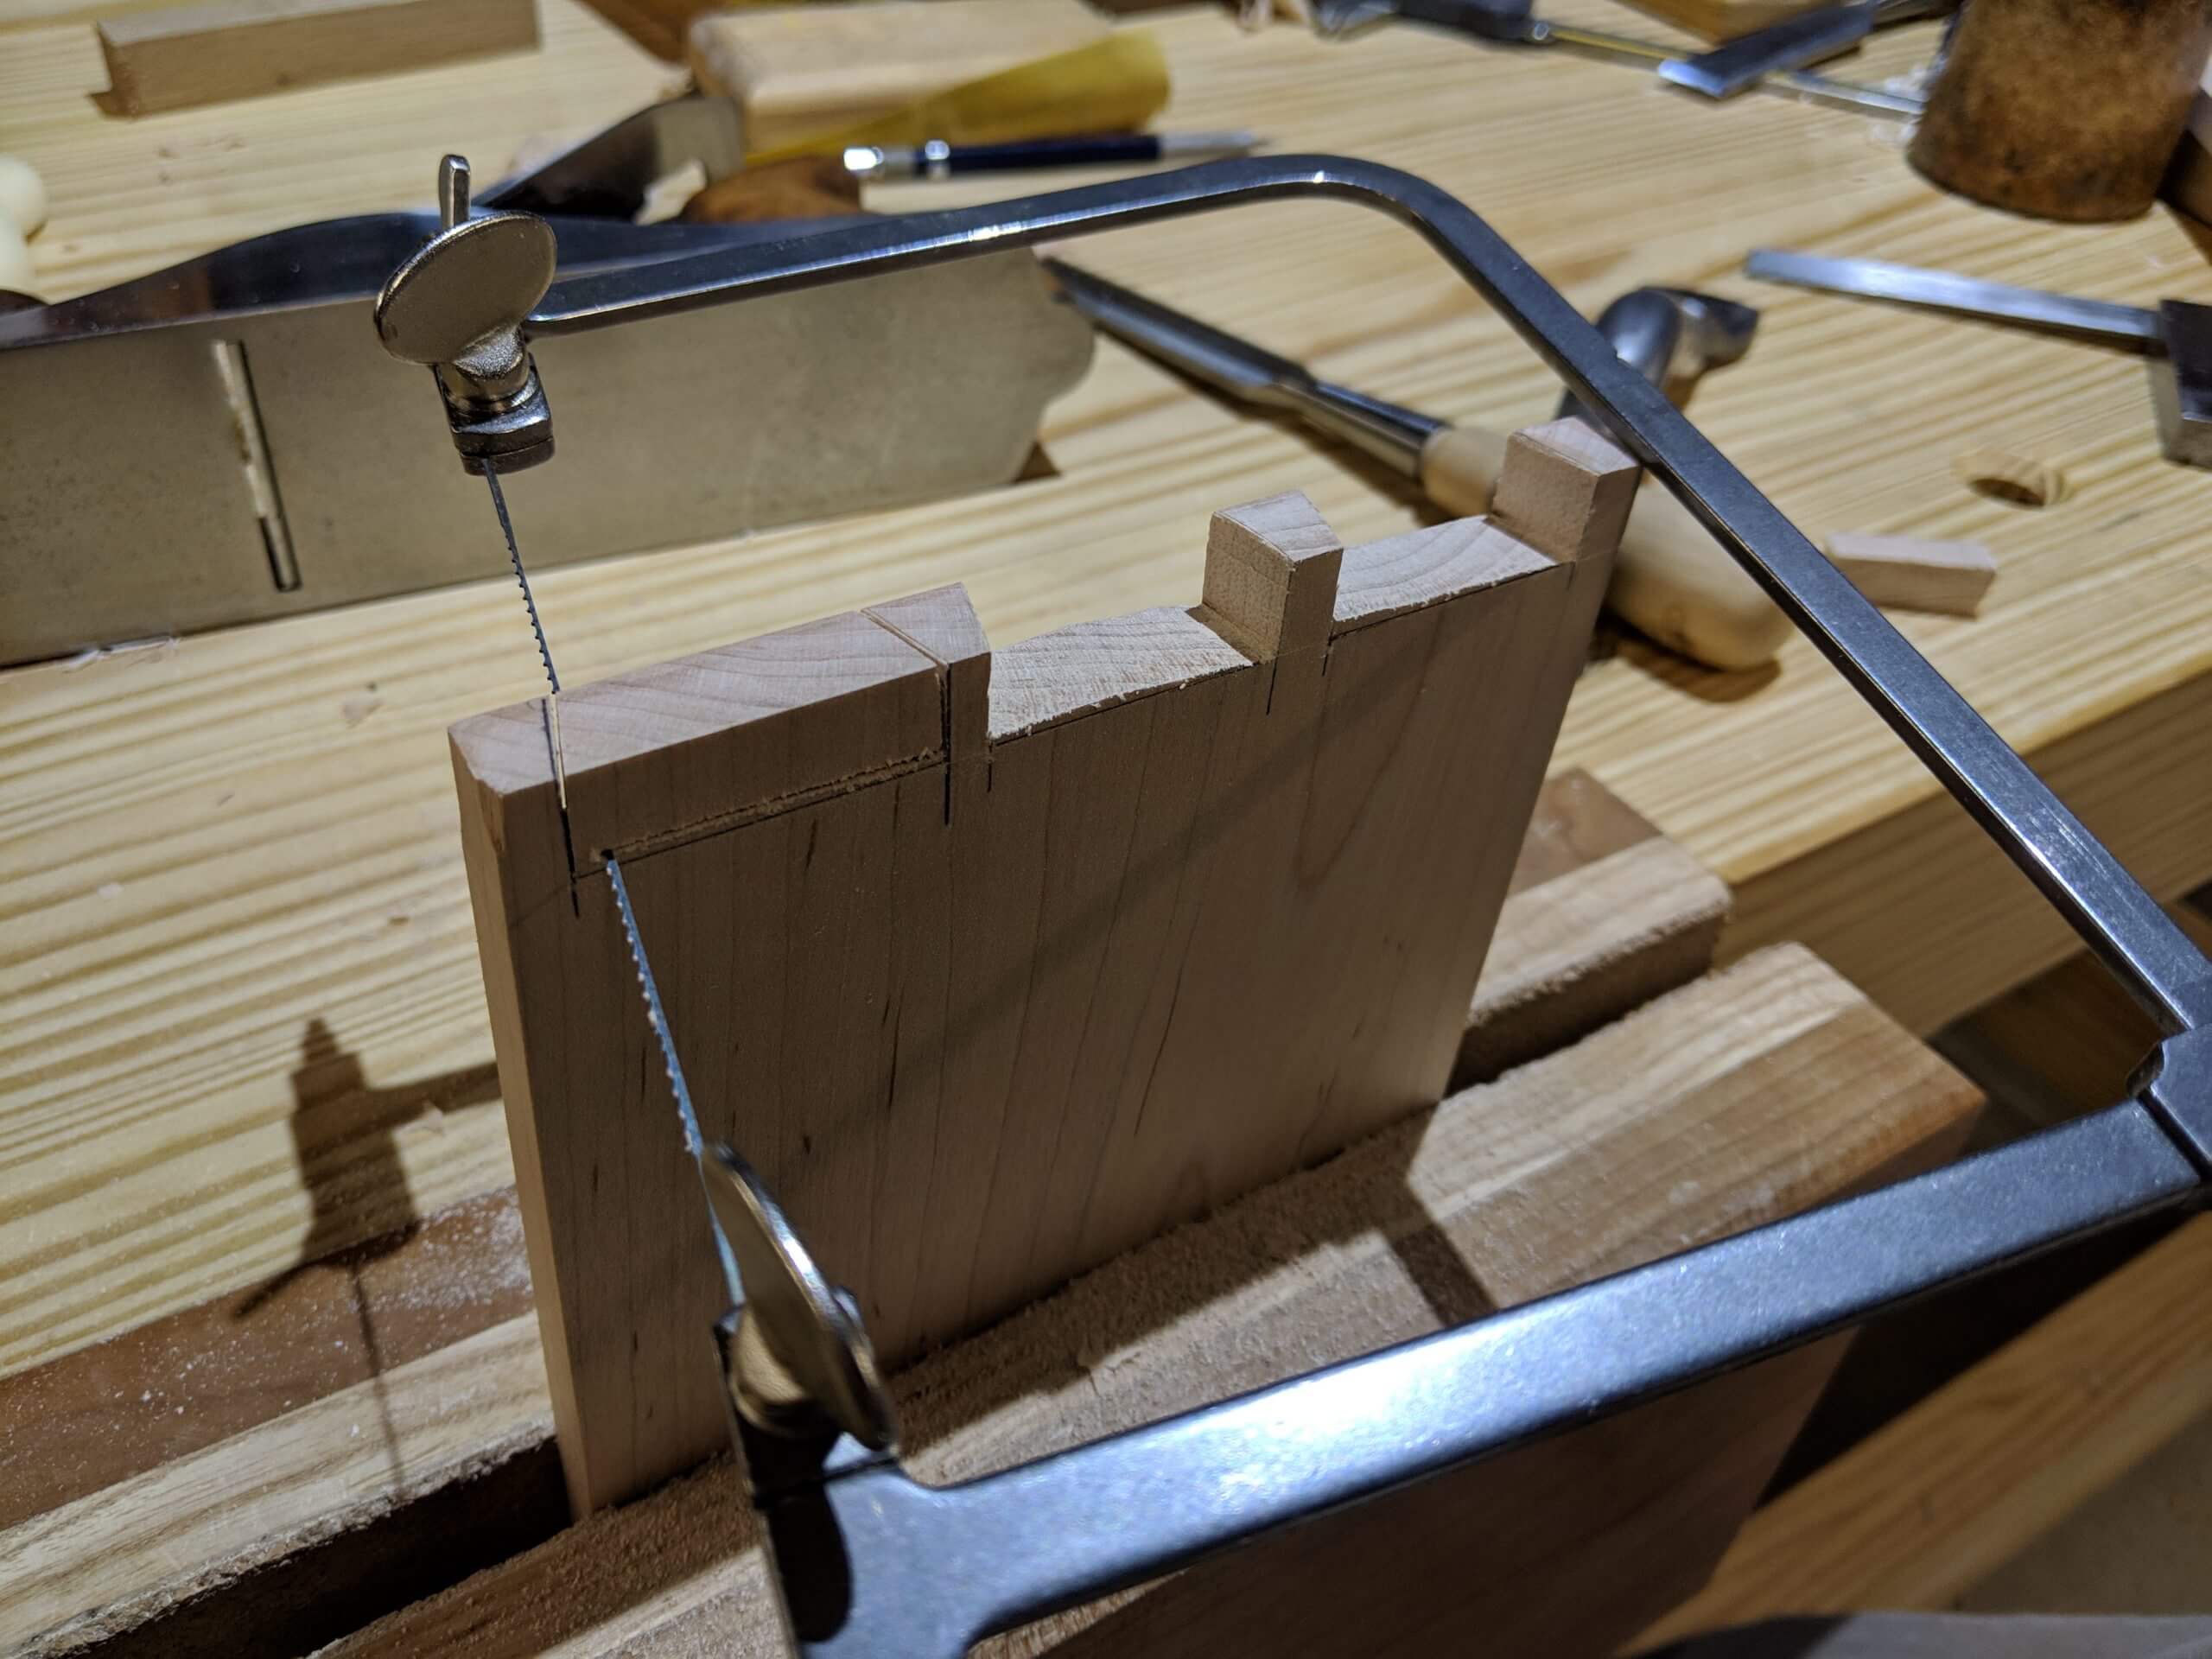
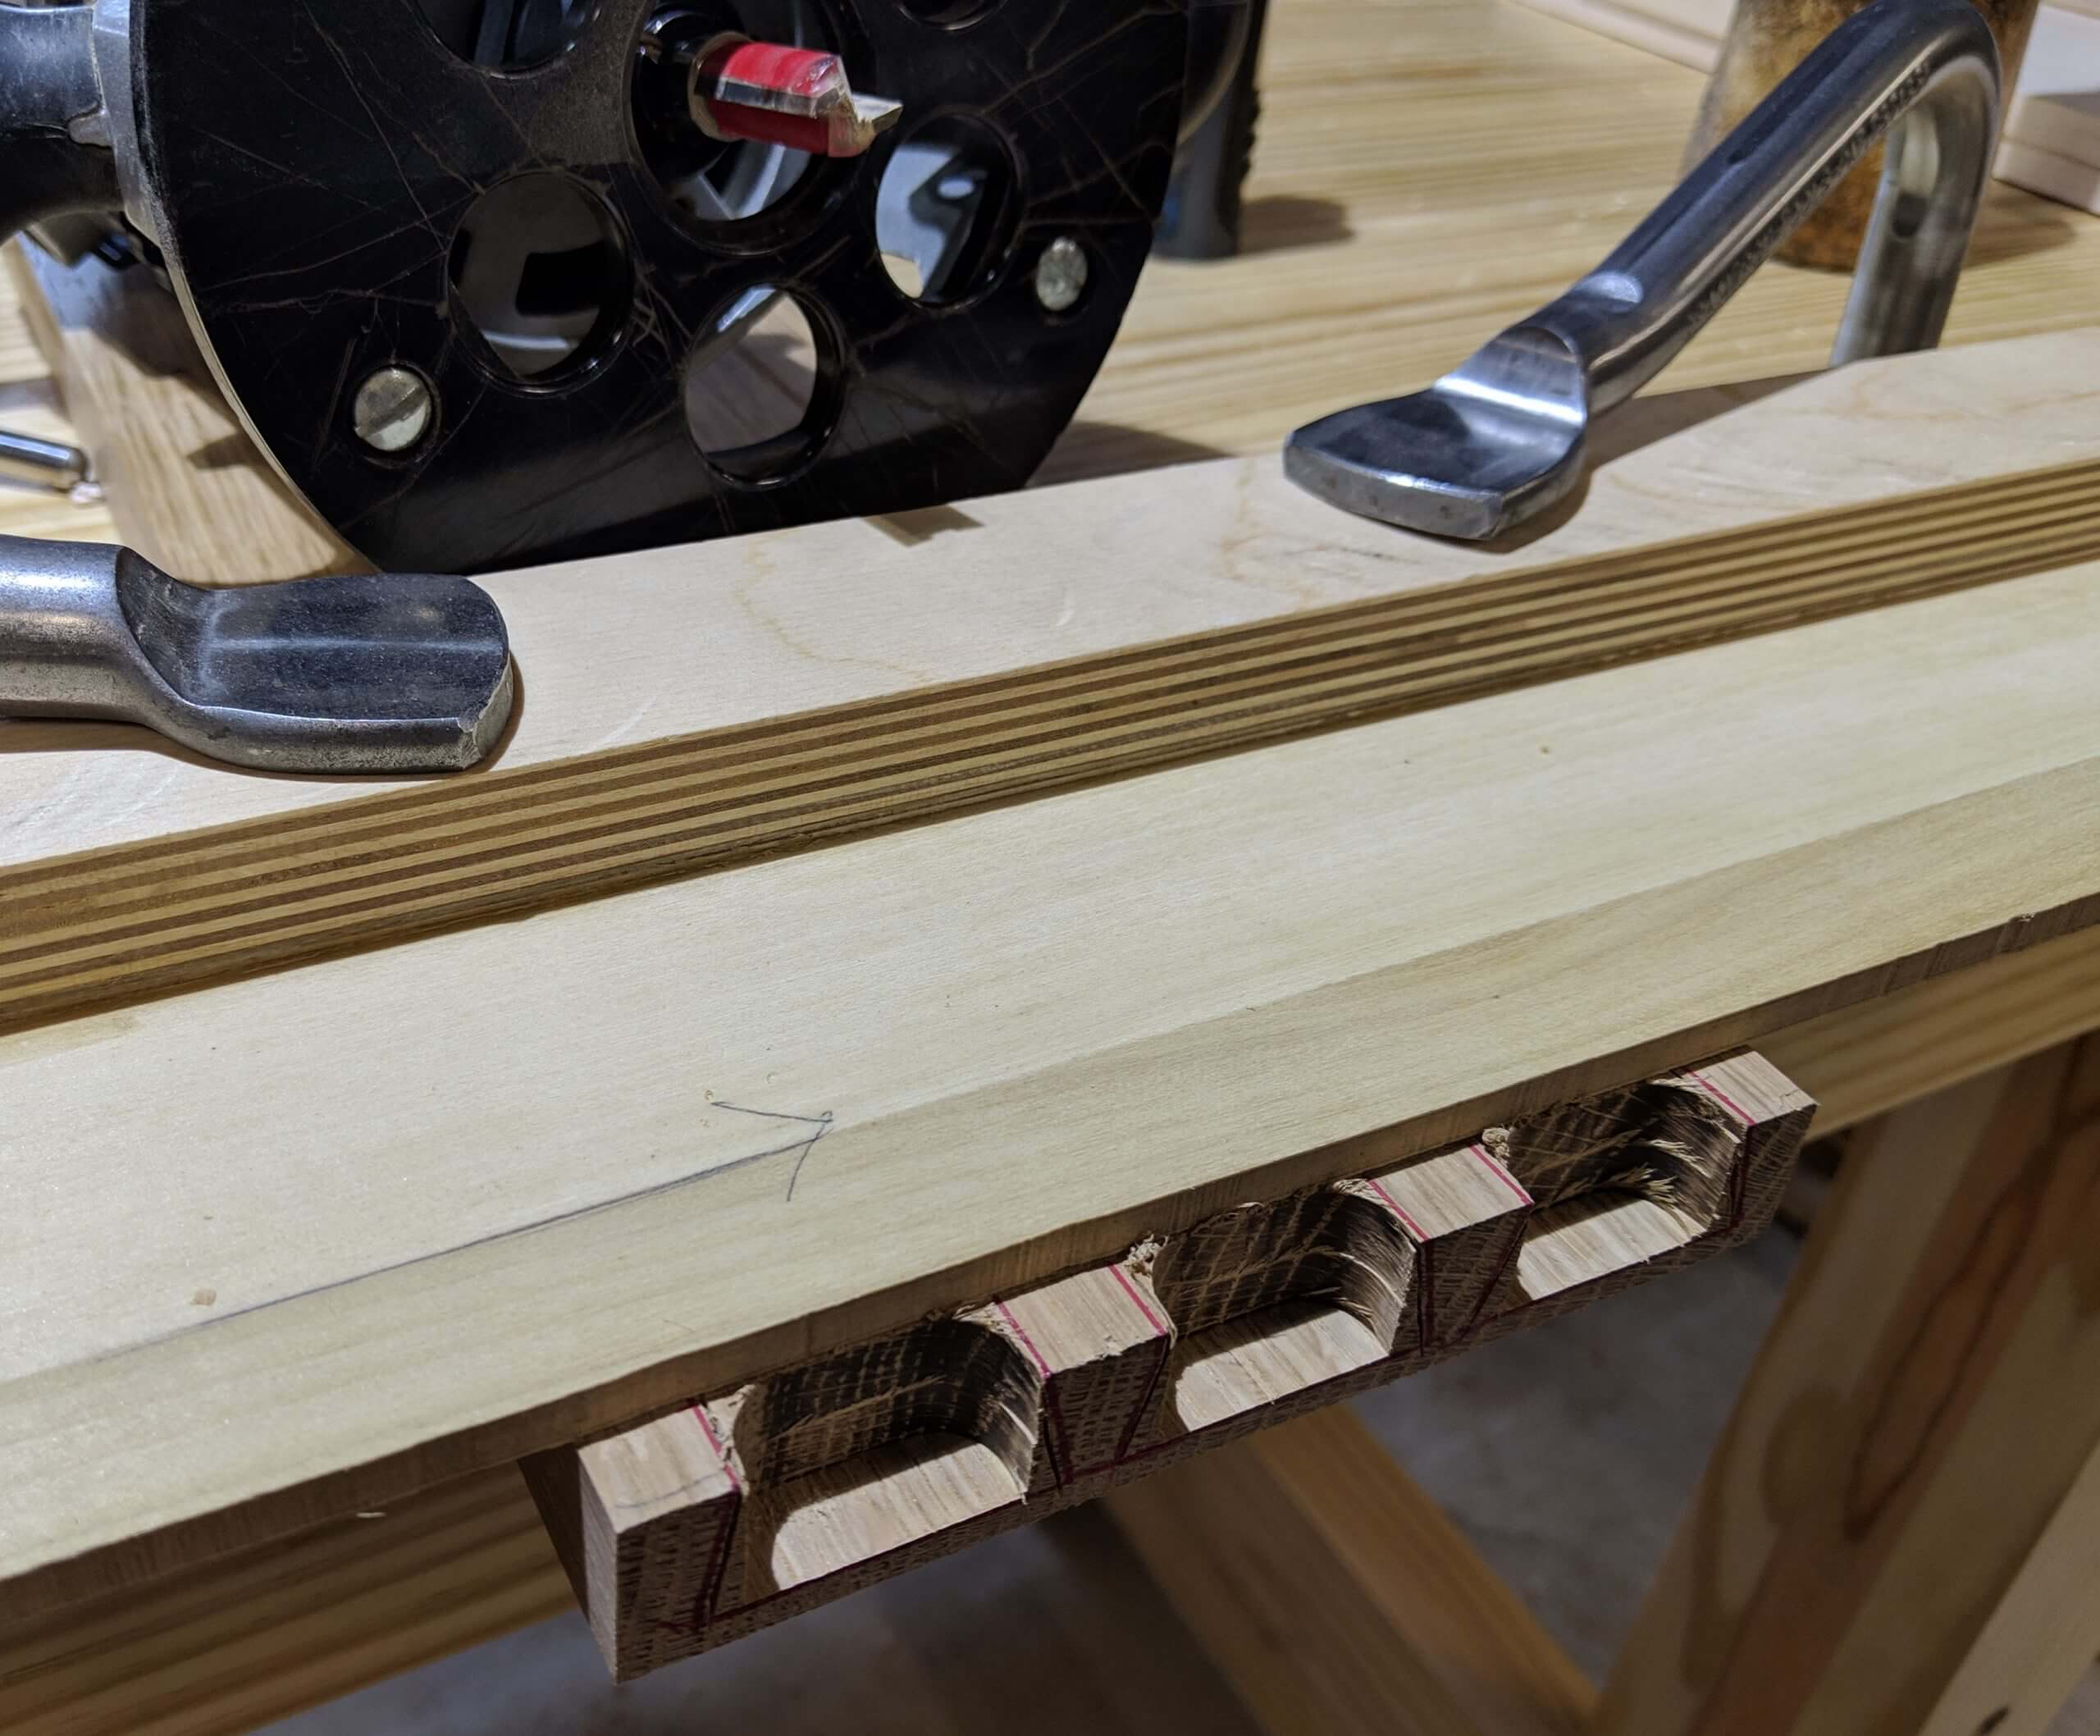
With the tails cut perfectly square to the face and the edge waste trimmed, use a fret saw to remove the bulk of the waste between the tails.
I try and get within and 1/8 to a 1/16 of the scribe line and keep the saw tilted slightly “up” so that the rear is cutting higher then the side I am looking at.
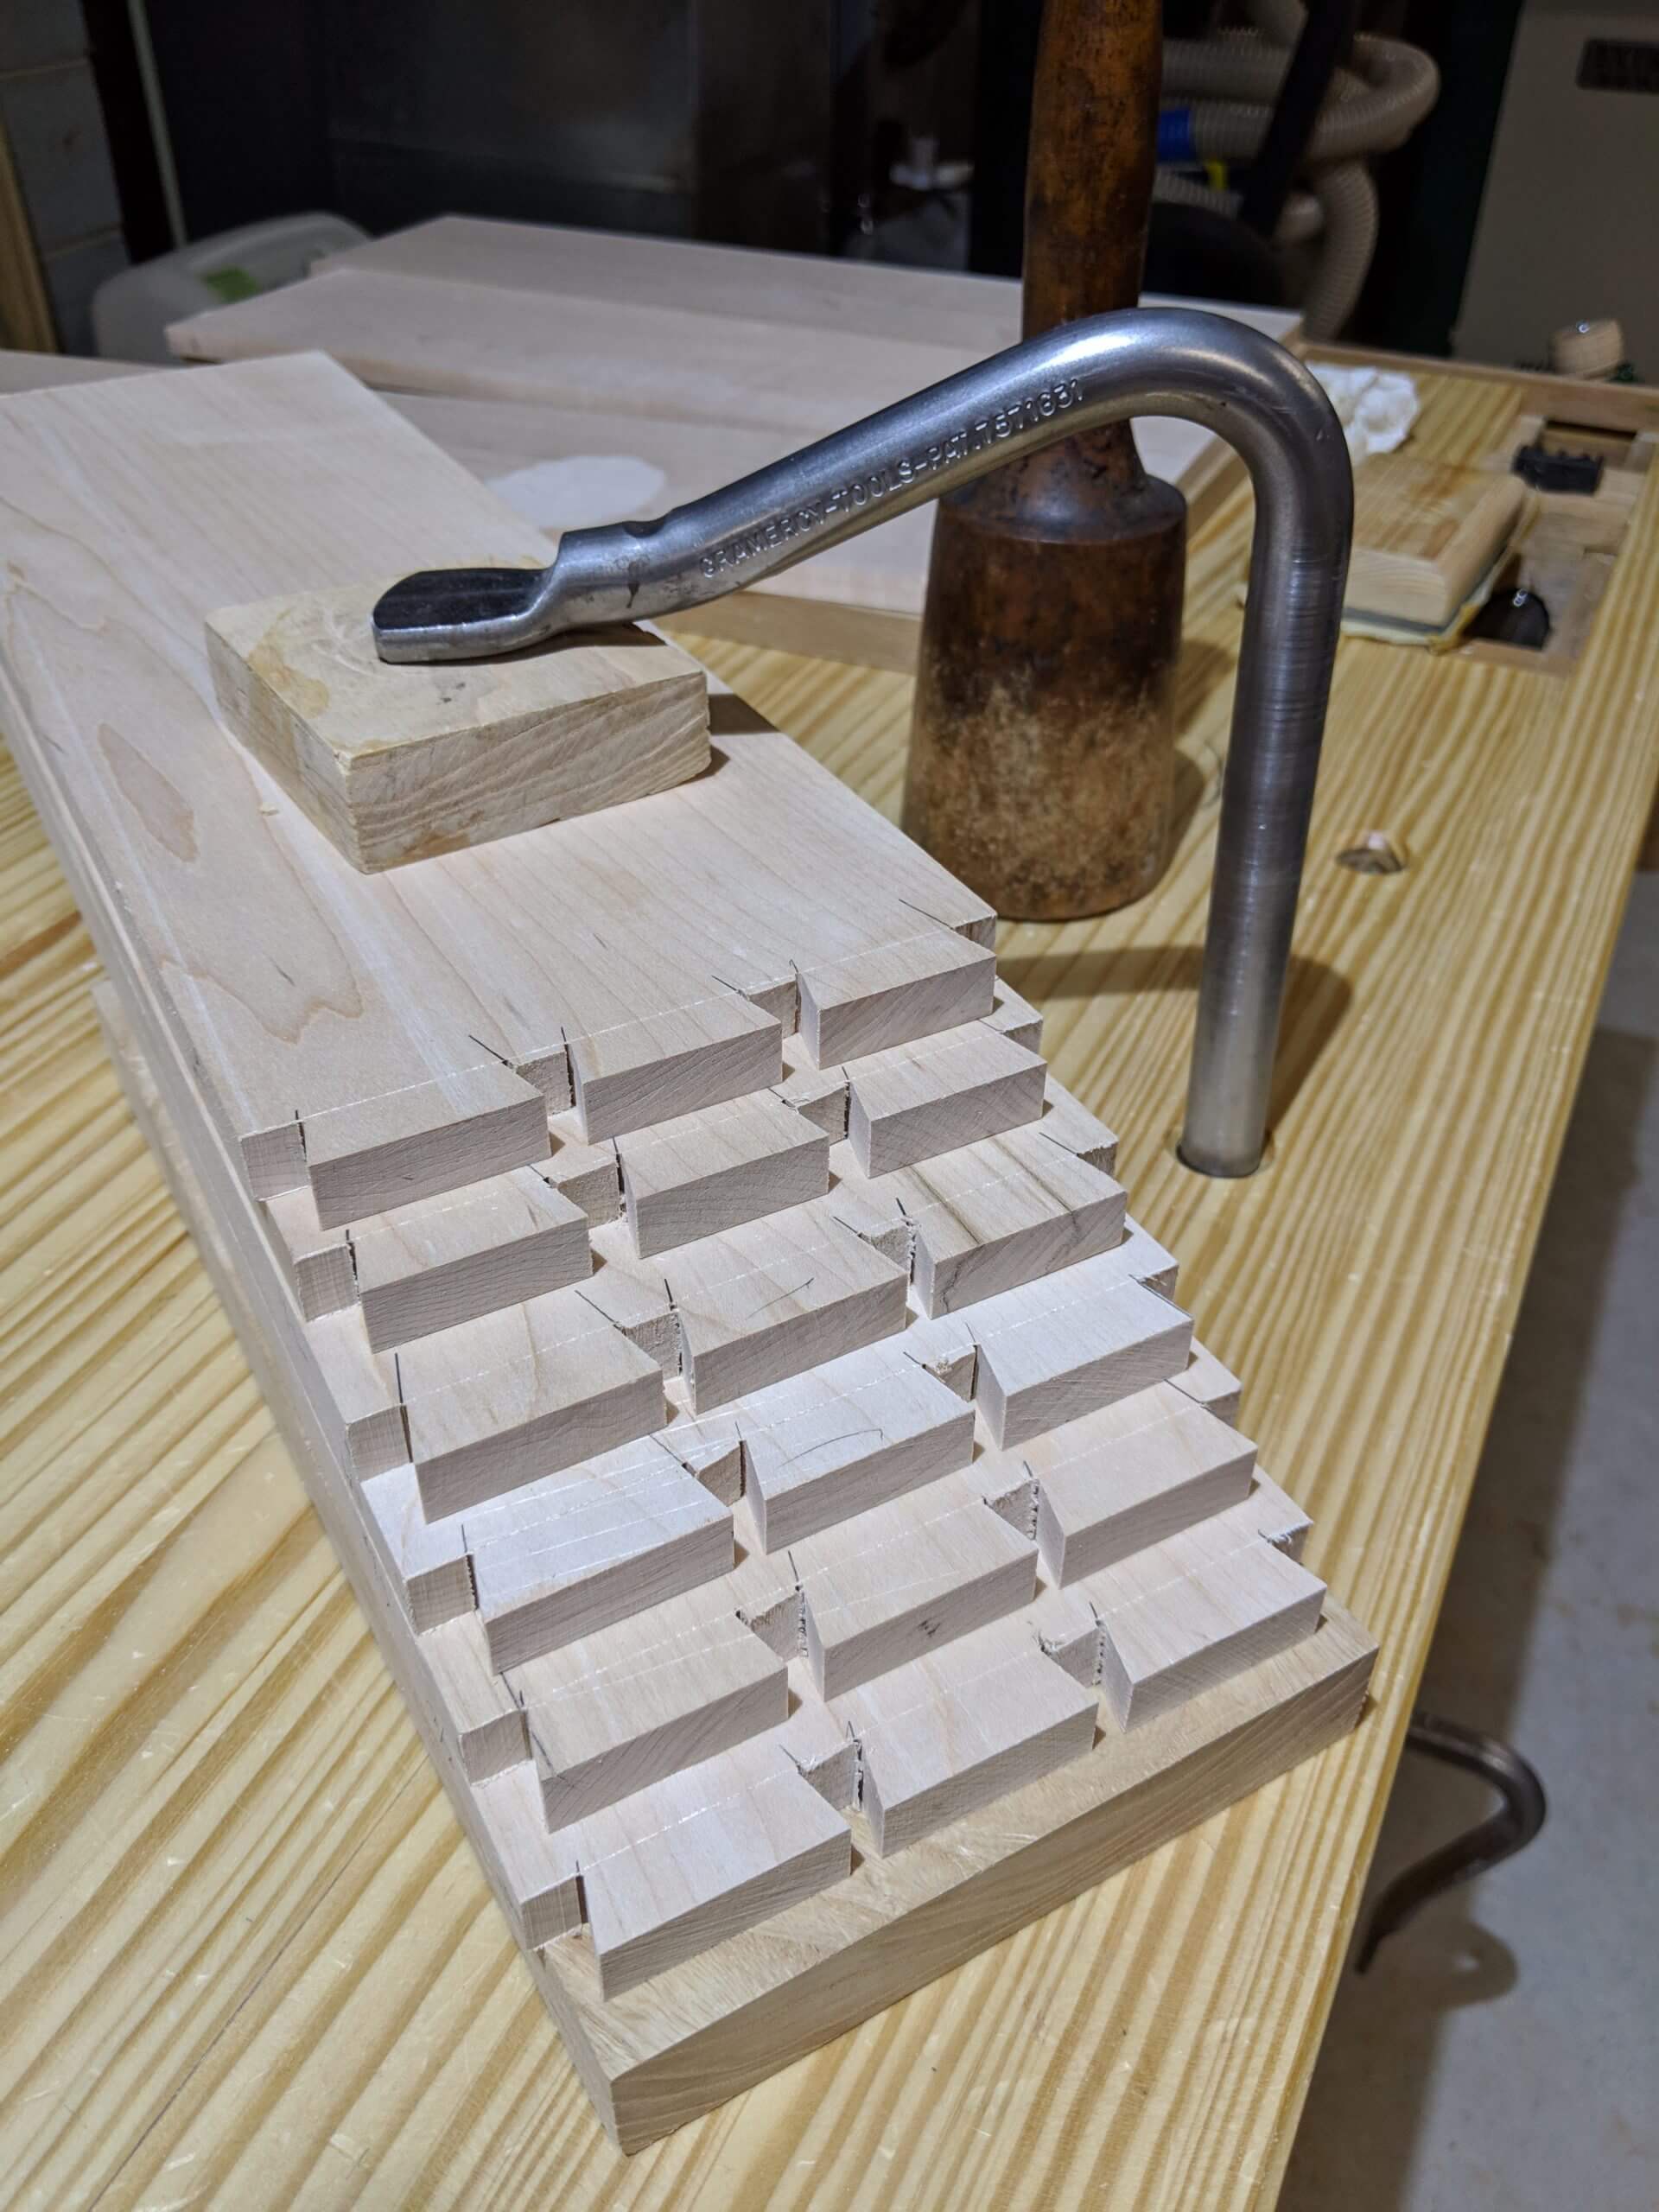
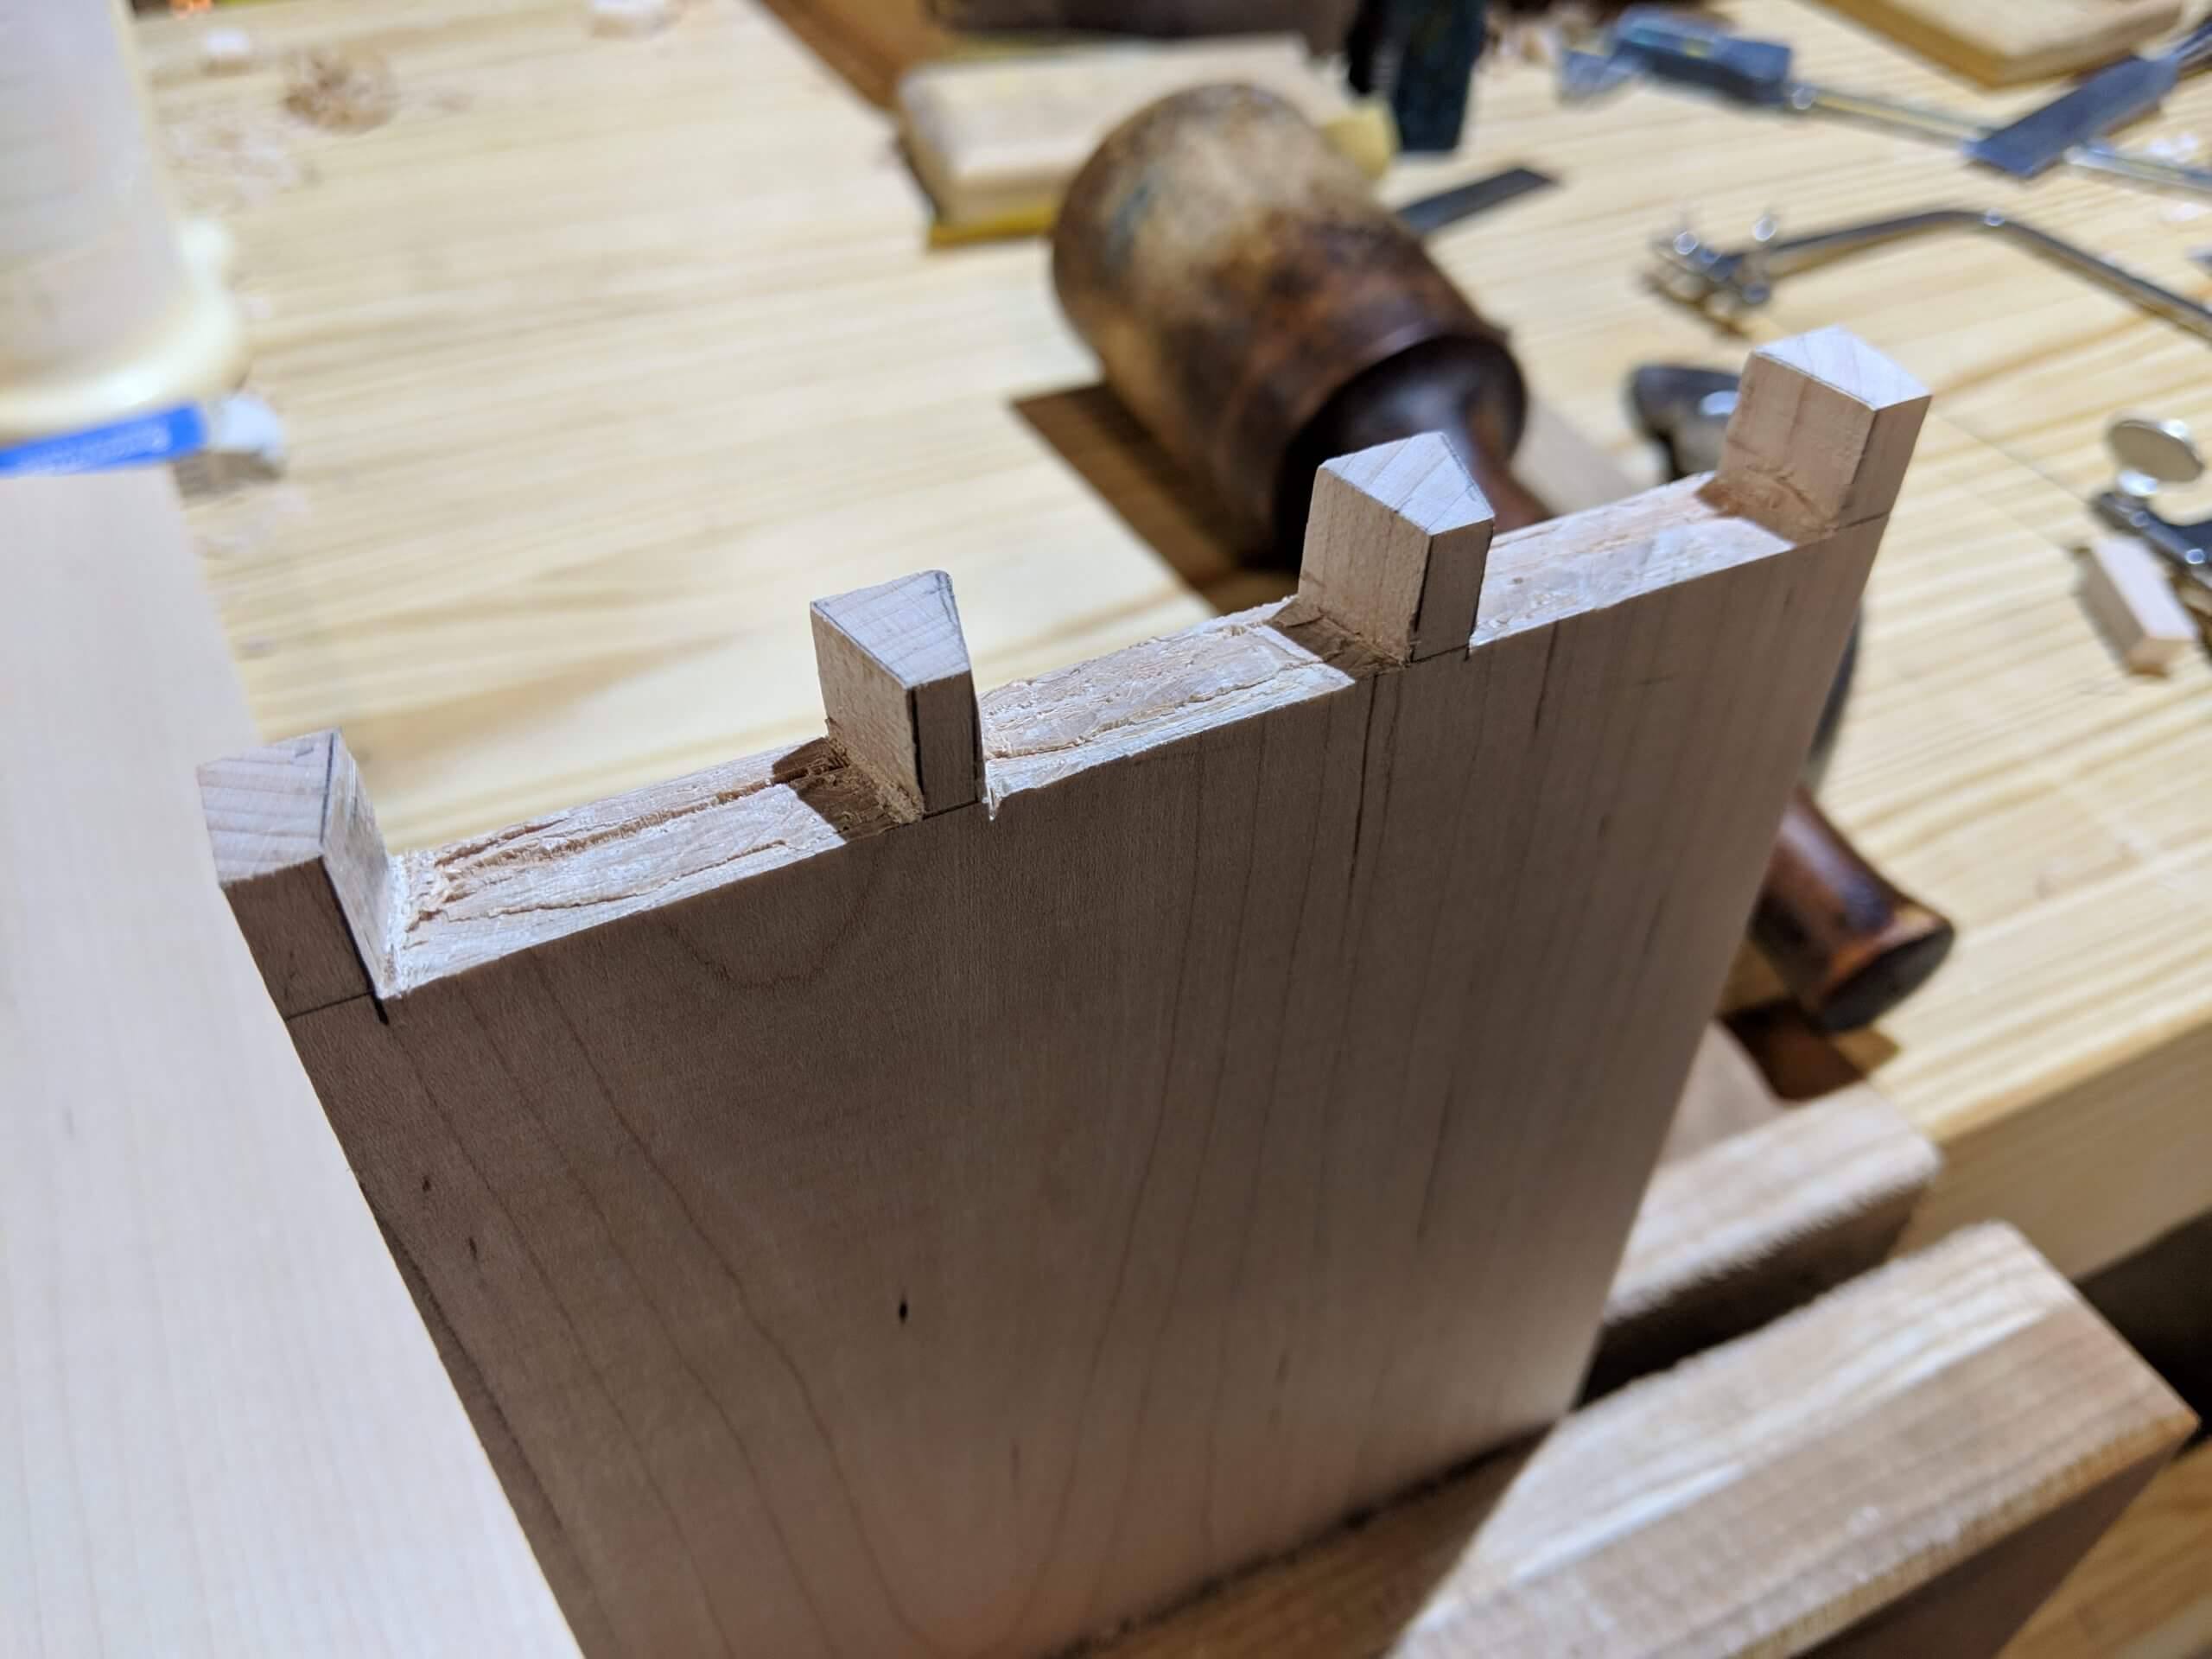
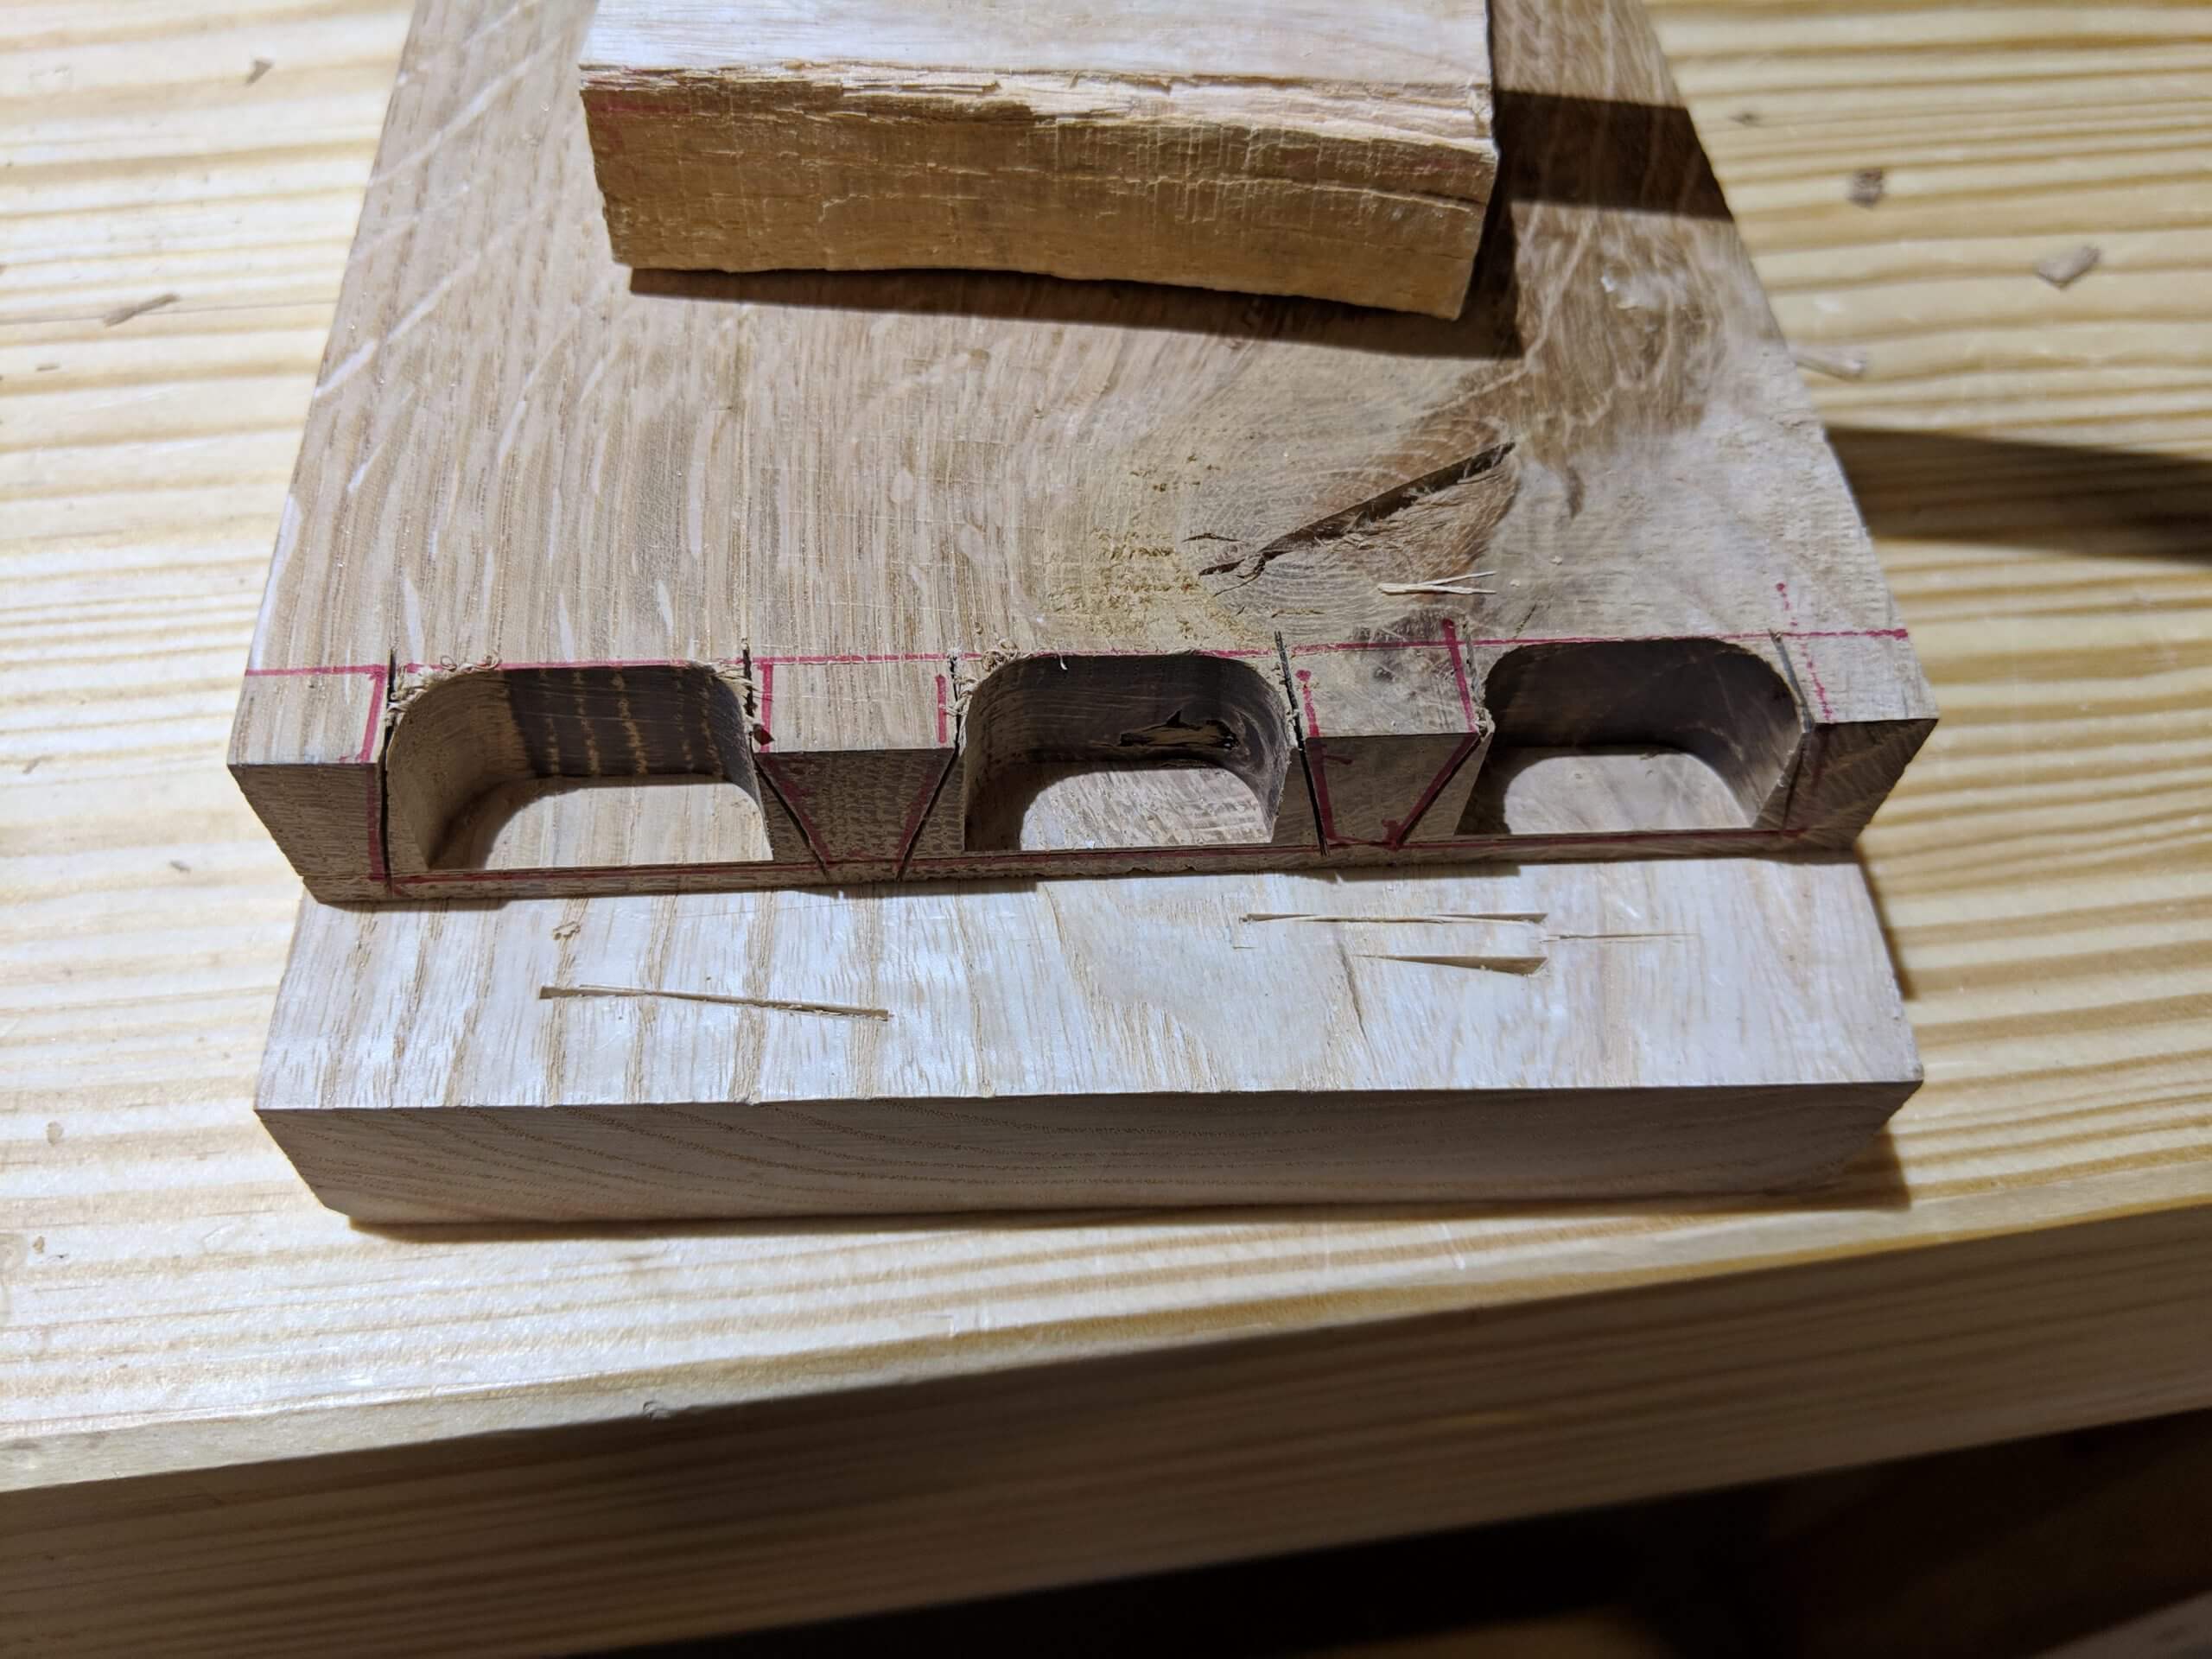
Once the waste removed, I stack the sides for hand clearing the remaining bit.
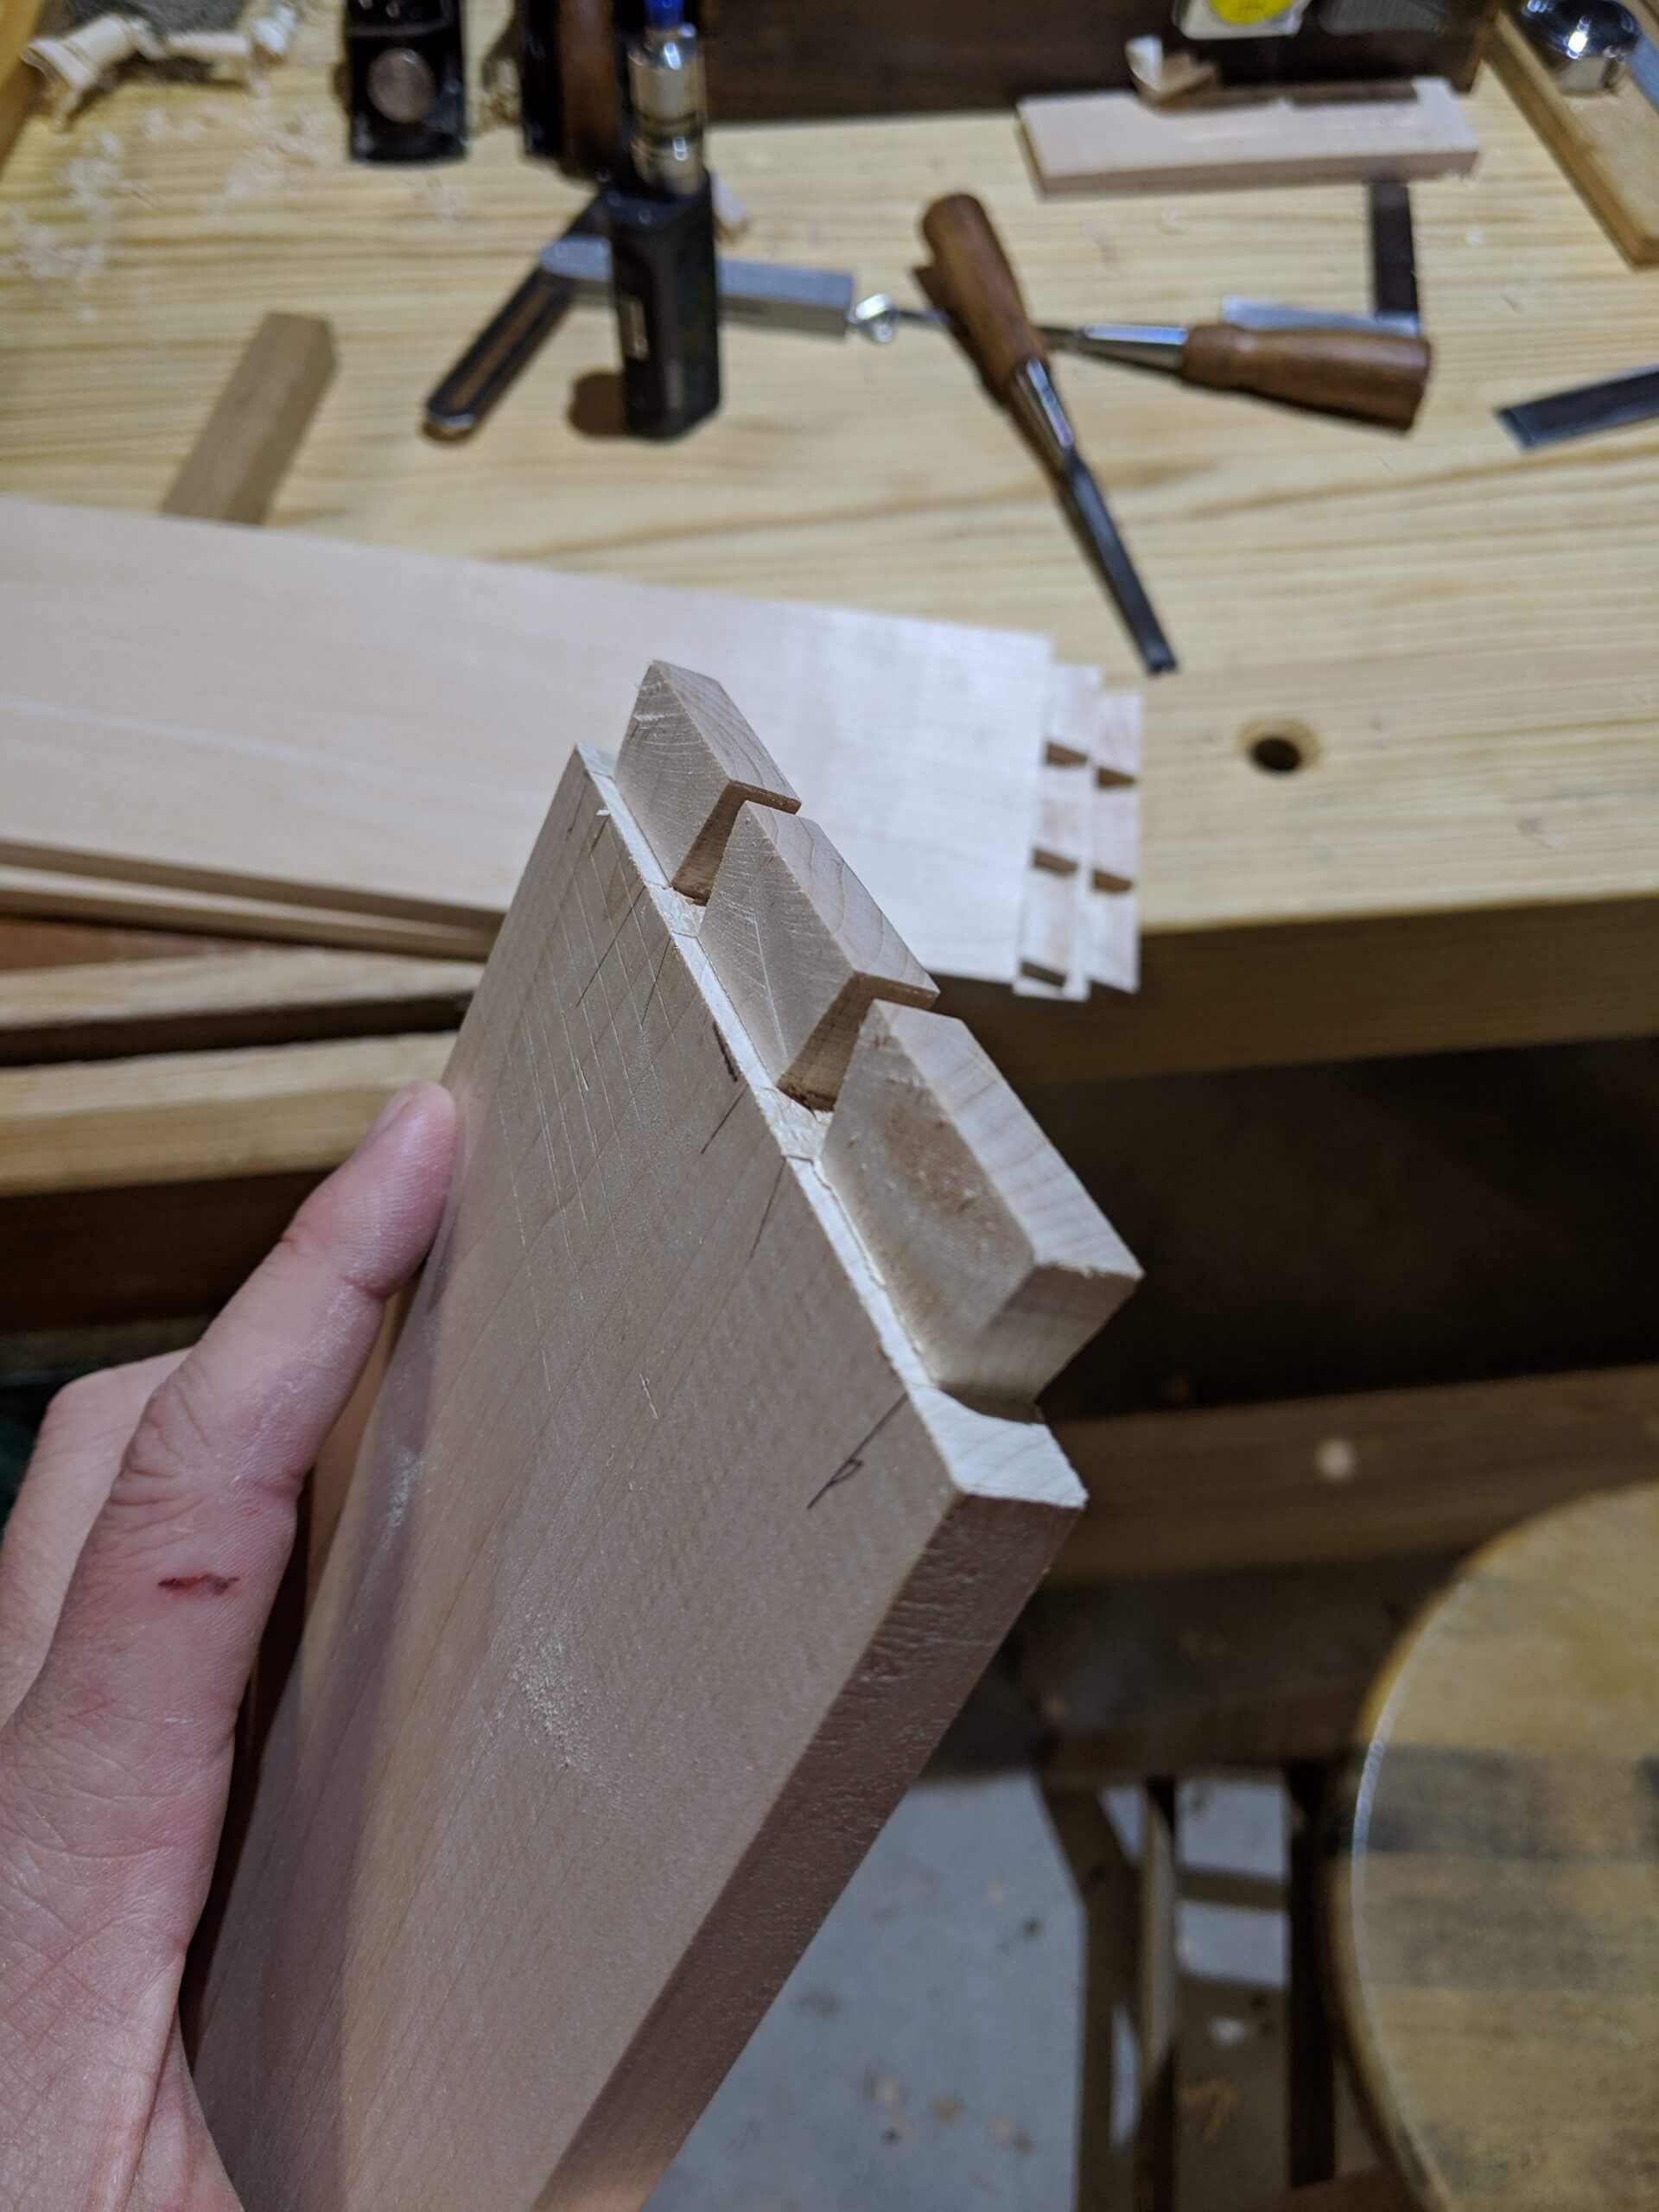
Cut on the scribe line, sneaking up on the line so you don’t dent the show edge by taking too aggressive of a cut. Keep in mind that the wedge of the chisel will push it back into the show face and dent the scribe line if you take too much of a bite at once. One way around this that I use frequently is to drive the chisel in at the scribe line with one or two light taps of the mallet then angle the chisel in towards the cut (handle out away from the scribe line) and drive it harder. Tap tap, angle, whack, whack. Rinse and repeat. Do 1/2 the waste then flip the boards to do the other side. By pushing the chisel in at an angle you also build a back cut into the face.
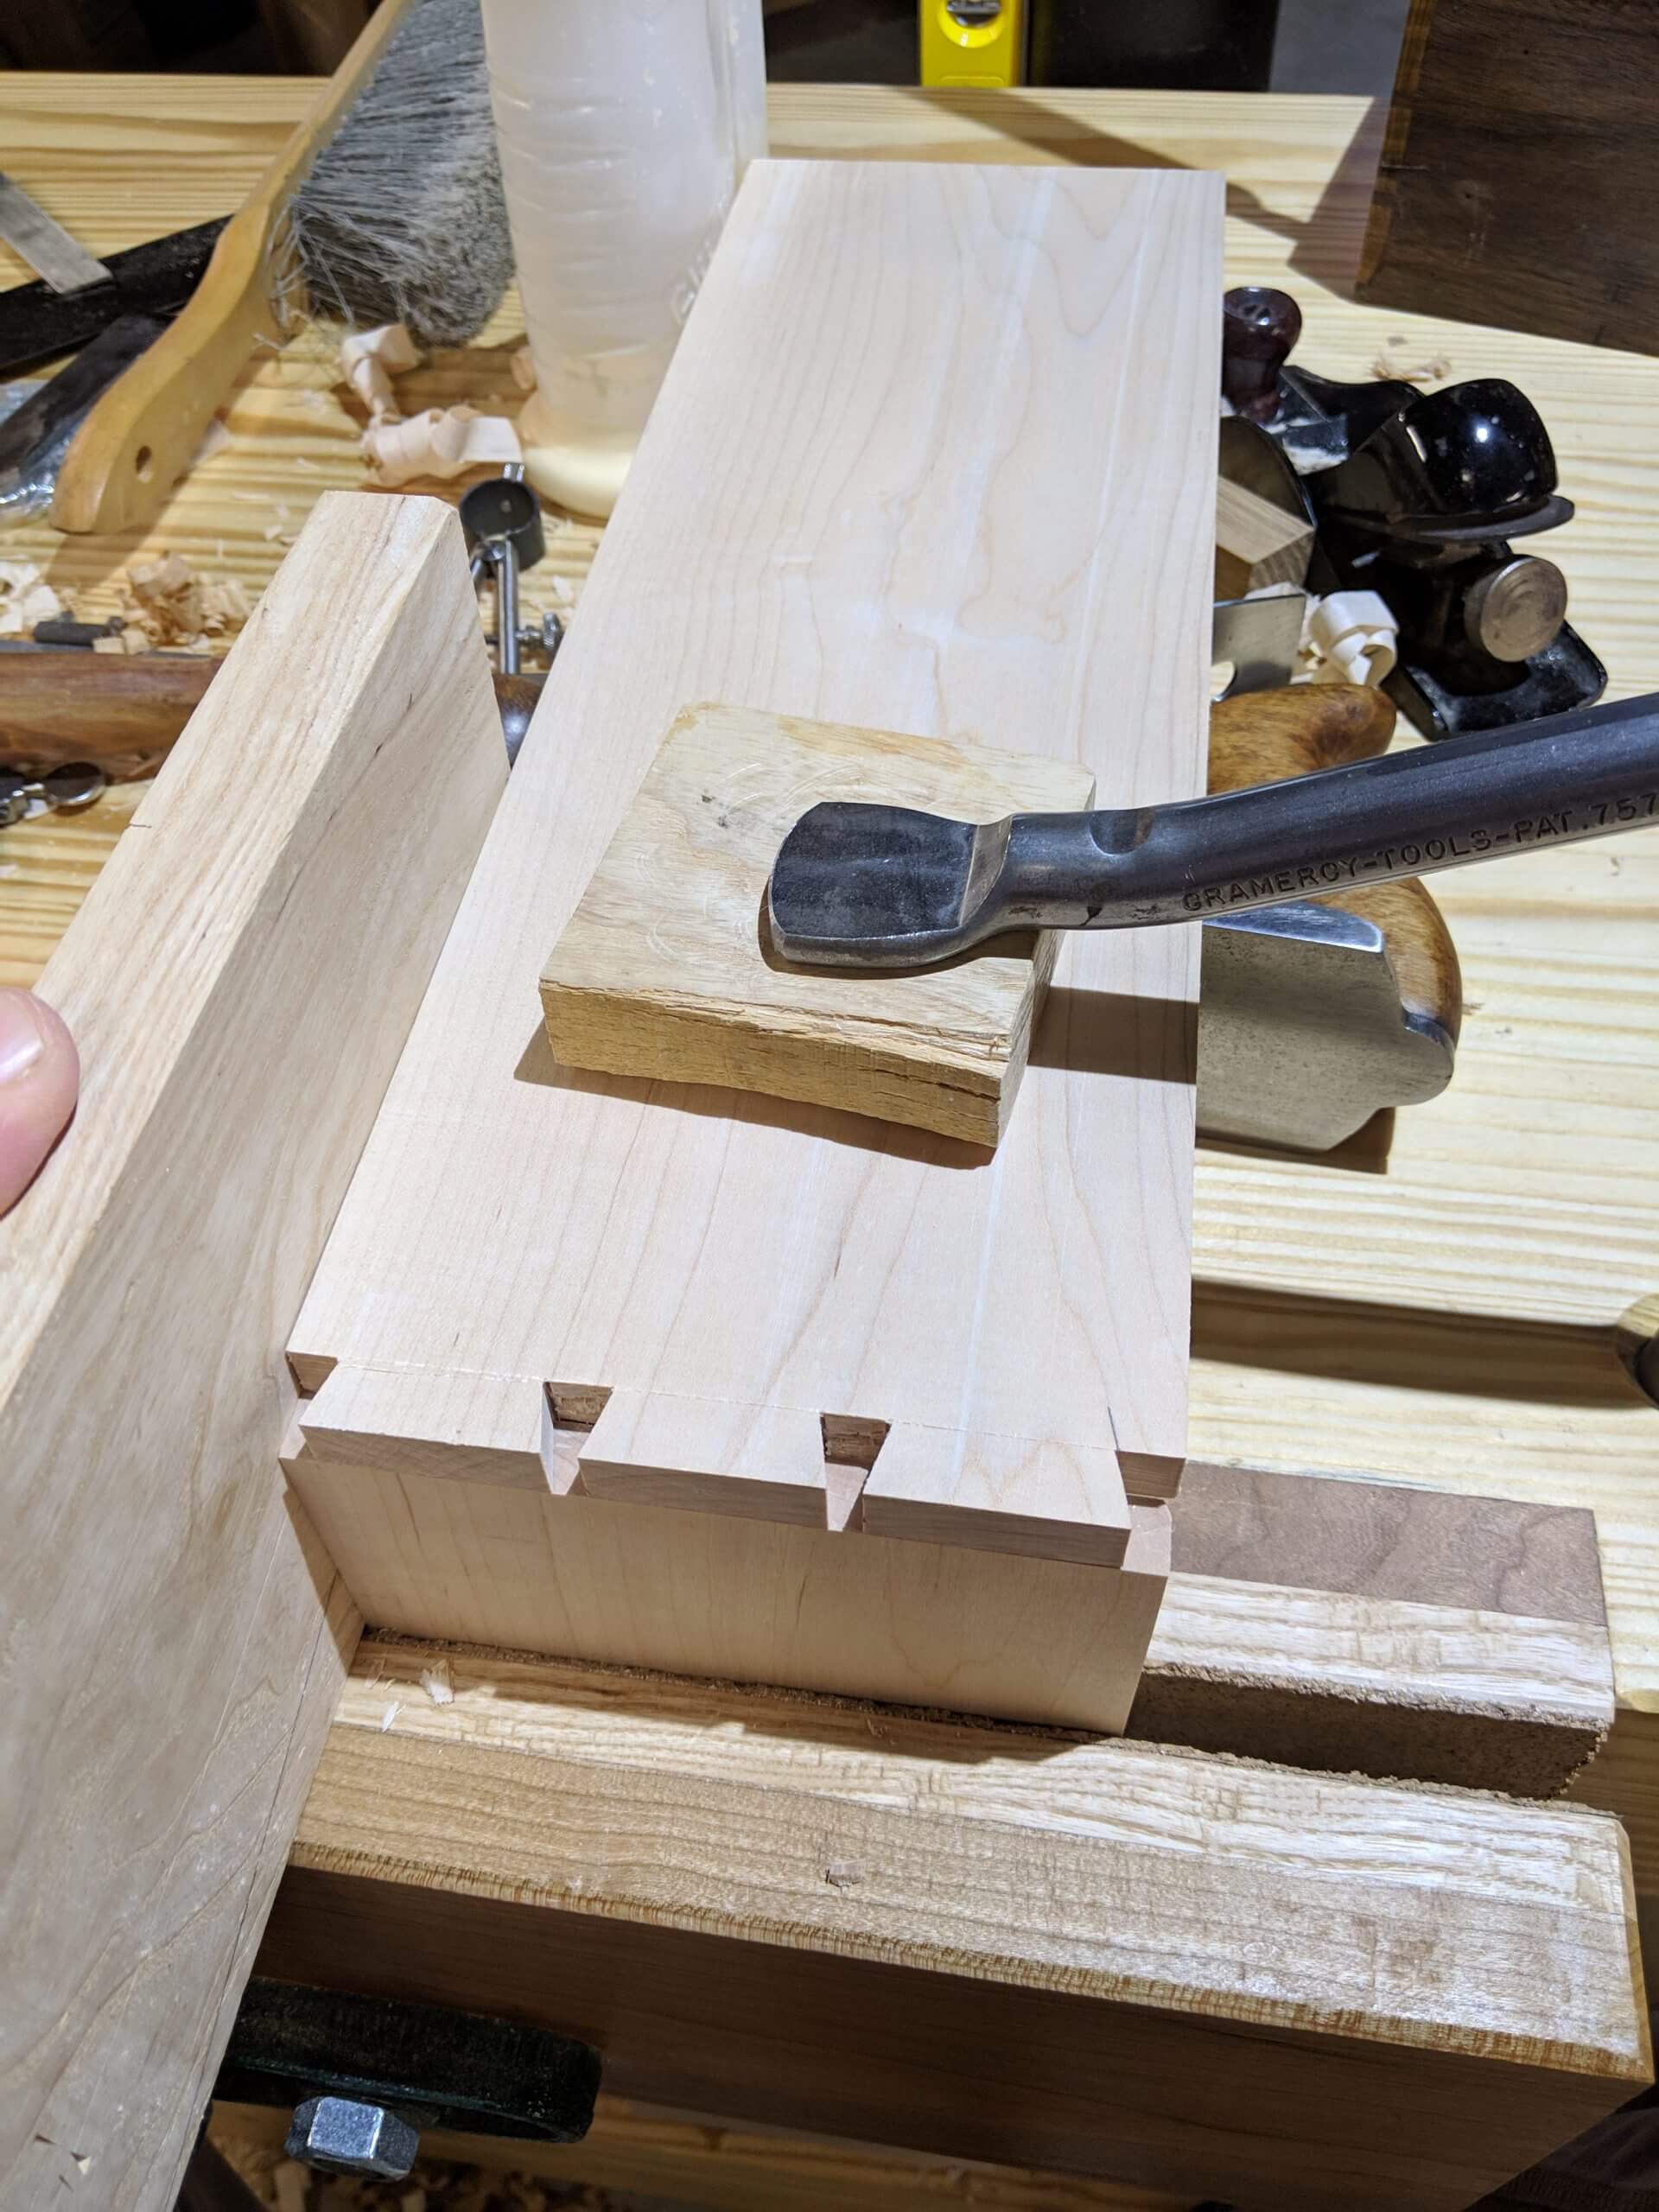
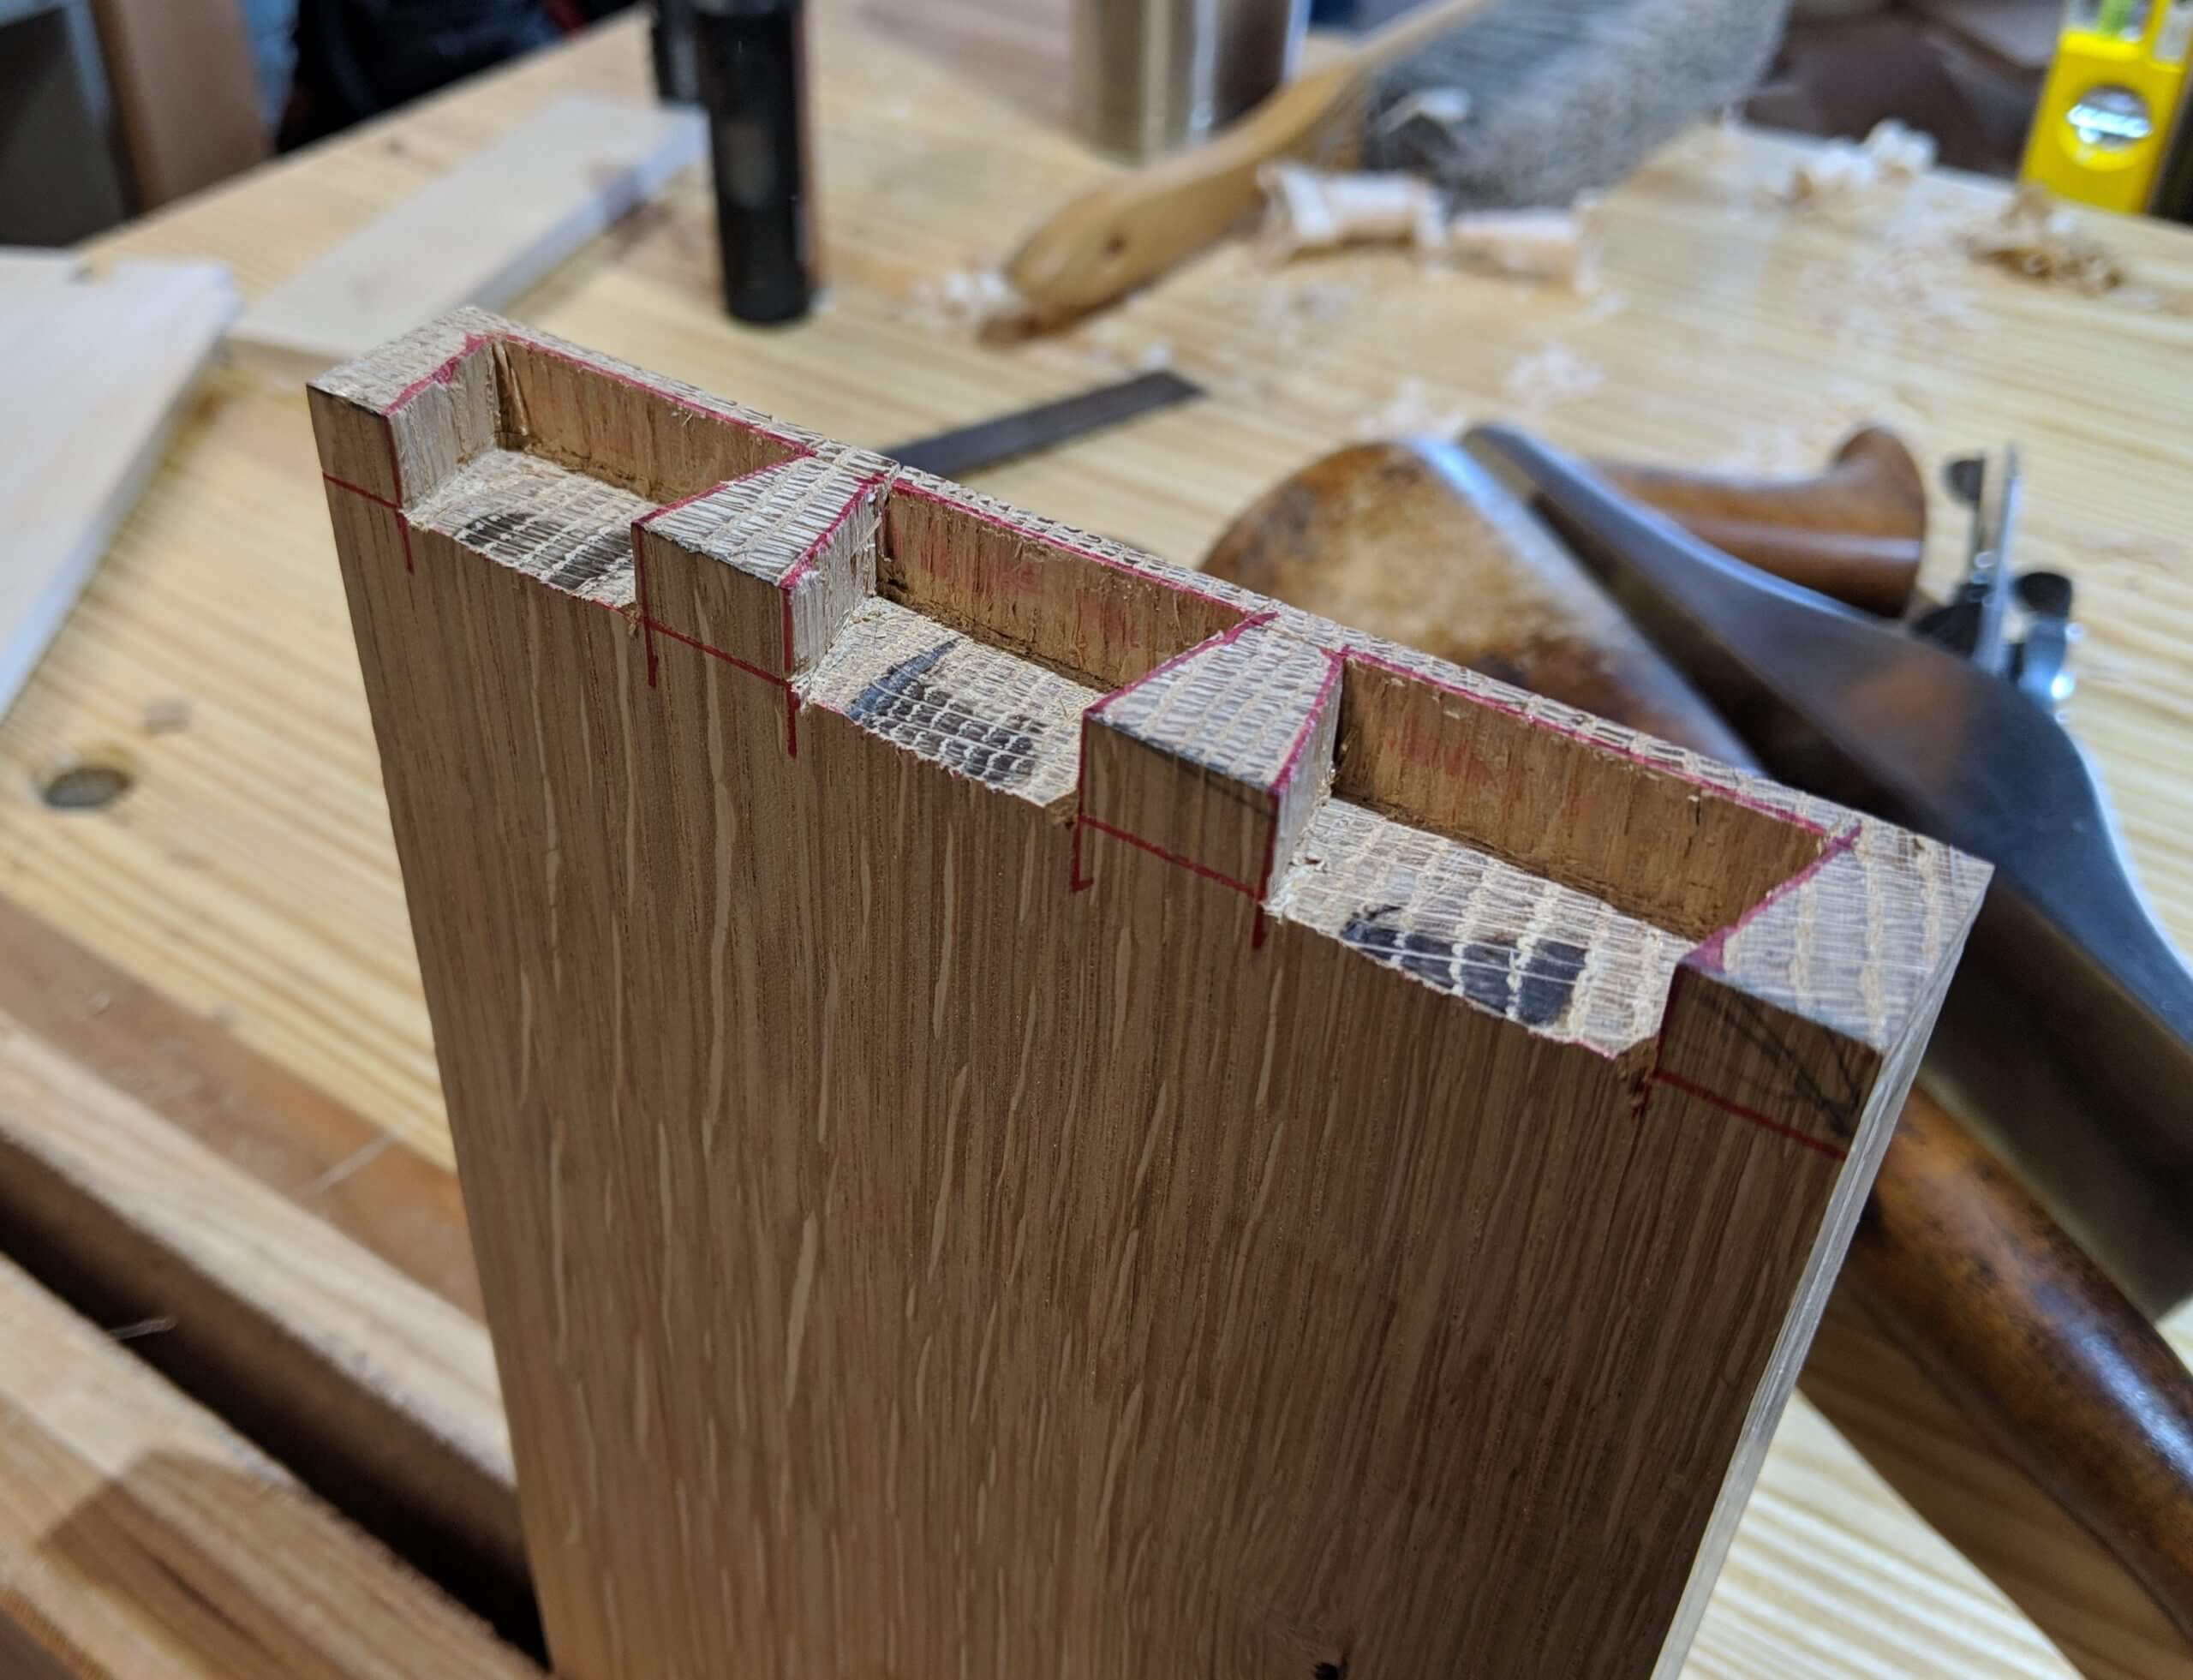
While cleaning up the tails, check the edge cuts and pare with a chisel as needed. Clean out the corners of the tails if there are bits of fibers clinging on. The bandsaw has given you perfect tails and you have used the scribe line to get perfect shoulders for the dovetails. Don’t let youtube videos fool you, what is between the two faces is pure function and is fine as long as it doesn’t prevent the joint from closing.
Making Pins
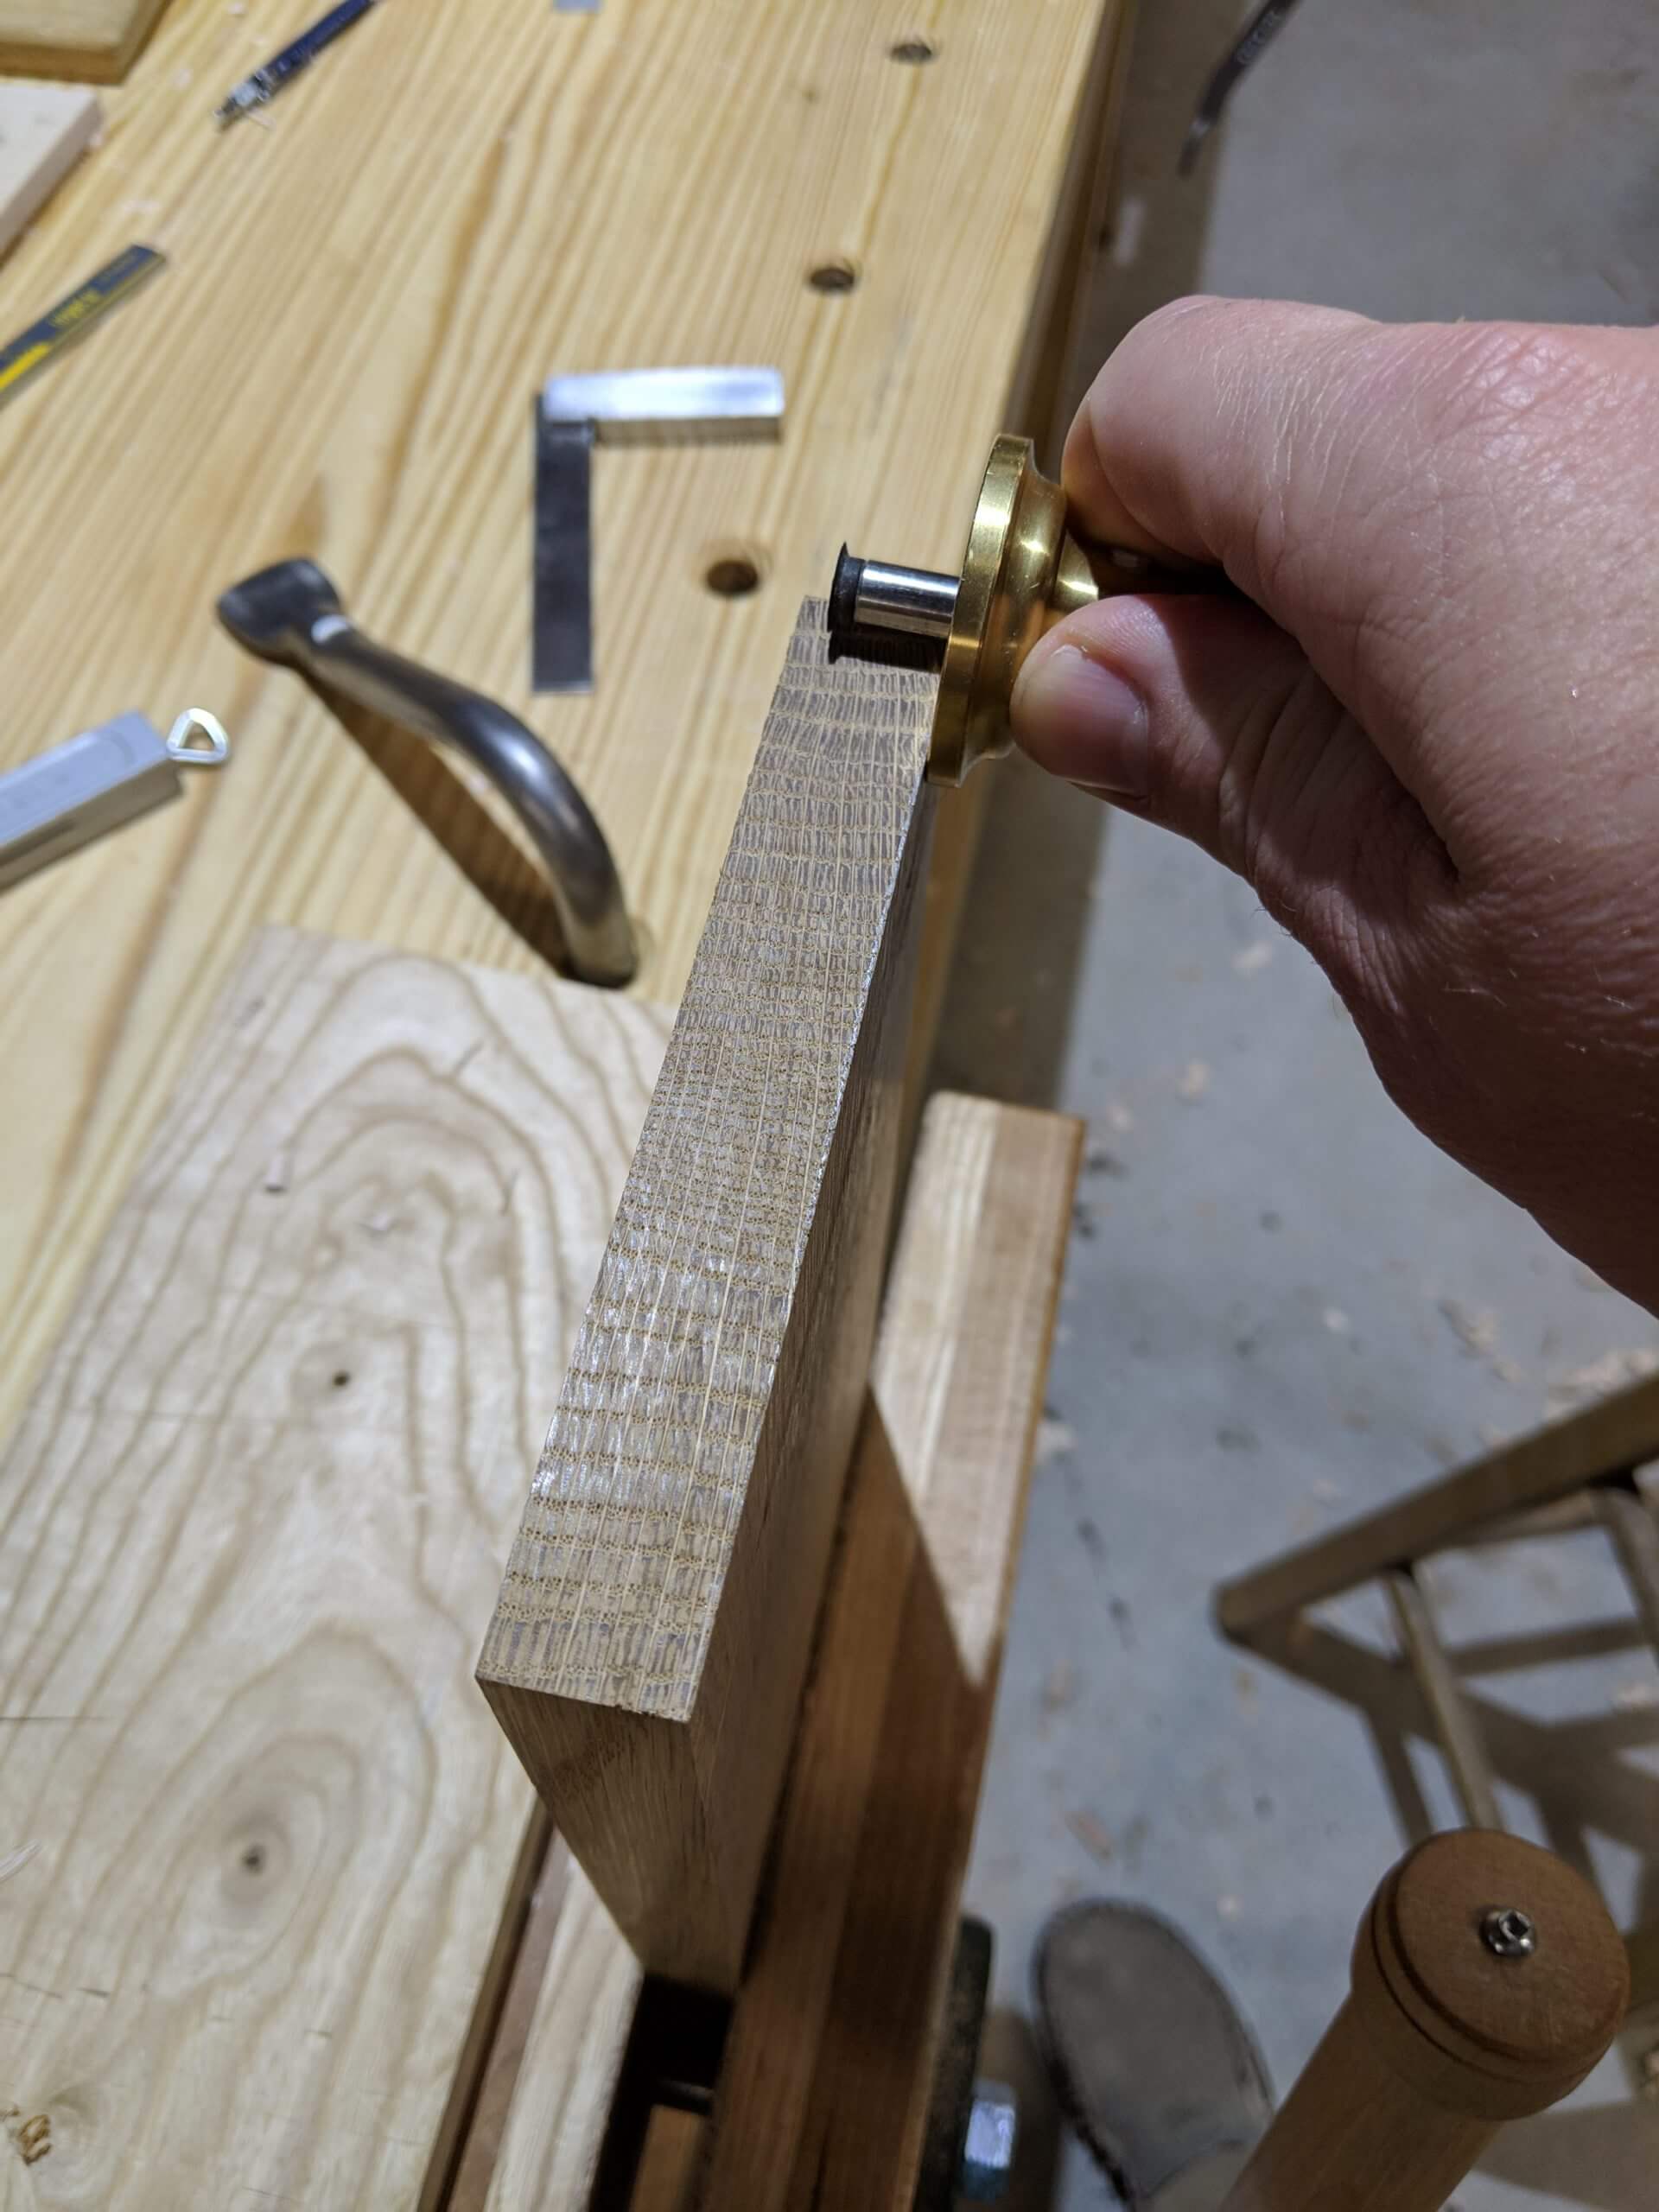
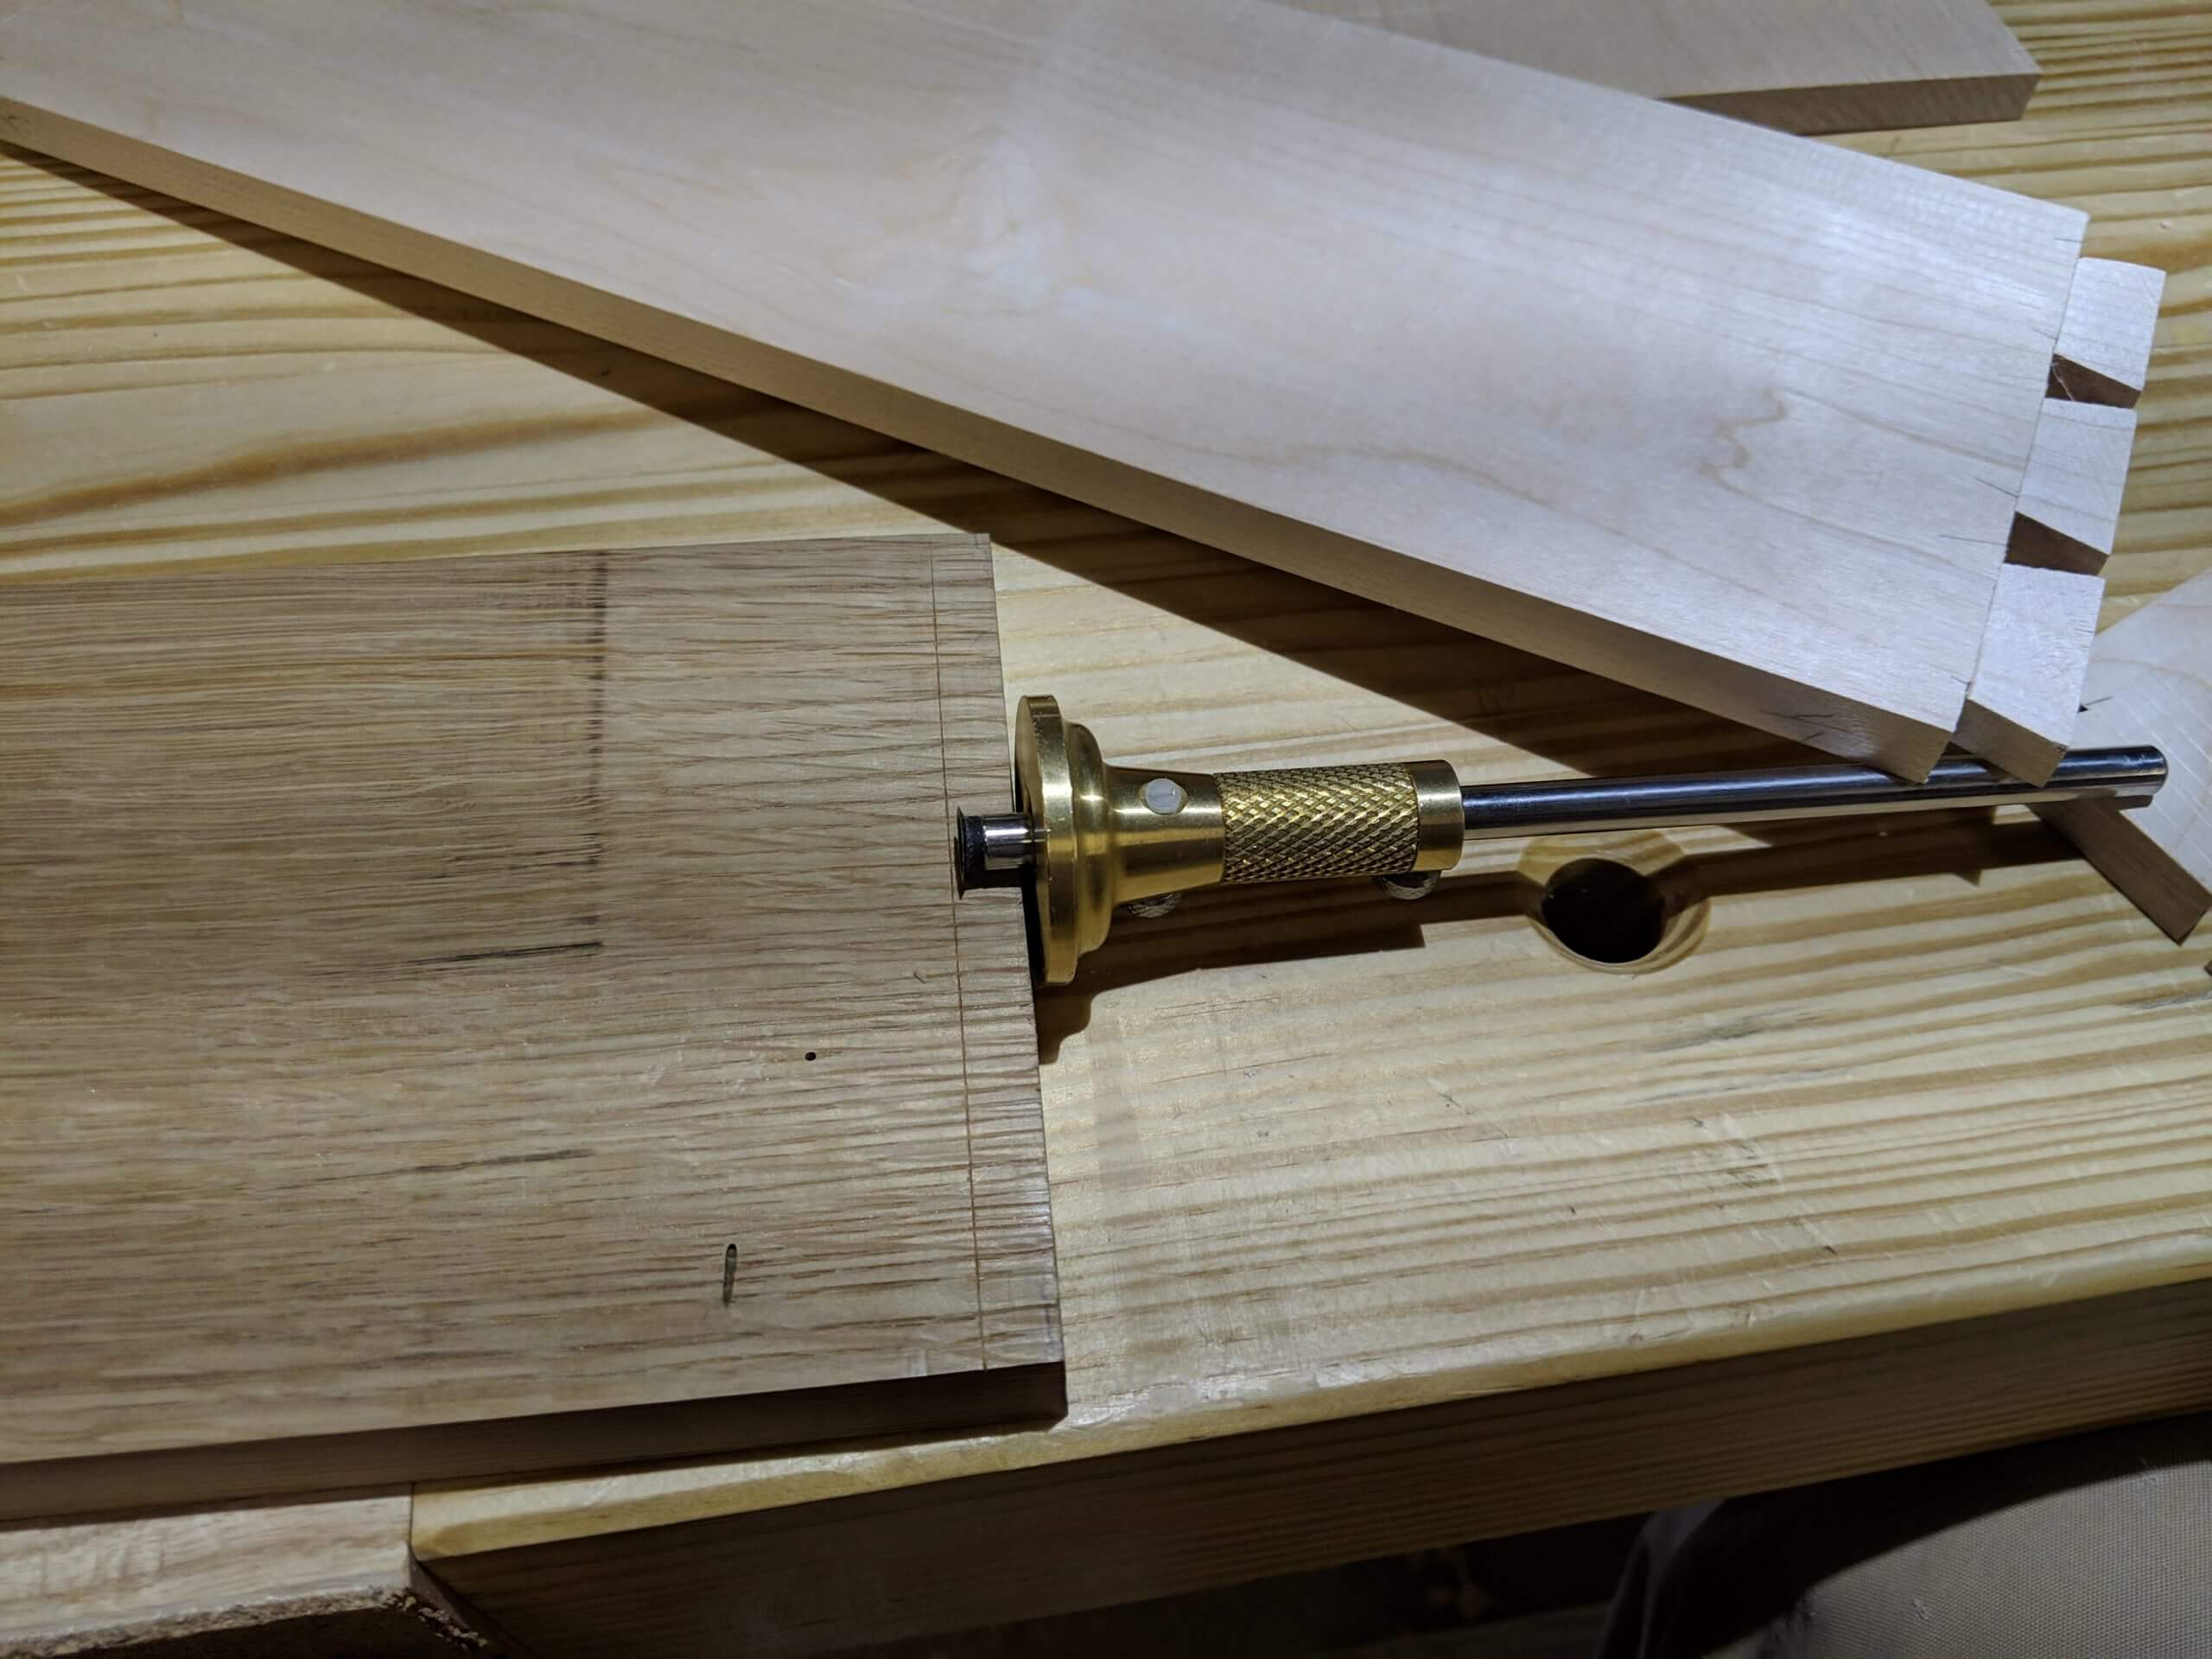
First, use the marking gauge to scribe a line on the front and back of the pin board that is equal to thickness of the tail board.
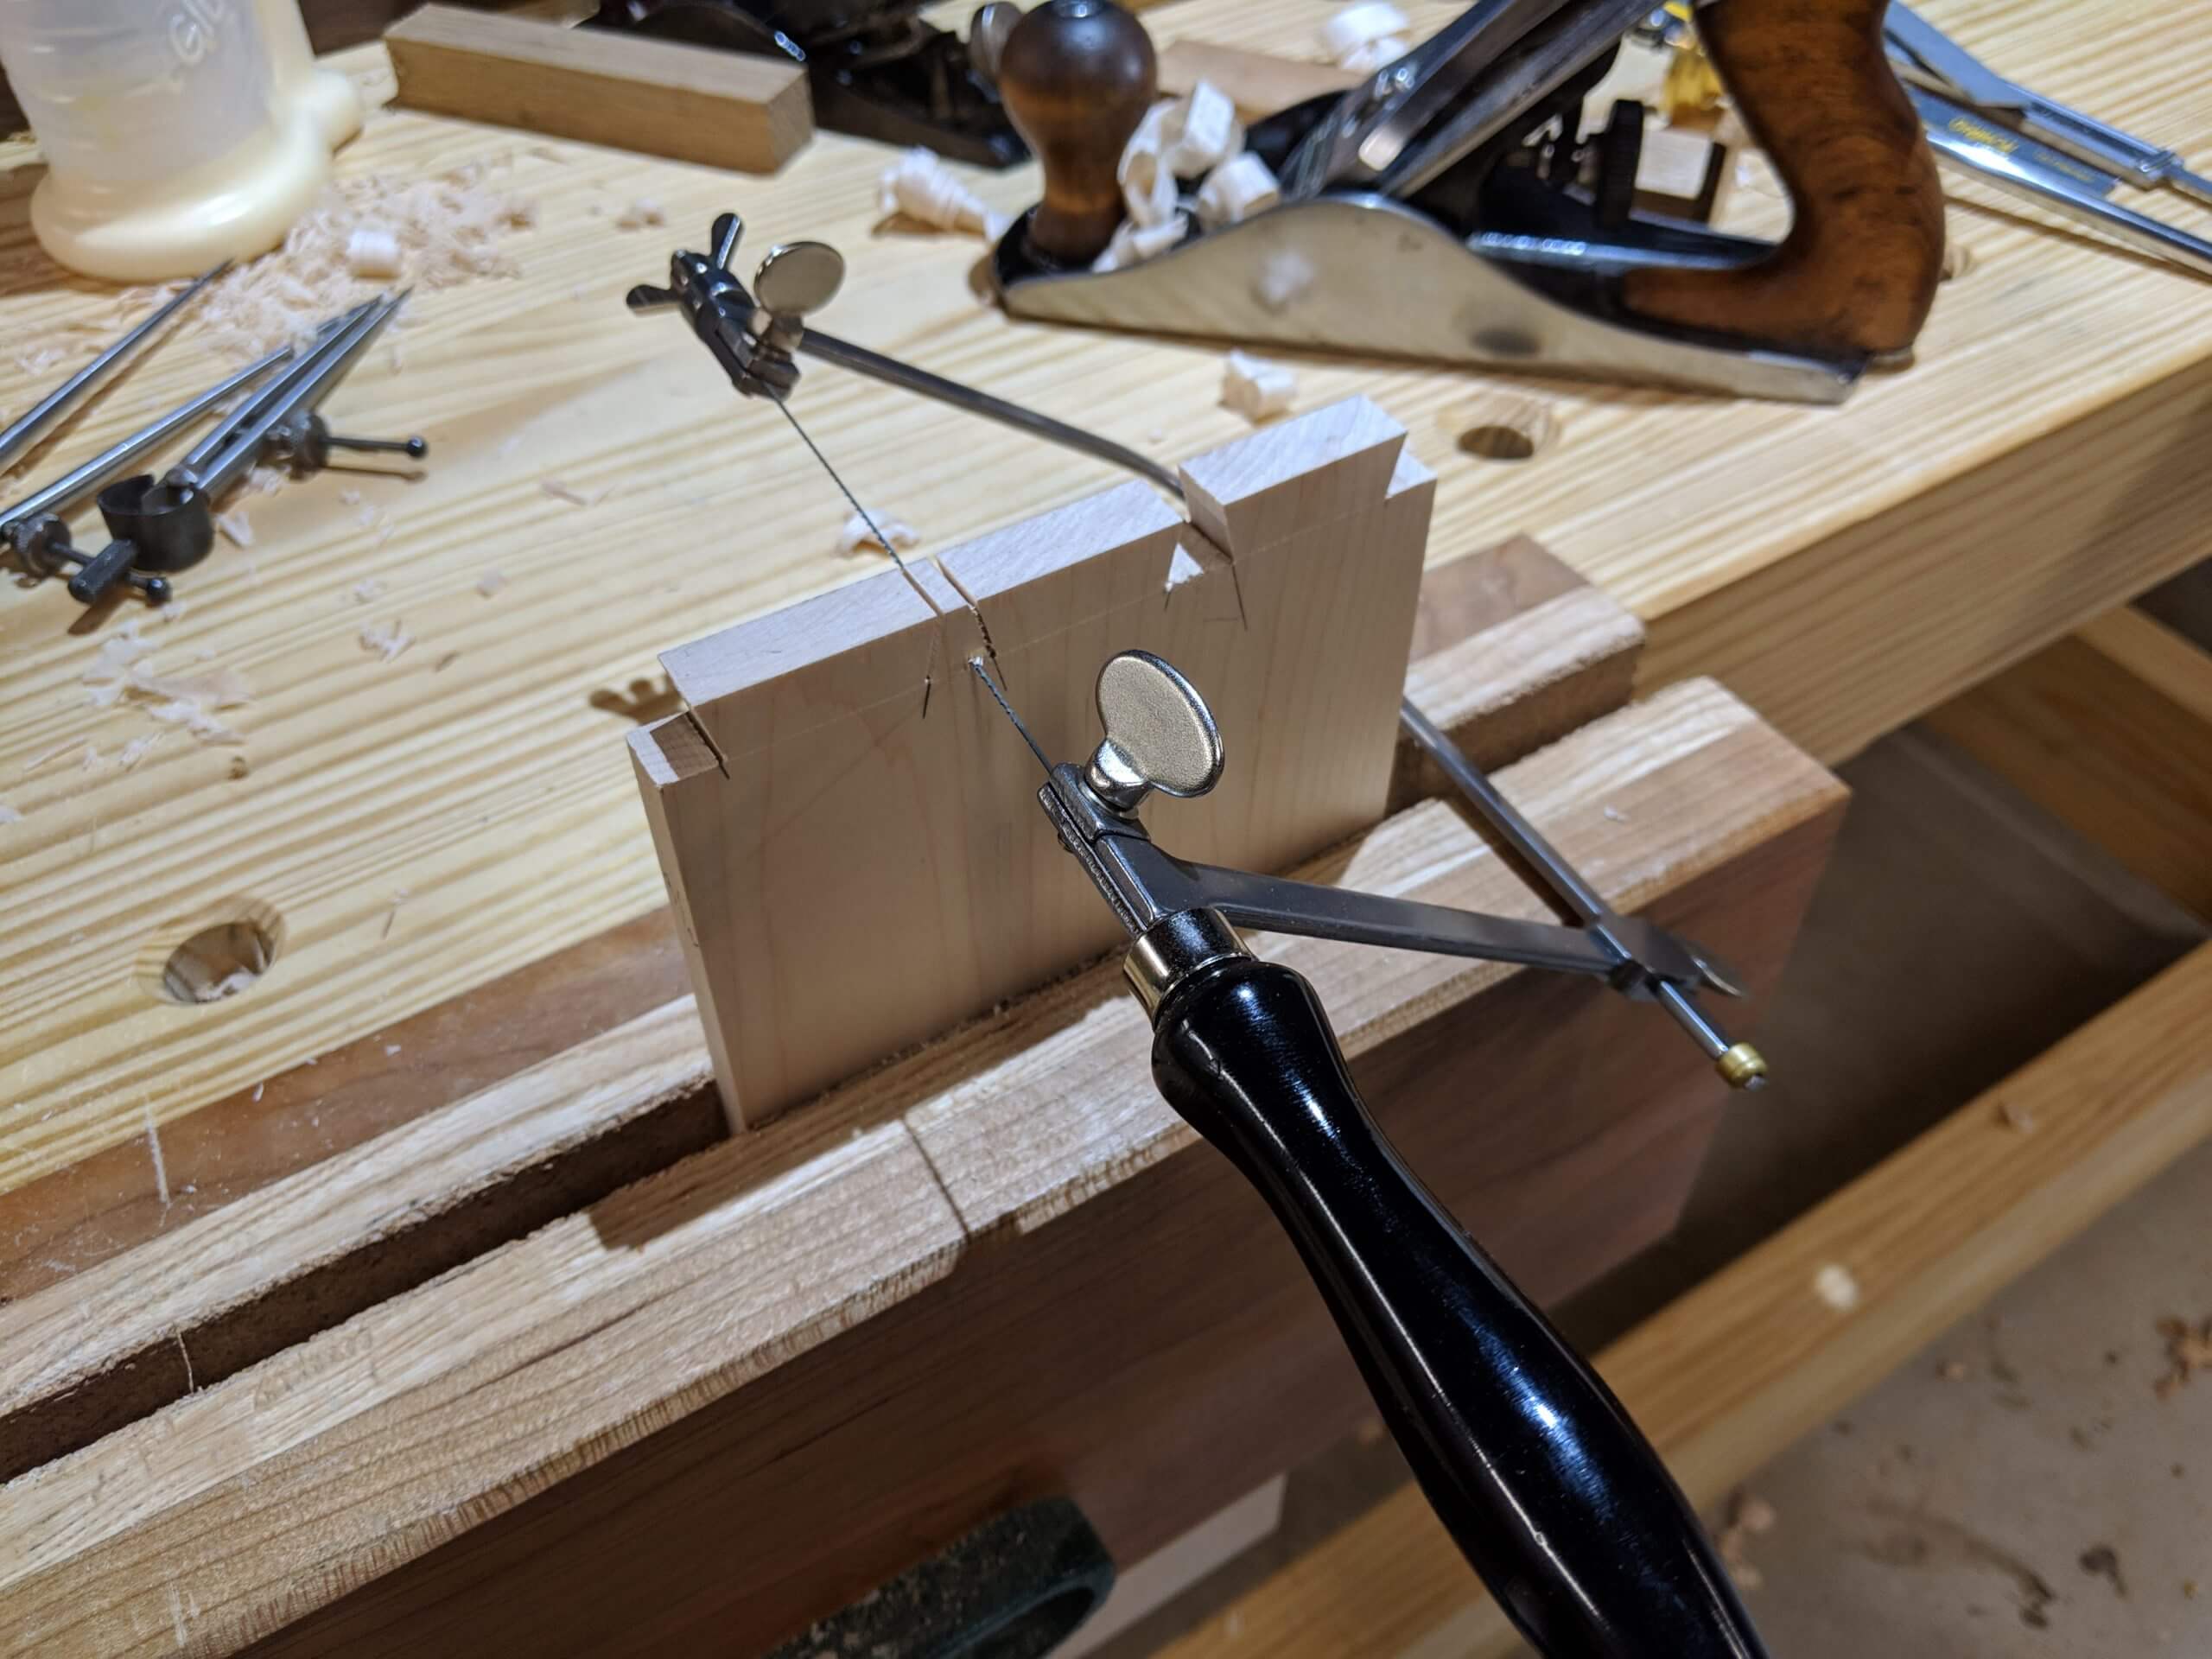
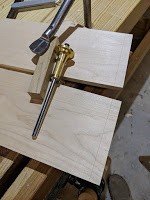
To mark the pins, I position the pin board one plane height high in the vice then rest the tail board on the plane so it is square. I use a flat working board to align the two together, then lock it down with a hold fast. Don’t look at the edge faces, but look at the inside joint. You are aligning the bottoms of the tails with the inside edge of the pin board and making certain the two are square together with the setup block. You want first edge squareness, second inside alignment and third is outside alignment. For example, don’t make the edge of the drawer out of square just to make the inner edge align. You can’t trim or adjust an inside gap, but you can close outside gaps with planing and sanding, so you MUST focus on the inside part of the joint.
When satisfied, mark the location of the tails on the pin board. I prefer a pencil, but will use a marking knife if the pins are small and there is no room to get a pencil in. I have found that a highly visible line, colored in some cases, helps. Use a square and extend the line down the front and back of the drawer side. Be accurate as you will be cutting close to this line. Why a square line? Well you know your tails are perfectly square, so square it is.
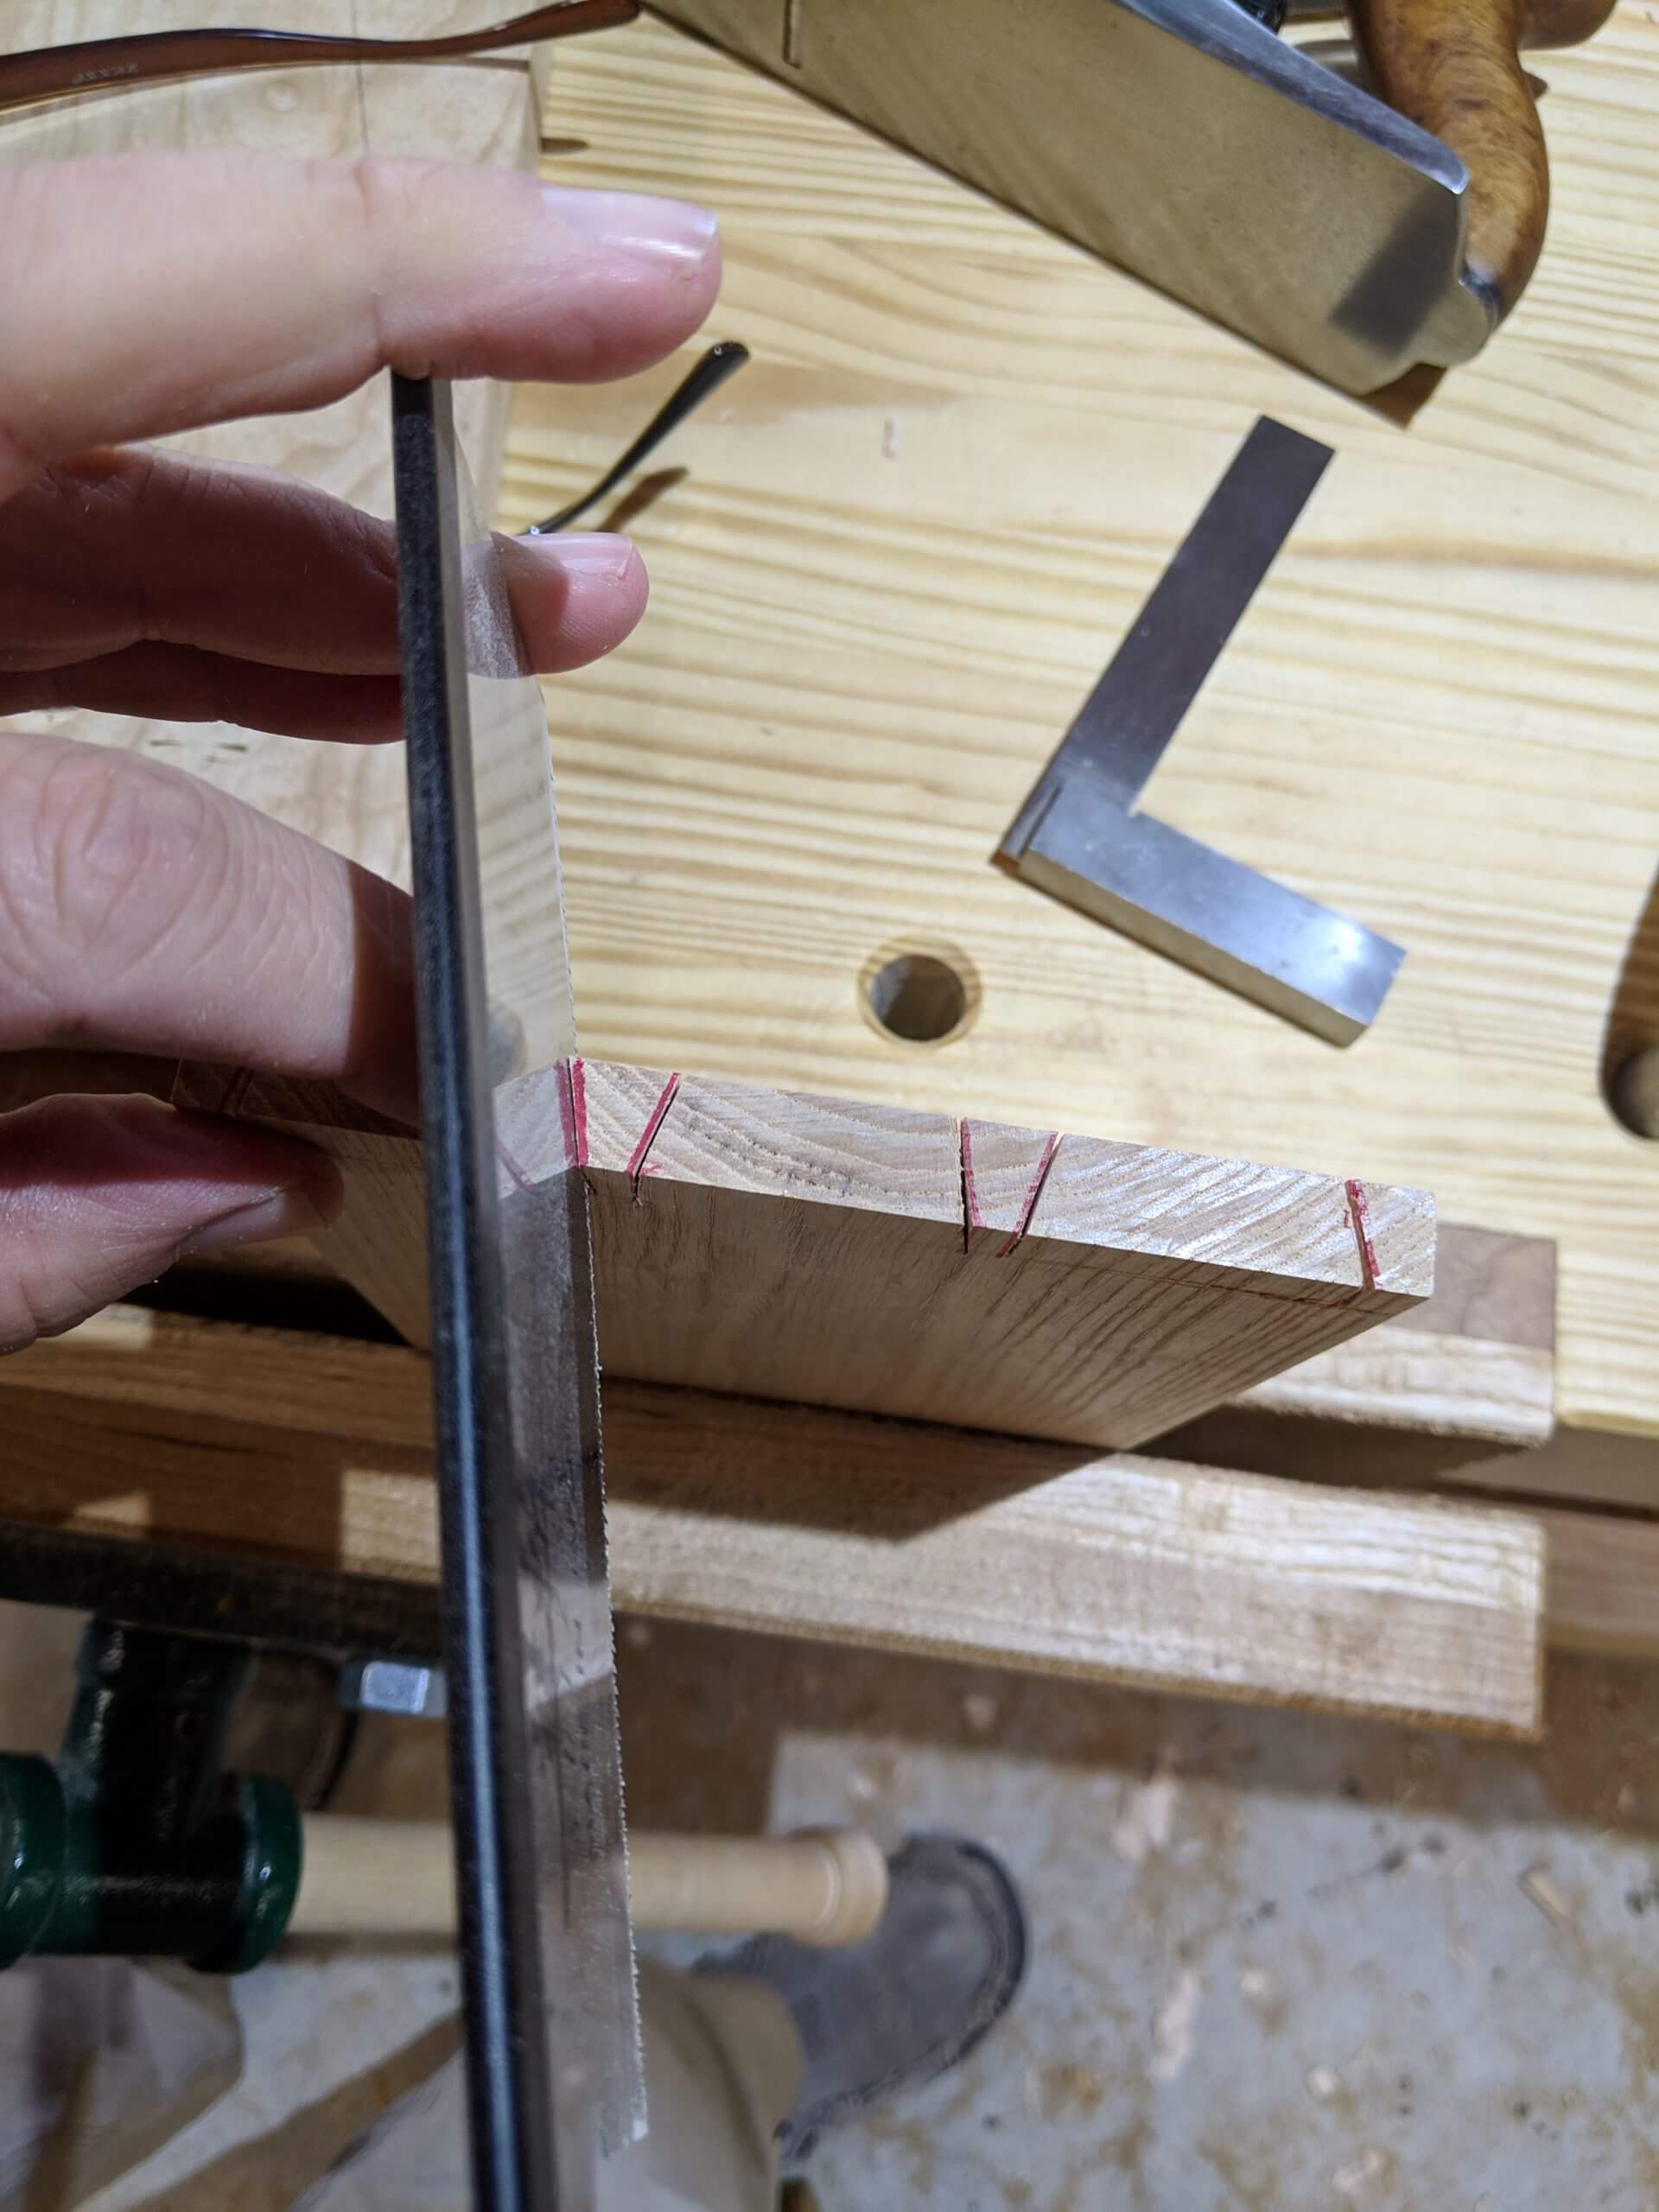
Now time to build in a margin of error. The more you build in, the more hand work you need to do, so it is up to you. I cut will inside this line with a dovetail or other fine saw. Cutting inside is error free and simply means you will hand cut to the line with a chisel, but these are pairing cuts and easy to make. The further inside you cut, the less chance of an error, but the more cleanup you have to do.
I have found that I will position the saw so that there is a sliver of unmarked wood showing. The key here is to cut straight down, so that sliver of unmarked wood extends down the length of the pin. When rusty or just foggy headed, I will often hold a square up to the saw to make certain I am holding it right.
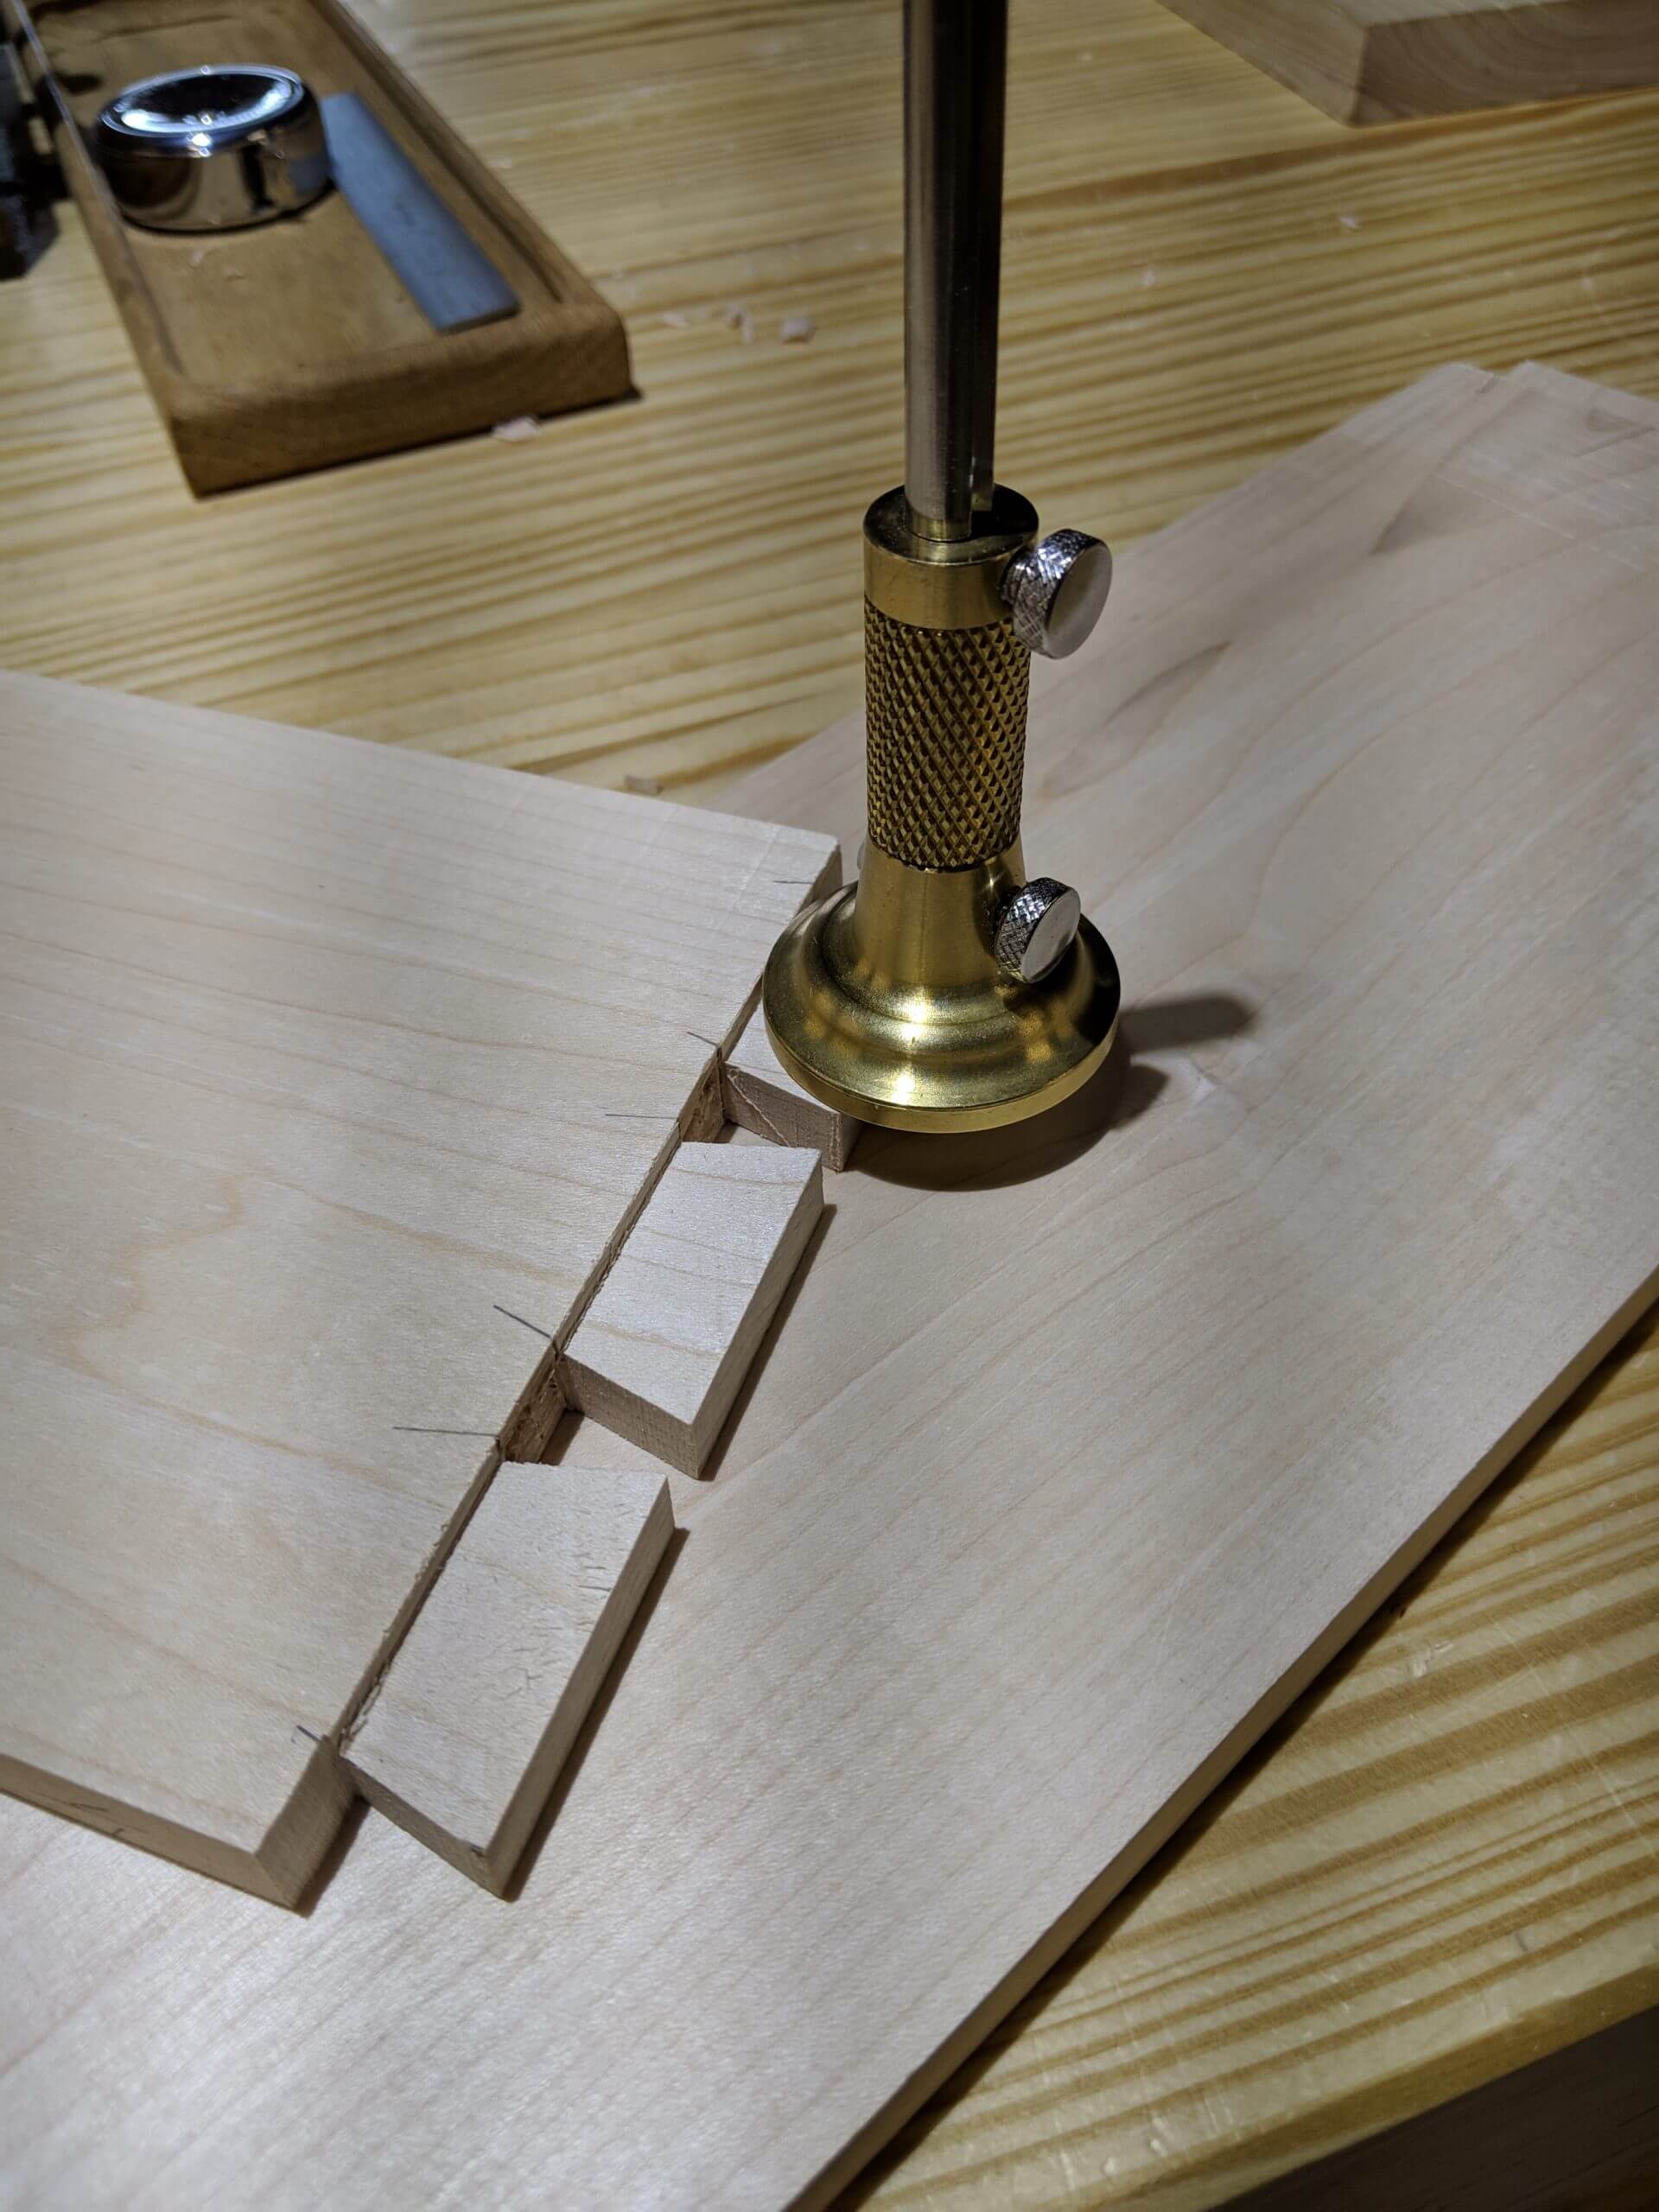
After cutting, the bulk of the wast is again cleared out with a fret saw then chopped out with the same removal technique used for the tail waste. Note in the image that the pin cuts are 1/32″ in from the line.
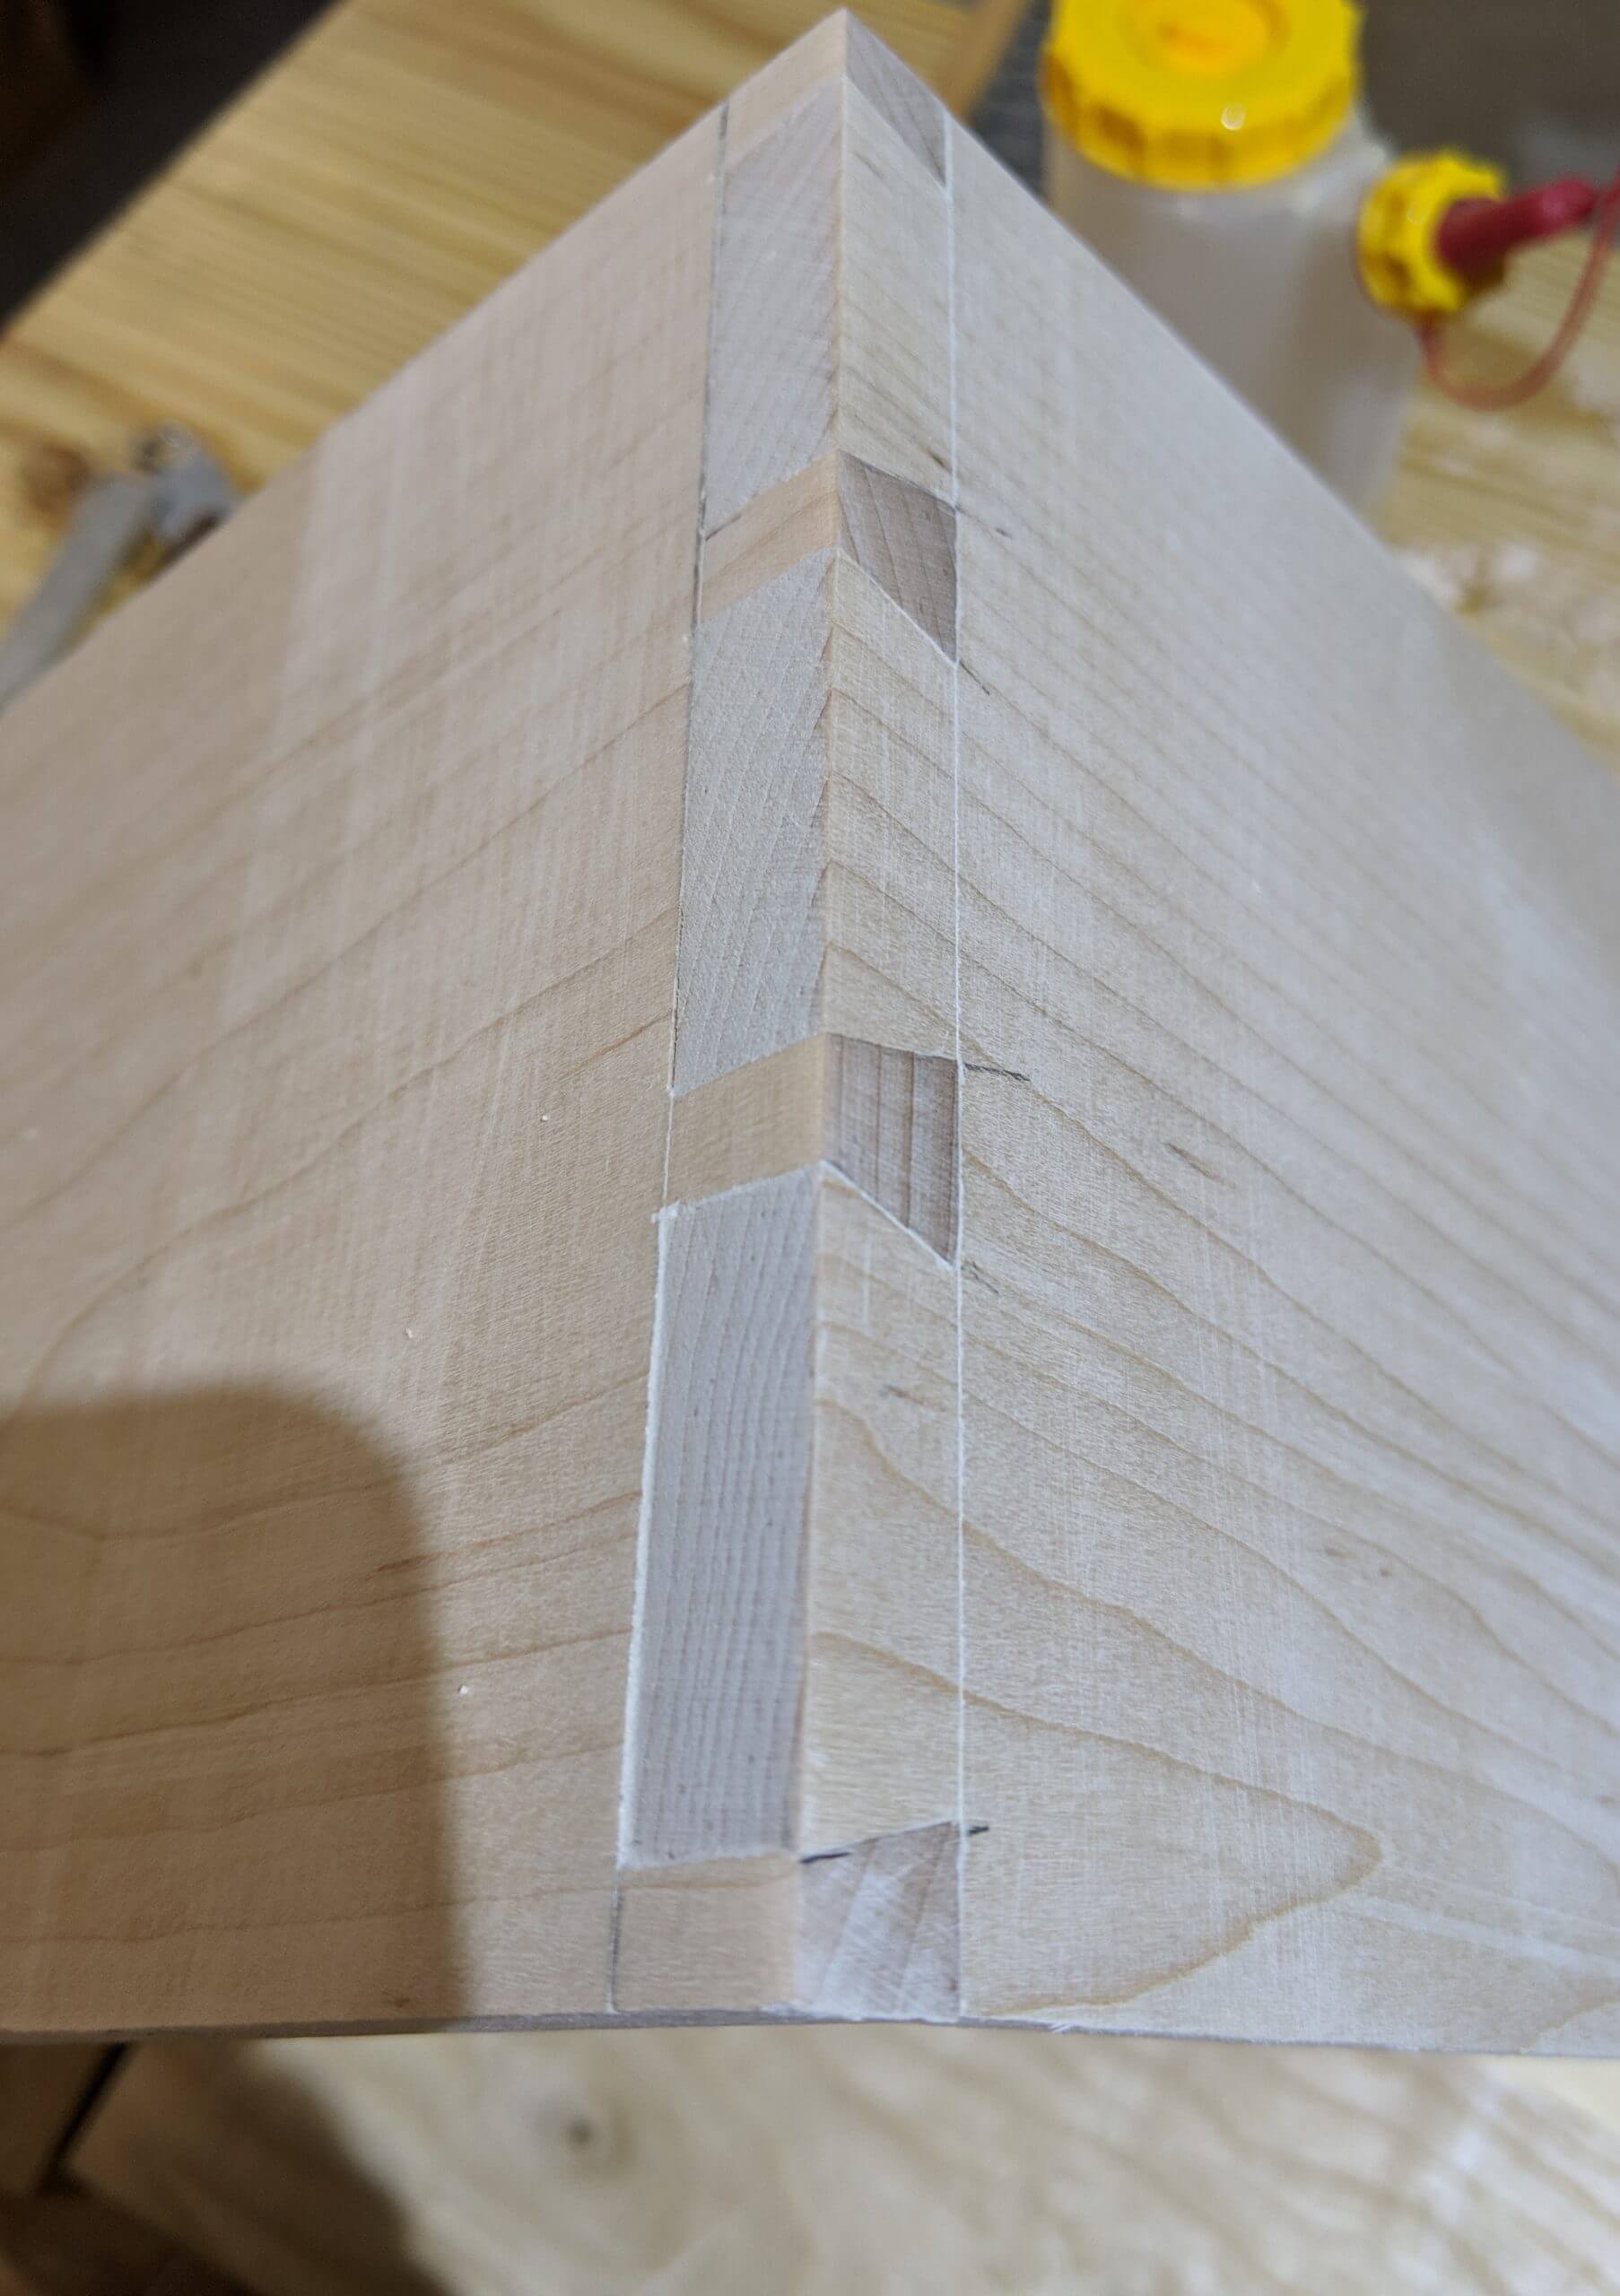
Fitting
At the start of fitting, I leave the pins slightly proud of the line (i.e. I can generally see a small sliver of unmarked wood). After cleaning close to the line with a chisel and using the same method as the tails for a natural relief cut in on the bottom, you can test fit the tail board. Offer the tail board to the pin board that is still in the vise, give it a few taps with the mallet and note where it is reluctant to engage. Look at the underside of the tail board for bruising. The interference points are where you want to pare down the pins.
Adjust as needed by trimming the pins, not the tails. By cutting the pins slightly fat you can reduce them as needed, but some compression will give you a tight joint.
With practice they start to fit better and better and you get a feel for how fat to leave the pins for the type of wood you are using. When fitting, go slow. You can’t put wood back on. Trim, test repeat until it fits with some work. A well fit joint will have to be driven together, so some resistance is what you are shooting for.
A common beginner error is to try and cut to fit with the saw or chisel prior to first test. Fitting is an iterative process. Test, think, adjust.
Half Blind
For the half blind front joint, the process is very similar with a few variations. First, you mark the side with the marking gauge for the thickness of the front board minus the thickness of the web you will use. The web is the small remainder of pin board that presents a face to the front of the drawer or surface. I use a 3/16″ web as it looks appealing and is not too fragile.
Measure and mark the edge of the front board at the same time. Position the gauge 3/16 in from the edge, then mark it and then mark just the two sides of the side board.
Layout and cut the tails on the front of the side boards the same way you did on the back of the boards, with the only difference being the different depth of the scribe line (the tails could be longer or shorter depending on the thickness of your front board).
Tails with a Twist
Once the tails are cut and cleaned out, I cut a rebate onto the inside side of the side board. This helps with registration of the side to the face, reduces the amount of waste that has to be cut from the front board and makes the inside edge of the drawer seamless.
This rebate is cut using the same methods as you would a tenon, the first cut is a shallow saw cut with the fence set the exact distance of the tail to the outside edge of the blade using the rip fence and the miter gauge so the cut is square to the edge, then removing the waste with another pass over the table saw blade with the drawer side held vertically and the blade raised a height just shy of the length of the tail and the fence set so the cut is as shallow as the first cut was deep. You don’t need a deep rebate, 1/16″ to 1/8″ will do.
Now you can measure the thickness of the resulting tail with the marking gauge and mark the inside face of the front board. This is how deep you will need to cut the sockets on the face board.
Setup the tail and pin board as before, but this time the registration is via the rebate and there is no need for an alignment block. Mark as before and extend these marks down the back to the scribe line. This is identical to a through dovetail, but the tail simply stops.
Saw well inside the marked line as before so you can fit the joint by hand. There is no need to push the tolerance with the saw as the joint will need to be hand fitted and there is no point risking cutting too much. Going past the scribe line is not an issue as that part will be hidden by the rebate. You do not want to extend into the web as they will be the visible part. If you cut into the web it will show, but a small extension of the cut into the web can be planed or sanded off.
Once you have made the small saw kerf (you can’t saw much on a half blind joint), it is time to clear out the waste. If you have a router there is not point in manually chunking out the waste. I clamp a zero clearance fence to the drawer side and align the edge to the bottom scribe line and set the bit depth to just shy of the web line (leaving a small amount to pare out by hand).
The zero clearance fence will keep you from routing too far past the scribe line and the depth of the bit will prevent you from eating into the web, so you only need to stay clear of the marked/half cut lines for the pins. The end result is not pretty, but it is not a finish cut.
Clean out the tail sockets with chopping cuts (tap, tap, whack, whack) and the pin sides and the web with paring cuts. As before, shoot for a very small sliver of wood showing outside the line. A fishtail chisel is almost essential here. The walls should be square to the bottom are at worst slightly angled in for relief.
Test fit the tail board to the tail sockets and make adjustments as before. Since the tails were cut on the bandsaw, they are straight and square, so limit your adjustments to the pins.
This is the most visible testament to your workmanship in the piece, so take your time and sneak up on perfect. Don’t beat the tails home in an effort to get them in as that will just damage them. They should be snug, but not tight. If they are not going home, remove the board and look at the tails for signs of conflict then adjust the pins “slightly” as you can not put wood back on (though minor gaps can be filled with sawdust and glue).